 Free shipping on orders over £29,85


How do you make resin mould release?
Essential steps for clean and easy resin demoulding every time.

Achieving a smooth, easy release from silicone or rigid resin moulds is essential for perfect castings. This guide covers how to make your own resin mould release, why it’s important, and the practical steps to prevent resin from sticking—saving both your moulds and your artwork. Whether you’re a crafter, artist, or maker, mastering mould release techniques can enhance durability, save effort, and yield flawless results.
What You’ll Need
- Silicone Oil for Mould Protection and Easy Release – 15ml: Silicone oil offers effective protection and a non-adhesive layer for typical silicone resin moulds.
- “Global A2” – Release Wax for Epoxy and Resin Moulds: A liquid wax, excellent for wood, metal, or plastic moulds where heat resistance and quick drying matter.
- “Shiny Shield” – Glossy Release Film for Resin Projects: Ideal for lining frames or moulds where an ultra-smooth, glossy surface is desired.
- Soft lint-free cloth or sponge (for application of oils or waxes)
- Protective gloves and mask (to avoid skin contact and inhalation of fumes)

Hands-on with Release Techniques
See the results of each release method in action—from smooth demoulding to high-gloss finishes. These approaches fit a range of project styles, from crafting smaller resin shapes to constructing large, professional epoxy pours.

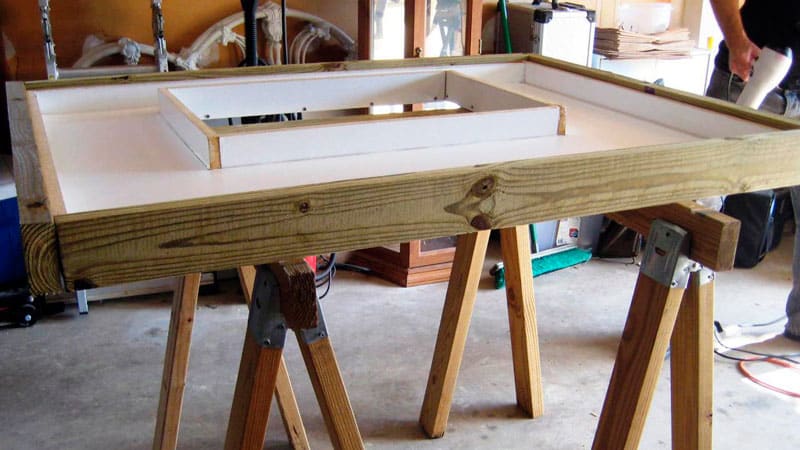
Step 1: Prepare the Mould Surface
Begin by thoroughly cleaning the surface of your mould. Any dust, oils, or residue can interfere with both resin casting and the effectiveness of your release agent. Use a gentle soap and water solution for silicone or plastic, or a suitable cleaner for porous surfaces like wood. Dry the mould completely before continuing—any moisture can cause imperfections or bubbles in your resin cast.
Inspect the mould for visible wear, scratches, or embedded residue. For reused moulds, a quick wipe with isopropyl alcohol ensures a pristine, residue-free surface. Proper preparation helps the release agent bond evenly and consistently.
Step 2: Apply Your Choice of Release Agent
Selecting the right release agent depends on your mould material and the final finish desired:
- For silicone moulds: Lightly apply Silicone Oil for Mould Protection and Easy Release – 15ml with a soft cloth, spreading it evenly to form a thin, non-adhesive layer. This not only prevents sticking but also prolongs mould lifespan.
- For wood, metal, or plastic moulds: Use “Global A2” – Release Wax for Epoxy and Resin Moulds. Apply a small amount in a circular motion, ensuring full coverage. Allow it to dry for 2–3 minutes before use for best results.
- For ultra-gloss, flat projects or custom forms: Line your frame or mould with “Shiny Shield” – Glossy Release Film for Resin Projects, carefully smoothing out air bubbles as you press it in place. This creates a smooth, high-gloss surface and can be reused for several pours.
Use only a thin, even layer to avoid dullness or loss of detail. Excess agent may interfere with resin curing or surface finish.
Step 3: Allow to Set and Test Before Pouring
Once applied, ensure the release agent is fully settled or dried as per your chosen method. Do not rush this step—insufficient drying can lead to mixed results or affect the quality of the resin finish.
For wax or oil, gently buff with a clean cloth to remove excess. For release films, check adhesion and overlap as needed. Always let the release fully dry before pouring resin to ensure optimal performance.
With mould releases, it’s best practice to conduct a small test pour, especially when working with a new agent or a different resin formulation. This step minimises waste and surprises.
Tips, Common Mistakes, and Troubleshooting
Consistency, cleanliness, and patience are crucial. Avoid overapplication—thick coatings hinder detail or may interact poorly with certain resins.
If you encounter sticking, inspect whether the whole mould was coated or if any residue was left behind. For complex shapes, extra care is needed to reach all recesses. Test new releases on a small mould first and store release agents sealed to prevent contamination for future projects.
Before-and-After: Perfect Demoulding
Compare typical demoulding outcomes with and without proper release agents. Protecting your moulds ensures every project ends with effortless removal and an improved surface finish every time.

- Silicone Oil for Mould Protection and Easy Release – 15ml£5.15Silicone Oil designed for mould protection and easy release, suitable for resin artists under the theme of mould release.
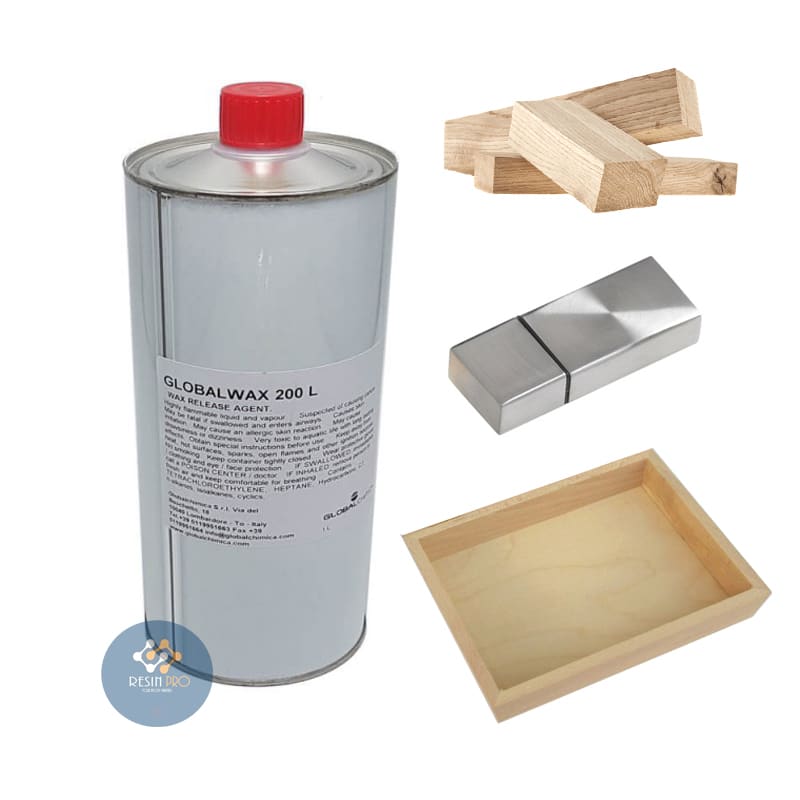 "Global A2" – Release Wax for Epoxy and Resin Moulds, Liquid, Heat Resistant to 180°CPrice range: £15.85 through £18.85Global A2 Release Wax forms a protective film to aid mould release for epoxy resin projects, suitable for multiple surfaces.
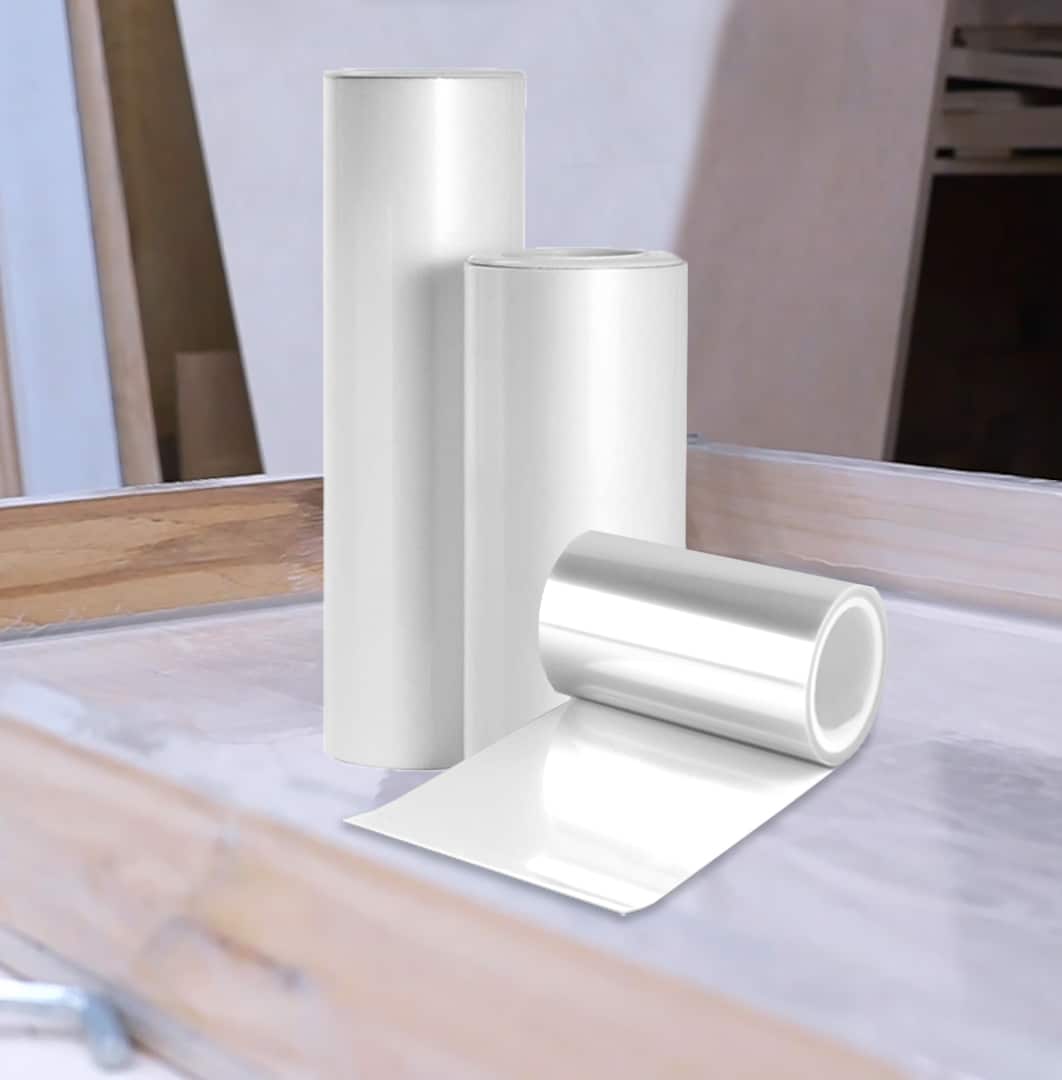 "Shiny Shield" – Glossy Release Film for Resin ProjectsPrice range: £3.25 through £12.25"Shiny Shield" provides a self-adhesive glossy film for clean, reusable mould lining in resin projects within the theme of resin mould release.
Frequently Asked Questions
Can I use common household products as a resin mould release?
Household oils or sprays often don't provide consistent release and may leave residues. Specialist release agents offer better reliability and results.
How often should I apply resin mould release to my mould?
Apply mould release before every casting session. Frequent use supports mould longevity and surface quality.
Will mould release change the look of my resin piece?
When used correctly, mould release does not impact gloss or clarity. Overapplication, however, might dull details or the finish.
My resin cast is stuck—what should I do?
Gently flex silicone moulds to loosen. For harder moulds, try warming slightly. Avoid prying to prevent damage.
Can I reuse glossy release film like Shiny Shield for multiple pours?
Yes, if removed carefully and kept clean, glossy release film is suitable for several uses without losing effectiveness.
How do I store silicone oil, release wax, or film between uses?
Keep all release products tightly sealed and indoors, away from heat and sunlight, to preserve quality and prevent contamination.