 Free shipping on orders over £29,85


← Back to How to make artificial resin
Getting a professional, glass-clear finish with cast resin means keeping unsightly bubbles at bay. Here’s how to minimise air bubbles for beautifully smooth results every time.
Best Practices for Mixing Resin
The way you mix your resin has a huge impact on the final appearance. Stirring quickly can trap air, so always combine resin and hardener (or water for mineral resins like NatuResin) slowly and steadily, scraping the sides of your container as you go. This gentle approach helps avoid incorporating excess air right from the start.
Preparing and Working With Moulds
Choose flexible silicone moulds when possible, as they make it easier to release trapped air. After pouring, gently tap or flex the mould to encourage surface bubbles to rise and pop. For deep pour projects, consider pouring in thinner layers to give air more opportunity to escape.
Using Heat to Release Trapped Bubbles
Once your resin is in the mould, lightly waving a heat gun or blowing warm air across the surface can quickly burst tiny bubbles without affecting the setting process. Take care not to overheat resin, especially in shallow projects or near the edges, to avoid uneven curing or marking.
When This Matters
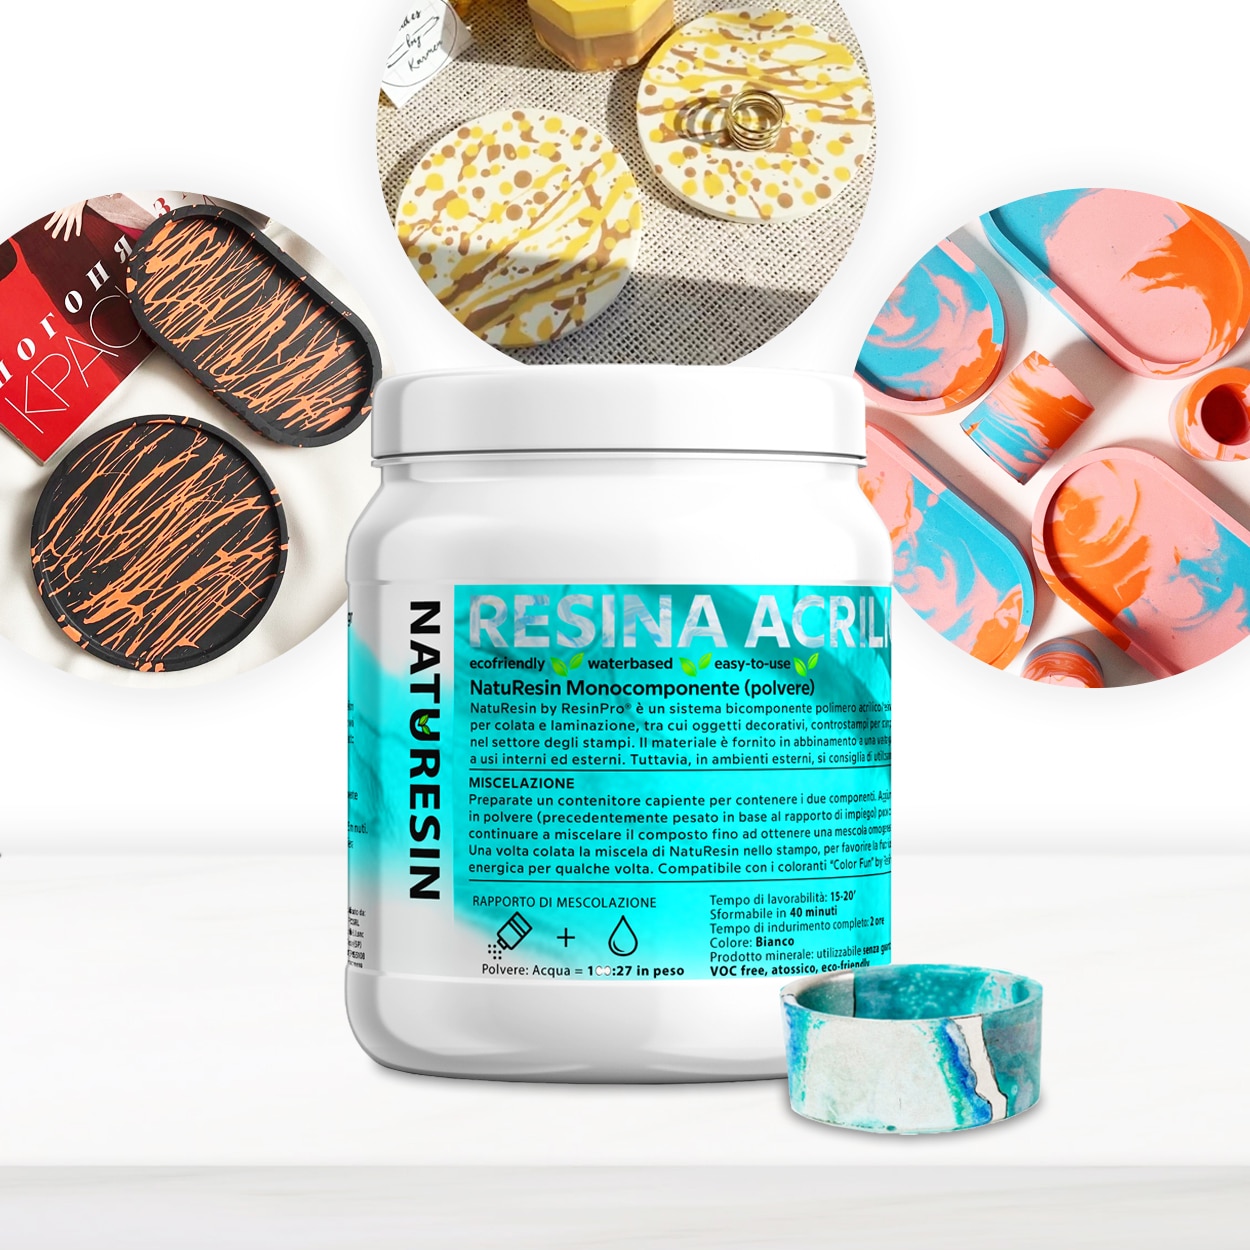
- If your project demands optical clarity—such as coasters, trays, or display pieces—bubble control is essential. It’s also invaluable when using transparent or lightly pigmented designs, as bubbles will be most visible in these casts.
Related products
Related guides
With careful mixing, mould handling, and finishing techniques, you can master bubble-free resin casts for a striking, professional finish. For further guidance and a full introduction to resin casting, explore our main how to make artificial resin guide.