 Free shipping on orders over £29,85


How to make artificial resin
A complete practical guide for creative resin crafting
Making artificial resin at home opens up a world of creative possibilities, whether you’re pouring coasters, crafting ornaments or tackling a full-size river table. This guide walks you step-by-step through the main processes involved—demystifying both eco-friendly mineral resins and modern epoxy systems—so even beginners can achieve professional-looking results. Safety, preparation, mixing and finishing are clarified in practical detail, giving you confidence from your first pour to advanced projects.
What You’ll Need
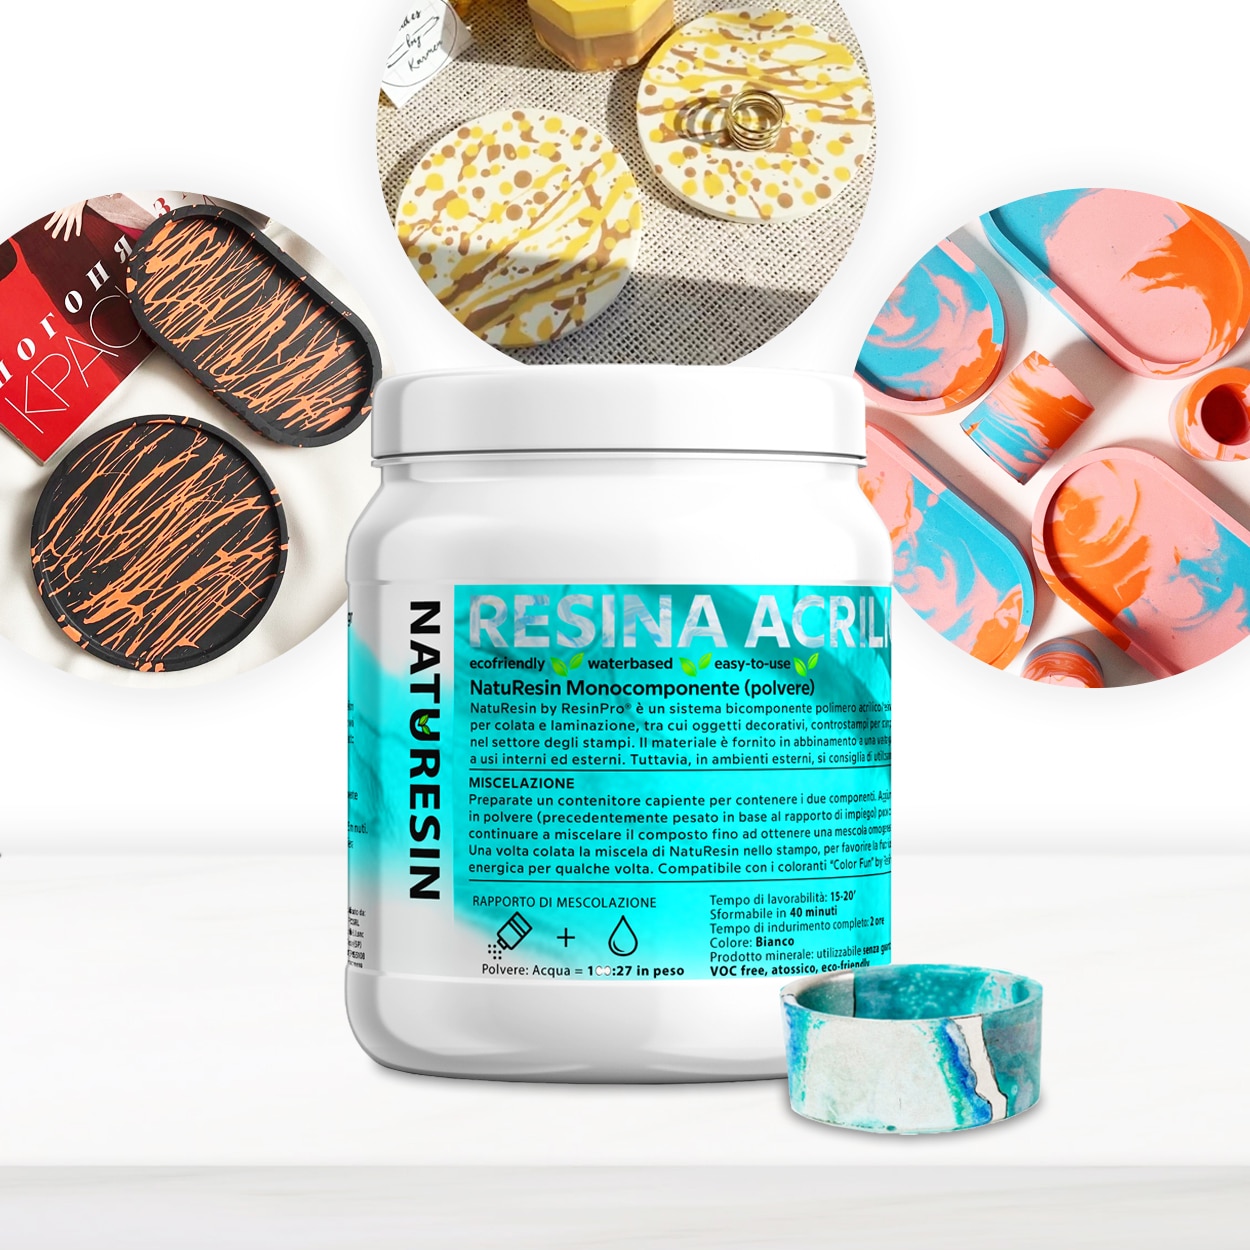
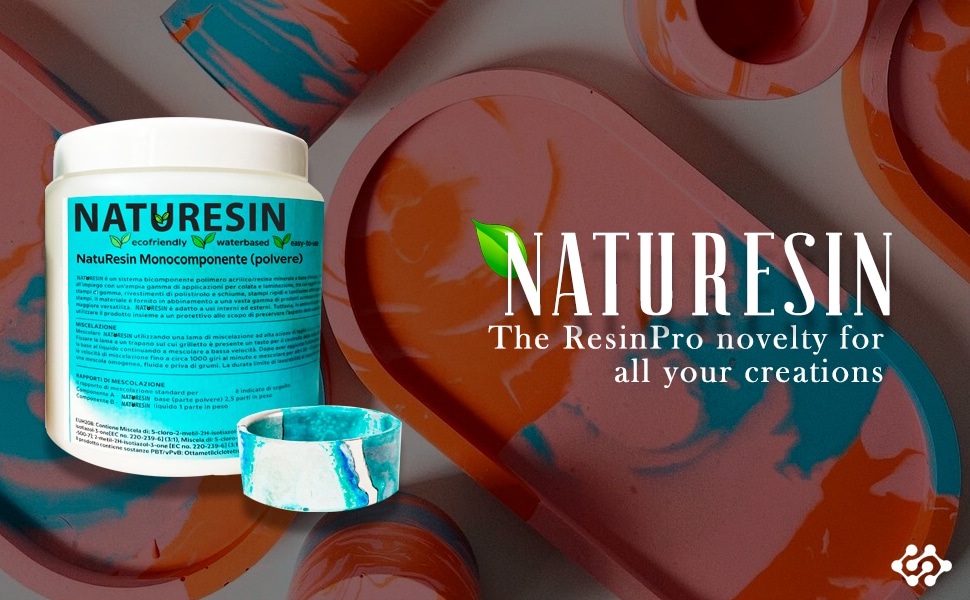
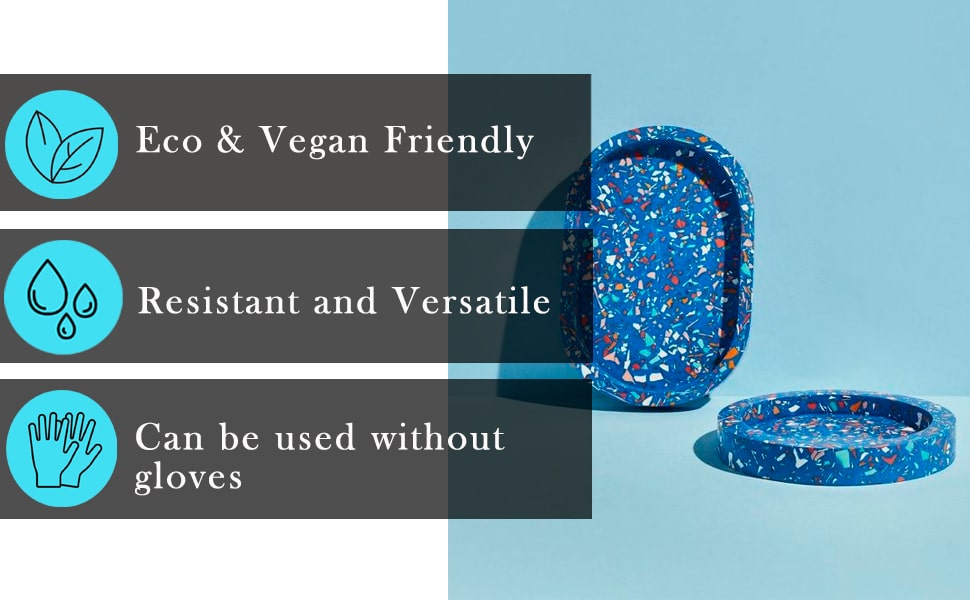
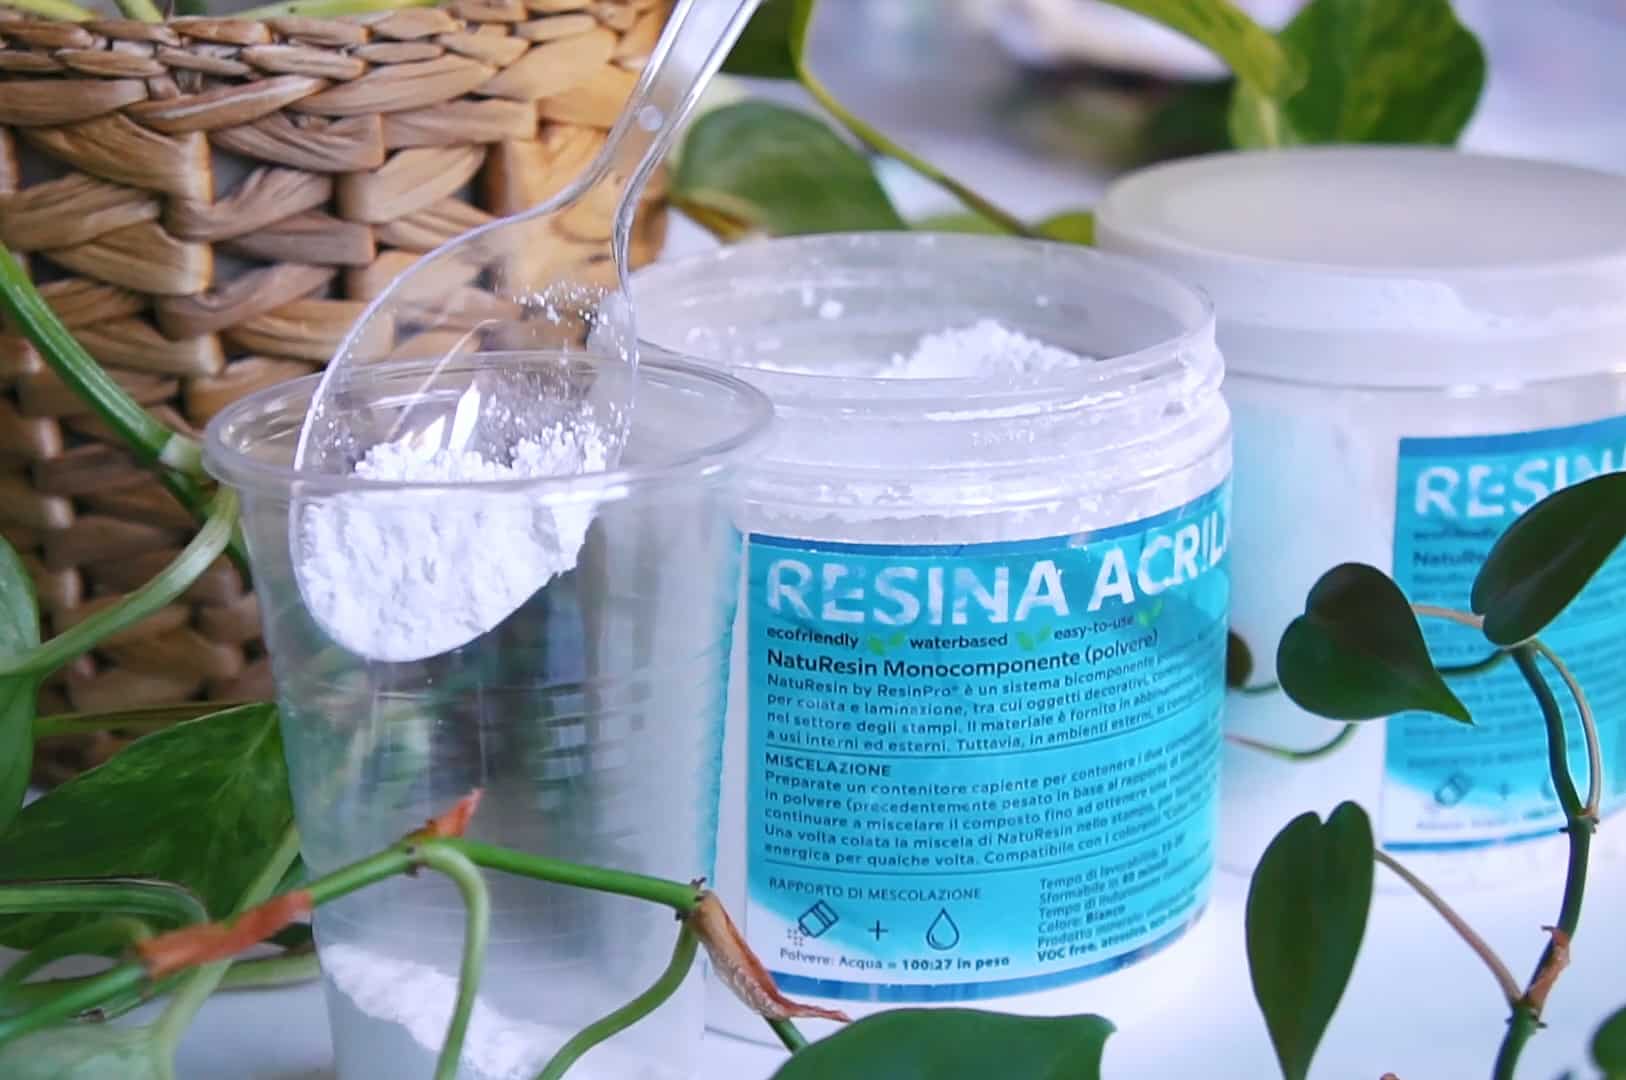
- “NatuResin” – Mineral Resin & Water System for Creative Casting and Crafts: An eco-friendly water-activated mineral resin, ideal for safe crafting and decorative projects.
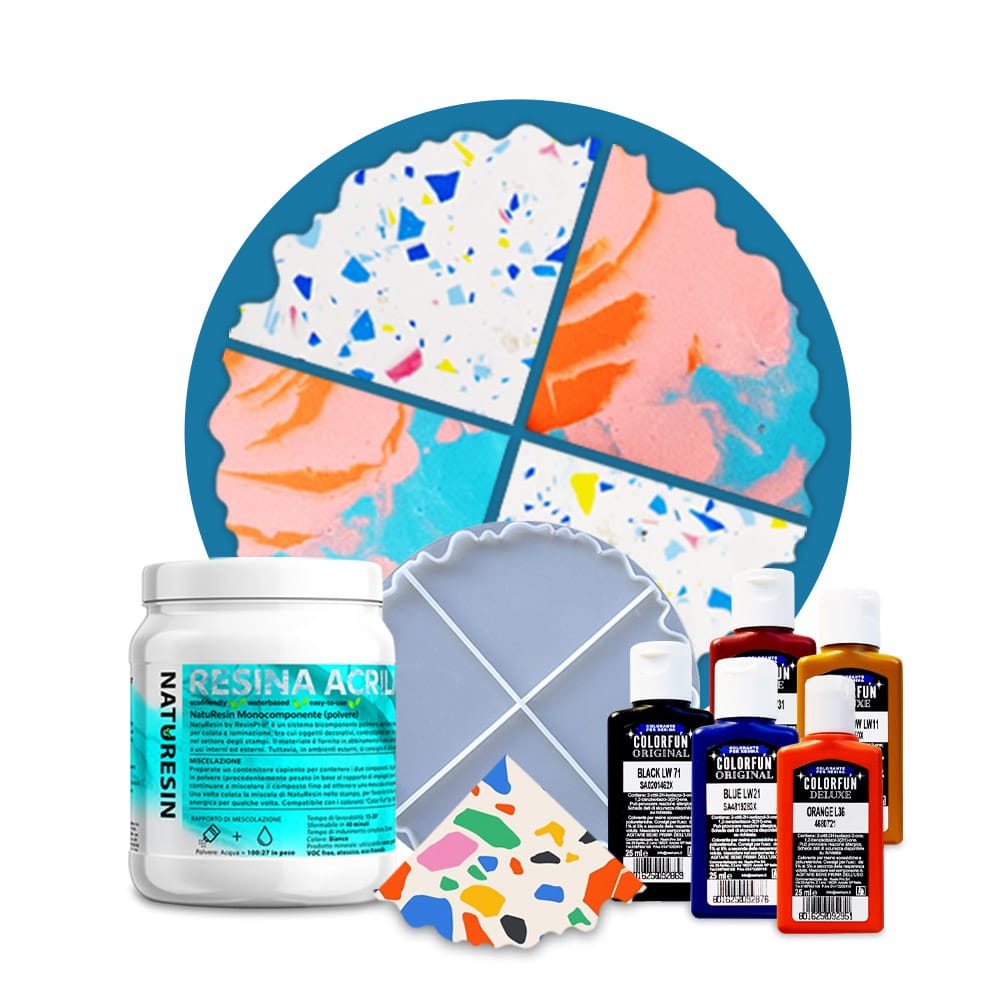
- “Coasters” – Creative Kit with Mineral Resin and Silicone Mould: A complete kit for beginners with mineral resin, silicone moulds, pigments, and essential tools.
- “River-Table” – Complete Kit for Creating Your First Epoxy Resin Table: All-in-one epoxy kit for tables, containing resin, hardener, sealant, pigments and polishing tools.
- “EpoxyTable 5-Five” – Deep Pour Epoxy Resin for Tables and Large Projects – Up to 5cm: Advanced epoxy resin suitable for thick castings in artistic furniture and crafts.
Step-by-Step Guide in Action
Practical visuals help reveal common stages and project outcomes. Explore how each type of resin and complete kit assists in achieving safe and creative results, whether you’re mixing, pouring or demoulding your pieces. Visual step-throughs ensure you’ll feel confident handling both eco-friendly mineral resins and sophisticated epoxies.
Step 1: Plan and Prepare Your Workspace
Before handling any form of artificial resin, consider what you want to create. Are you aiming for small crafts such as coasters, or larger projects like tables? Plan your project before starting: gather your moulds, mixing containers, stir sticks, protective covers, and ensure you have clean, flat surfaces to work on.
Prioritise safety and cleanliness from the outset. Work in a well-ventilated environment and protect your work surface with disposable sheeting or plastic to catch any drips or spills. If working with epoxy, gloves and eye protection are strongly advised, while water-based mineral resins are safe enough for most home settings.
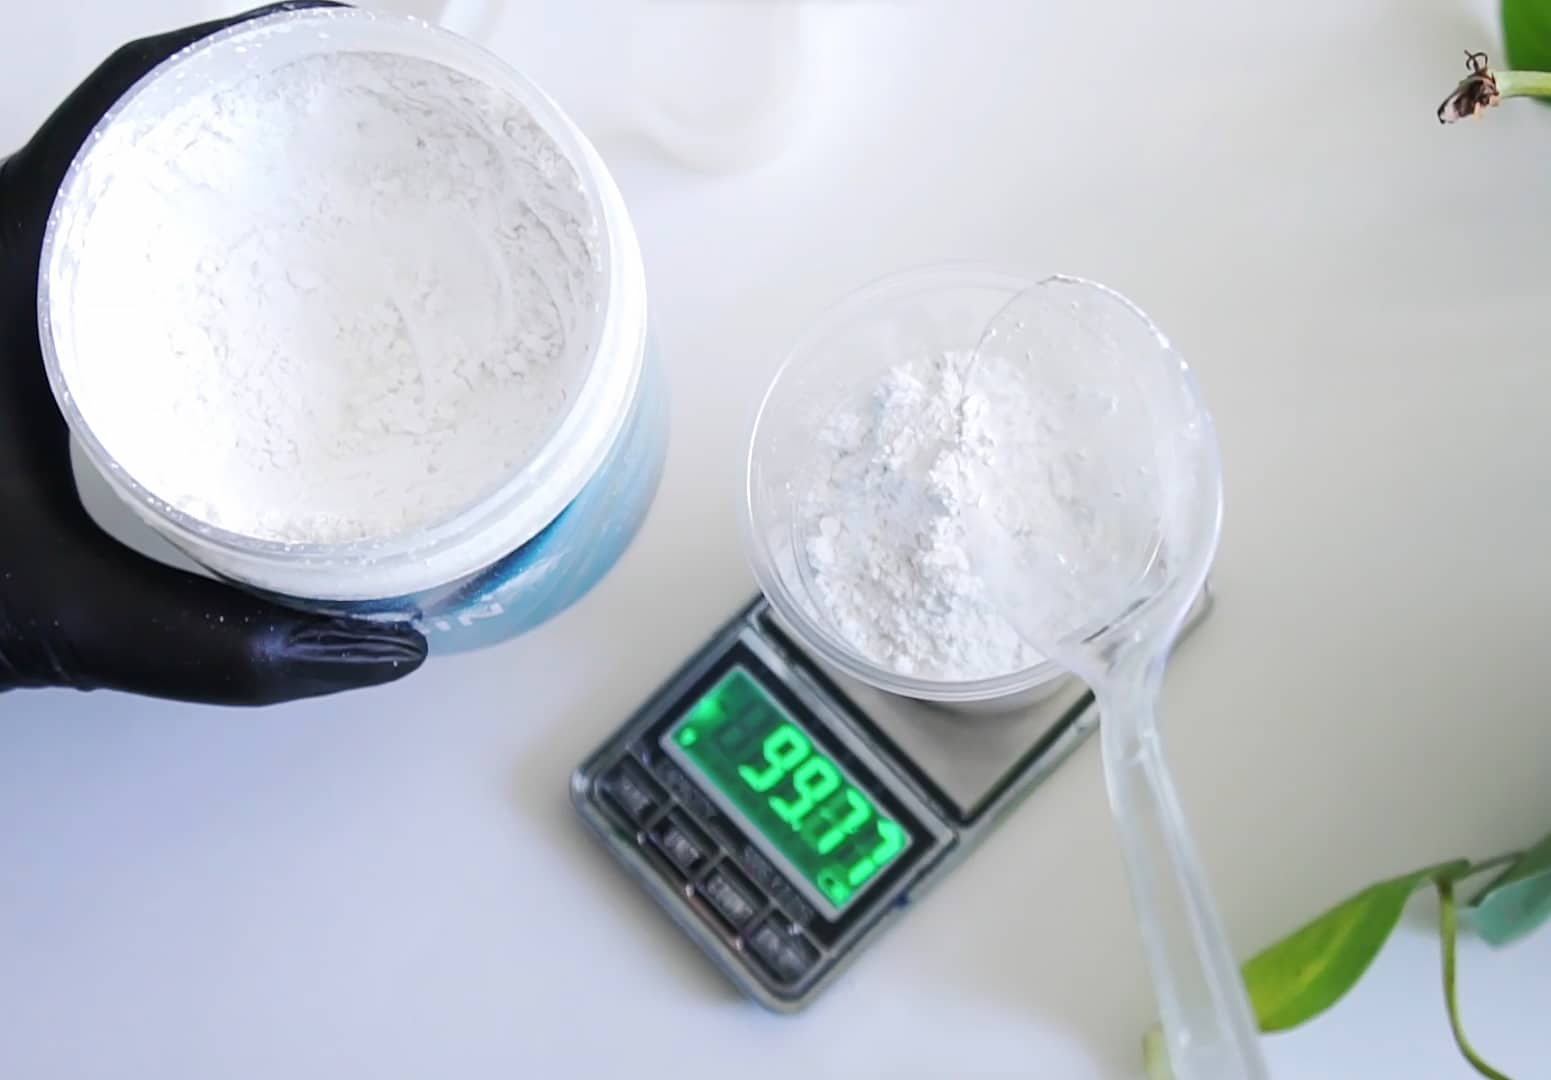
Step 2: Measure and Mix Your Resin Components
There are two main methods for making artificial resin: mixing mineral resin with water or combining two-part epoxy systems. For mineral resins, such as those found in the NatuResin and Coasters kit, use the manufacturer’s ratios to combine resin powder and water. Always add resin to water for mineral mixes to prevent clumping and ensure a smooth consistency.
For epoxy projects, such as when using the River-Table Kit or EpoxyTable 5-Five, measure out both resin and hardener accurately. Measure components precisely for epoxy—incorrect ratios can lead to incomplete curing or sticky finishes. Mix both parts slowly and thoroughly, scraping sides and bottom of your mixing vessel to prevent streaks or unmixed material.
Step 3: Pour and Mould Your Creation
Once your resin is fully blended, work quickly but calmly. For casting coasters or small items, pour the resin into silicone moulds, tapping gently to release trapped air bubbles. Mix thoroughly and pour carefully to achieve a flawless, bubble-free finish. If you’re making layered or decorative effects, pause between pours as directed for your chosen resin type.
For deep or large castings, such as tables, pour resin in incremental layers if needed to control exothermic heat buildup, especially when using products such as EpoxyTable 5-Five. Monitor your work to ensure even flow and correct thickness throughout.
Step 4: Curing, Demoulding and Finishing
Allow your project to cure according to the specific product instructions. Allow sufficient curing time for full strength: mineral resins, like in the Coasters kit, often set within an hour and reach full strength in 4–8 hours, while deep pour epoxy may require several days for complete curing. Do not demould or touch your project before it is fully set to avoid warping or surface marks.
Once cured, remove from the mould. You can sand or polish the edges if desired for a professional finish, using the included tools in epoxy kits. Mineral resin surfaces can be coloured or painted after curing for added creativity.
Tips, Common Mistakes and Troubleshooting
Measure meticulously for all components and avoid mixing too quickly to minimise bubbles. Don’t rush the curing; impatience can lead to fingerprints, marks or even cracks. Ensure you use the right resin for your intended project—mineral for crafts, epoxy for furniture or pieces requiring greater transparency and strength. If bubbles persist, pass warm air gently over the resin surface. For layered pours, always wait for the initial layer to firm up as directed before adding more.
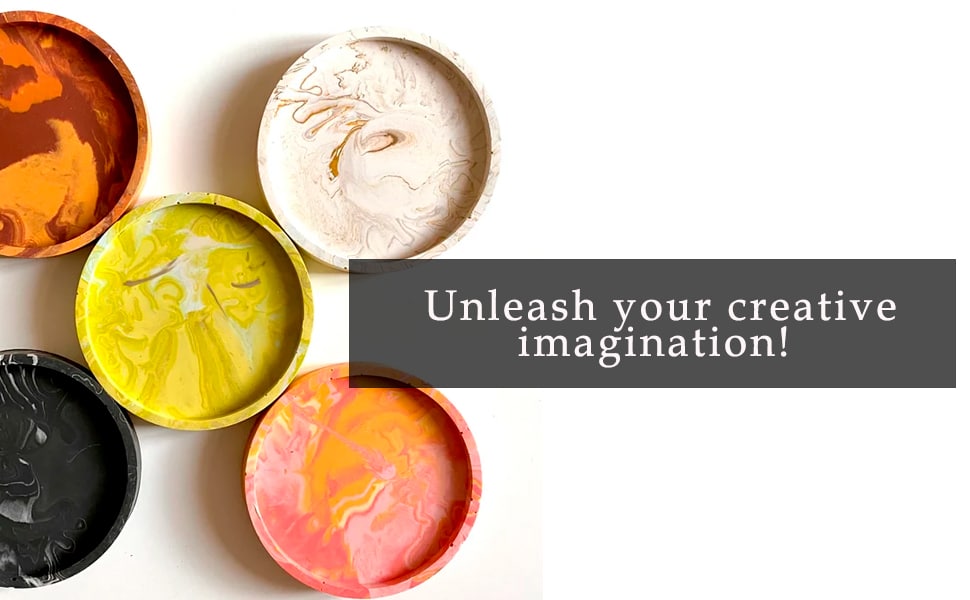
Creative Resin Projects Gallery
See real-life projects that showcase beautiful finishes and unique textures. From natural-matte coasters to deep, glass-like river tables, discover the possibilities once you’ve mastered artificial resin techniques. Get inspired by what you can achieve with the right preparation and materials.
- “NatuResin” – Mineral Resin & Water System for Creative Casting and CraftsPrice range: £17.85 through £99.85NatuResin is a single-component mineral resin mixed with water, suitable for creative casting projects in an eco-friendly manner.
- "Coasters" – Creative Kit with Mineral Resin and Silicone Mould£38.85This kit contains mineral resin and silicone moulds to create coasters with a natural, matte finish. Suitable for eco-conscious DIY resin projects.
 "River-Table" – Complete Kit for Creating Your First Epoxy Resin TablePrice range: £188.85 through £444.85"River-Table" kit includes resin, pigments and polishing supplies with instructions for creating resin tables and crafts.
 "EpoxyTable 5-Five" – Deep Pour Epoxy Resin for Tables and Large Projects – Up to 5cmPrice range: £16.85 through £1,099.85"EpoxyTable 5-Five" is designed for deep pour projects like tables, offering low exothermic reaction and strong UV filters suitable for thick casting.
Frequently Asked Questions
What is the difference between mineral resin and epoxy resin?
Mineral resins cure with water, are safer for home use, and offer a matte, stone-like finish, while epoxy resins cure chemically to create clear, strong results.
How long does artificial resin take to cure?
Curing time depends on the product: mineral resin coasters cure in 1–8 hours, while thick epoxy projects may need a few days for a full cure.
Is artificial resin safe for home use?
Water-based mineral resins are safe and non-toxic, while epoxy resins require basic ventilation and personal protection.
Can I add colours or pigments to artificial resin?
Yes, both mineral and epoxy resins can be combined with pigments or dyes to customise your finished pieces easily.
What tools do I need to make artificial resin?
Typical tools include mixing cups, stirrers, gloves, silicone moulds and accurate measurement tools for the best results.
How do I avoid bubbles in my casts?
Stir slowly, tap the mould gently to release air, and use a heat gun or warm air over the surface for best clarity.