 Free shipping on orders over £29,85


How to glue silicone rubber
A comprehensive guide for strong, lasting silicone bonds

Bonding silicone rubber requires some specific methods due to its low surface energy and flexible characteristics. This guide explains exactly how to achieve strong and durable bonds for silicone rubber, whether you are repairing items, making moulds, or constructing new silicone elements. Follow the detailed steps to ensure a secure and reliable bond for your project.
What You’ll Need
- Isopropyl alcohol or suitable degreasing agent
- Lint-free cloths
- Compatible silicone adhesive (check manufacturer guidelines for material compatibility)
- Clamps or weights to hold components in place
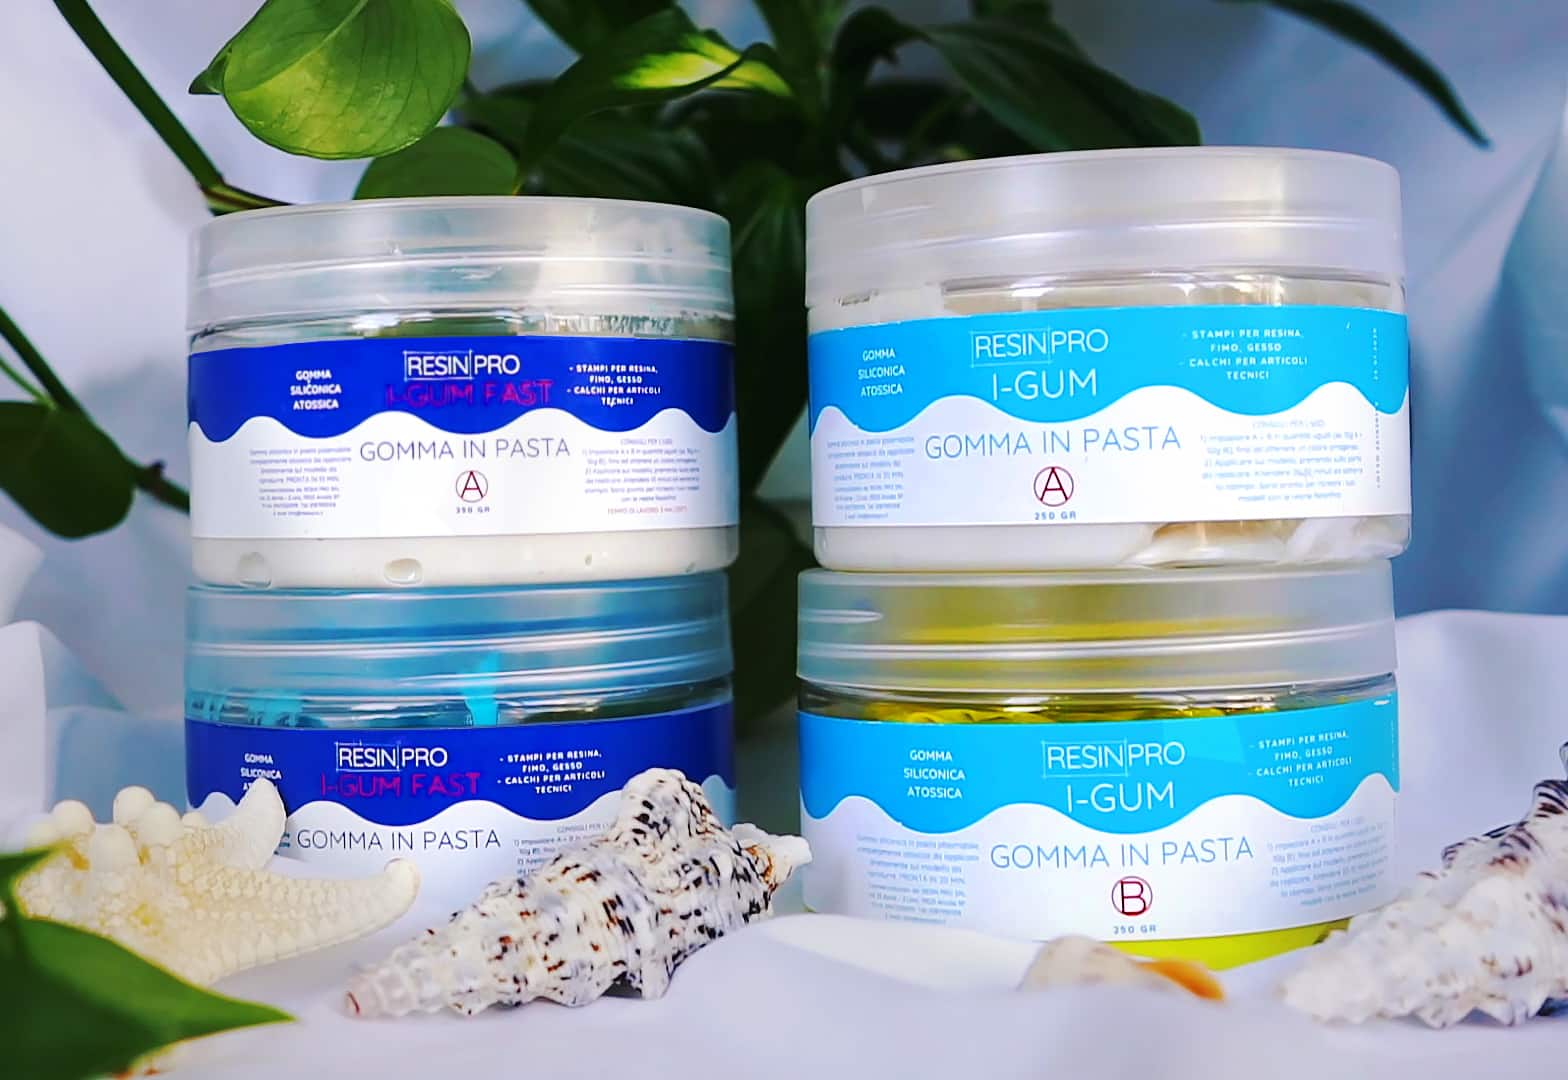
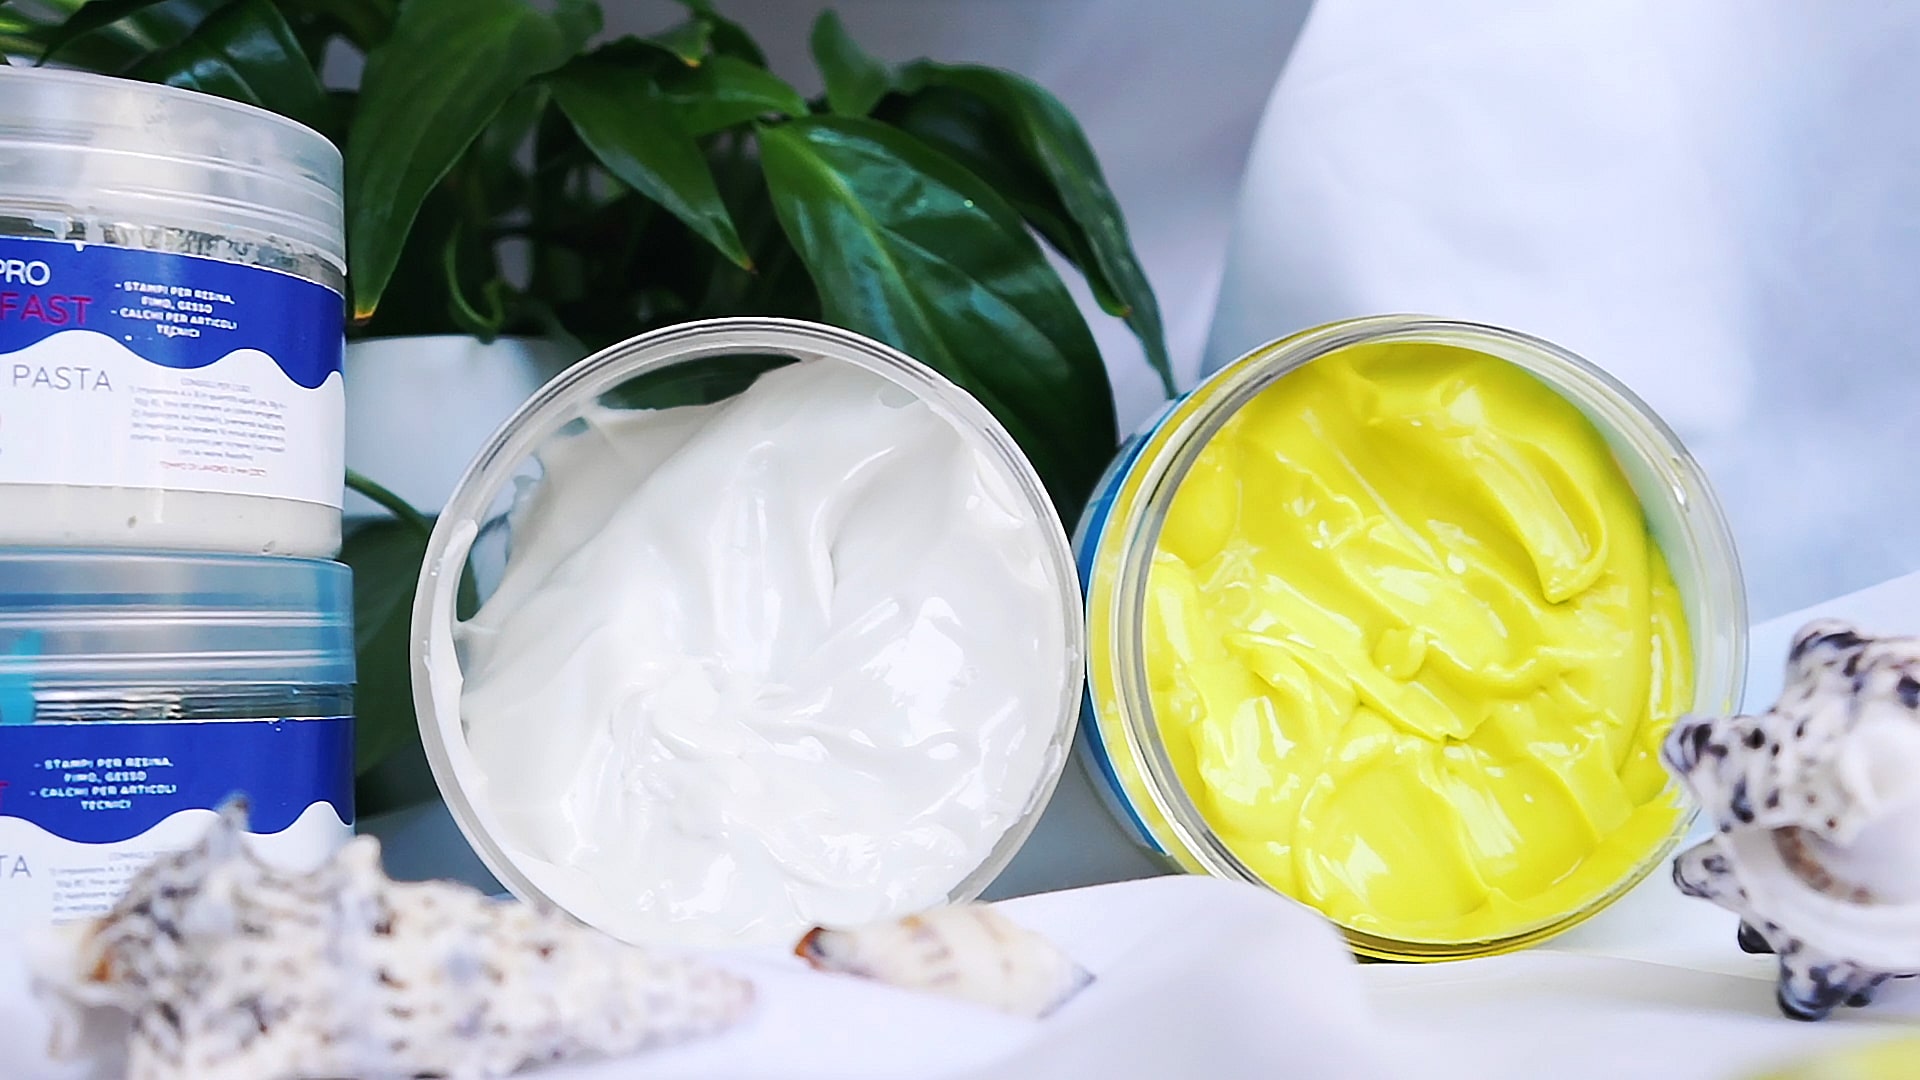
- Optional: “I–Gum” – Non-Toxic Silicone Putty for Mould Making for forming or repairing silicone-based parts
- Gloves (optional)
Silicone Adhesives and Project Setup
Choosing a compatible silicone adhesive is essential for reliable bonding. Prepare your workstation in advance, ensuring sufficient time for curing and tools for steady support. Use materials tailored to your project for optimal results.
Step 1: Clean the Silicone Surfaces Thoroughly
Before attempting to glue silicone rubber, it is critical to remove all dust, grease, and residues. Use isopropyl alcohol or a recommended degreaser on a lint-free cloth and wipe the surfaces to be joined. Allow to air dry completely. A spotless bonding area is essential, as silicone’s surface naturally resists adhesives if not properly prepared. Avoid using soaps that may leave residue.
Ensure all surfaces are completely clean and free from oils. This will help provide the best possible adhesion.
Step 2: Prepare and Fit the Components
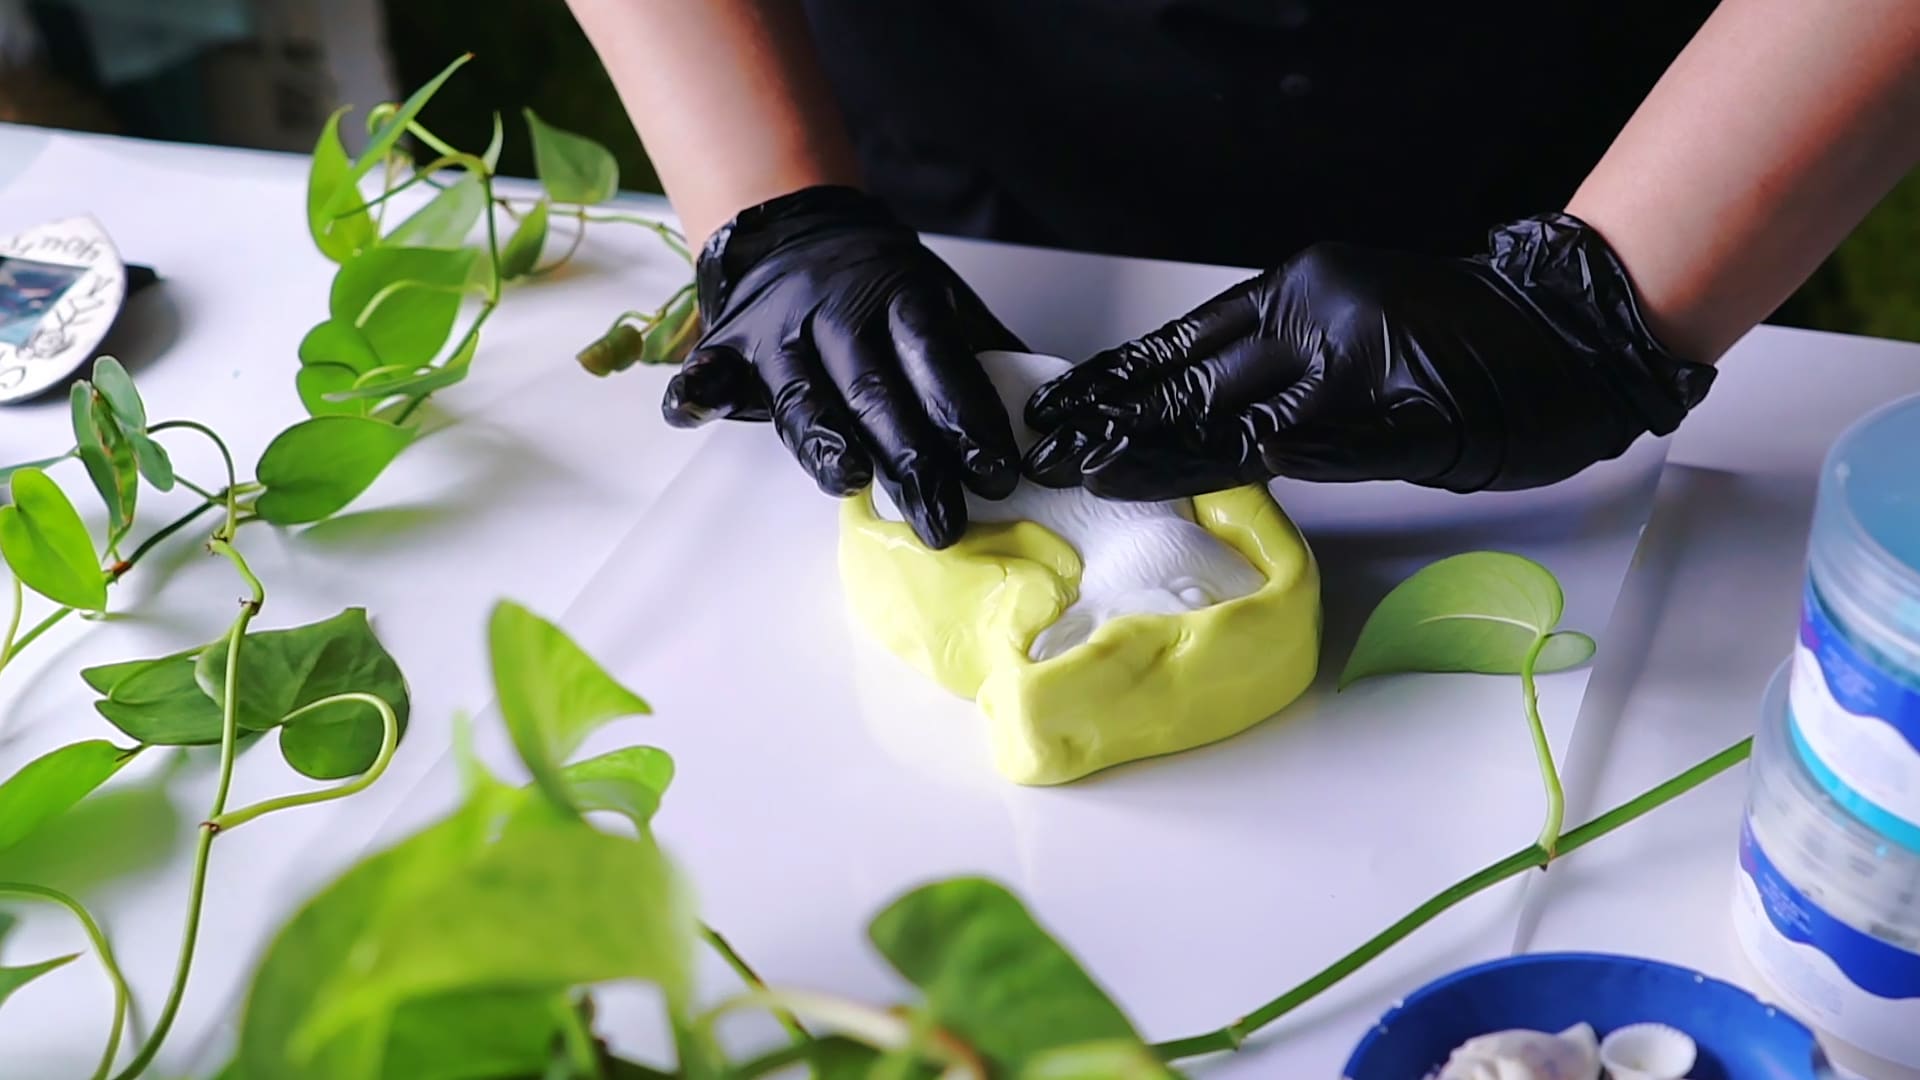
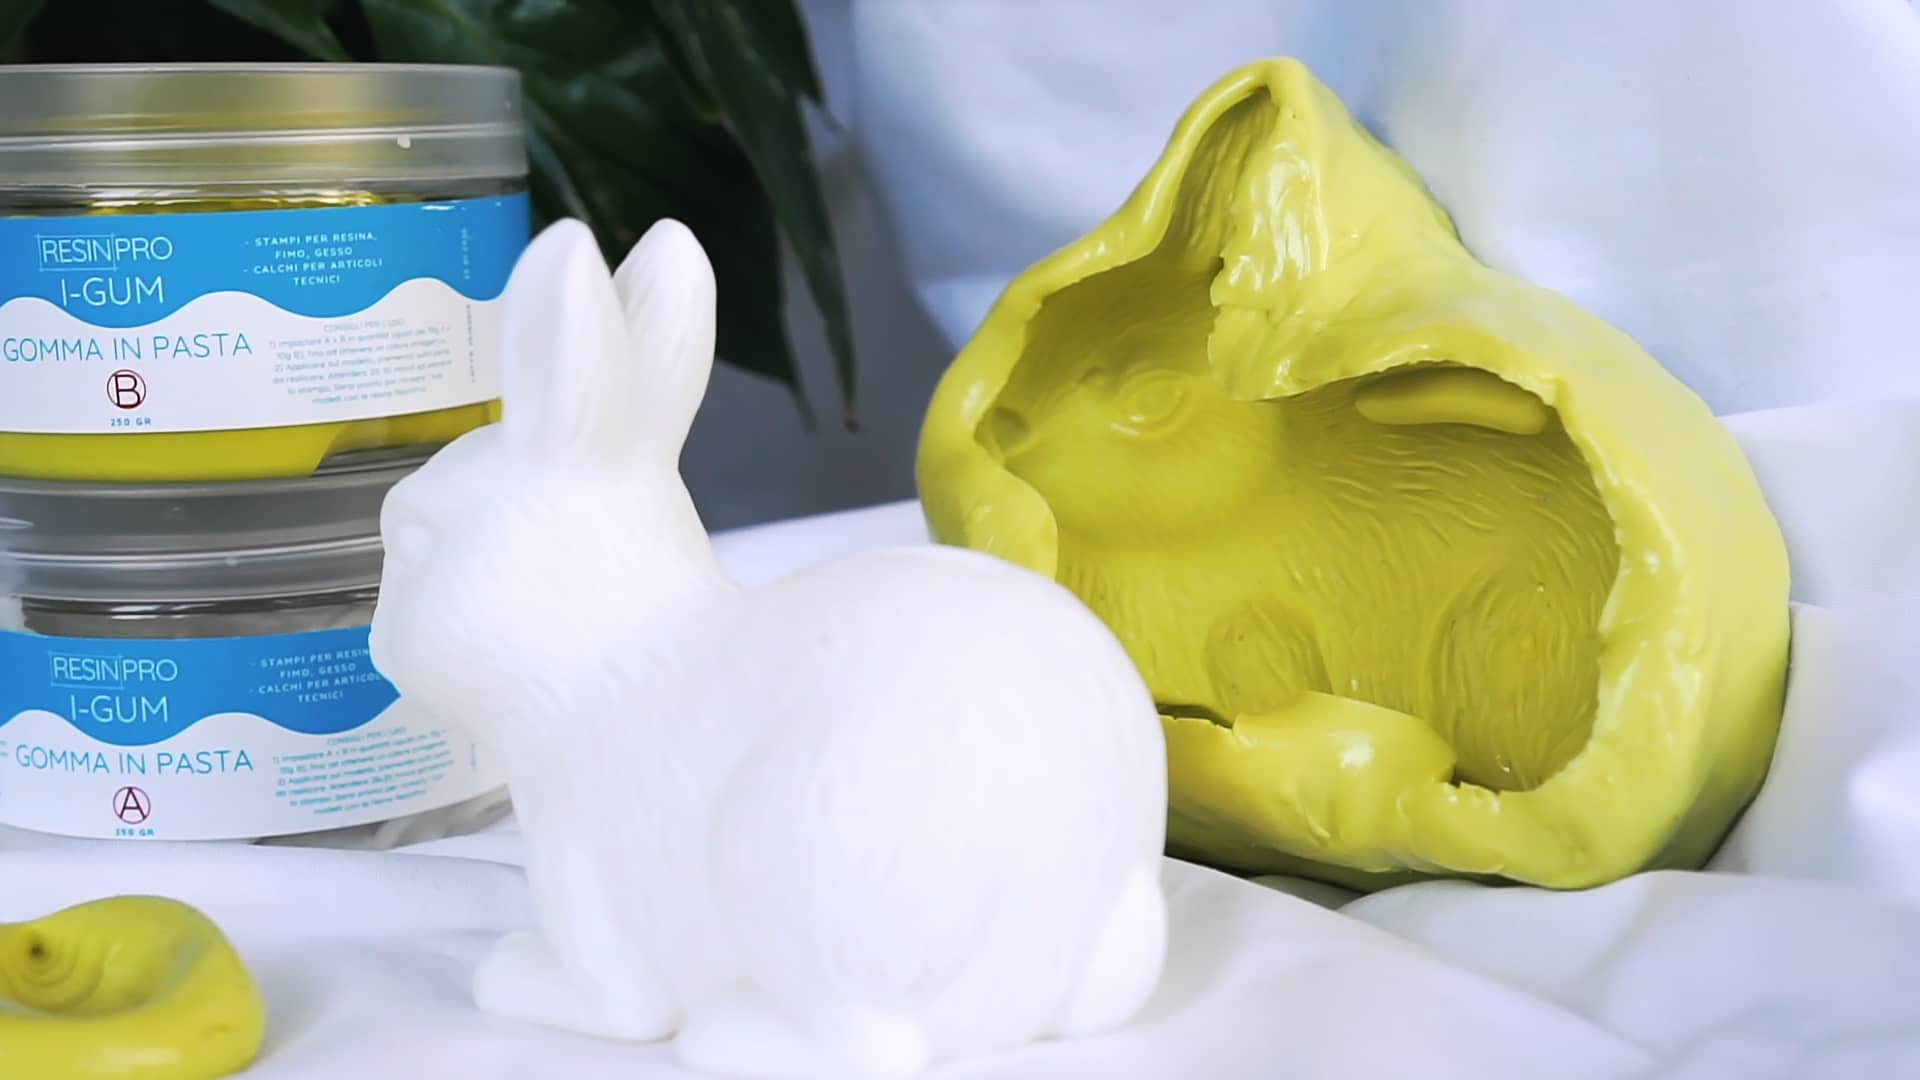
Dry-fit the silicone pieces to ensure they align as intended. For shaped or custom repairs, create supports or holding jigs to maintain position during curing. If you are making a custom part or mould, a product such as “I–Gum” – Non-Toxic Silicone Putty for Mould Making may be used to accurately shape or repair silicone elements before the adhesive stage.
Ensure the silicone is at room temperature. For best results, avoid excessive stretching or deformation during this phase.
Step 3: Apply the Adhesive Evenly
Select an adhesive designed specifically for silicone rubber. Follow the product instructions for application and safety. Apply a thin, even layer to one or both surfaces, depending on the adhesive type. Take care not to over-apply, as too much glue can cause gaps or weak spots after curing.
Use minimal adhesive for thin, even coverage. Press the components together firmly and maintain even pressure throughout the cure time specified by the adhesive manufacturer.
Step 4: Cure and Test the Bond
Keep the components pressed together using clamps, weights, or other supports. Allow the adhesive to cure fully—this may take several hours or overnight based on the type used. Do not disturb the bond during this time, as premature handling can reduce strength.
Once cured, gently test the bond by applying light pressure. Check all edges and corners for security and evenness. If the join fails, repeat the process, taking extra care with cleaning and adhesive application steps. Test bond strength before full application.
Tips and Troubleshooting for Silicone Bonding
Always select adhesives specifically rated for use with silicone rubber, as general-purpose glues may not bond effectively. Plan your set-up so you can apply even pressure across the joined area. Avoid using excessive heat to speed up curing, unless specified by the adhesive’s manufacturer, as this can affect silicone properties. For projects involving making or repairing silicone moulds, choose materials like “I–Gum” – Non-Toxic Silicone Putty for Mould Making if you need to form or join intricate shapes or edges. If residue occurs or bonding fails, revisit the cleaning step for improved results.
Avoiding Bonding Issues with Silicone
Proper surface cleaning and precise adhesive application are vital for a strong, lasting bond. If in doubt, always consult product-specific instructions or test on a small area before final assembly.
Frequently Asked Questions
What adhesive can I use on silicone rubber?
Silicone-specific adhesives or certain RTV silicones are recommended for bonding silicone rubber. General-purpose glues typically do not work.
How do I clean silicone before gluing?
Wipe the surfaces with isopropyl alcohol or a degreaser using a lint-free cloth, and let them dry completely before applying adhesive.
Can you glue silicone putty?
Yes, silicone putty can be joined using silicone adhesives, but ensure both surfaces are properly cured and cleaned beforehand.
How do I ensure the strongest bond?
Thorough cleaning, using a compatible adhesive, and applying firm, even pressure during curing will help achieve maximum bond strength.
Why is silicone rubber hard to glue?
Silicone rubber has low surface energy, making it naturally resistant to most adhesives. Specially formulated products are needed for bonding.