 Free shipping on orders over £29,85


How to get soft resin to mold?
Achieve detailed, smooth resin casts with the right moulding process

Moulding soft resin properly unlocks a world of creative possibilities, whether you craft art pieces, keepsakes, or functional objects. This guide explains the best practice for getting soft resin to mould, covering preparation, casting, curing, and demoulding for crisp, bubble-free results every time.
What You’ll Need
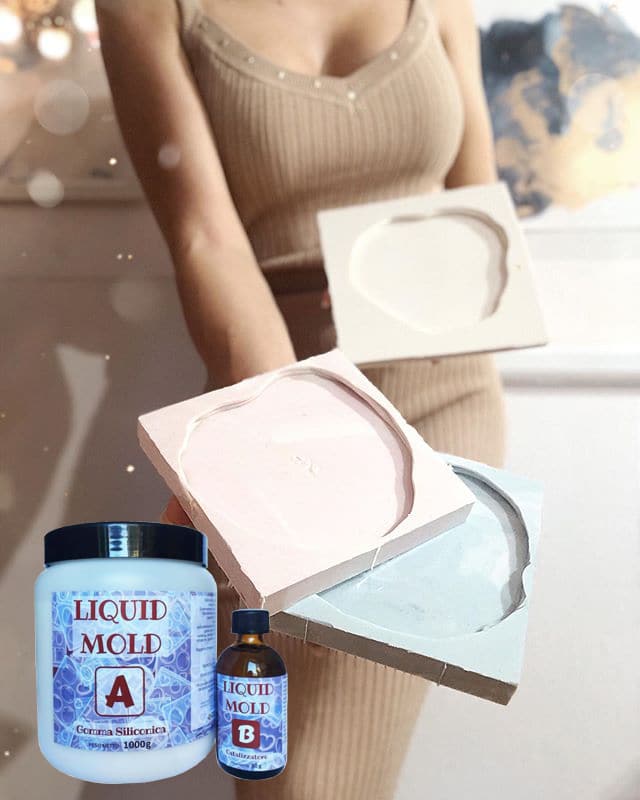
- Resin-safe silicone rubber for making your mould, such as “Liquid Mould” – Casting Liquid Silicone Rubber, 5-40 Shores, Bi-Component A+B or “Pure Mould” – Translucent Liquid Silicone Rubber for Mould Making
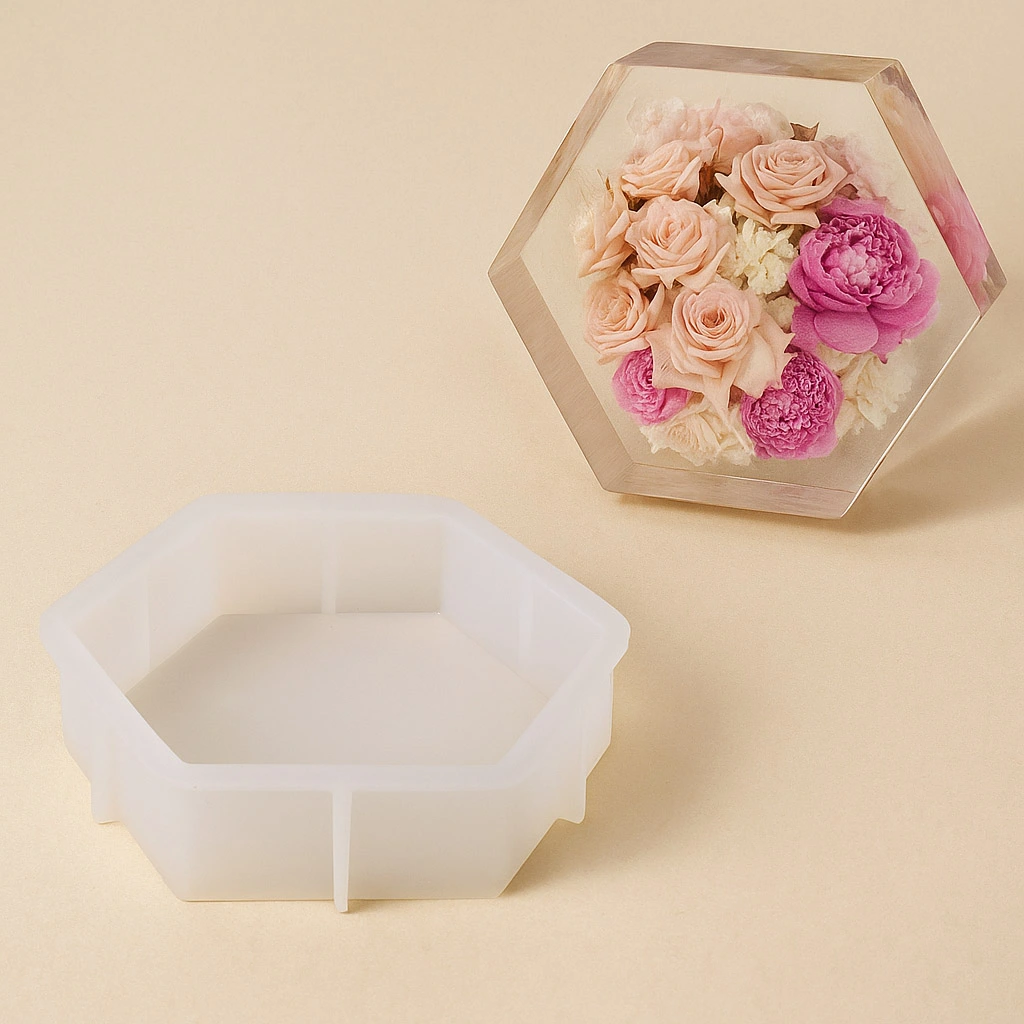
- A ready-made flexible silicone mould suitable for epoxy resin, for example the “Silicone Hexagons Mould” – For Creating with Epoxy Resin – 24x21cm or the “Silicone Circle Mould” – For Creating with Epoxy Resin, Ø 20cm
- Mixing cups, spatulas, and a clean workspace
- Personal protective equipment (gloves, mask)
- Soft casting resin (epoxy or comparable system suited to your application)
Essential Tools and Setup for Moulding Soft Resin
Gather all your materials in advance and work on a flat, protected surface to maintain cleanliness. Use silicone moulds specifically made for resins to ensure easy demoulding and repeated use.

Step 1: Prepare Your Workspace and Materials
Begin by ensuring your work area is clean, dust-free, and free of moisture. Lay down protective sheeting to catch any spills. Have all your tools and personal protective equipment close to hand. Wear gloves and work in a ventilated area to minimise direct skin or inhalation contact with uncured resin or silicone.
If creating your own mould, read through the instructions for your selected silicone rubber beforehand. For ready-made moulds, visually inspect the silicone to ensure it is free from damage or debris, as even small imperfections will transfer onto your resin piece.
Step 2: Mix and Pour Your Silicone Mould (if required)
To make a flexible mould for soft resin casting, use a suitable casting silicone rubber. Two excellent options are “Liquid Mould” – Casting Liquid Silicone Rubber, 5-40 Shores, Bi-Component A+B for complex forms and “Pure Mould” – Translucent Liquid Silicone Rubber for Mould Making for fast-curing, see-through results. Mix your components according to the manufacturer’s instructions—accurate ratio and thorough blending are vital. Do not rush the mixing process as uneven mixing may prevent proper curing.
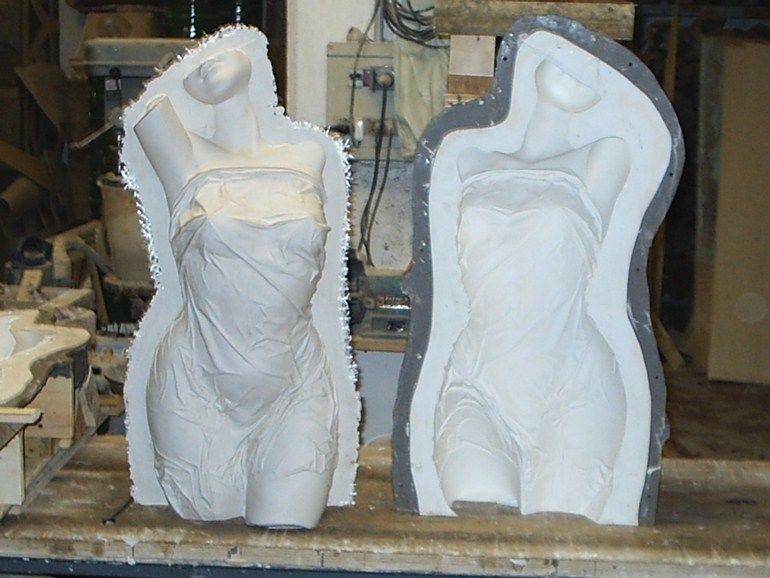
Secure your model inside a suitable mould box, then pour the mixed silicone slowly, starting in one corner to help air bubbles escape. Let the silicone cure fully before attempting to remove the master object—this may take several hours depending on the rubber chosen.
Step 3: Cast and Cure the Soft Resin
With a cured silicone mould ready (either purchased or custom-made), you can now pour your soft resin. Measure and mix the resin thoroughly in line with supplier instructions. If your resin generates a lot of bubbles, consider degassing it or tapping the filled mould lightly to encourage bubbles to rise and escape.
Pour the resin slowly and evenly into the mould—some resins benefit from a two-step pour to minimise bubbles in deep or intricate cavities. Allow sufficient time for the resin to cure completely before handling or demoulding.

Step 4: Demould and Finish Your Piece
Once fully cured, gently flex the silicone mould to release the resin piece. Most professional moulds, such as the “Silicone Hexagons Mould” or “Silicone Circle Mould”, are designed for easy release and can be reused many times. Avoid excessive force to extend the life of the mould and protect fine details in your resin object.
If any excess resin is present on edges, trim carefully with a craft knife after demoulding, once the piece has reached full hardness.

Tips and Troubleshooting for Moulding Soft Resin
Avoid harsh solvents when cleaning silicone moulds. Warm, soapy water and a soft cloth are usually sufficient, preserving the mould’s flexibility and surface finish. Trapped air bubbles can mar your results, so work slowly when mixing and pouring both silicone and resin.
If your mould shows signs of wear or loses flexibility, replace it to ensure perfect casts. For complex shapes, consider using translucent silicone, like “Pure Mould” – Translucent Liquid Silicone Rubber for Mould Making, to allow better visibility when pouring and curing resin inside the mould.
Resin Moulding Troubleshooting and Best Practices
Check the compatibility of your resin and mould type for the best results. Store silicone moulds flat and away from direct sunlight to preserve durability and flexibility.
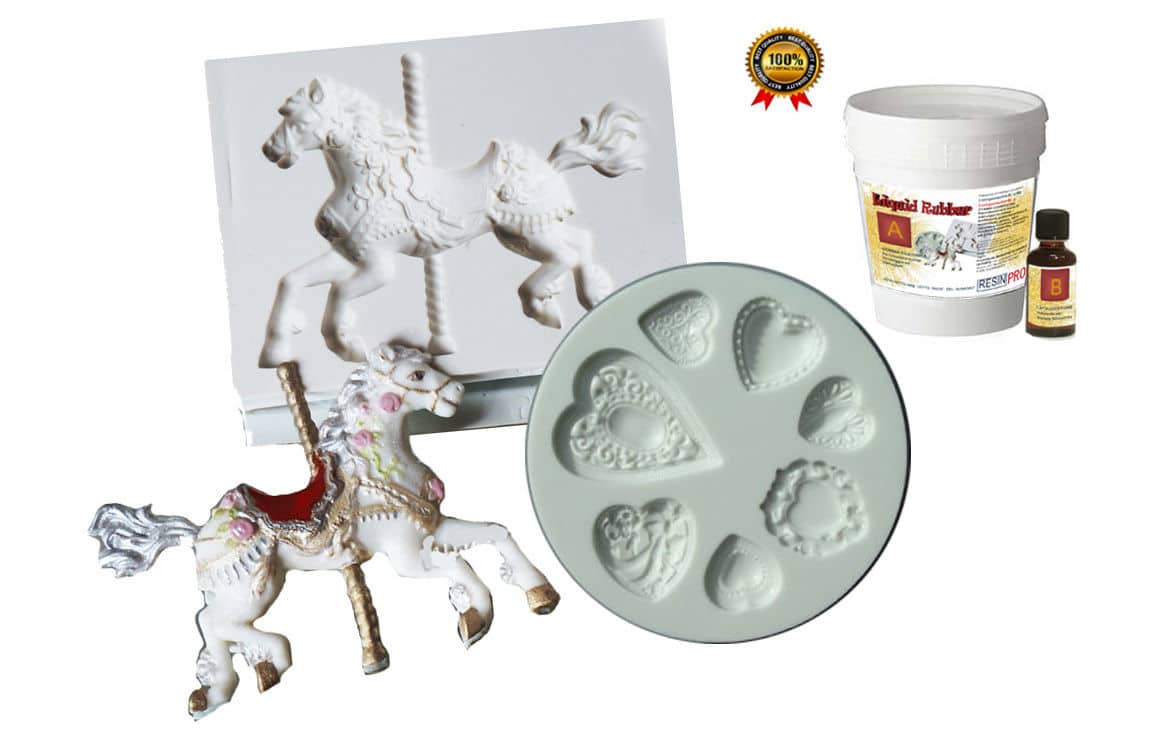
- "Liquid Mould" – Casting Liquid Silicone Rubber, 5-40 Shores, Bi-Component A+BPrice range: £13.45 through £368.85Casting liquid silicone rubber designed for making highly detailed moulds, suitable for resin, soap and polymer pastes.
- "Pure Mould" – Translucent Liquid Silicone Rubber for Mould MakingPrice range: £22.85 through £158.85"Pure Mould" is a translucent, platinum-based liquid silicone rubber suitable for mould making with various materials including resins and plasters.
 "Silicone Hexagons Mould" – For Creating with Epoxy Resin – 24x21cm£12.85Flexible silicone mould designed for creating decorative objects and artistic pieces using epoxy resin.
 "Silicone Circle Mould" – For Creating with Epoxy Resin, Ø 20cm£12.85Flexible silicone mould suitable for creating decorative epoxy resin objects such as coasters and artistic pieces.
Frequently Asked Questions
Can I use any silicone to make moulds for soft resin?
Not all silicones are suitable; use casting-grade silicone rubbers designed for resin compatibility to achieve detail and easy release.
How can I avoid air bubbles when moulding soft resin?
Mix and pour both silicone and resin slowly, and tap the mould gently to release trapped bubbles before curing.
What’s the best way to demould soft resin casts?
Wait until the resin is fully cured, then gently flex the flexible silicone mould to release without force.
How should I clean silicone moulds after use?
Use warm soapy water and avoid harsh solvents which can degrade the silicone over time.
How do I know when to replace my silicone resin mould?
Replace the mould if it shows signs of cracking, sticking, or has lost its flexibility or fine detail.
Should I use different moulds for epoxy and polyurethane resin?
Silicone rubbers designed for casting work well for both; always confirm compatibility with your resin system.