 Free shipping on orders over £29,85


How do you write on resin?
Achieve crisp writing and secure marks on cured resin objects.


Writing on resin opens up many creative possibilities, from custom labels and signage to detailed artwork and personal messages on your resin projects. Achieving durable, legible results requires some planning and the right approach to ensure your marks remain crisp and long-lasting. This guide explains the essential steps and considerations to help you write confidently on resin, whether you’re embellishing a finished piece or adding intricate details to your resin artwork.
What You’ll Need
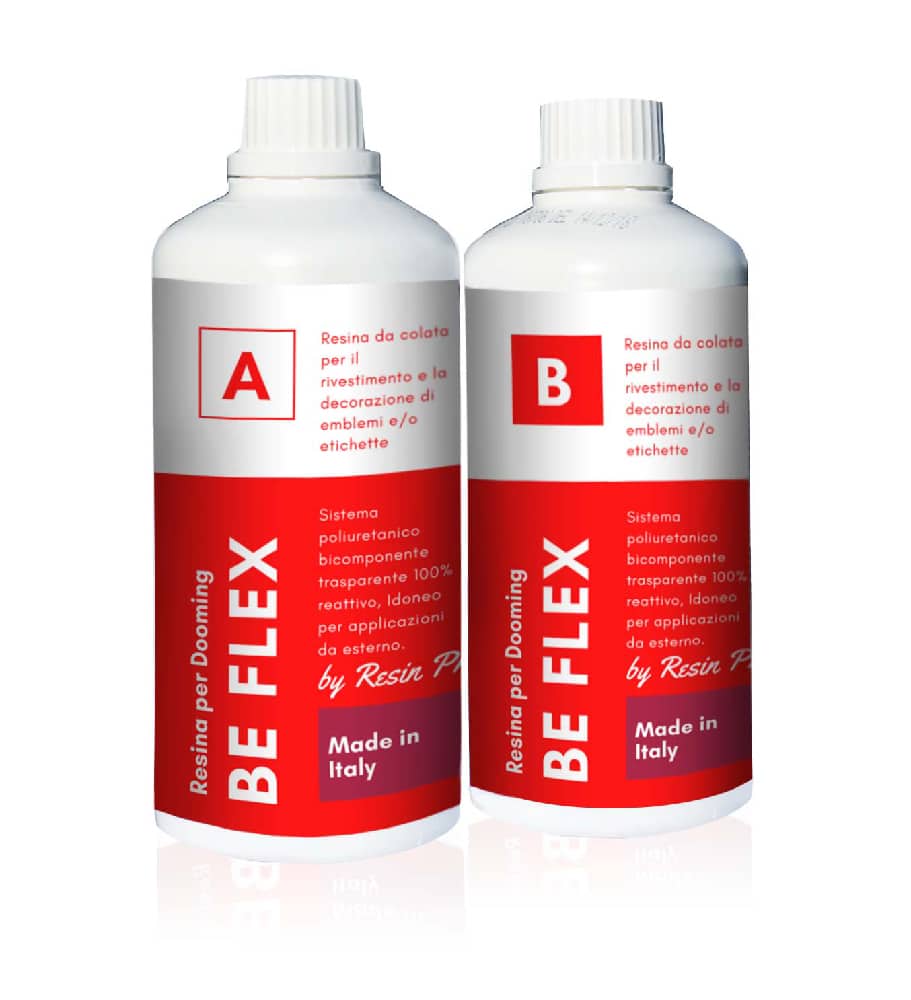
- “Be Flex” – Transparent Polyurethane Doming Resin – Scratch-Resistant (if doming or adding a glossy, self-healing layer)
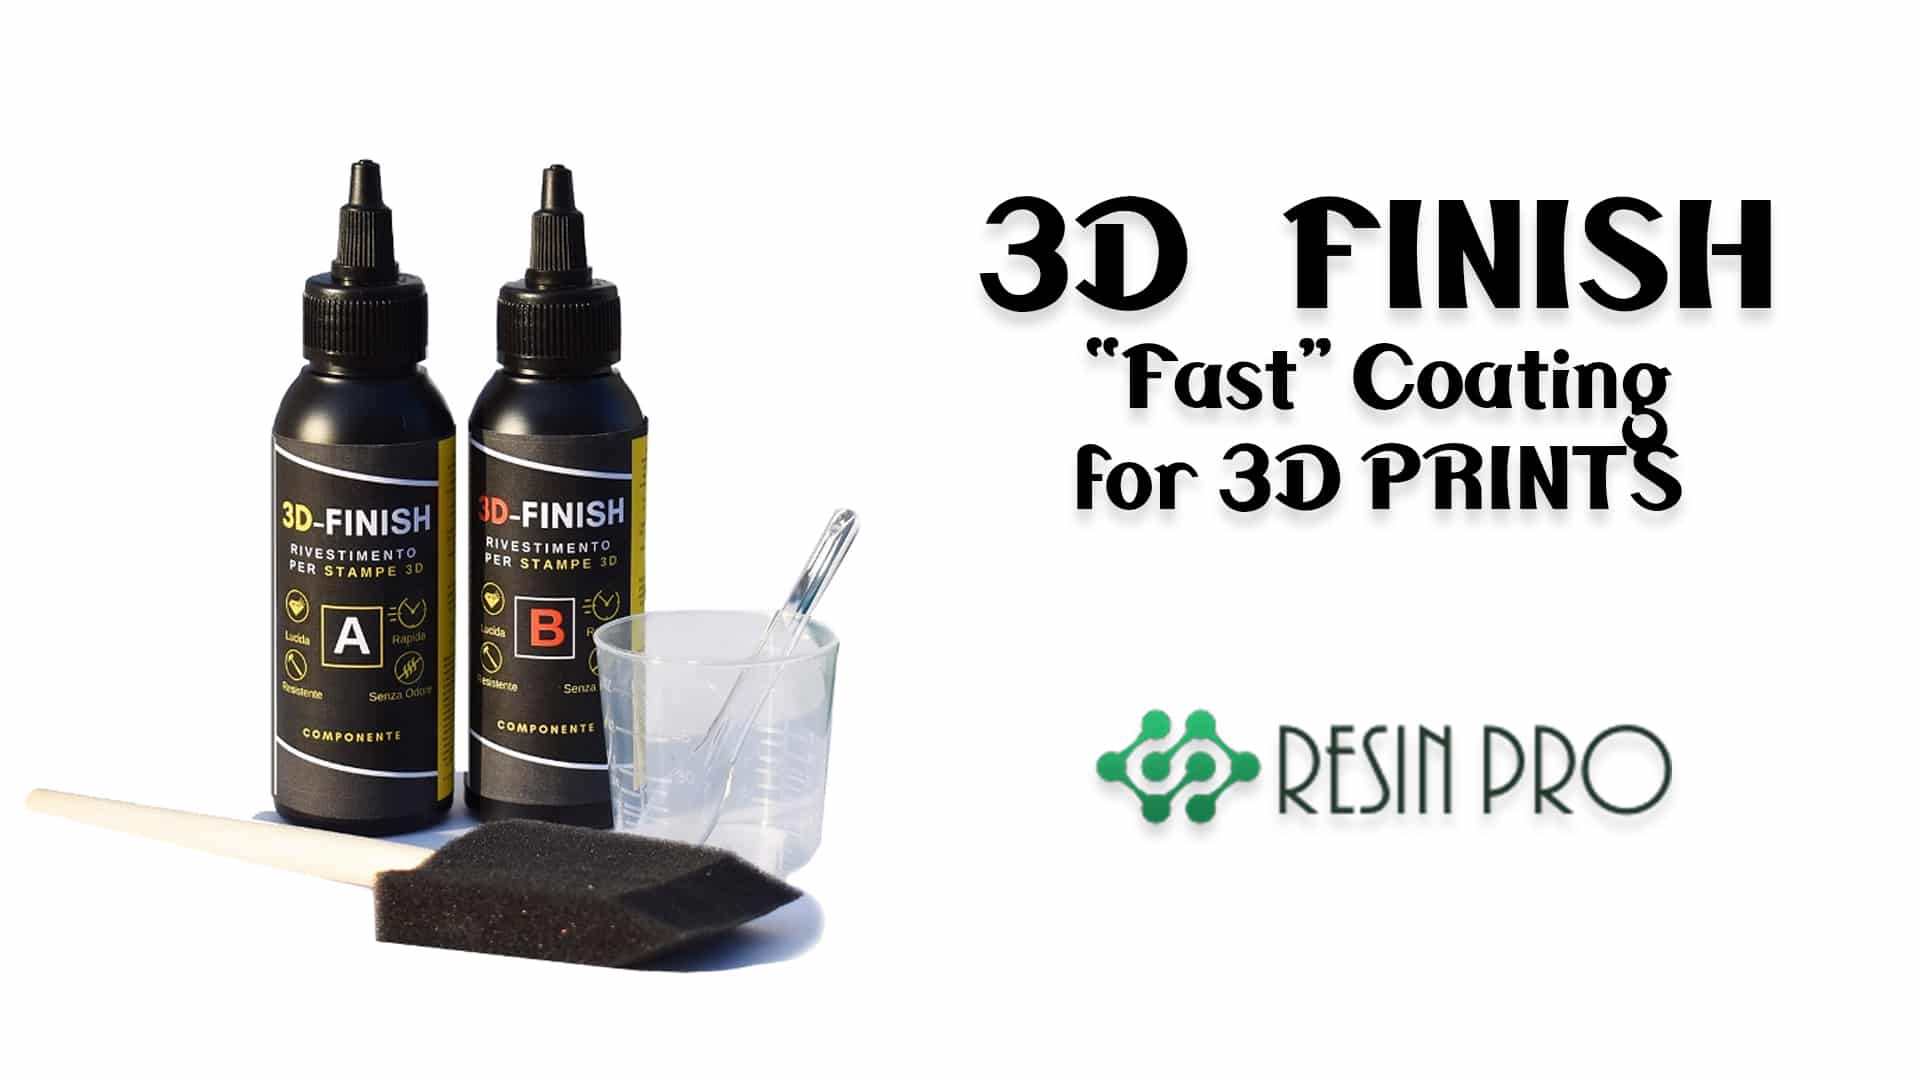
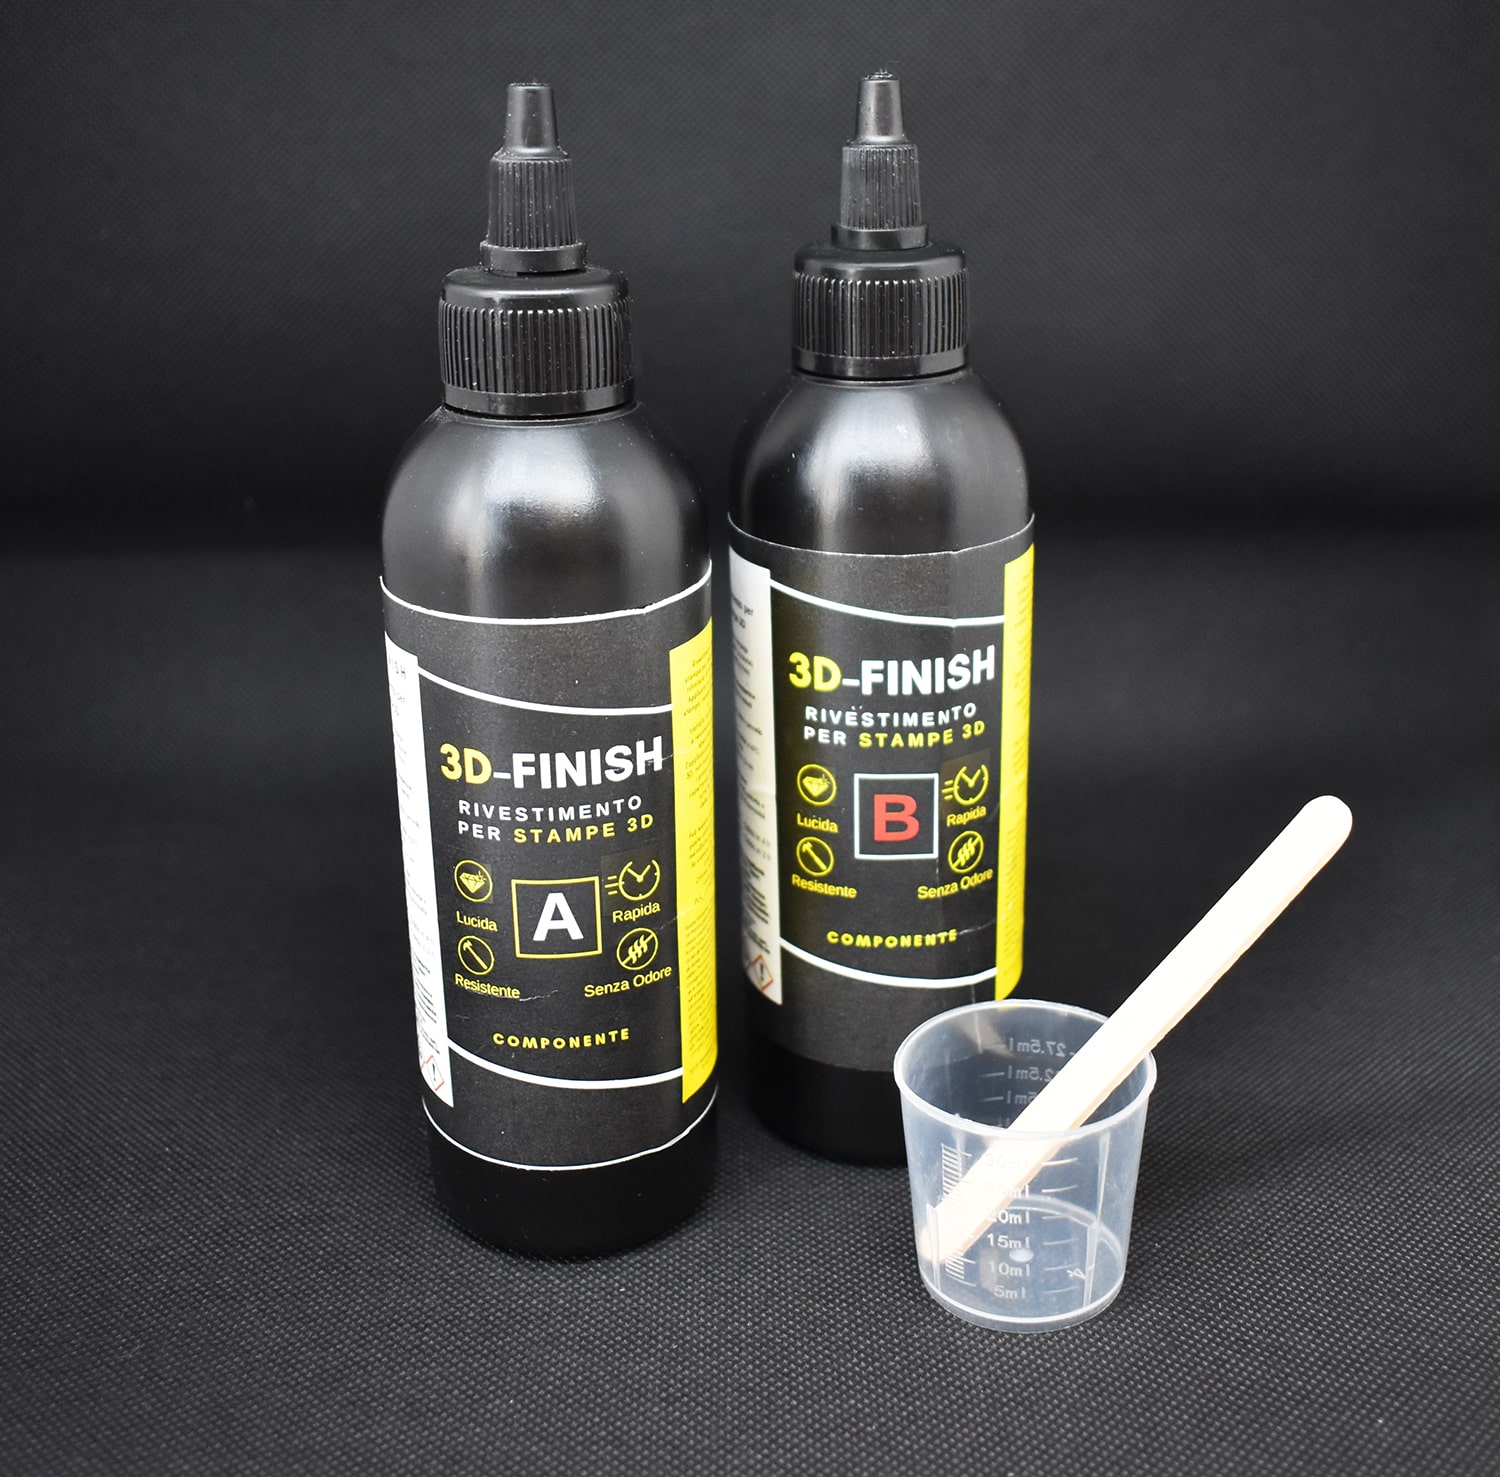
- “3D Finish” – Fast Coating Epoxy Resin for 3D Prints (for a smooth, clear finish on 3D printed pieces)
- “Art Pro” – Clear Epoxy Resin for Artists and Surface Coating (for glass-like, durable surfaces suitable for marking)
- “Art Pro Deluxe” – Ultra-High Viscosity Epoxy Resin for Artists (when maximum surface control and scratch resistance are desired)
- Alcohol wipes or a clean lint-free cloth
- Your choice of paint markers, permanent pens, or fine-line acrylic pens
- Clear sealer spray or brush-on varnish (optional, for longevity)
- Gloves and protective work surface
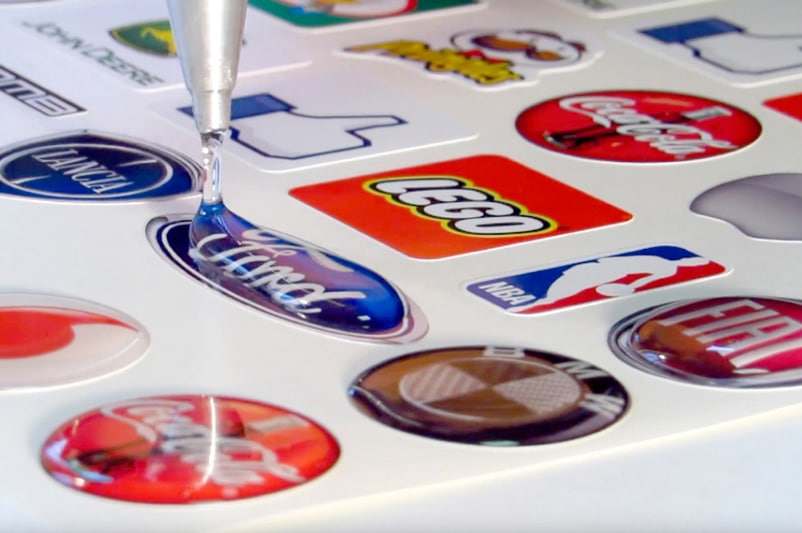
Visual Inspirations: Writing on Different Resin Surfaces
Explore a range of creative approaches for marking and writing on resin. From hand-painted names on coasters to intricate detailing on domed labels, the right tools and resins enable unique personalisation. These visuals show results achieved with both artistic coatings and domed finishes across different project types.
Step 1: Prepare the Resin Surface
Thorough preparation of the resin surface is vital for writing that won’t smudge or peel away. Ensure your resin project is fully cured based on the product’s guidelines—writing on uncured or soft resin risks damaging both your project and pen. Clean the area where you intend to write using an alcohol wipe or a lint-free cloth dampened with isopropyl alcohol. This step removes any oils, dust, or fingerprint residue, giving your ink or paint the best chance to adhere.
For best results on decorative finishes, a smooth, even resin layer is ideal. Products such as “Art Pro” – Clear Epoxy Resin for Artists and Surface Coating provide glass-like, scratch-resistant surfaces well-suited for fine marking once cured.
Step 2: Test Your Writing Tool
Every resin is slightly different in hardness and gloss, so always test your chosen marker or pen on a waste section or inconspicuous area first. Some inks may bead up on very glossy surfaces, while others adhere smoothly. Allow a few minutes for your test marks to dry fully. If you notice any smudging, consider switching to paint pens or markers designed for non-porous surfaces. Wait for all marks to be touch-dry before handling the item further.
Step 3: Write or Draw on the Resin
Once your resin is clean and you’ve chosen a suitable writing tool, carefully add your design, label, or message. Use light, even pressure to prevent scratching soft resin layers. For finer details, a fine-tip paint pen offers control and sharp edges, while acrylic ink markers deliver bold, colourful lines that stand out. If the surface is slightly textured or domed—for instance, when using “Be Flex” – Transparent Polyurethane Doming Resin – Scratch-Resistant—work slowly to avoid ink runs and smears. Allow your writing to dry for the duration recommended by the pen manufacturer, as drying times may vary depending on the surface finish.
Step 4: Seal Your Writing for Protection
If your resin creation will be handled frequently or exposed to moisture, it’s important to seal your lettering or artwork. A clear varnish, either sprayed or brush-applied, forms a thin protective layer that resists fading and abrasion. Choose a sealer compatible with resin and your writing medium—test on a small piece first to prevent smudging. Many creators opt for “3D Finish” – Fast Coating Epoxy Resin for 3D Prints when a smooth, shielded finish is required, though a light coat of varnish is usually sufficient for most handwritten designs.
Tips for Success and Common Mistakes
Allow the resin to fully cure before writing, as premature marking can result in permanent marks or ink running into soft resin. Test your pen or marker first, since not all writing tools are equally effective on every resin surface. Choose the right tool for writing; avoid water-based pens, which can bead or smear on resin. For best results, use permanent, oil-based, or acrylic paint markers. Finally, Seal your writing for protection to extend its life and preserve your creative work against scratches and fading.
Finishing Touches: Protect Your Handwritten Details
Protective layers enhance the durability and look of your written designs. Reminders to let both resin and ink fully cure before sealing help prevent unintended smudges. Here you can see how a clear resin overcoat or suitable varnish both preserve and showcase your work on resin surfaces.
- "Be Flex" – Transparent Polyurethane Doming Resin – Scratch-ResistantPrice range: £45.00 through £81.95"Be Flex" provides a flexible transparent finish suitable for stickers and labels, applying easily to curved surfaces for durable clarity.
- "3D Finish" – Fast Coating Epoxy Resin for 3D PrintsPrice range: £13.95 through £19.95"3D Finish" offers a clear, fast-curing coating suited for enhancing 3D printed models while preserving detail.
 "Art Pro" – Clear Epoxy Resin for Artists and Surface CoatingPrice range: £19.95 through £267.95Art Pro clear epoxy resin is a non-toxic, medium-viscosity product designed for artists and crafters to achieve durable, glass-like finishes.
 "Art Pro Deluxe" – Ultra-High Viscosity Epoxy Resin for ArtistsPrice range: £35.95 through £302.45"Art Pro Deluxe" ultra-high viscosity epoxy resin suits artists needing precise control and scratch resistance for resin art and glossy finishes.
Frequently Asked Questions
Can you write on epoxy resin projects?
Yes, you can write on fully cured epoxy resin using permanent, oil-based, or acrylic paint markers for best results.
Will marker pens stay on resin?
Most permanent markers will adhere, but sealing your writing with a clear varnish or topcoat extends longevity and prevents smudging.
What kind of pen writes best on resin?
Oil-based or acrylic paint markers provide bold, permanent marks and are less likely to smear on glossy resin surfaces.
How do you keep writing from smudging on resin?
Allow the writing to dry fully before sealing. Applying a clear varnish or resin topcoat locks the ink in place.
How long should resin cure before writing?
Wait until the resin is completely cured per the manufacturer’s instructions, usually 24–48 hours, for a firm, non-tacky surface.
Is it safe to use permanent markers on resin?
Yes, permanent markers are generally safe and effective for use on cured resin. Avoid water-based pens, which may not adhere well.