 Free shipping on orders over £29,85


How to make resin art panels?
A complete guide to preparing, pouring and finishing resin art panels.
Creating your own resin art panels is a satisfying artistic process that results in unique, high-gloss works perfect for wall art, displays, or gifts. This guide is designed for beginners and artists alike, walking you through each step—from preparing your base to pouring the resin and finishing your masterpiece. Whether you prefer geode patterns, ocean scenes, or abstract designs, mastering the fundamental techniques will ensure professional results with every panel.
What You’ll Need
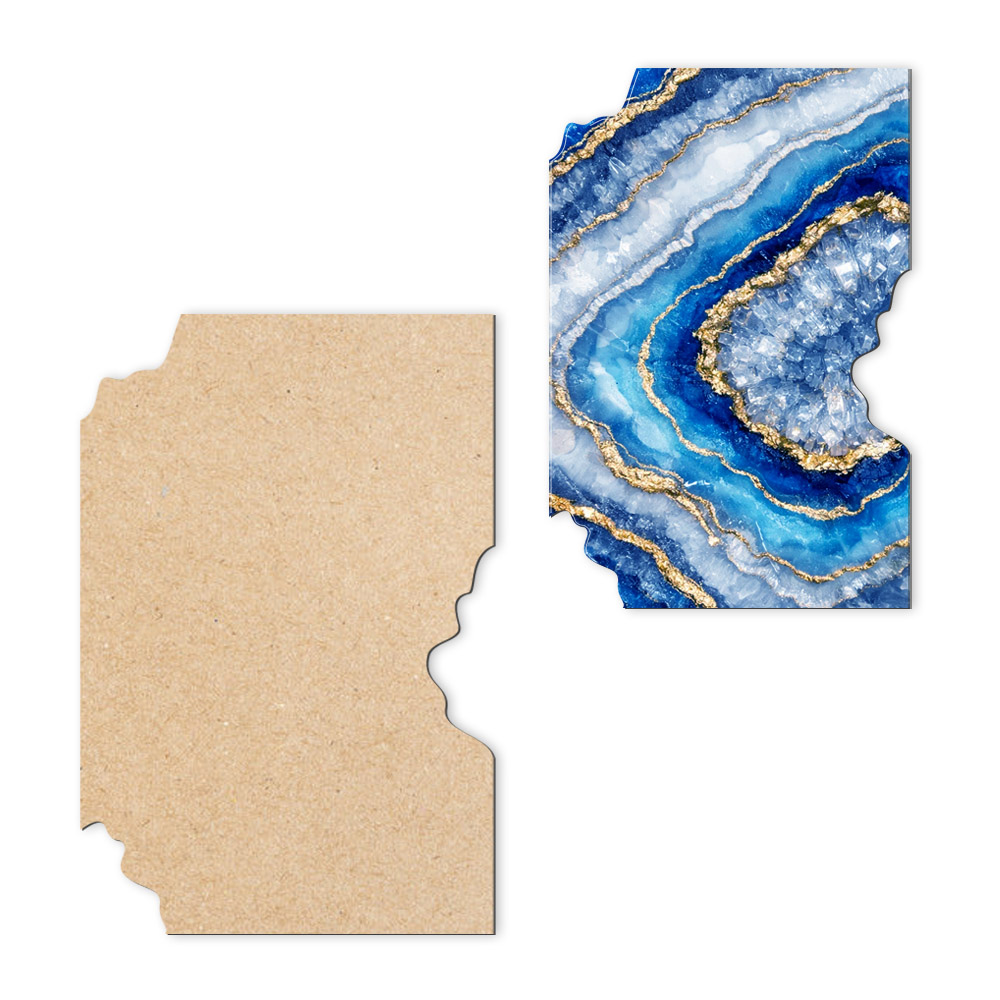
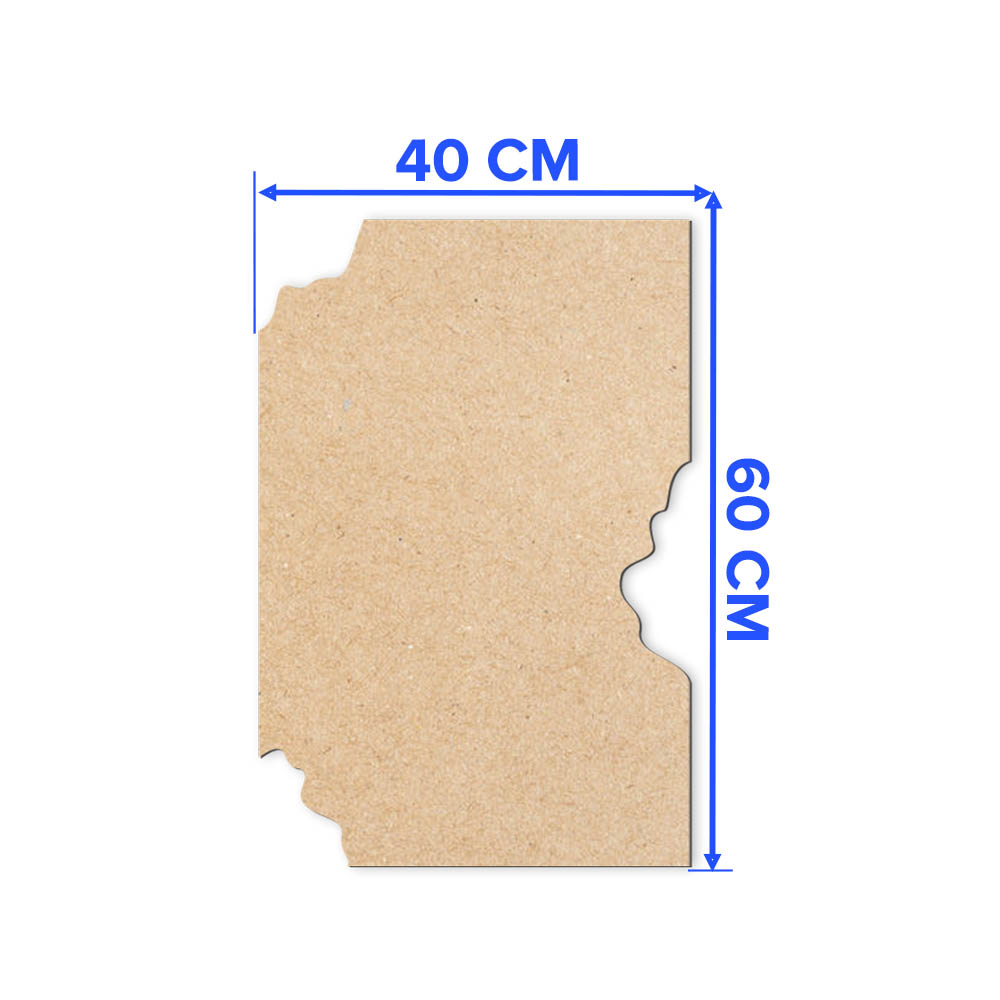
- MDF Resin Art Board – Geode V3 – 60x40cm — Stable, smooth base for pouring and artwork.
- “Art Pro” – Clear Epoxy Resin for Artists and Surface Coating — Ideal for high-gloss, transparent finishes.
- “Art Pro Deluxe” – Ultra-High Viscosity Epoxy Resin for Artists — For precise line work and superior control, especially with layered or geode effects.
- “Sea” – Resin Kit for Creating Ocean Art, 1.7kg Epoxy, Pigments & Canvas — Complete kit for ocean-inspired pieces with pre-mixed pigments and additives.
- Protective gloves, apron and a well-ventilated workspace
- Mixing containers and stirring sticks
- Painter’s tape or silicone edge barriers (optional for panel backing and clean edges)
- Heat gun or torch (for bubble removal)
Visual Inspiration: Resin Art Panel Preparation and Pouring
Preview a range of resin art panels in different pouring stages. See how artists seal and prime bases with the MDF Resin Art Board – Geode V3 – 60x40cm, and witness the effects created by mixing and tinting Art Pro Clear Epoxy Resin. Notice the clarity and depth that make every artwork unique.

Step 1: Prepare the Surface
Start by ensuring your panel base is clean, dry and free from dust or oils. If working with MDF or wooden boards, it’s essential to seal or prime the entire surface—including the edges—to prevent resin absorption and warping during curing. Applying a primer such as gesso or an MDF sealer helps achieve a smooth finish and prevents air bubbles from rising into the resin.
Seal or prime your surface before pouring resin to produce the best results and extend the lifespan of your artwork. Allow the primer or sealer to dry fully before proceeding.
Step 2: Mix and Tint Your Resin
Carefully measure your resin and hardener according to the manufacturer’s instructions for an accurate mix. A clear resin such as Art Pro – Clear Epoxy Resin for Artists and Surface Coating provides excellent clarity and shine, ideal for artists seeking glass-like finishes. Combine the two parts in a clean container and stir slowly, scraping the sides and base to ensure a consistent blend without introducing too many air bubbles.
Mix your resin thoroughly and accurately for even curing and to avoid tacky or soft spots. If you wish to add colour, divide the mixed resin into separate cups and blend in resin pigments or colourants. Products like the Sea – Resin Kit for Creating Ocean Art include curated pigments and additives for ocean-style effects.
Step 3: Pour and Manipulate the Resin
Begin pouring the mixed resin onto your panel, starting at the centre and allowing it to flow naturally. For panels with detailed lines or geode-inspired designs, opt for an ultra-high viscosity resin such as Art Pro Deluxe – Ultra-High Viscosity Epoxy Resin for Artists, which allows for better control and crisper line definition.
Use a spatula, stick, or gloved hand to guide the resin, blend colours, or create desired effects, such as waves or abstract patterns. Pour in thin layers if your design requires depth or intricate details to avoid excess heat and unwanted blending. Pour slowly to control flow and avoid bubbles, pausing to let the resin settle between layers or for effects like ocean waves.

Step 4: Remove Bubbles and Allow to Cure
After pouring, immediately scan the resin surface for air bubbles. Remove these with a short burst from a heat gun or torch—always keep the tool moving to prevent overheating any area. Edge drips can be cleaned up with a stick or scraper.
Protect your work from dust by covering it with a box or tent, and let it stand undisturbed until the resin is fully cured. Curing times vary; most resin panels are touch-dry in 12–24 hours but require 48 hours or more for full strength. Remove bubbles immediately after pouring to achieve a flawless finish.

Step 5: Demould and Finish Your Piece
Once fully hardened, carefully remove any edge tape or silicone barriers. Trim or sand rough edges if needed for a clean display. If desired, you can apply a final clear topcoat for extra gloss or embed decorative accents into wet resin layers for added dimension.
Allow full curing time before handling or hanging your finished resin art panel to prevent dents or surface impressions.
Tips and Common Mistakes for Resin Art Panels
- Always work in a level, dust-free environment for best results.
- Don’t rush the curing process—wait until your panel is fully hardened before moving or adding layers.
- Avoid overmixing or mixing too rapidly to reduce bubble formation within your resin.
- Choose the appropriate resin viscosity for your art style: higher viscosity for detailed lines, standard for smooth, even coatings.
- Store unused resin in a cool, dry place and keep containers sealed between uses.
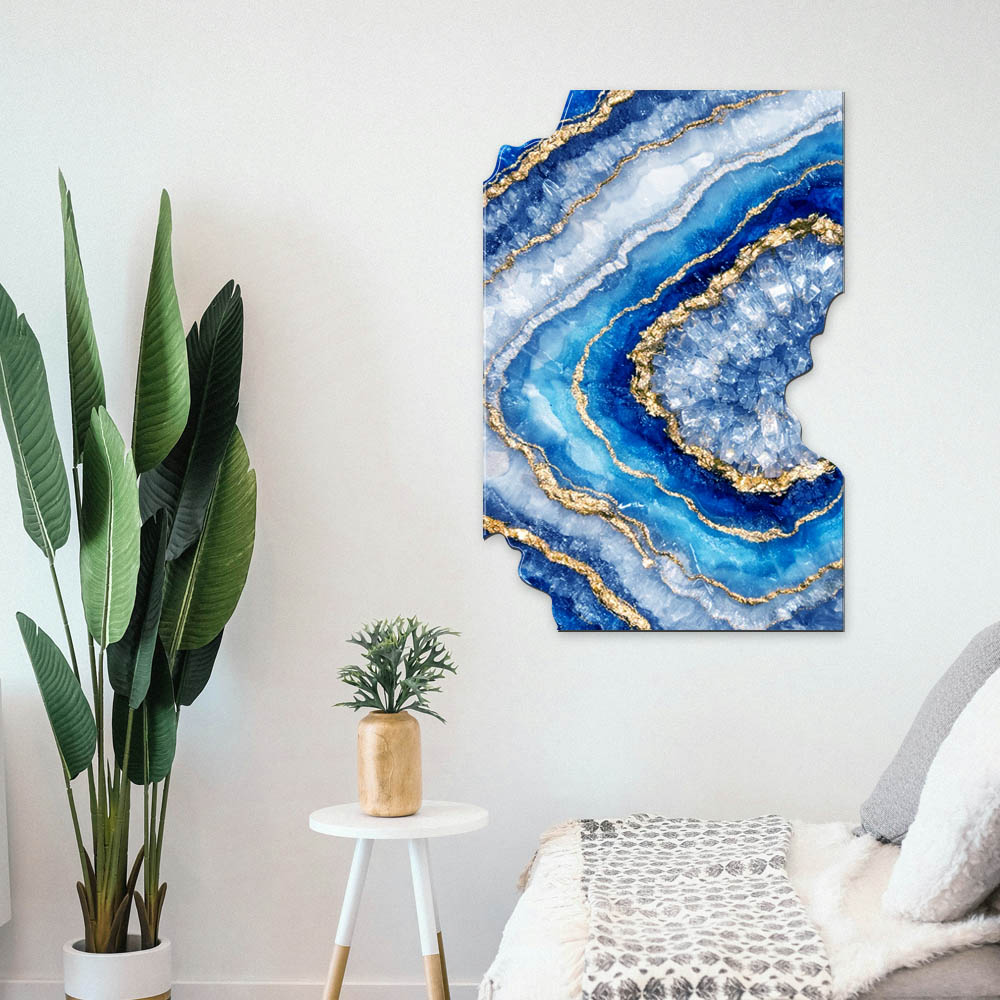
Gallery: Finished Resin Art Panels and Close Up Effects
Explore a showcase of finished resin art panels, from crisp geode lines using Art Pro Deluxe to vivid ocean scenes with the Sea resin kit. See how expert finishing, patient bubble removal, and thoughtful layering yield gallery-worthy, high-gloss pieces.

- MDF Resin Art Board – Geode V3 – 60x40cm£20.95The MDF Resin Art Board – Geode V3 – 60x40cm provides a sturdy 6mm surface with a geode-style edge, suitable for resin art panels.
- "Art Pro" – Clear Epoxy Resin for Artists and Surface CoatingPrice range: £19.95 through £267.95Art Pro clear epoxy resin provides durable, clear coatings ideal for artists and DIY craft projects within the theme 'How to make resin art panels?'.
 "Art Pro Deluxe" – Ultra-High Viscosity Epoxy Resin for ArtistsPrice range: £35.95 through £302.45"Art Pro Deluxe" epoxy resin offers ultra-high viscosity for precise resin art control and a glossy, scratch-resistant finish, suited for art panels.
 "Sea" – Resin Kit for Creating Ocean Art, 1.7kg Epoxy, Pigments & Canvas£47.45"Sea" resin kit includes thick epoxy, ocean-tone pigments and wave additive suitable for resin art panels themed on ocean scenes.
Frequently Asked Questions
Do I need to prime my MDF panel before applying resin?
Yes, sealing or priming the MDF—including the edges—prevents resin absorption, avoids warping and ensures a smooth, glossy finish on your artwork.
What type of resin should I use for detailed lines or geode effects?
Choose an ultra-high viscosity resin such as Art Pro Deluxe, as it prevents colours from mixing and gives sharp definition to intricate designs.
How can I avoid bubbles when pouring resin on my art panels?
Mix your resin slowly, pour gradually, and use a heat gun to burst surface bubbles immediately after pouring for a flawless, glass-like finish.
Can I layer pigments and effects within my resin art panels?
Yes, you can pour resin in successive thin layers, adding pigments or effects to each. Ensure each layer is partially cured before adding the next.
How long do I need to wait before handling or hanging my resin art panel?
Generally, wait at least 24 to 48 hours until the resin is fully hardened. Waiting longer ensures the best surface quality and durability.
Can I display my resin art panel outdoors?
Resin art panels are best kept indoors. If you plan outdoor use, ensure proper sealing and UV protection, but some yellowing may occur over time.
What should I do if my resin panel feels sticky after curing?
Sticky or tacky resin is usually due to poor mixing. You can apply another well-mixed coat after cleaning any surface tack or use a specialist topcoat.