 Free shipping on orders over £29,85


How to use eyeshadows in resin?
Step-by-step guide for adding shimmering colour to resin crafts


Unlock a world of vibrant, shimmering effects by incorporating eyeshadows into your resin projects. Whether you’re experimenting with leftover makeup or seeking to create dazzling jewellery, coasters, or decorative pieces, this in-depth guide covers all the essentials. Discover tips on preparation, blending, and finishing so you can confidently craft bold, one-of-a-kind works with resin and eyeshadow pigment.
What You’ll Need: Materials & Tools
- “One-2-One” – Epoxy Resin for Handcraft, 1:1 Mixing Ratio – Medium viscosity, non-toxic epoxy resin ideal for crafters and beginners.
- Your chosen eyeshadows – Preferably loose or crushed for easy mixing (avoid creamy or greasy formulas).
- Silicone moulds or your preferred casting surface.
- Mixing cups and stirring sticks.
- Nitrile gloves and protective apron.
- Optional: “Art Pro” – Clear Epoxy Resin for Artists and Surface Coating for projects needing flawless clarity.
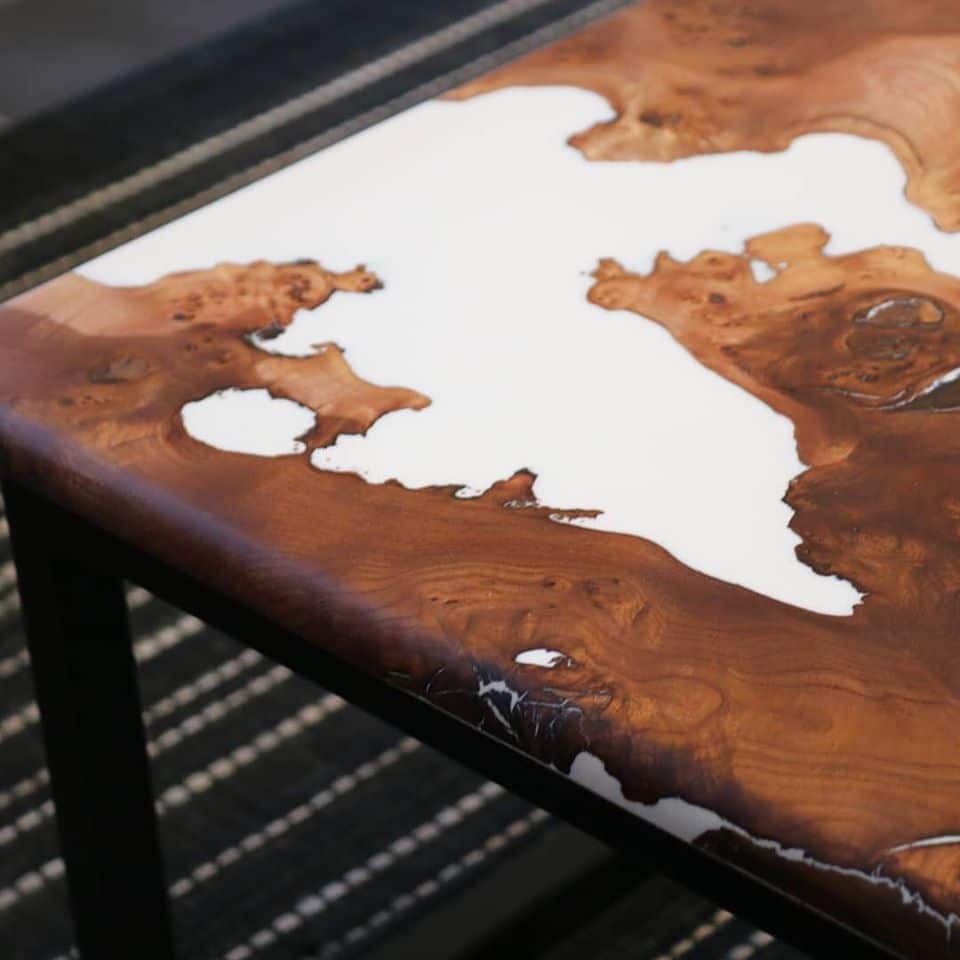
Inspiration: Dazzling Shimmer Effects
Eyeshadows can introduce a unique shimmer into epoxy resin projects, from subtle pearlescence to bold colour-change effects. Try layering several shades or mixing with traditional resin pigments for endless possibilities.
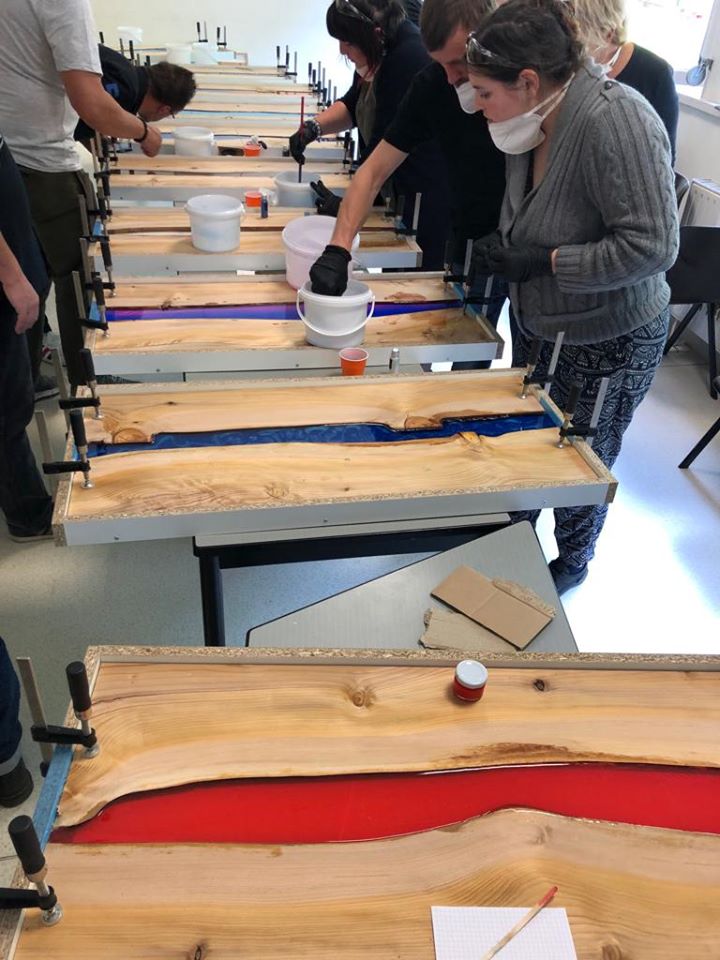
Step 1: Gather and Prepare Your Materials
Begin by setting up a well-ventilated workspace and covering your surfaces with a protective layer. Ensure your eyeshadows are fully pulverised into a powder if they are not already; coarse particles will lead to uneven colour distribution and visible clumps. Gather all safety items—nitrile gloves, aprons, and, if desired, a mask—to protect your skin and lungs from fine powder and resin fumes. Keep all your tools, resin, moulds, and stirring equipment within easy reach before mixing begins.

Step 2: Mix the Resin and Incorporate Eyeshadow Pigments
Carefully follow your resin’s specific mixing instructions—for example, using the One-2-One – Epoxy Resin for Handcraft, measure equal parts resin and hardener by volume. Stir slowly and thoroughly for at least two minutes to ensure the mixture is homogenous. Once your resin is adequately mixed, gradually add the crushed eyeshadow. Start with a small amount and blend thoroughly, checking for clumps and streaks. Add more pigment as needed, always mixing well to assure an even, streak-free finish. Blend eyeshadows thoroughly to avoid clumps—this ensures a smooth, professional look in the finished piece.
Step 3: Pour into Moulds and Remove Bubbles
Pour your pigmented resin mixture slowly into your silicone moulds or onto your chosen surface. To minimise air bubbles, pour in a thin stream and tap the mould gently on the worktable. Use a heat gun or small torch with care to eliminate trapped bubbles. For projects aiming at high clarity—like coasters or art surfaces—the Art Pro – Clear Epoxy Resin for Artists is particularly beneficial as its clarity helps fine shimmer particles show at their best. Be mindful not to overheat the resin, as this may cause discolouration or distortion.


Step 4: Cure and Demould Your Resin Piece
Allow your resin to cure in a dust-free environment, away from direct sunlight and humidity. Curing duration will vary by product—most crafters find that One-2-One and Art Pro resins can be demoulded within 12–24 hours, but full hardness and clarity develop after 48–72 hours. Once cured, carefully remove the resin item from its mould. Should there be any overpour or sharp edges, sand them down gently using fine-grit sandpaper.
Finishing Touches: Polishing and Sealing for Longevity
After demoulding, consider finishing your piece for a professional effect. For extra shine, a light polish using a soft, lint-free cloth may be suitable. If your project is frequently handled or exposed to water, applying a clear resin topcoat—such as with One-2-One—can help protect both the colour and surface. Seal your resin surface to protect the colour and ensure the longevity of your unique, eyeshadow-enhanced creation.


Tips and Common Mistakes When Using Eyeshadows in Resin
- Less is more: start with a small amount of eyeshadow and build up to your desired intensity—too much pigment can affect resin curing or cause streaks.
- Choose the right resin for clarity and ease of mixing; clear, slow-curing resins often work best with cosmetic powders.
- Avoid creamy or oil-based eyeshadows, as these will not disperse well and may lead to surface imperfections.
- Keep your powder as fine as possible—sift if necessary before mixing.
- Work in well-ventilated areas and wear appropriate protective gear to protect against fumes and dust.
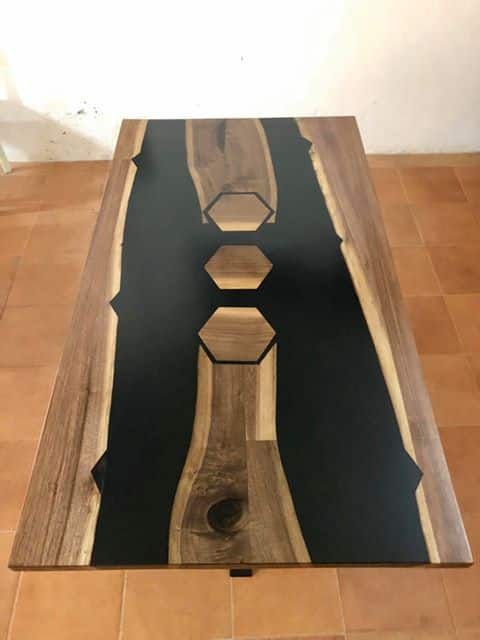
Showcase: Creative Resin Art Using Makeup Pigments
Finished pieces crafted with eyeshadow powders illustrate how cosmetic pigments can transform resin crafts into statement pieces. Experiment with jewellery, coasters, art panels and more using your leftover makeup.
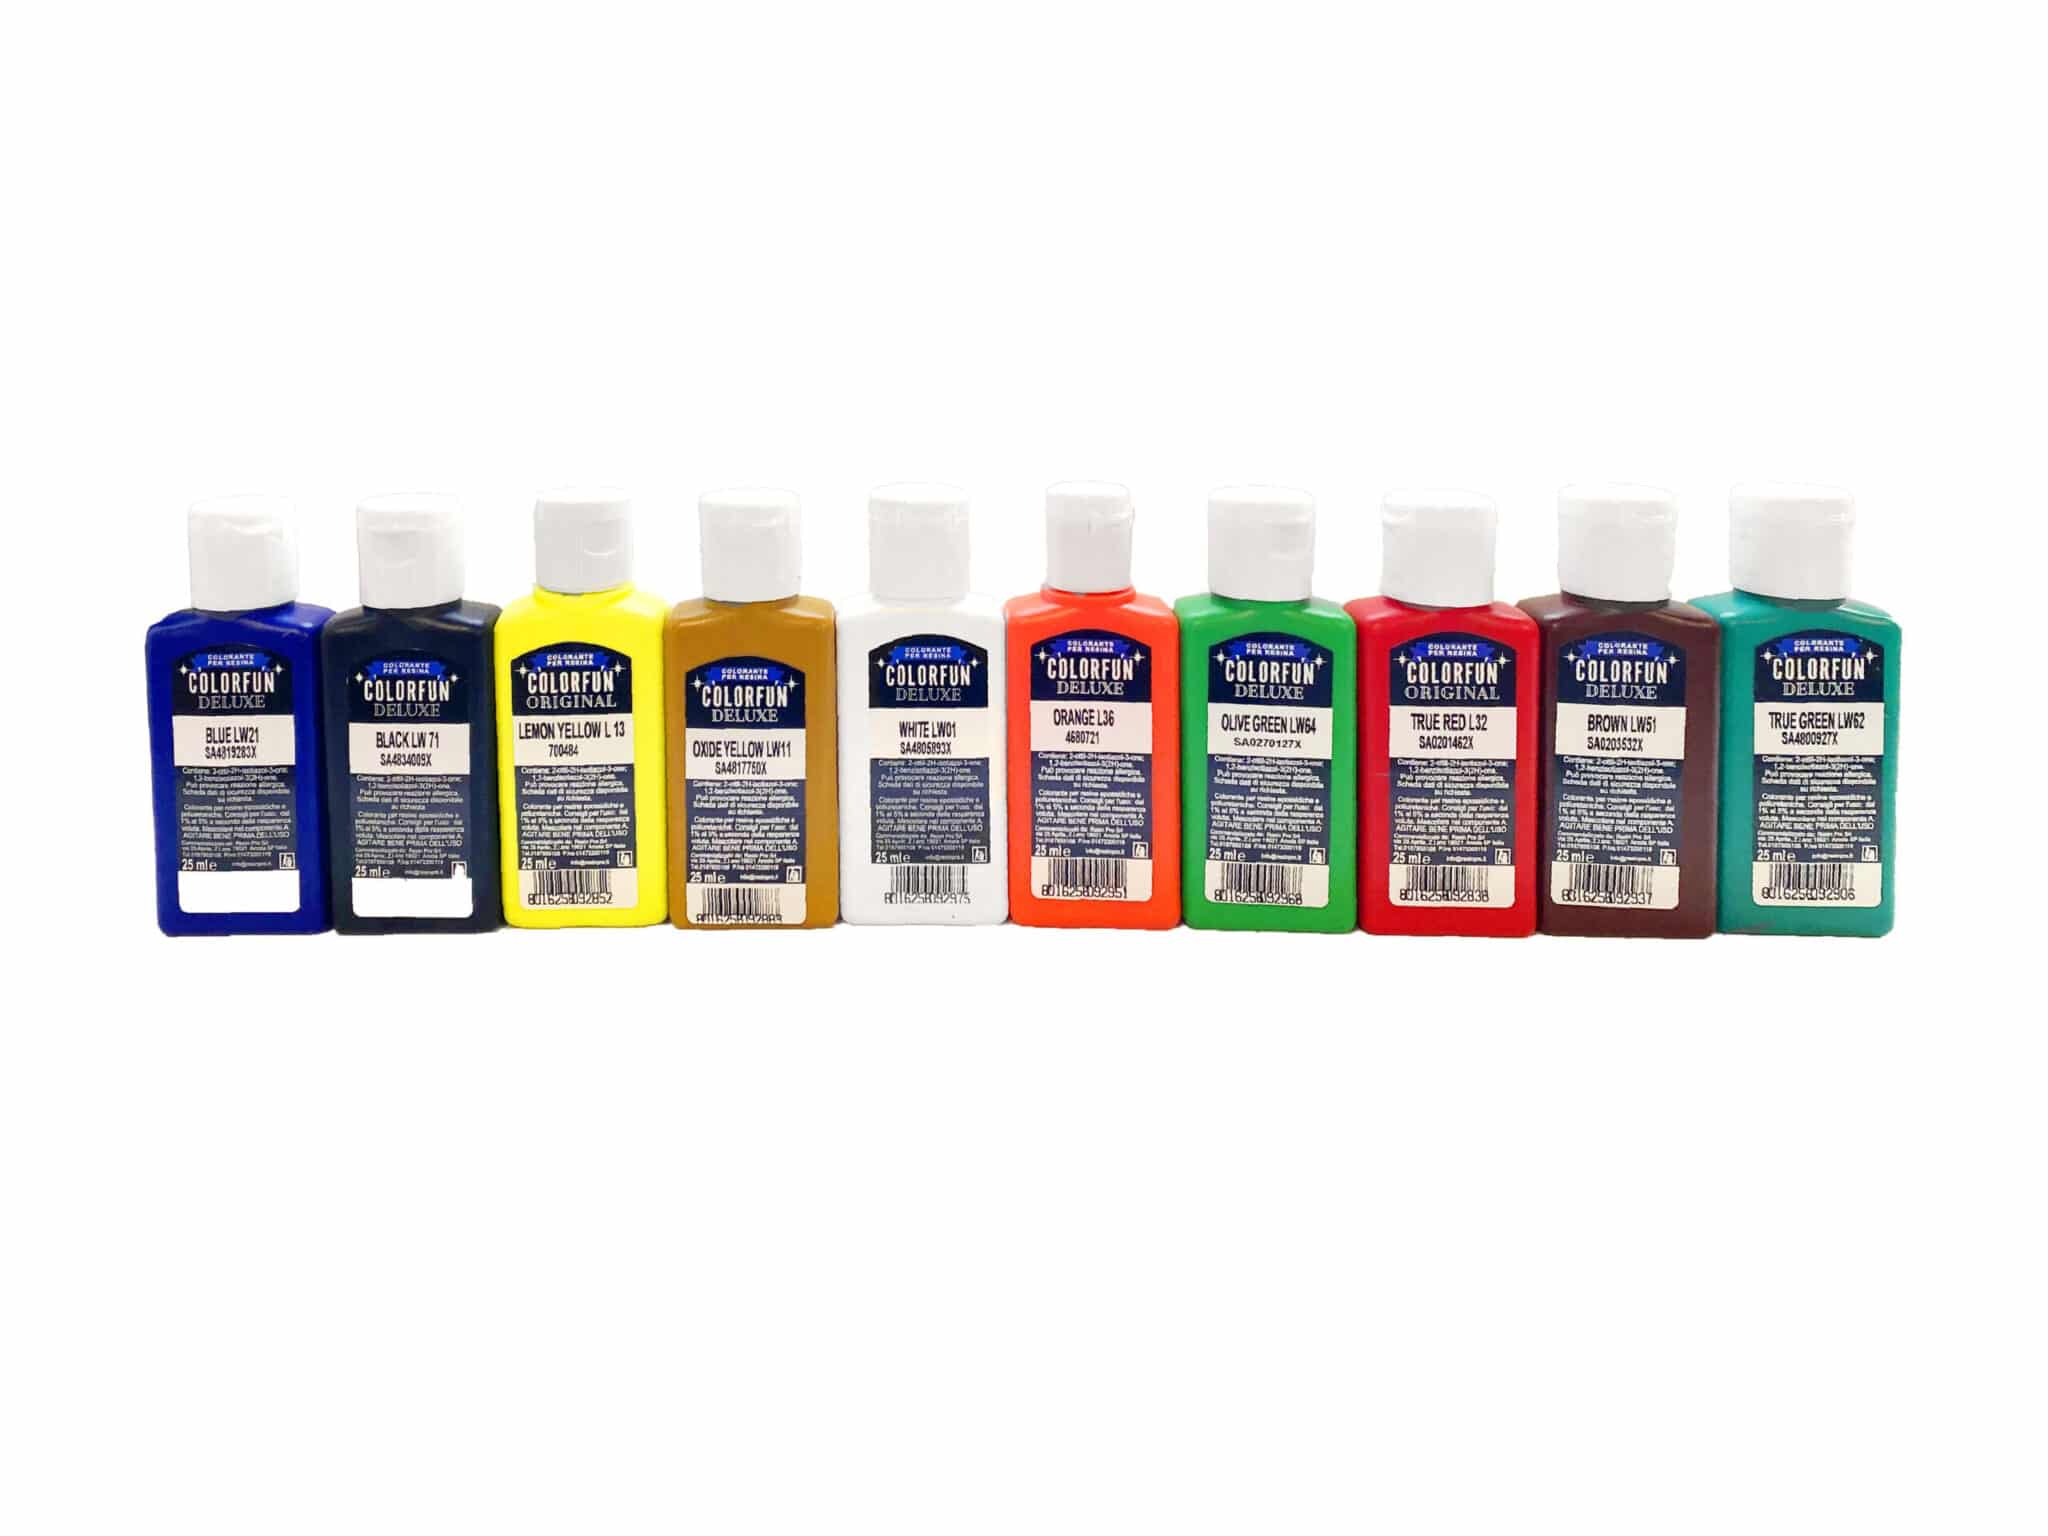
- "Colourfun Set" – Liquid Epoxy Resin Colourant Set for Solid Colour EffectsPrice range: £14.45 through £50.95"Colourfun Set" includes translucent colouring pastes designed for transparent epoxy resin projects within the theme How to use eyeshadows in resin?
- "Art Pro" – Clear Epoxy Resin for Artists and Surface CoatingPrice range: £19.95 through £267.95"Art Pro" is a clear epoxy resin designed for artists and crafters, suitable for precise, glass-like coatings with good durability.
 "One-2-One" – Epoxy Resin for Handcraft, 1:1 Mixing RatioPrice range: £15.95 through £59.95"One-2-One" epoxy resin is a medium viscosity product designed for beginners and experienced crafters, providing crystal clear finishes suitable for…
 "Evershine Collection" – Artisan Jewellery Epoxy Resin Kit with 100+ Accessories£21.95"Evershine Collection" provides a complete epoxy resin kit with 500g clear resin and 100+ accessories, suitable for jewellery making within this…
Frequently Asked Questions
Can you use any eyeshadow in resin projects?
Powder eyeshadows work best in resin. Avoid cream or oil-based products, as they can prevent proper mixing and curing.
How much eyeshadow should I add to resin for good colour?
Start small—just a pinch per 100g resin. Gradually increase until the colour is vibrant, but avoid overloading as this may impact curing.
Why does my resin have clumps or unmixed pigment?
Clumps form if the eyeshadow powder is not fine enough or not thoroughly blended. Sift and mix meticulously for a smooth result.
Will adding eyeshadow powder change the way resin cures?
Adding a moderate amount of powder will not noticeably affect curing, but avoid excess pigment to maintain full cure and clarity.
Should I seal resin items that contain eyeshadow pigments?
Yes, a clear topcoat helps protect the colour and surface from scratches and fading, especially for items used daily.