 Free shipping on orders over £29,85


How to resurface a bathtub?
Refresh your bathtub with safe, durable resurfacing techniques


Resurfacing your bathtub is a practical way to extend its life and restore a clean, pristine finish without the cost or upheaval of a full replacement. In this guide, you’ll learn the complete process—surface preparation, repairing chips or cracks, applying a new layer, and bringing your tub back to a glossy, like-new state. This method provides a waterproof, durable finish suitable for both minor refreshes and substantial repairs.

What You’ll Need
- Resin Fibreglass Repair Kit – Complete Polyester Resin and Hardener Set – for waterproof, structural repairs
- Heavy Duty Scraper for Paint and Epoxy Resin Removal – to strip old paint or coatings
- “Ebonite Abralon” – Sanding Pads 360-4000 Grit for Resin and Wood – for sanding and surface smoothing
- “Epoxy Polish” – Epoxy Resin Polishing System – to achieve a high-gloss, professional finish
- Rags, mixing container, gloves, and dust mask

Essential Tools and Preparation Photos
See how key resurfacing tools and products, such as scrapers, sanding pads, and fibreglass repair kits, are used effectively to ready your bathtub for restoration. Proper preparation leads to best results.
Step 1: Strip and Clean the Bathtub Surface
The first stage is to remove any existing coatings, stains, or loose paint, ensuring the surface is free from soap scum, oils, and other contaminants. Use a household degreaser followed by a thorough rinse. For stubborn old paint, tiles, or heavy build-up, a dedicated scraper is essential. This creates a clean and stable base for the new finish and reveals any underlying damage that needs repair.
If you’re dealing with persistent old paint or adhesive, the Heavy Duty Scraper for Paint and Epoxy Resin Removal provides controlled, precise action, helping you tackle even thick or weathered coatings with less effort and minimal risk of damaging the underlying tub material.


Step 2: Repair Cracks, Chips, or Structural Damage
Inspect the stripped tub for any cracks, holes, or chips. For lasting results, it’s vital to address even small imperfections, as these can worsen under regular use. Cut away any loose or damaged material, ensuring all edges are firm and stable. Clean and dry the repair area thoroughly to ensure proper adhesion.
The Resin Fibreglass Repair Kit – Complete Polyester Resin and Hardener Set is ideal for strengthening and waterproofing problem areas. Mix the resin and hardener as directed, apply with the included mat for reinforcement, and allow it to cure completely before proceeding. This creates a robust base, ready for the finishing layers.
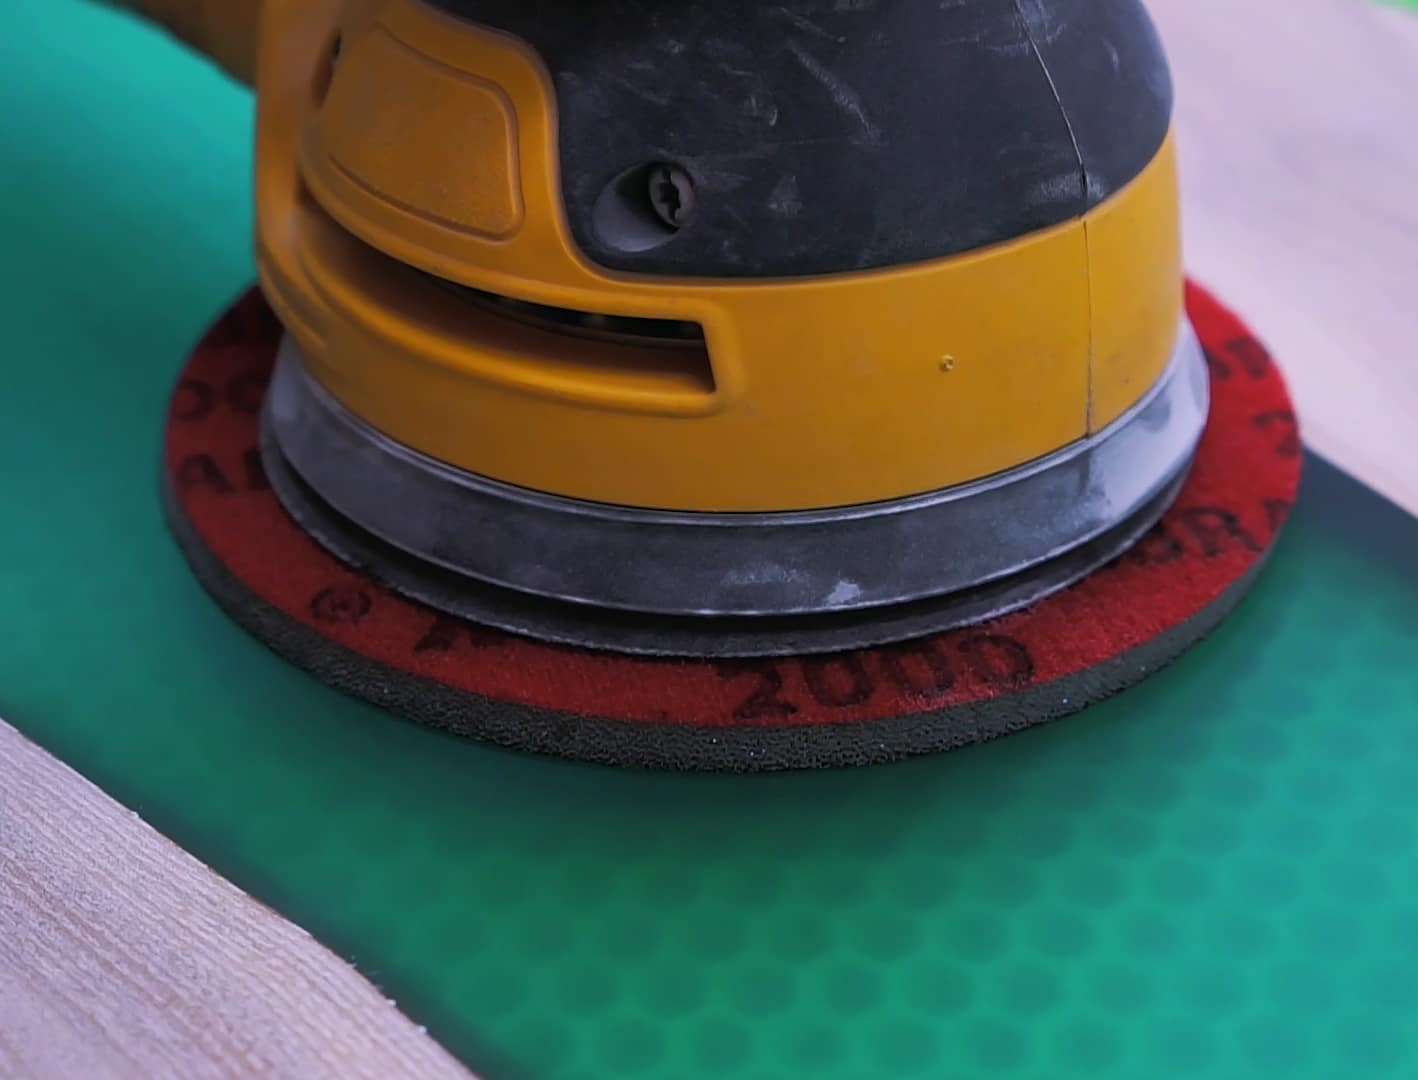
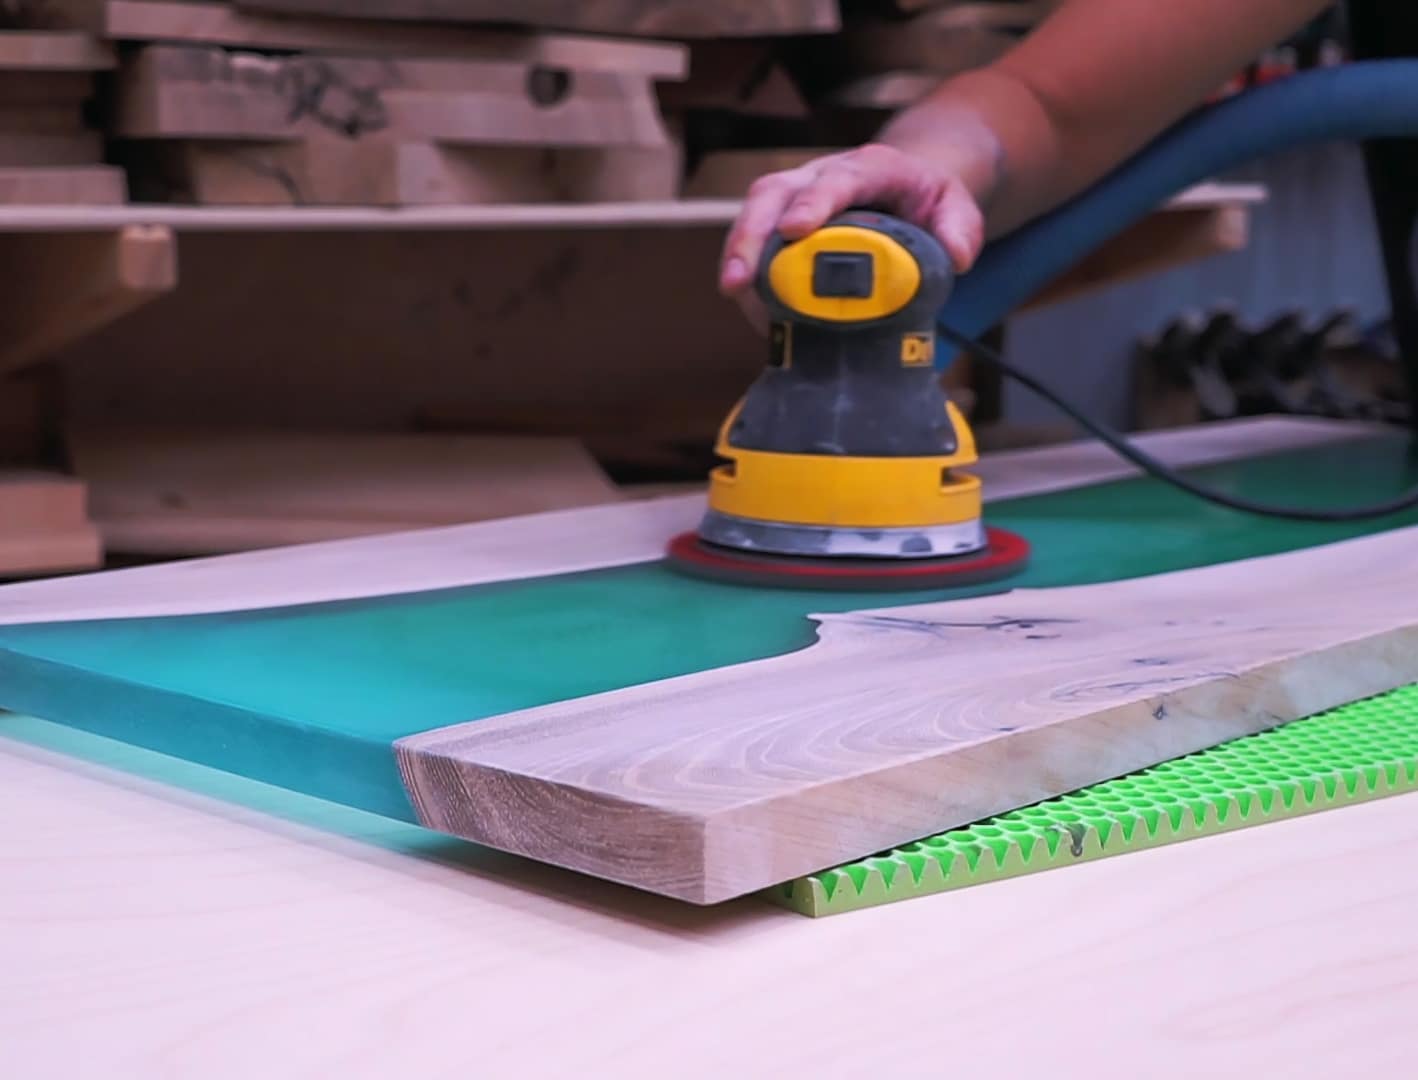
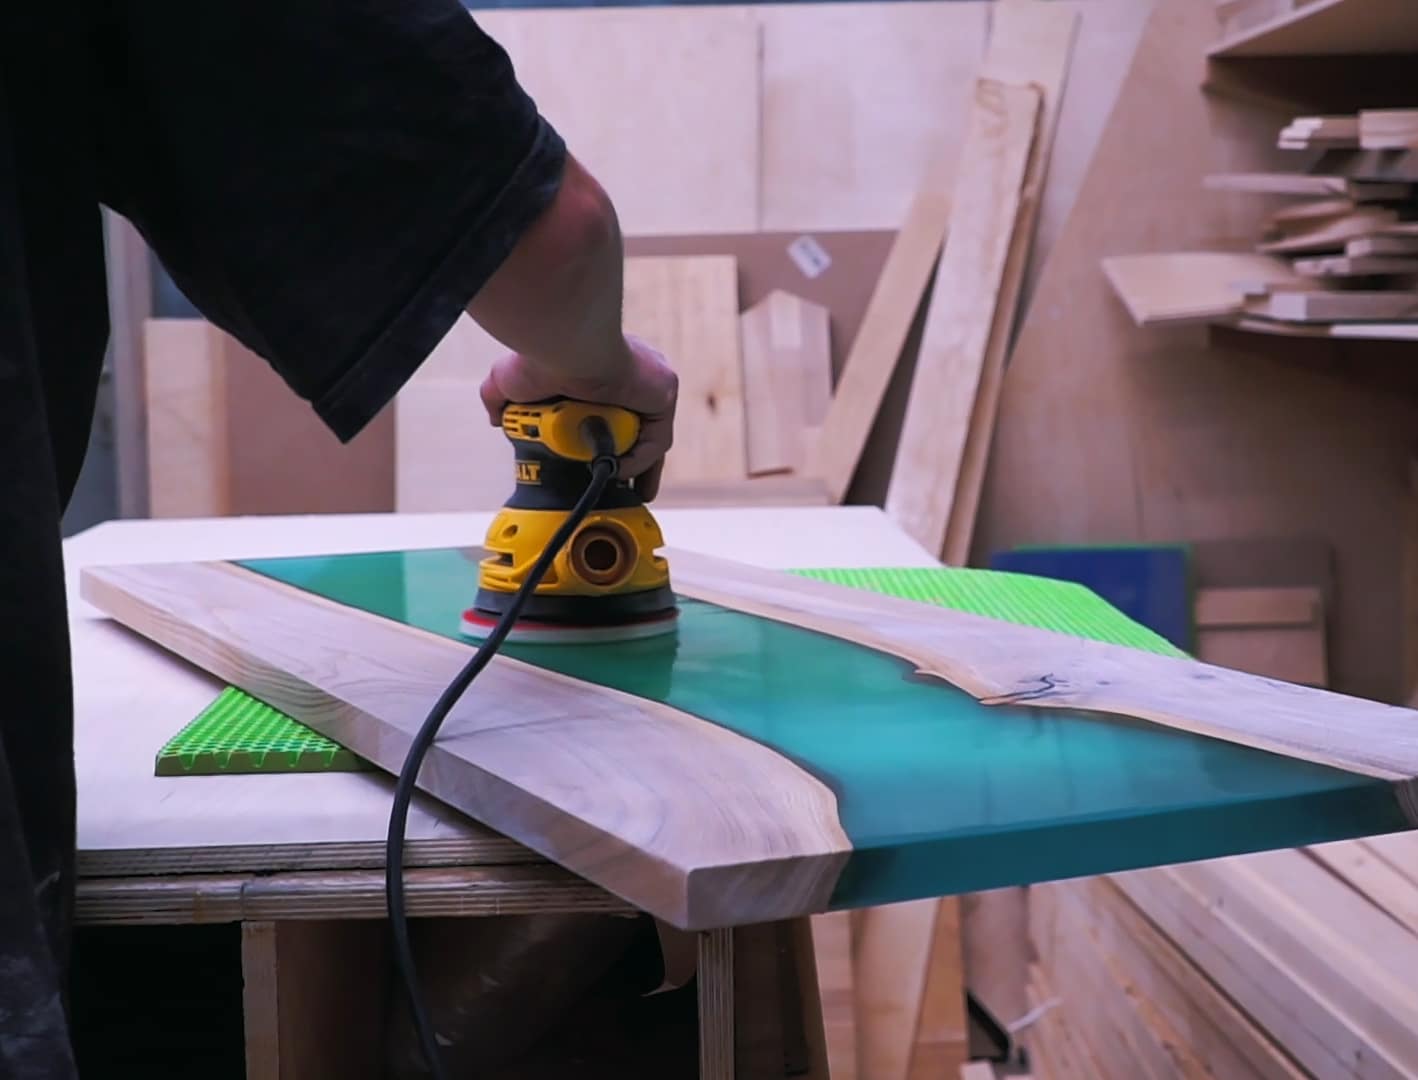
Step 3: Sand the Surface Smooth
Once repairs have cured fully, the next step is to sand the repaired and existing tub surface. Progressive sanding smooths out small ridges, blending the repair area with the undamaged surface, and creates a textured finish for optimal resin adhesion. Start with coarser grit and move towards finer grits for a uniform result. Remember to wear a dust mask and clean up dust thoroughly to prevent it becoming trapped in the new coating.
For refined, consistent sanding, “Ebonite Abralon” – Sanding Pads 360-4000 Grit for Resin and Wood offer excellent flexibility, enabling both wet and dry sanding and leaving the surface smooth without gouging or uneven spots.
Step 4: Apply, Polish, and Finish the New Surface
Now you can apply your chosen bathtub resurfacing resin—always follow product-specific instructions for best results regarding mixing, timing, and curing. Use a roller, brush, or appropriate applicator to achieve uniform coverage. Allow the new resin layer to cure undisturbed for the recommended period (often at least 24 hours), protecting it from dust, moisture, or handling during this time.
Once cured, the final polishing step ensures a glossy, professional finish and helps repel grime or watermarks. The “Epoxy Polish” – Epoxy Resin Polishing System is specially formulated for resin surfaces, removing dullness, micro-scratches, and swirl marks and delivering a deep shine either by hand or with a rotary polisher. Work in gradual stages for mirror-like results.
Tips, Common Mistakes, and Troubleshooting
Use protective gear and proper ventilation – Wear gloves, safety goggles, and a dust mask throughout resurfacing, and keep the area well-ventilated to avoid fume exposure from resin or cleaning agents.
Thorough surface preparation is essential – Skipping cleaning or sanding often leads to poor adhesion and peeling down the line. Allocate time for each step to avoid issues.
Avoid rushing curing and sanding stages – Let each coat and repair cure fully before moving on. Hurrying can trap moisture or dust, compromising the final result.
Polish in gradual steps for best shine – Don’t move too quickly from coarse to very fine polish; successively finer sanding, followed by careful buffing, creates a resilient, professional gloss.
Before & After Bathtub Resurfacing
Review striking before-and-after project images showcasing professional bathtub resurfacing. Careful repair, sanding, and polishing produce long-lasting, glossy finishes.

- Resin Fibreglass Repair Kit – Complete Polyester Resin and Hardener SetThis resin fibreglass repair kit provides strong, waterproof bonds suitable for various repairs, supporting resurfacing tasks under the theme 'How to…
- "Ebonite Abralon" – Sanding Pads 360-4000 Grit for Resin and Wood£4.15"Ebonite Abralon" sanding pads are designed for polishing resin and wood surfaces, suitable for detailed finishing in resurfacing tasks.
 Heavy Duty Scraper for Paint and Epoxy Resin Removal£8.95Heavy Duty Scraper offers a lightweight, razor-sharp tool suitable for paint and tile removal in bathtub resurfacing projects.
 "Epoxy Polish" – Epoxy Resin Polishing SystemPrice range: £18.95 through £47.45"Epoxy Polish" is a resin polishing system suitable for resurfacing projects requiring a glossy finish.
Frequently Asked Questions
How long does bathtub resurfacing take to dry and cure?
Resurfacing typically requires at least 24 hours for initial drying, but full curing may take 2–4 days depending on resin thickness and room conditions.
Is resin resurfacing durable and waterproof?
Yes, properly applied polyester or epoxy resin surfaces are fully waterproof and resist chipping, making them suitable for regular bathtub use.
Can resurfacing resin repair cracks or holes in a tub?
Polyester resin repair kits can fill and reinforce cracks and holes, providing structural waterproofing before final finishing coats.
What surfaces are suitable for bathtub resurfacing?
Surface compatibility includes porcelain, acrylic, enamel, fibreglass, and some metals. Always clean and sand before applying resin.
How do you prevent bubbles or peeling when resurfacing?
Work methodically, avoid humid conditions, and allow thorough curing between layers to minimise bubbling or adhesion issues.
Can I use my bathtub normally after resurfacing?
Wait until the resin is fully cured—at least 48 hours—before exposing it to water, cleaning agents, or heavy use.