 Free shipping on orders over £29,85


How to renew the color of plastic resin suitcases?
Bring faded luggage back to life with these practical techniques.

Reviving the original brilliance of your plastic resin suitcase is easier than you think. Whether your luggage has suffered scuffs, faded patches, or general wear and tear, this guide will show you how to renew its colour, update its look, and extend its life. With a little care and the right approach, your suitcase will look fresh and travel-ready again.
What You’ll Need
- Gentle degreasing cleaner and soft cloths
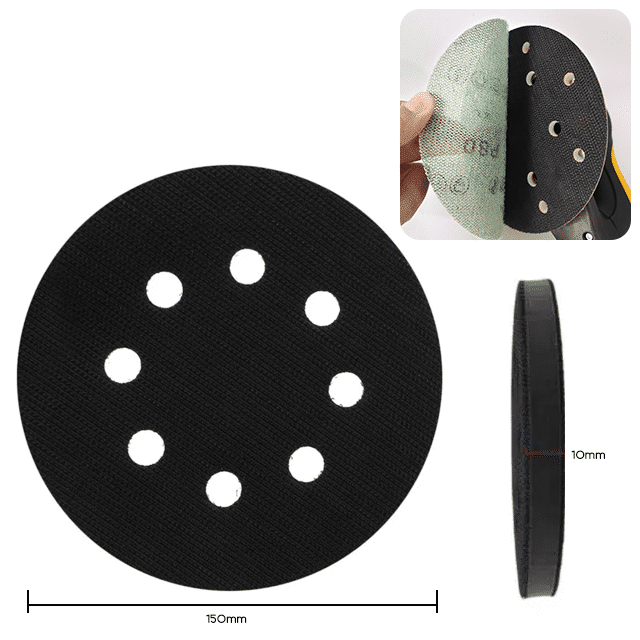
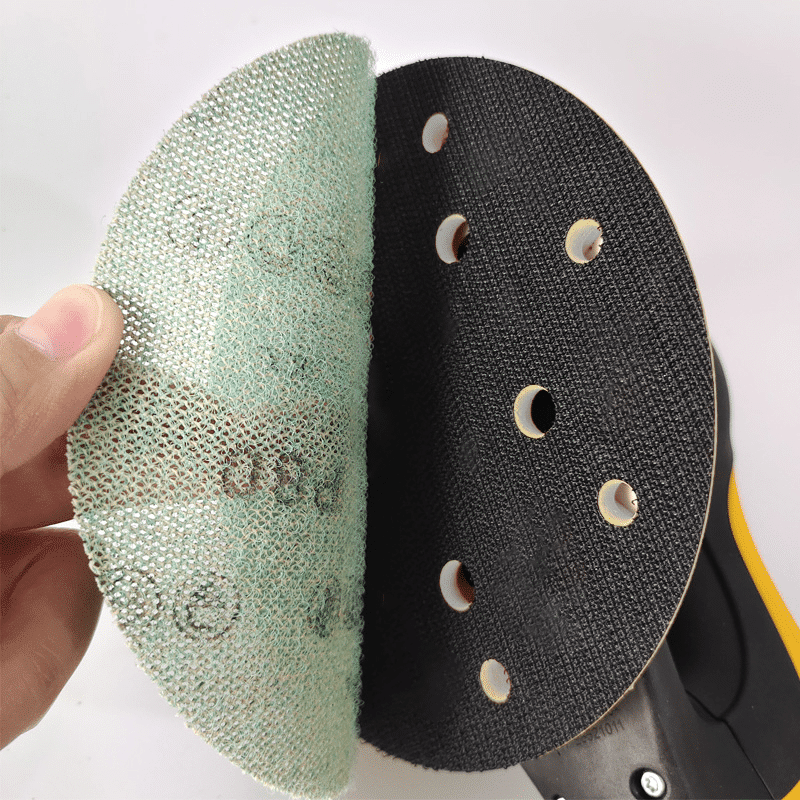
- Fine-grit sanding pad such as Mirka Sanding Interface Pad 150mm x 10mm – For NET Sanding Discs
- Protective gloves and a dust mask
- Protective sheeting or newspapers
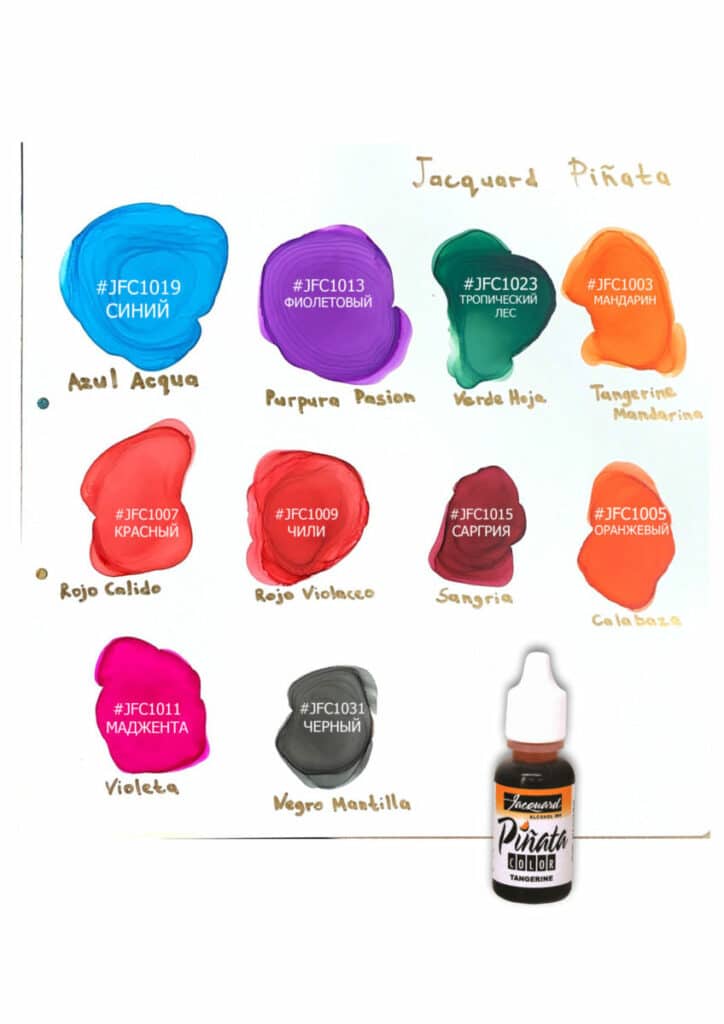
- Alcohol-based colourant like “Jacquard Pinata” – Alcohol Ink Blast Effect 14ml
- Clean brushes or sponges for application
- Transparent flexible coating such as “Be Flex” – Transparent Polyurethane Doming Resin – Scratch-Resistant
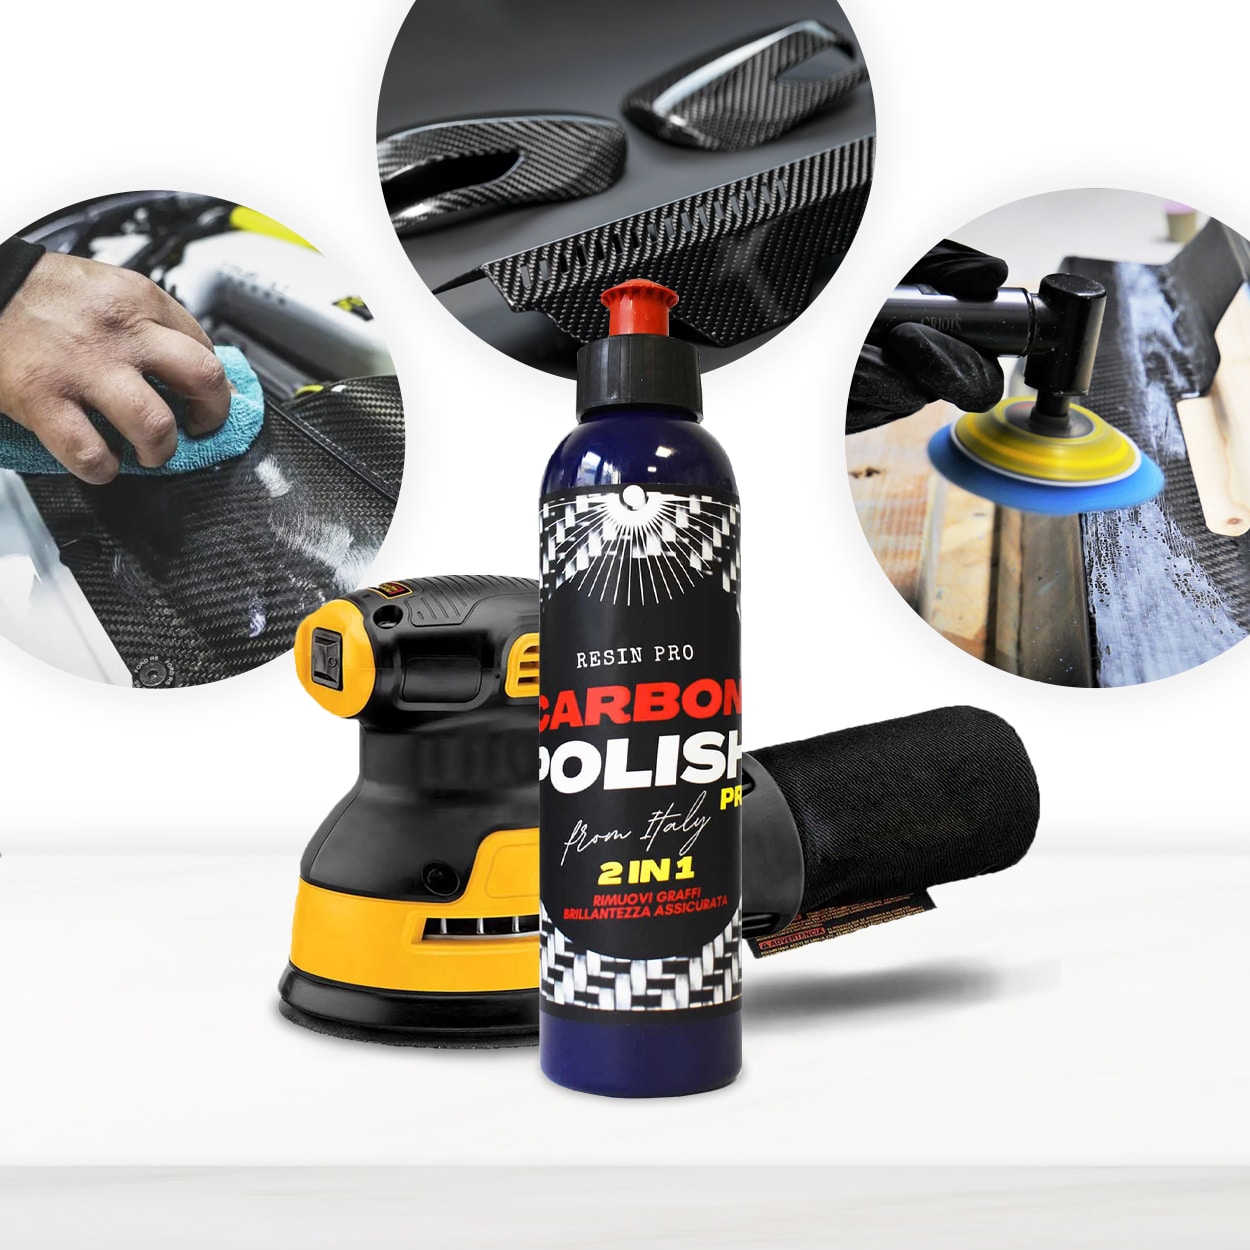
- Polishing compound suitable for dark surfaces, for example “Carbon Polish” – Polishing System for Dark and Black Surfaces, 250ml (optional)
See How Surface Preparation Makes a Difference
Proper preparation ensures the new colour bonds firmly and looks smooth. Examine close-ups of sanded versus unsanded plastic—notice how gentle abrasion helps inks and coatings adhere evenly while preserving the suitcase’s integrity.
Step 1: Thoroughly Clean the Surface
Before any colouring can take place, it is essential to remove dirt, oils, and residue from the suitcase. Use a gentle degreasing cleaner and a soft cloth to wash down every part of the outer shell. Pay special attention to edges, textured areas, and handle recesses where grime can hide. Let the suitcase dry fully before you proceed, as moisture can interfere with the next steps.
Thorough cleaning makes all the difference in ensuring that colours and coatings stick properly. Do not skip this step, as a poorly prepared surface will lead to uneven results or premature peeling.

Step 2: Light Sanding for Adhesion
Once the suitcase is clean and dry, use a fine-grit sanding pad to lightly abrade the surface. The Mirka Sanding Interface Pad 150mm x 10mm – For NET Sanding Discs is particularly effective for this—its soft structure delivers gentle abrasion without deep scratches, making it ideal for resin and plastic items.
Sand using circular motions, focusing on glossy or worn spots. This helps the new colour to grip and ensures an even finish. Wipe away sanding dust with a dry, lint-free cloth.
Gentle sanding ensures colour adhesion and avoids damage to the case’s integrity. Always use appropriate safety gear, such as gloves and a mask, to protect from dust.
Step 3: Apply the Colourant Evenly
Now the suitcase is ready for a new burst of colour. Choose a colourant specifically designed for plastics—alcohol-based inks like “Jacquard Pinata” – Alcohol Ink Blast Effect 14ml are ideal for their vibrant tones and swift drying time. Always wear gloves and work in a well-ventilated space.
Use a clean brush or sponge to apply the ink in even layers across the desired areas. For solid, uniform colour, opt for several thin coats rather than one heavy pass. Allow each coat to dry fully before proceeding.
Choose purpose-made colourants for lasting effect and avoid conventional paints unless they are proven safe for plastics.

Step 4: Seal and Protect the New Surface
To lock in the new colour and protect your handiwork from scratches and the rigours of travel, finish with a clear, flexible resin coating. “Be Flex” – Transparent Polyurethane Doming Resin – Scratch-Resistant offers excellent clarity, flexibility, and UV resistance—perfect for curved or rigid suitcases alike.
Mix and apply the resin according to the instructions, ensuring even coverage without excess pooling. Allow adequate curing time in a dust-free environment. This final step helps the case maintain its renewed appearance much longer.
Protect with a flexible, scratch-resistant finish for enduring results and to safeguard against daily knocks.
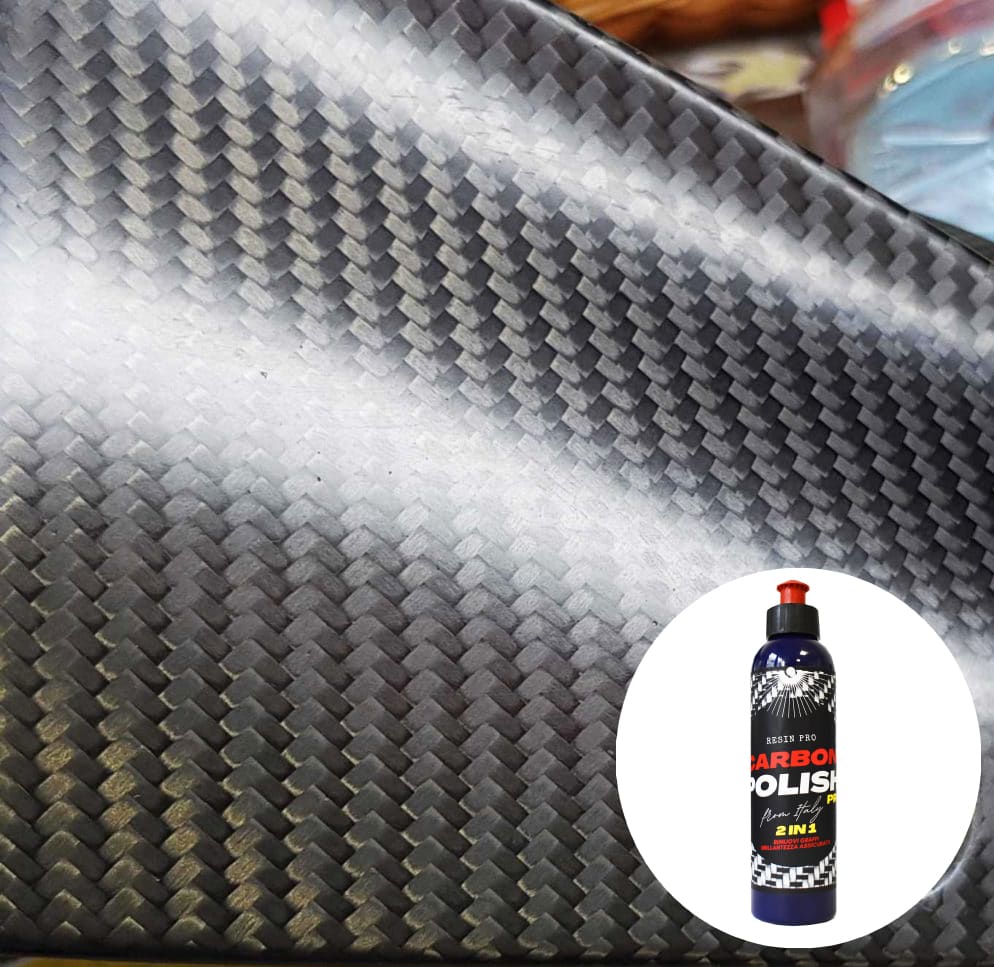
Step 5: Optional Buff and Shine
If your suitcase has dark or black sections, a finishing polish can enhance shine and hide minor imperfections. Use a specialist product such as “Carbon Polish” – Polishing System for Dark and Black Surfaces, 250ml after the resin layer has cured. Apply with a microfibre cloth, working in small circles for best effect.
Buff away any residue gently, enjoying the restored, glossy finish. This step is optional but adds an extra touch of professional quality.
Tips and Common Mistakes
Take your time when preparing and recolouring—rushing can lead to uneven or short-lived results. Always test colour and resin on a hidden section first. Avoid low-quality paints, which may flake or fail to bond. Equally, skipping the protective top coat may leave new colour vulnerable to wear. Remember, thorough cleaning and careful sanding are as important as the final finish.
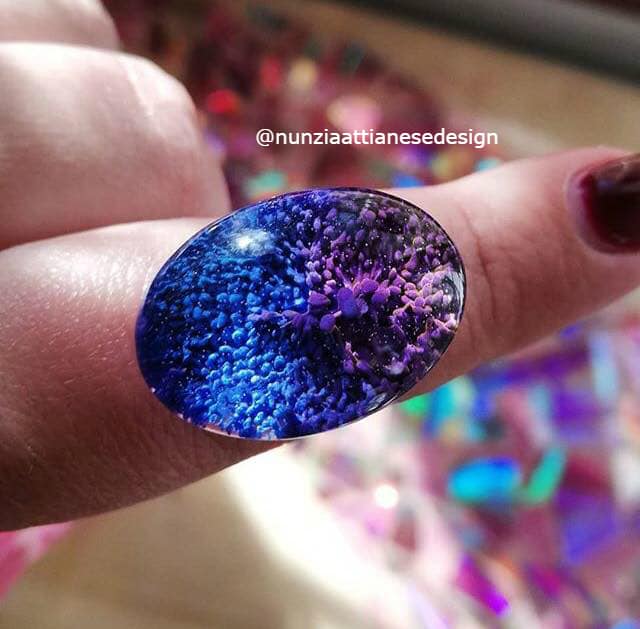
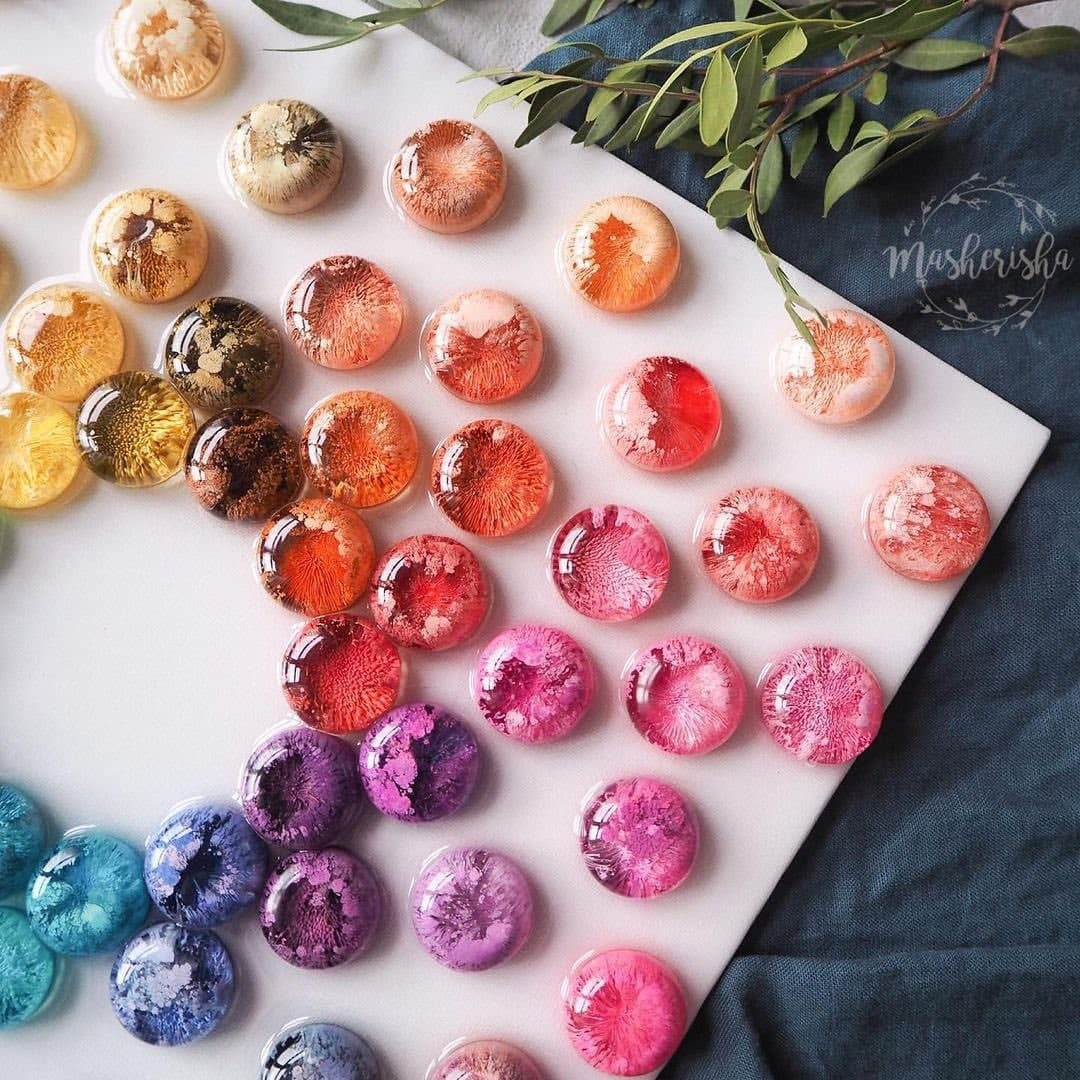
Explore Finished Projects and Protective Coatings
View examples of renewed suitcases showcasing vibrant colour, glossy finishes, and durable coatings. See the transformation possible when care is taken at every stage, from colour application to final resin sealing.

- "Jacquard Pinata" – Alcohol Ink Blast Effect 14ml£5.09Jacquard Piñata Alcohol Ink delivers fast-drying vibrant colour for resin art on smooth, non-porous surfaces under the theme of renewing plastic…
- "Carbon Polish" – Polishing System for Dark and Black Surfaces, 250mlPrice range: £18.95 through £47.45"Carbon Polish" is designed for polishing dark and black surfaces in epoxy resin projects, providing a non-whitening finish suitable for plastic…
- Mirka Sanding Interface Pad 150mm x 10mm – For NET Sanding Discs£6.45A versatile 150mm Mirka pad designed for smoother sanding and polishing of resin, wood, metal, and plastic surfaces.
 "Be Flex" – Transparent Polyurethane Doming Resin – Scratch-ResistantPrice range: £45.00 through £81.95"Be Flex" offers a flexible, scratch-resistant polyurethane finish suited for labels and badges on curved surfaces under the theme of renewing…
Frequently Asked Questions
What is the best way to clean a resin suitcase before recolouring?
Use a gentle degreasing cleaner and a soft cloth, cleaning all areas and allowing the surface to dry completely before the next step.
Which colourants are safest and most effective for recolouring plastics?
Alcohol-based inks formulated for non-porous surfaces provide vibrant, lasting colour with good adhesion to plastics.
Do I need to sand my suitcase before recolouring?
Yes, light sanding with a fine pad helps the new colour grip the surface and improves durability of the finish.
How can I protect the new colour on my resin suitcase?
Seal the surface with a clear, flexible resin coating for scratch resistance and UV stability, extending the life of the renewed finish.
Is polishing necessary after recolouring my suitcase?
Polishing is optional but enhances the shine, especially for dark or black suitcases, and can minimise minor surface flaws.
How long should I let colour and resin coatings dry?
Allow each layer to dry completely, following the manufacturer’s guidance—typically several hours for inks and up to a full day for resin coatings.
What are common mistakes when renewing a plastic resin suitcase?
The most frequent errors are insufficient cleaning, rushing the sanding, using unsuitable paints, and not protecting the final colour with a sealing coat.