 Free shipping on orders over £29,85


How to restore the color of a resin sink?
Step-by-step guide for reviving faded or discoloured resin sinks


A resin sink can bring style and practicality to kitchens and bathrooms, but over time, surface scratches, staining, or faded colour can leave it looking dull. This page offers a practical guide for anyone wishing to restore their resin sink’s vibrant appearance, tackling both minor and more extensive colour issues for lasting, professional results.

What You’ll Need
- “Art Pro” – Clear Epoxy Resin for Artists and Surface Coating: for protective, transparent recoating
- “Colourfun” – Liquid Epoxy Resin Colourant 25-100ml – High coverage: for restoring or adjusting colour intensity in the resin
- Sponge, clean cloth, and non-abrasive cleaner
- Fine-grit sandpaper (600–1200 grit), if resurfacing is required
- Mixing jug and stick, disposable gloves, and masking tape

See Examples of Resin Sink Colour Restoration
Before-and-after images help visualise the transformation possible with careful cleaning and a new resin coat. Real-world projects reveal how faded or stained sinks regain their original vibrancy and shine. For inspiration, explore customer success stories and gallery images using the recommended resin and colourants.
Step 1: Deep Clean and Prepare the Sink
Remove all soap, limescale, and grease from the sink to ensure the new coating or colour adheres properly. Use a non-abrasive cleaner and a soft sponge to avoid scratching. Rinse thoroughly and let the sink dry completely before proceeding. If the sink is heavily stained, repeat the cleaning process as needed for a spotless base.
Mask areas you wish to protect, like the tap or worktop edges. Protect surrounding surfaces from drips or splashes with tape and plastic sheeting if possible. This stage prevents contaminants from interfering with adhesion during restoration.


Step 2: Sand the Surface to Remove Residue and Prepare for Restoration
For areas with minimal colour loss, a gentle buffing with fine-grit sandpaper (600–1200 grit) can remove surface wear, light scratches, and residues. Always sand in circular motions with very light pressure. Thoroughly wipe away all dust with a damp microfiber cloth after sanding. Let the surface dry before proceeding.
If the finish is badly damaged or you are repairing a coloured resin section, prepare to apply an epoxy-based restoration coat in the next step.
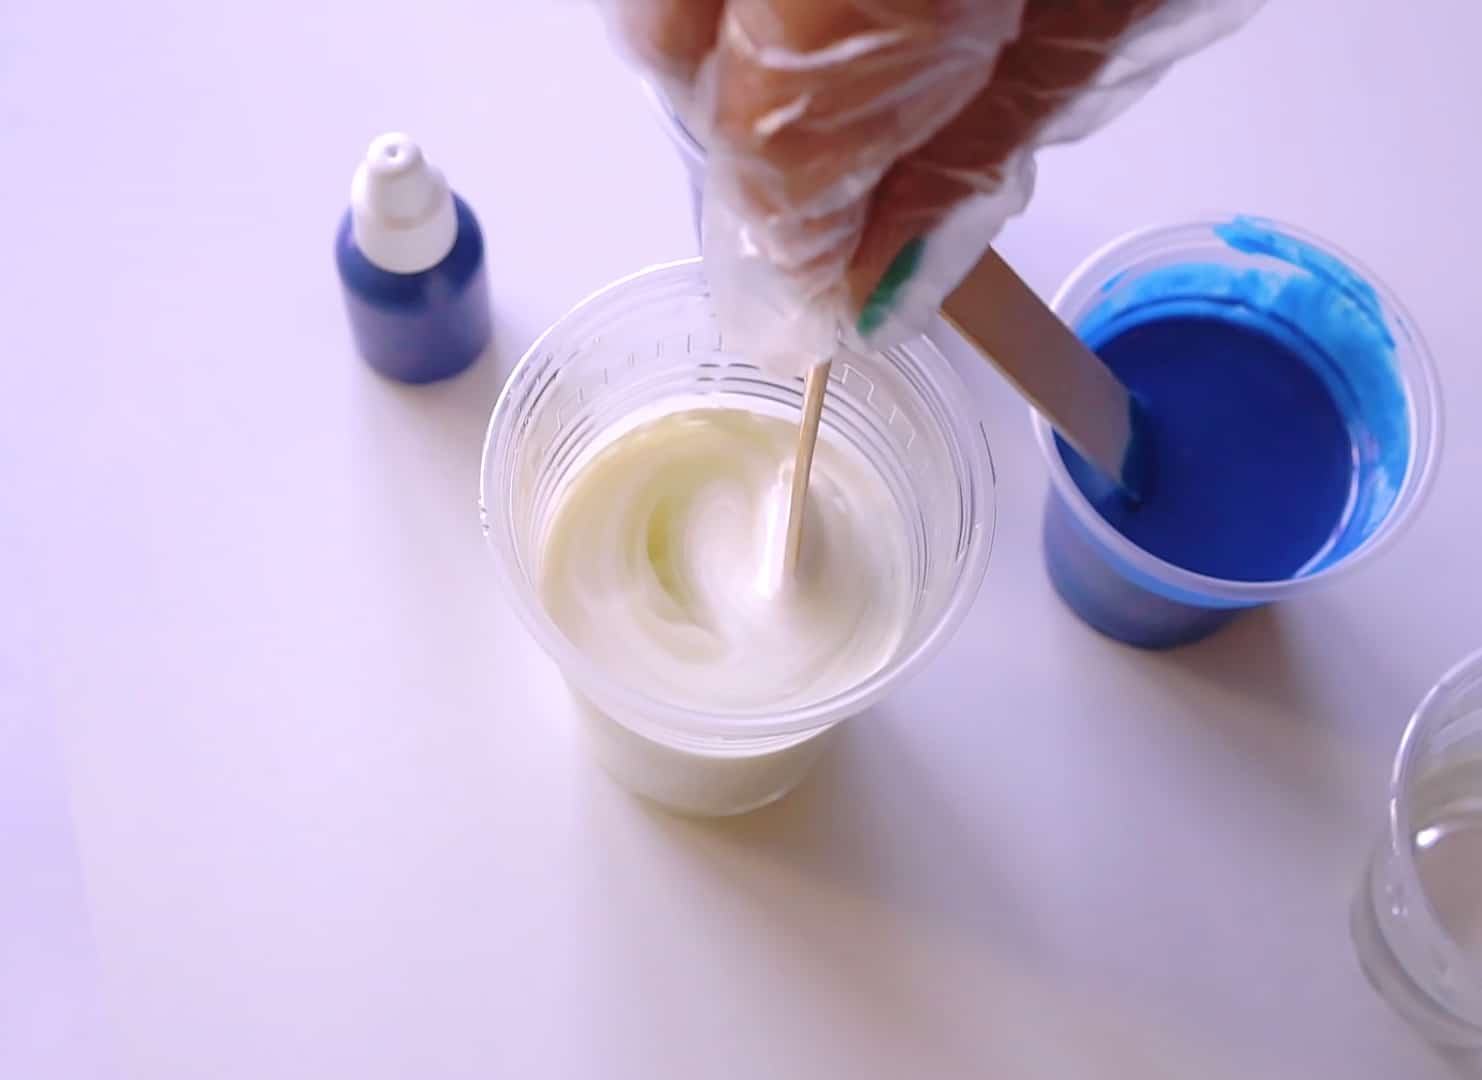
Step 3: Mix and Apply the New Coloured Resin
To restore or renew the sink’s colour, mix a fresh batch of clear epoxy resin, such as Art Pro – Clear Epoxy Resin for Artists and Surface Coating, following the manufacturer’s ratio and instructions. For sinks requiring a colour refresh or complete recolouring, add several drops of Colourfun – Liquid Epoxy Resin Colourant to the resin, blending until you reach the desired shade. Stir slowly and thoroughly for an even, bubble-free mixture.
Pour or brush the resin evenly onto the prepared sink surface. Work in thin, even coats to prevent streaking. Avoid pooling and drips by spreading with a soft brush or roller. If treating a small area only, feather the new resin into the old surface for a seamless blend.


Step 4: Allow to Cure and Finish the Restoration
Epoxy resin must cure fully to provide maximum strength, gloss, and colour vibrancy. Always use gloves, eye protection, and ensure ventilation during the curing process. Keep the area dust-free and undisturbed for at least 24 hours (or the time stated by your chosen resin’s instructions).
Once cured, gently polish the surface with a clean, soft cloth to enhance shine. Remove all masking and inspect the colour finish. If necessary, repeat the application for greater coverage or intensity.
Allow full curing before using the sink again. Exposing the fresh surface to water, heat, or cleaners before the epoxy has set could compromise long-term results.
Tips and Troubleshooting for Sink Colour Restoration
Colour matching can be challenging—always test your colourant blend on a spare surface first. Too much pigment can affect resin strength; add colourants gradually and follow mixing recommendations. Take care to avoid air bubbles during mixing and application, as these can create patchy colour and a rough finish.
For high-wear areas or marble-effect finishes, a specialised kit like the Stone Effect Collection – Marble Epoxy Resin Countertop Kit provides comprehensive pigments and tools for a durable, designer look. Address stubborn or persistent stains with several thin coats rather than a thick single application for a smooth, lasting result.
Resin Restoration Gallery: Colour and Durability
Close-up views of finished resin sinks show smooth, glossy surfaces and even, resilient colour. Professional results are achievable at home with high-quality kits and correct technique. See the marble-inspired effects possible for bespoke kitchen or bathroom designs.

- "Stone Effect Collection" – Marble Epoxy Resin Countertop KitPrice range: £57.95 through £272.95"Stone Effect Collection" offers an all-in-one epoxy resin kit designed for durable marble and stone effect surfaces for kitchens and bathrooms.
- "Colourfun" – Liquid Epoxy Resin Colourant 25-100ml – High coveragePrice range: £3.95 through £10.45Liquid epoxy resin colourant suitable for resin art featuring highly concentrated pigments and compatibility across Resin Pro products.
 "Colourfun Set" – Liquid Epoxy Resin Colourant Set for Solid Colour EffectsPrice range: £14.45 through £50.95The "Colourfun Set" offers intense, translucent resin colouring pastes designed for even colour and varied effects.
 "Art Pro" – Clear Epoxy Resin for Artists and Surface CoatingPrice range: £19.95 through £267.95"Art Pro" clear epoxy resin offers durable, scratch-resistant, and UV-protected clear finishes suitable for artist and craft projects.
Frequently Asked Questions
How long does a restored colour finish last on a resin sink?
A correctly applied resin and colourant blend can provide a refreshed finish that lasts for years with regular care.
Is it possible to completely change the colour of my resin sink?
Yes, you can achieve a completely new colour by mixing and applying pigmented epoxy resin over the prepared surface.
Which type of resin is most suitable for bathroom or kitchen sinks?
A scratch-resistant, UV-protected clear resin like Art Pro is recommended for routine sink restoration.
What can I do to stop new resin coats from peeling or cracking?
Proper cleaning, thorough drying, and gentle surface sanding help ensure maximum adhesion and a durable result.
How can I get the restored resin sink to closely match its original colour?
Test colour blends with a small amount of Colourfun dye and adjust shade incrementally until you achieve the best match.
Is it safe to use coloured epoxy resin on a sink that will be in regular contact with water?
Fully cured epoxy resins are highly resistant to water and safe for daily use in bathroom and kitchen sinks.