 Free shipping on orders over £29,85

← Back to How many kilograms are needed to pour 7 litres of silicone rubber?

Achieving a smooth, bubble-free silicone mould starts with proper mixing. Following the correct process ensures accurate results and the longevity of your moulds.
Step-by-Step Mixing Instructions
- Prepare your workspace: Ensure all tools and containers are clean and dry to prevent contamination.
- Measure both components (A+B) by weight: Use precise digital scales, as liquid silicone rubber is a bi-component system requiring the correct mix ratio by weight, not by volume.
- Combine components thoroughly: Pour parts A and B into a large container and blend them together using a spatula or mixing tool, scraping the sides and base to achieve a uniform blend without streaks.
- Avoid air entrapment: Mix slowly and carefully, or consider using a vacuum chamber to remove trapped bubbles, particularly for detailed or complex moulds.
Practical Tips for Best Results
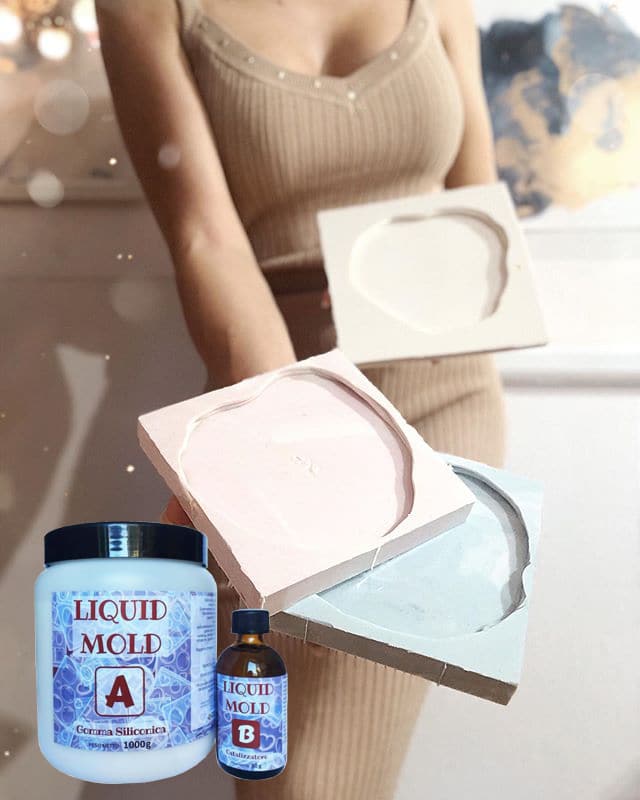
Always follow the recommended ratio and mixing times, as deviations can affect curing and final mould quality. If your silicone system (such as the “Liquid Mould” – Casting Liquid Silicone Rubber) requires a catalyst, add it just before you start mixing and proceed without delay to avoid premature curing. Once blended, pour the silicone slowly into one corner of your mould box, allowing the mixture to flow and minimise bubbles.
When This Matters Most
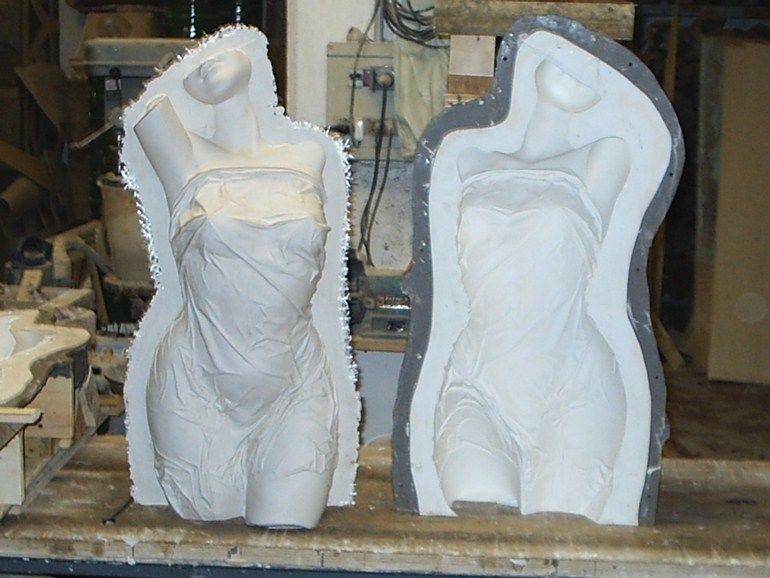
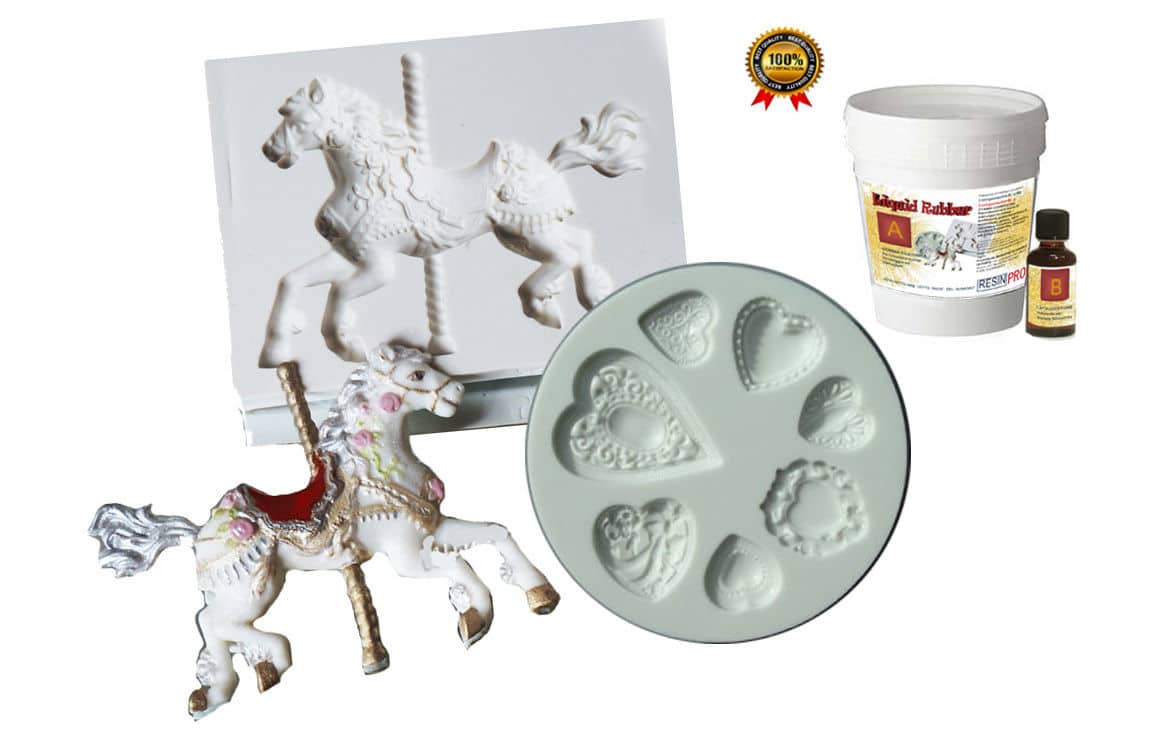
Consistent mixing is crucial when working with detailed models, undercuts, or when you need several identical copies. An incomplete mix can result in uncured patches, weak points, or lost surface detail.

Related products
Related guides
Mastering the mixing process is the foundation of successful silicone mould making. For more advice on quantities to use or choosing the right material for your next project, explore our main guide on how many kilograms are needed for pouring silicone rubber.