 Free shipping on orders over £29,85

How to Create a 3D Effect with Epoxy Resin
A hands-on guide to stunning resin depth and layered art


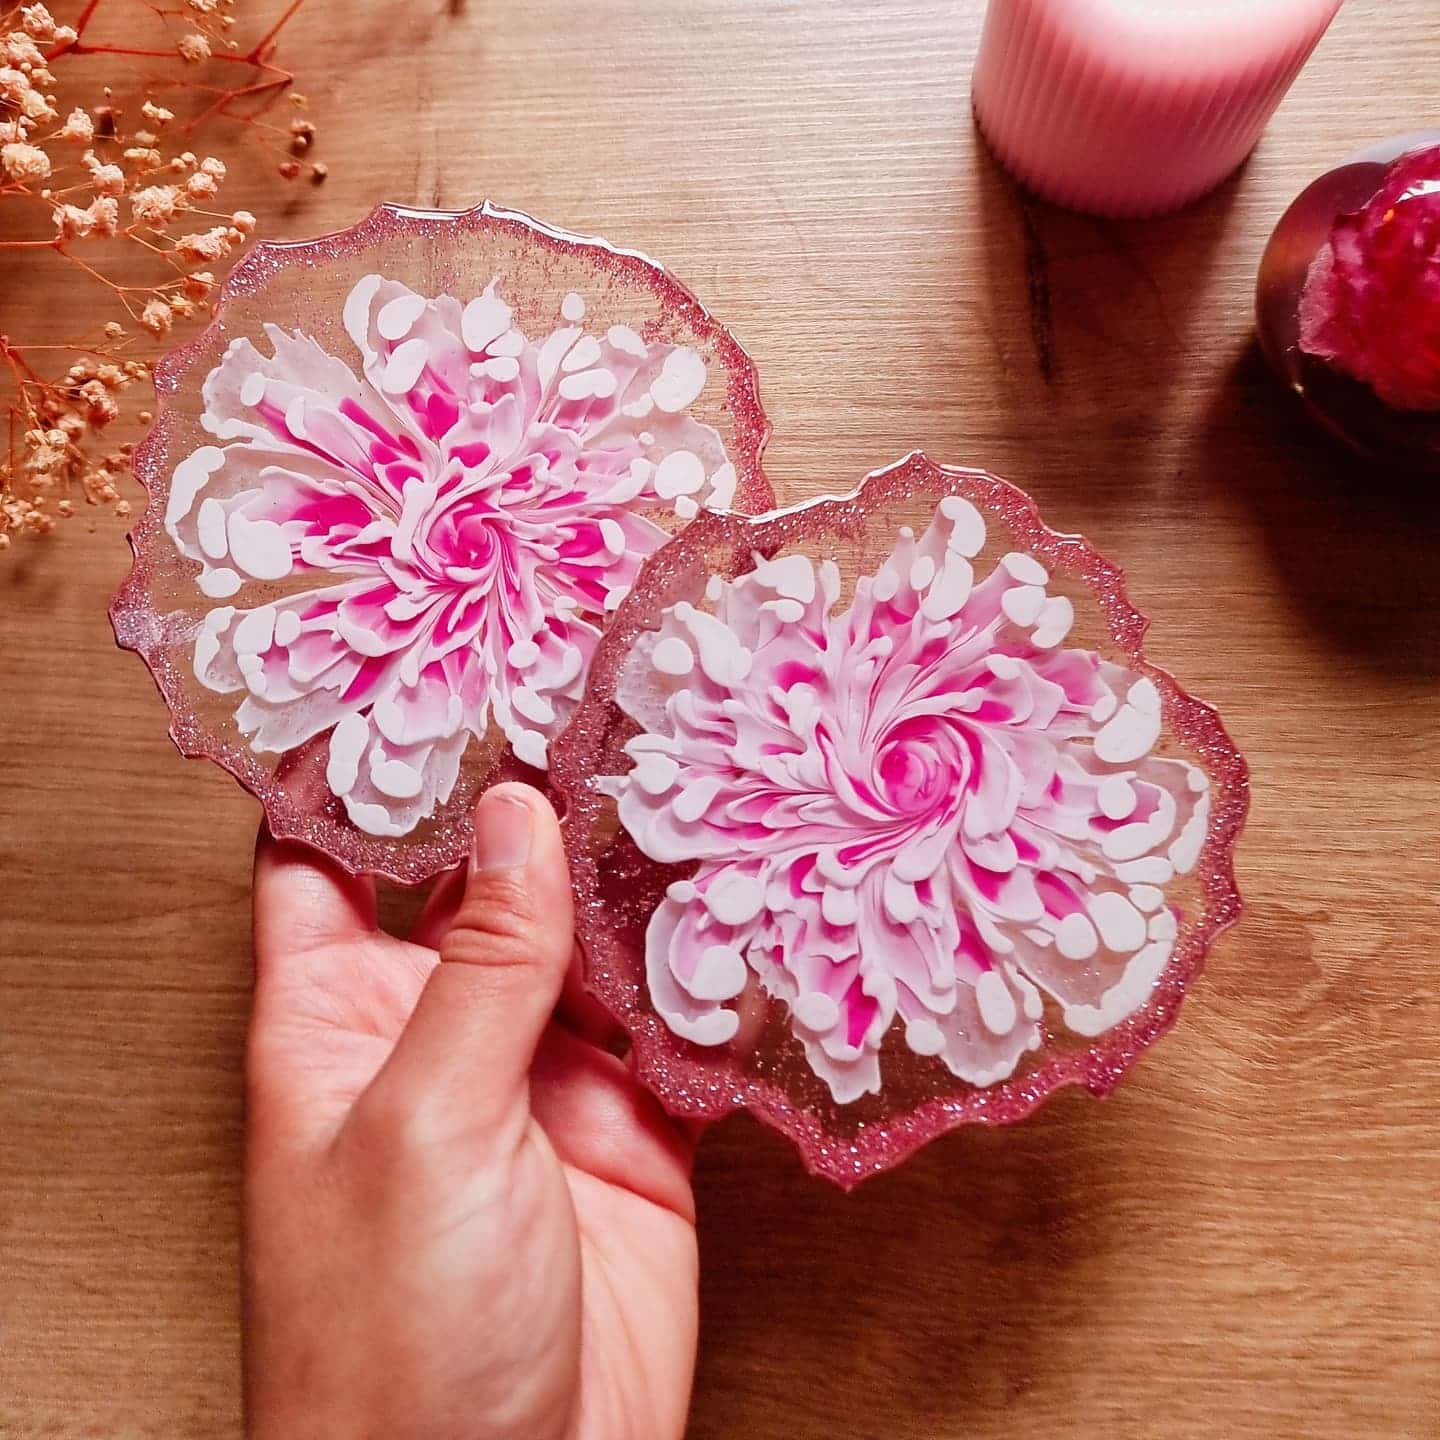
Creating a 3D effect with epoxy resin can transform everyday items into mesmerising works of art, full of visual depth and movement. Whether you are a hobbyist or an experienced artist, mastering this technique allows you to produce striking tables, coasters, or decorative pieces featuring multi-layered, dimensional designs.
What You’ll Need
- “EpoxyTable 5-Five” – Deep Pour Epoxy Resin for Tables and Large Projects – Up to 5cm or “Epoxytable 10-Ten” – Deep Pour Epoxy Resin for Tables, Up to 10cm Casting (choose thickness according to your project)
- “Art Pro Deluxe” – Ultra-High Viscosity Epoxy Resin for Artists (ideal for sharp line effects and surface finishes)
- Silicone or plastic moulds
- Pigments, resin pastes, or glitter (for colour and effects)
- Acetone wipes or isopropyl alcohol (surface cleaning)
- Mixing containers and sticks
- Thermometer

Essential Materials and Workspace Preparation
Gathering the right materials ensures a smoother resin casting process. A level, ventilated workspace, reliable moulds, and high-quality epoxy are the foundation for success. Keep protective gloves and safety gear at hand for every step.
Choose the Right Workspace and Safety Gear
Begin by setting up a clean, level workspace with good ventilation, as epoxy resin can produce fumes. Lay down protective sheeting to safeguard surfaces from spills, and ensure the area is dust-free to avoid imperfections in your finish. Always wear nitrile gloves, eye protection, and if necessary, a mask to prevent inhalation of fumes. Keep all required materials within reach so you can work efficiently and avoid contamination during the process.

Prepare Your Mould and Mix Resin
Choose a mould that complements your intended 3D effect, whether you are casting a small coaster, bowl, or a deep layer for a table. Clean the mould thoroughly, as any dust or residue may be transferred into the resin. Prepare your chosen resin according to the manufacturer’s instructions, mixing slowly and evenly to minimise bubbles.
If your project requires a thicker pour, opt for “Epoxytable 10-Ten” – Deep Pour Epoxy Resin for Tables, Up to 10cm Casting or “EpoxyTable 5-Five” – Deep Pour Epoxy Resin for Tables and Large Projects – Up to 5cm for clear, controlled layering. Use a thermometer to ensure the mixed resin is at the correct temperature, as this affects the curing process and the clarity of your final piece.
Layer Colours and Effects for Depth
To build a convincing 3D effect, pour your resin in multiple stages, allowing each layer to partially cure before adding the next. Begin with the deepest or background colours, adding pigments, resin pastes, or inclusions such as glitter or decorative items for visual interest. Pour slowly to avoid trapping air bubbles and use a heat gun or torch lightly over the surface if necessary to remove any that rise to the top.
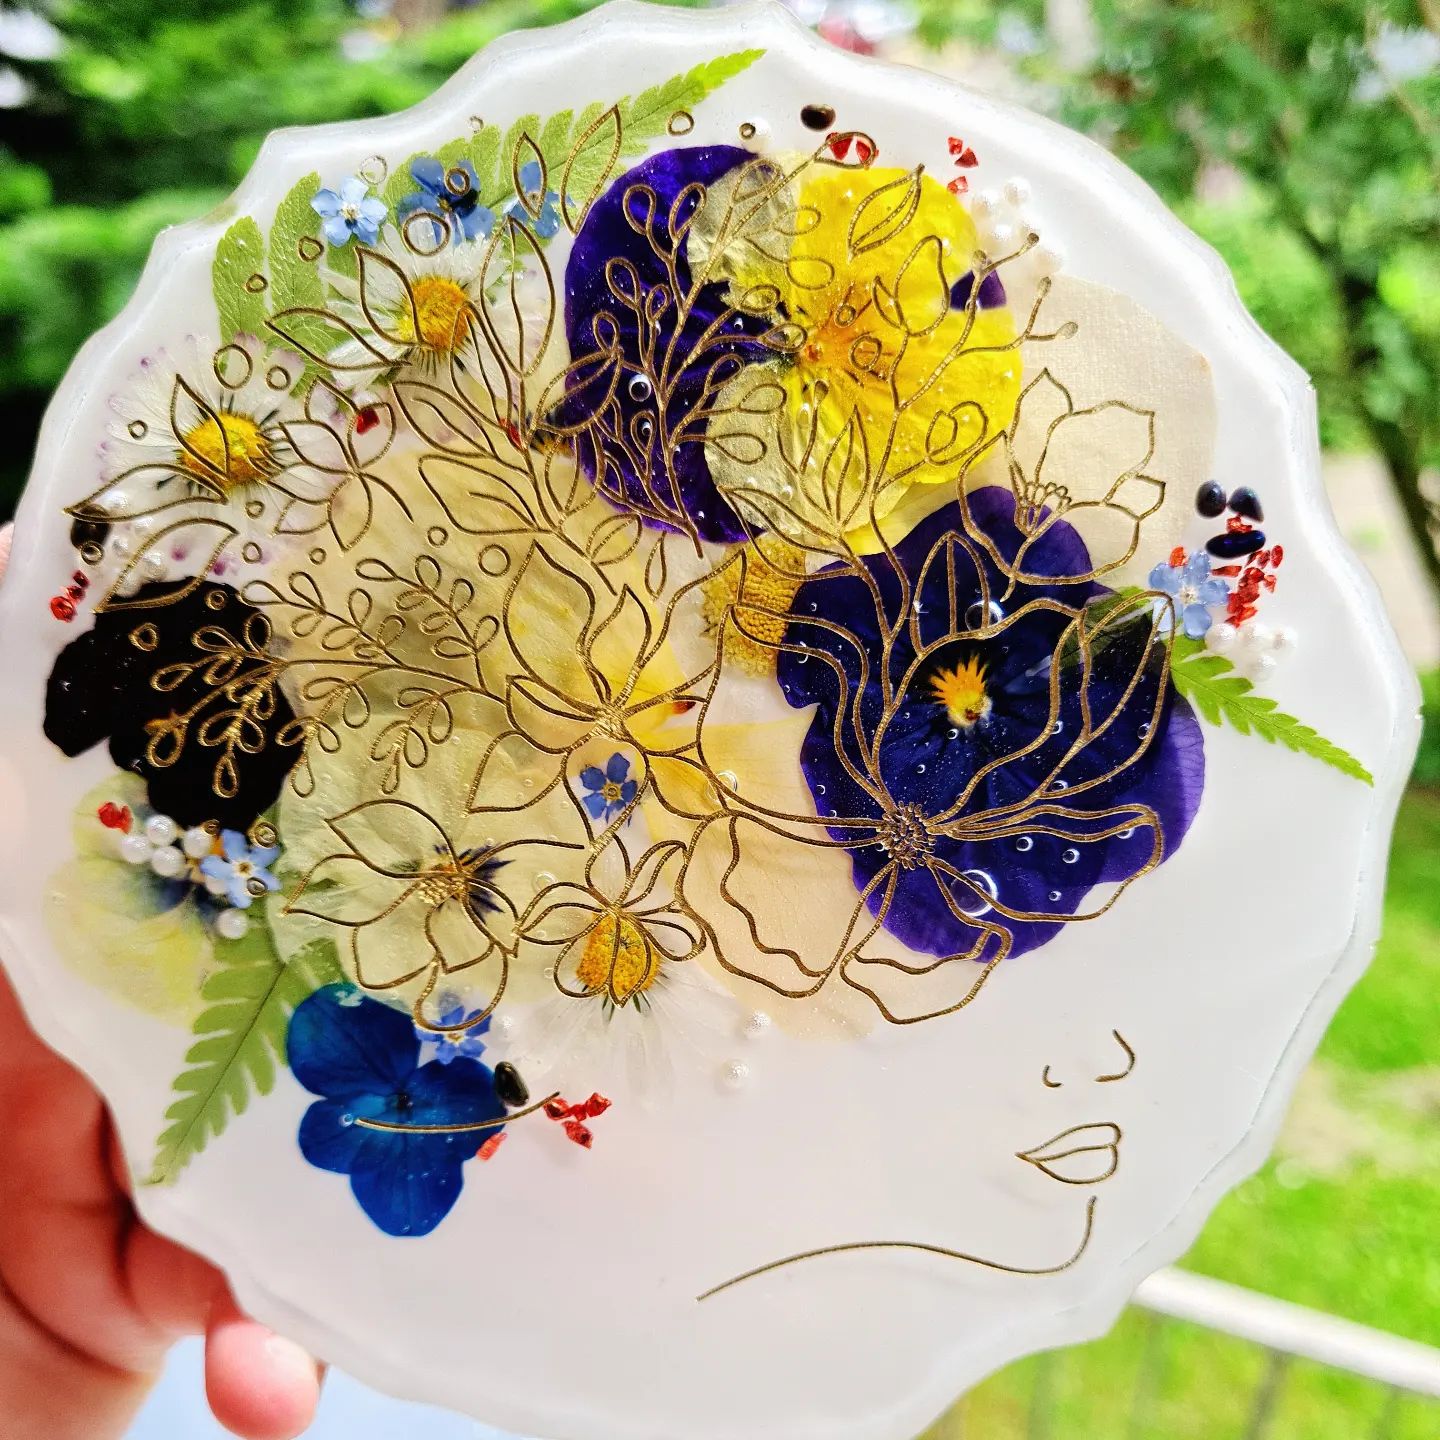
For sharp lines or when working on detailed surface effects like ocean waves or geode designs, “Art Pro Deluxe” – Ultra-High Viscosity Epoxy Resin for Artists offers precision and prevents unwanted blending between colours. Allow sections to gel or partially cure as needed to secure decorative elements in place without sinking.


Cast, Demould and Finish Your Piece
Once all layers have cured according to the recommended times, carefully demould your piece. If your design involves shaping semi-cured resin for a bowl or folded effect, monitor the curing until the resin reaches the ideal flexibility before handling. Trim any uneven edges with appropriate tools, and lightly sand the surface if necessary for a smooth, polished finish. For an ultra-glossy, scratch-resistant final coat, apply a thin layer of “Art Pro Deluxe” – Ultra-High Viscosity Epoxy Resin for Artists over the entire surface and allow it to set completely before using or displaying your 3D artwork.
Tips and Troubleshooting for 3D Epoxy Resin Art
Ensure each resin layer is set before pouring the next to maintain distinct visual boundaries and depth. Avoid overheating your workspace or resin, as high temperatures can lead to increased bubble formation or distortions in the cured piece. If bubbles persist, use a torch gently and avoid excessive re-mixing, which can introduce more air. If you are new to the process, consider joining a hands-on experience such as the Resin Class – 3D Effects Coasters Masterclass, 120 Minutes for live guidance and troubleshooting support.

Advanced Techniques for 3D Resin Projects
Experiment with pigments, embed ornaments, and control your pouring sequence to push creative boundaries. Repeat layering and selective curing create mesmerising depth and definition in epoxy resin art.

- Resin Class – 3D Effects Coasters Masterclass, 120 MinutesThis masterclass covers working with resin to produce coasters, trays and bowls, within the theme How to Create a 3D Effect with Epoxy Resin.
- “Epoxytable 10-Ten” – Deep Pour Epoxy Resin for Tables, Up to 10cm CastingPrice range: £35.95 through £351.95“Epoxytable 10-Ten” is an epoxy resin designed for deep pours up to 10cm, suitable for table and large artistic projects.
 "EpoxyTable 5-Five" – Deep Pour Epoxy Resin for Tables and Large Projects – Up to 5cmPrice range: £17.95 through £1,154.95EpoxyTable 5-Five is a deep pour epoxy resin designed for tables and large projects up to 5cm, suitable for long working times and UV-resistant…
 "Art Pro Deluxe" – Ultra-High Viscosity Epoxy Resin for ArtistsPrice range: £35.95 through £302.45Art Pro Deluxe ultra-high viscosity epoxy resin offers precise control for resin art with a crystal-clear, scratch-resistant surface.
Frequently Asked Questions
How do I choose the right resin for my project thickness?
Thicker castings require deep pour resins like EpoxyTable 5-Five for up to 5cm or Epoxytable 10-Ten for up to 10cm layers.
How can I avoid bubbles in 3D resin art?
Mix slowly, use a heat gun or torch to remove bubbles and pour in thin layers for best results.
Which resin viscosity is best for sharp 3D effects?
High viscosity resins like Art Pro Deluxe help maintain crisp lines and prevent unwanted colour blending in 3D artwork.
How long should I wait before demoulding epoxy resin layers?
Wait until each layer has fully cured as specified. Thicker pours may take longer; check product guidelines for accurate times.
Can I shape resin after pouring for bowl or tray effects?
Semi-cured resin can be gently manipulated into shapes like bowls or folds. Timing is crucial for flexibility without cracking.
How should I add pigments and inclusions for depth?
Pour initial layers first, then embed pigments or items in subsequent layers for maximum clarity and 3D visual impact.
Is 3D epoxy resin art suitable for beginners?
Yes, beginner-friendly resins and classes are available. Start with simpler layered coasters or small pieces to build confidence.