 Free shipping on orders over £29,85

How to create a water effect with epoxy resin?
Techniques and advice for lifelike ocean and river resin art


Transforming epoxy resin into captivating water effects is a creative process suited to artists, hobbyists, and crafters alike. Whether you’re aiming for a serene ocean scene, dynamic river art, or shimmering beach coasters, this guide explains the essential steps. Learn how to master resin pours, colour gradients, and wave techniques to achieve mesmerising, realistic results.

What You’ll Need
- “Sea” – Resin Kit for Creating Ocean Art, 1.7kg Epoxy, Pigments & Canvas: a complete kit with thick resin, pigments, a canvas, and wave additive
- “Art Pro Deluxe” – Ultra-High Viscosity Epoxy Resin for Artists: ideal for controlled pours and highly defined patterns
- “Marine Palette” – Set of Dyes for Ocean Art, Epoxy Resin, and Beach Effects: concentrated marine-inspired pigments and Wave-Pro powder for foam effects
- “Colourfun Set” – Liquid Epoxy Resin Colourant Set for Solid Colour Effects: liquid colourants for building up aquatic gradients
- Mixing containers and wooden sticks
- Nitrile gloves and dust-free workspace
- Protective covering for surfaces

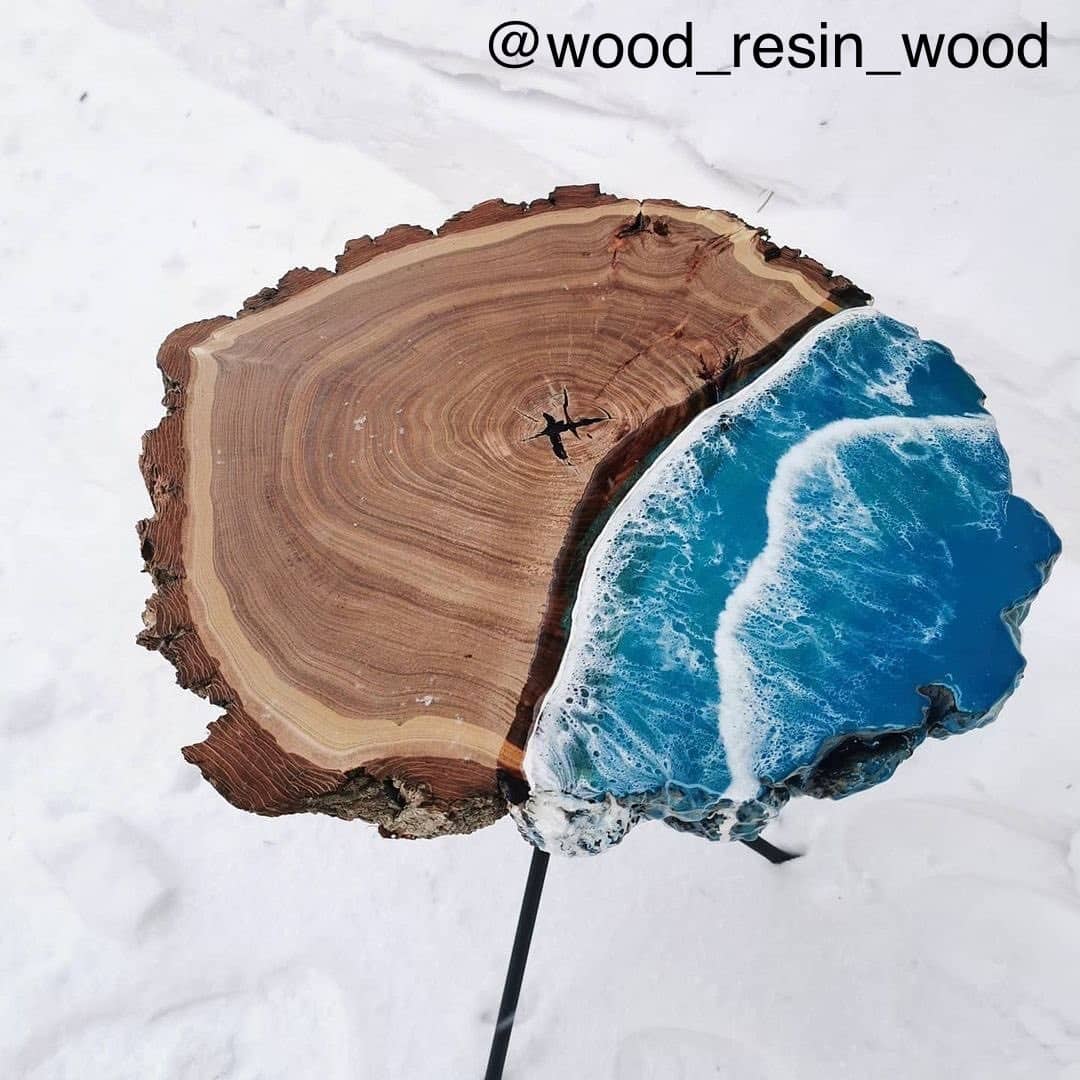
Inspiring Ocean Resin Art and Key Materials
Browse finished ocean-inspired art to spark ideas for your own creations. Explore different uses of marine pigments and wave additives in layered water effects, and preview how various colour gradients and foam details can be developed step by step.
Step 1: Prepare Your Workspace and Canvas
Before you begin, ensure your workspace is clean, dust-free, and protected with a plastic sheet or disposable covering. Raise your canvas (or base) slightly using supports so excess resin can drip freely. Wear gloves and use a well-ventilated area for safety and comfort. Place all your tools within reach and arrange your colourants so you’re ready once the resin is mixed. This organisation helps control timing, as epoxy resin has a limited working window before it starts to set.


Step 2: Mix and Tint the Epoxy Resin
Carefully measure and mix your resin and hardener according to product instructions, ensuring a thorough blend for best results. For highly controlled pours—especially when creating layered or striped effects—use a high-viscosity resin for precise line work. Add your selected pigment drops or paste (like those in the Marine Palette set or Colourfun Set), mixing thoroughly for even colour. Start with ocean blues, turquoise, and gentle greens to mimic water depth and light movement. Avoid incorporating any water or moisture, as it can spoil the finish.
Step 3: Pour and Manipulate for Water Effects
Begin with the darkest shades, pouring them towards the canvas base to suggest deeper water, and progress to lighter colours near the ‘shore’ for a shallower, more transparent look. Plan your colour layering and movement according to your reference or imagination. Tilt and gently move the canvas to blend the shades for soft gradients. For more dramatic water motion or defined wave lines, employ a thick resin such as Art Pro Deluxe for better control over shape and separation between colours. Use a spatula or stick to guide flow as needed.


Step 4: Add Foam, Waves, and Finishing Touches
While the surface is still tacky, gently add ‘foam’ and breaking wave effects using white pigment or a specialised wave additive (as found in the “Sea” resin kit). Blow the white-tinted resin across the surface with a straw or heat tool for lacy cell structures and crest details. Add foamy details for realism, but work quickly—resin thickens as it cures. Allow the piece to settle and self-level, then leave covered to protect from dust.
Tips and Common Mistakes
To achieve the most natural finish, pour in stages—letting each layer partially cure gives better depth and dimension. Don’t rush the curing process: leaving the piece undisturbed ensures maximum gloss and clarity. Common errors include mixing pigment into the resin too hastily, resulting in streaking, or neglecting surface protection, which risks dust or debris. Experiment on a test tile if you’re working with new pigments or techniques—the right combination of pigments and wave additives unlocks the most convincing water effects.
Gallery of Layered Resin Water Effects
Discover examples of realistic ocean and river resin art—notice subtle colour transitions, use of foam, and clarity from high-viscosity resin. These demonstrate the versatility of epoxy resin and marine pigments when building depth and surface vibrancy.

- "Sea" – Resin Kit for Creating Ocean Art, 1.7kg Epoxy, Pigments & Canvas£47.45"Sea" resin kit offers pigments, thick epoxy, and a wave additive for ocean-inspired art under the theme of creating water effects with epoxy resin.
- "Art Pro Deluxe" – Ultra-High Viscosity Epoxy Resin for ArtistsPrice range: £35.95 through £302.45Art Pro Deluxe offers ultra-high viscosity for precise line control in resin art, fitting the water effect epoxy resin theme.
- "Marine Palette" – Set of Dyes for Ocean Art, Epoxy Resin, and Beach EffectsPrice range: £11.45 through £17.95The "Marine Palette" offers a professional set of concentrated, odourless marine dyes designed for realistic ocean effects in epoxy resin art.
 "Colourfun Set" – Liquid Epoxy Resin Colourant Set for Solid Colour EffectsPrice range: £14.45 through £50.95The Colourfun Set provides intense, translucent epoxy resin colour pastes suitable for water effect projects and smooth blending.
Frequently Asked Questions
Are water effects with epoxy resin suitable for beginners?
Yes, with planning and the right products or kits, even first-timers can create effective water effects by following straightforward steps.
Which kits help create wave or foam effects?
Kits such as the "Sea" resin kit include a wave additive, making it simple to achieve realistic foam and wave finishes in resin art.
How can I avoid air bubbles in my resin water effect?
Mix resin and hardener thoroughly but gently to reduce bubbles, and pass a heat gun lightly over the surface after pouring.
Are these resins suitable for coasters or trays?
Yes, especially high-viscosity resins designed for art; just be sure to pour thin layers and allow full curing before use.
How long is the working time for resin art projects?
Typically, you have 15–30 minutes per pour depending on the resin, so prepare materials in advance for smooth workflow.
Do I need specific pigments for resin water art?
Marine-inspired pigment sets provide colour accuracy and blendability, giving the best effect compared to ordinary dyes.