EPOXY RESIN - F.A.Q.
In our online shop, we offer a selected range of high-quality epoxy resin products, ideal for any type of artistic project, such as creating refined tables, exclusive jewelry, and magnificent resin paintings.
To guide you through the intriguing and complex world of epoxy resin, we have created a detailed F.A.Q. section, developed to clarify any doubts you may have.
PLANNING
A. Product selection
B. Application methods
C. Planning
D. Safety and personal protection
E. Forms, molds, and release agents
WORKING
F. Casting preparation
G. Colorants
H. Working
I. Troubleshooting
POST-PROCESSING
J. Post-creation curing
K. Polishing and protection
Whether you're an advanced artist or a beginner with epoxy resin, our technical FAQs are your go-to resource for all your questions about resin art.
We are here to help you make informed decisions about product selection, application conditions, and post-installation care, ensuring your projects are as flawless as possible.
Of course, we understand that our F.A.Q. section may not cover every specific question or concern you might have: our team of epoxy resin experts is always ready and happy to assist you with any inquiries or provide further guidance.
Dive into the fascinating world of epoxy resin art and explore our frequently asked questions section today. Your masterpiece awaits you!
PLANNING
A. Product selection
WHICH RESIN IS MOST SUITABLE FOR A WOODEN TABLE?
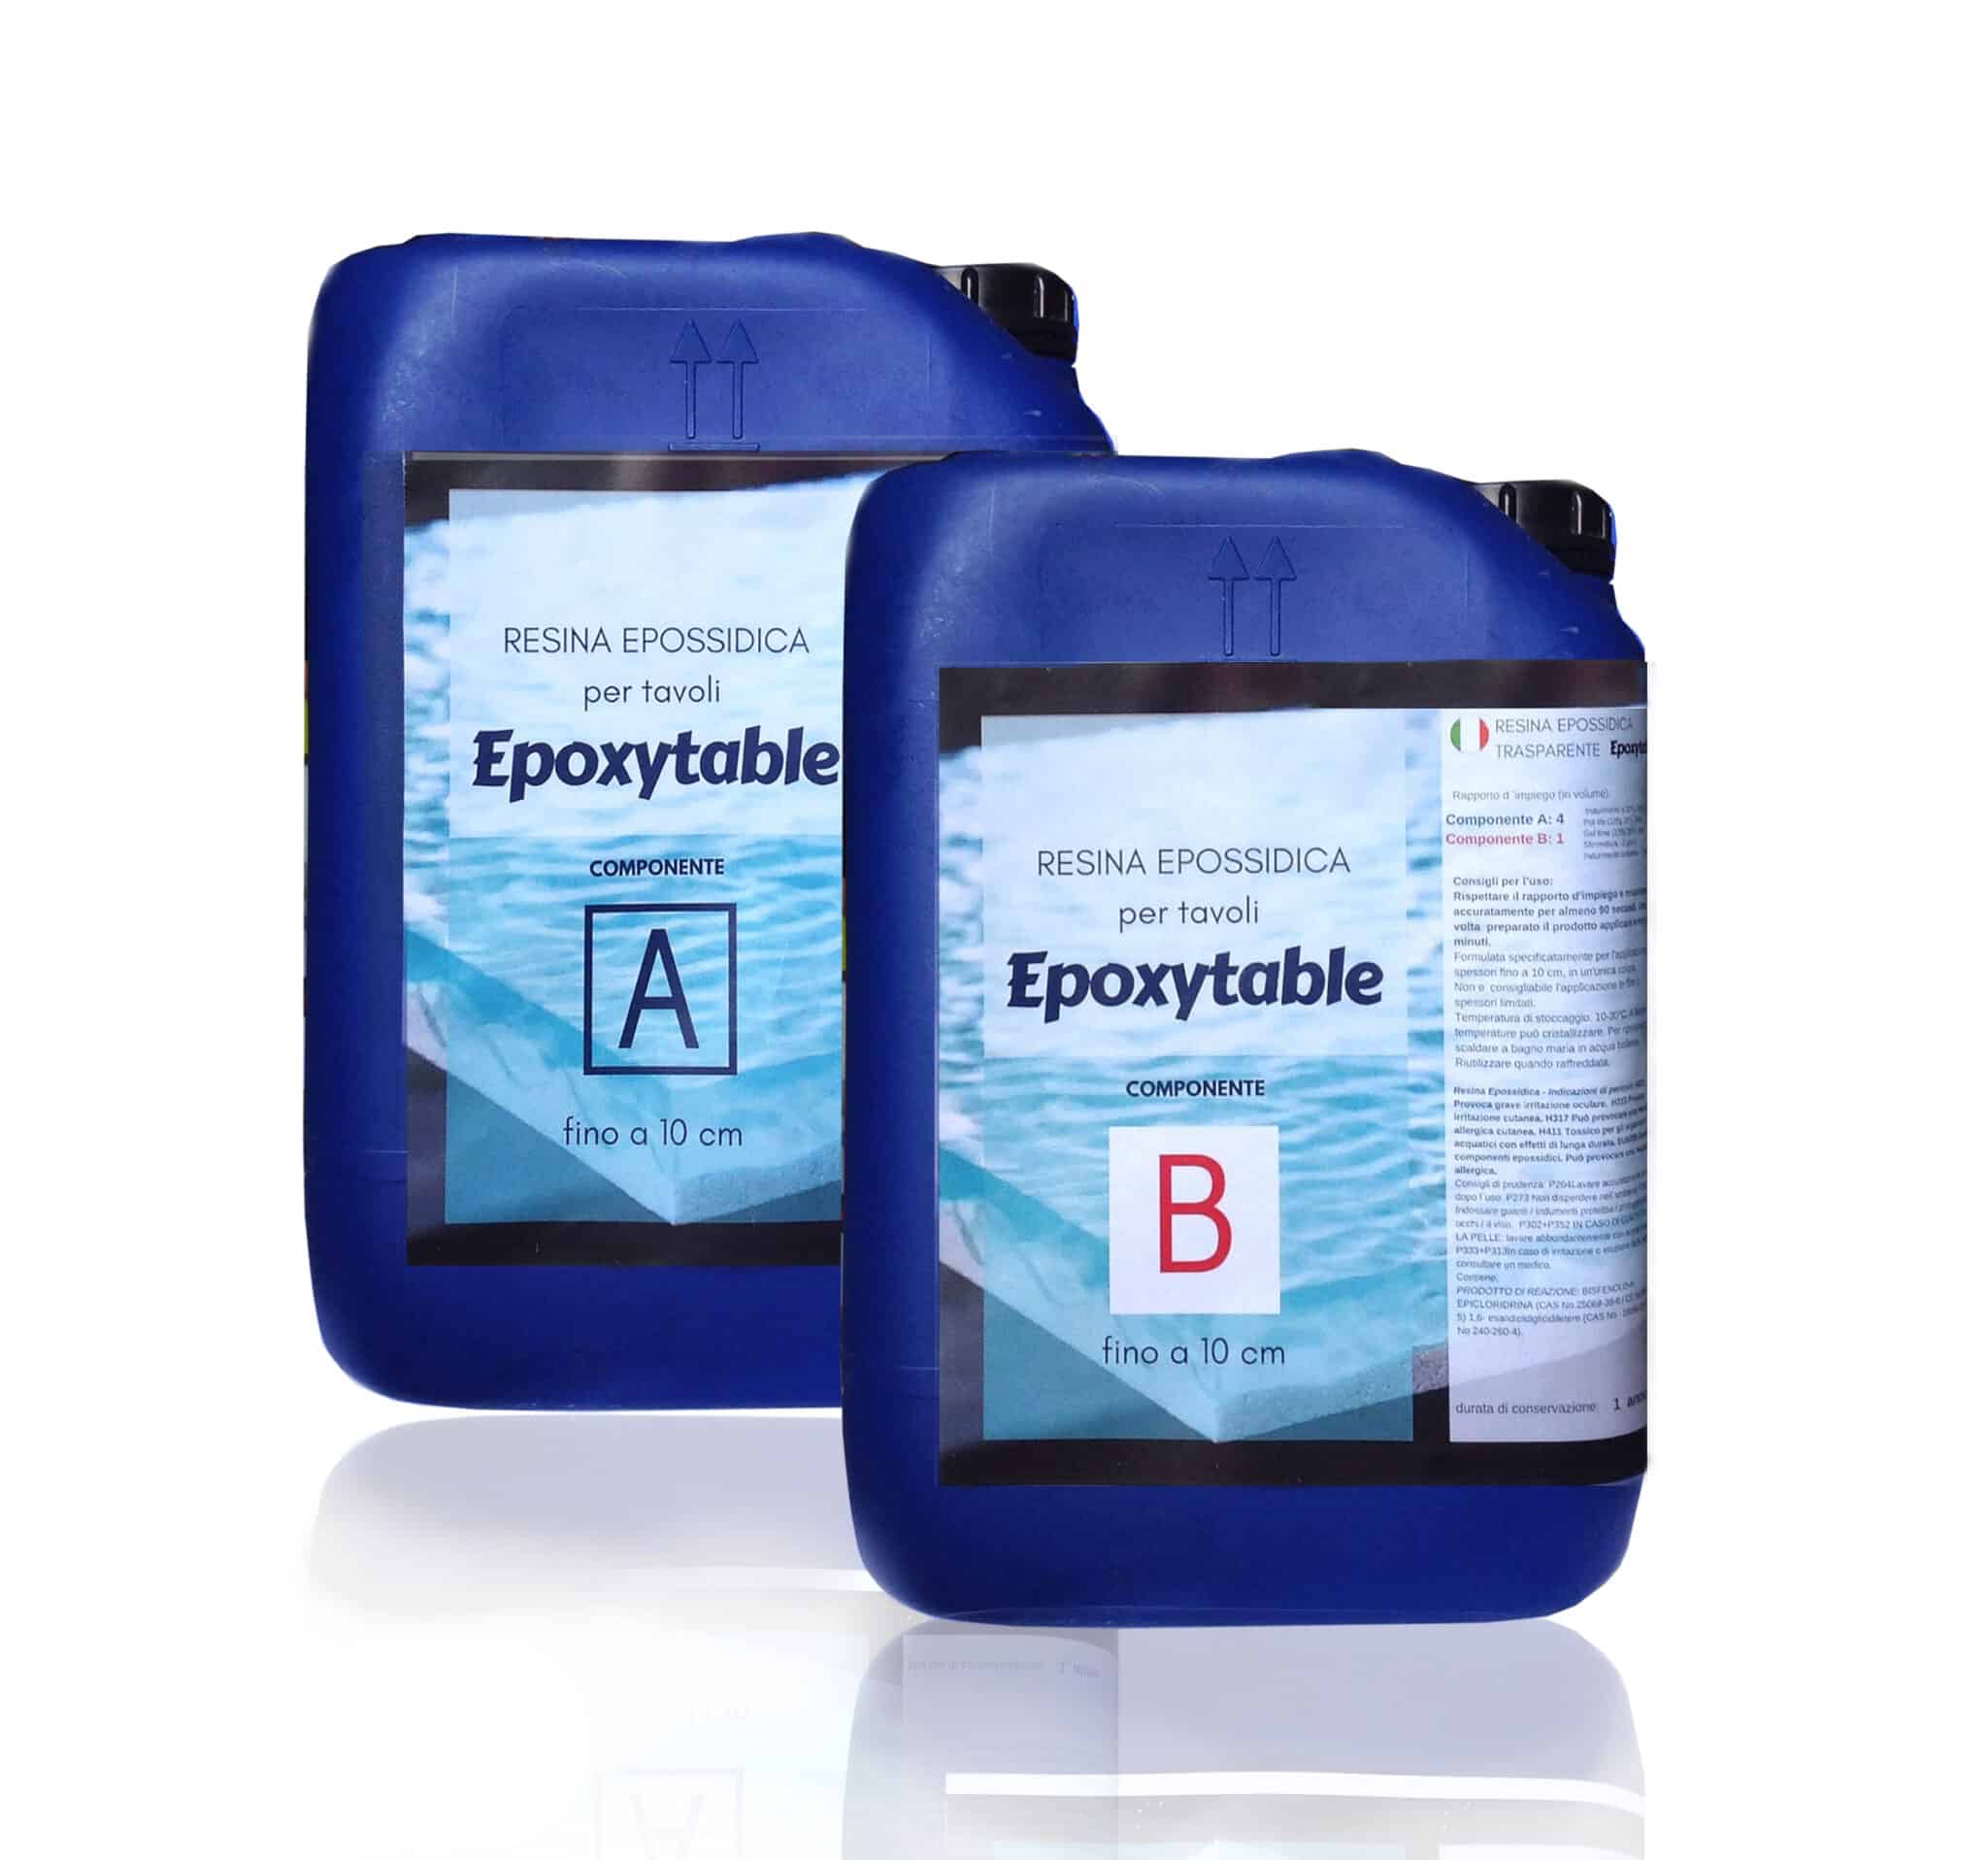
Epoxytable Five (depending on the thickness) is the ideal product for creating a River Table: low exothermic reaction, low viscosity (to eliminate air bubbles), and long workability.
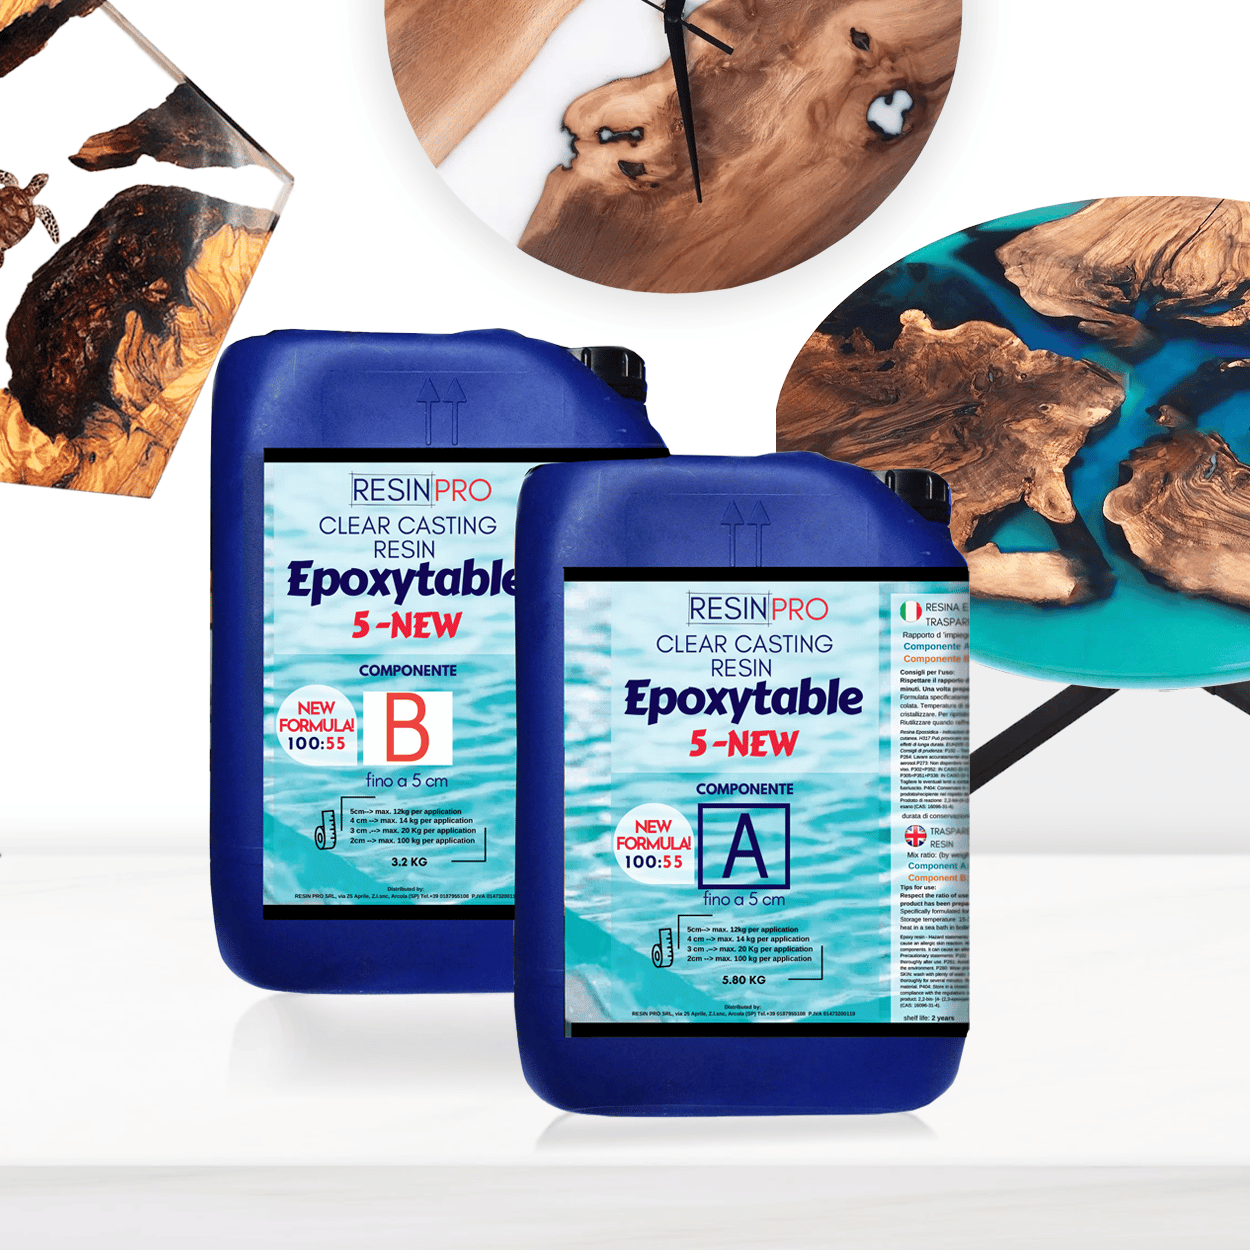
Non-Toxic Epoxy Resin for Tables Epoxytable 5-FIVE - Perfect Castings up to 5 cm
Starting from £14.85
WHICH RESIN IS BEST FOR JEWELRY?
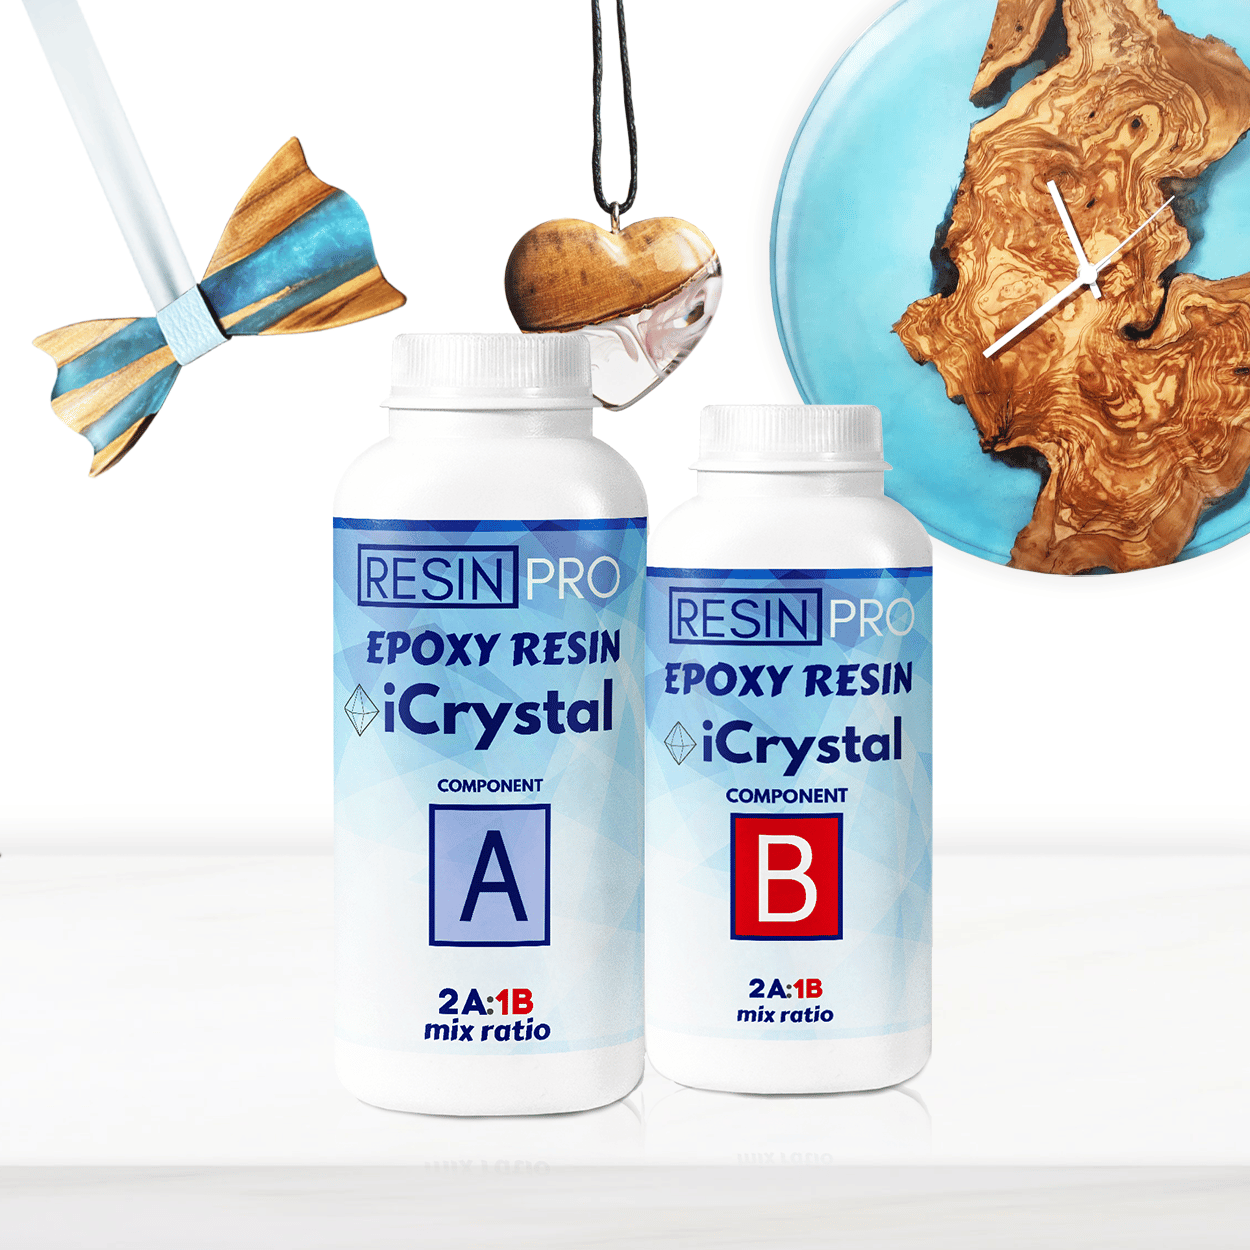
For small objects like jewelry, we recommend using a transparent epoxy, such as "ICRYSTAL," due to its low viscosity (fewer bubbles) and excellent mechanical resistance. It has a curing time of 24-48 hours.
RESINS RECOMMENDED FOR TABLETOPS AND FLOORS
It all depends on the material of the floor/table and the application purpose. For coating cementitious materials, we recommend our "Resistone" resin, a single-component resin that deeply impregnates the material and fully waterproofs it. If we want to coat, for example, a floor or kitchen countertop and obtain surface thickness, we recommend our Art Pro (high mechanical performance/resistance) also available in "Deluxe" version.
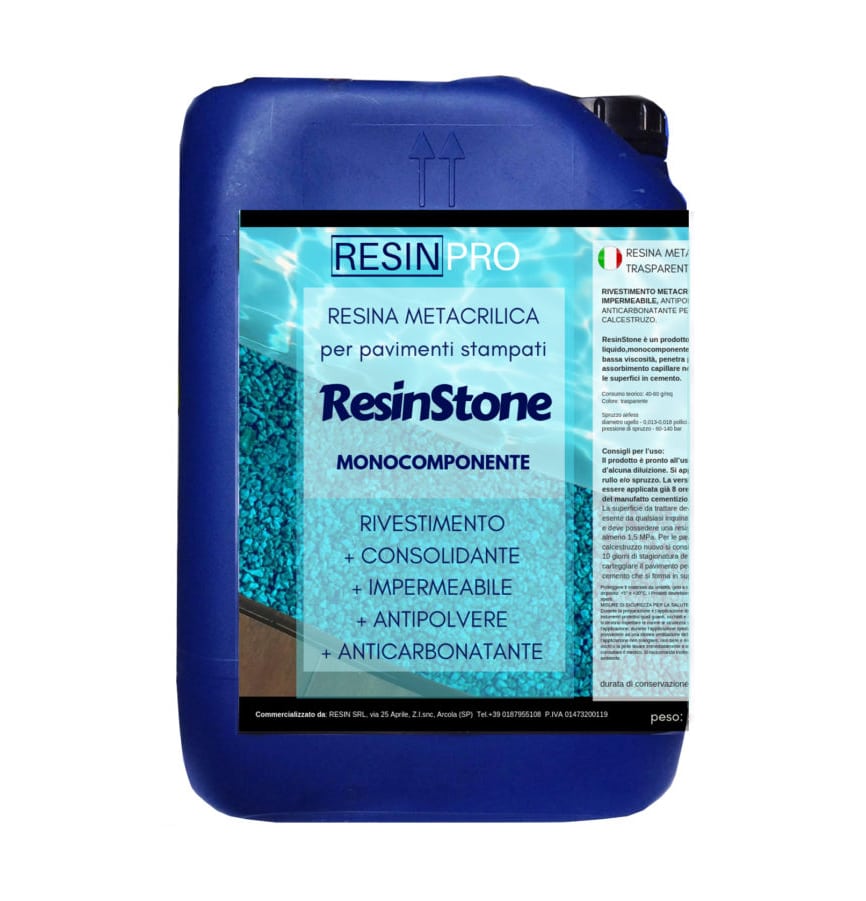
ResinStone – Single-Component Methacrylic Resin for Concrete and Stamped Floors – Reinforces and Protects!
Starting from £32.85
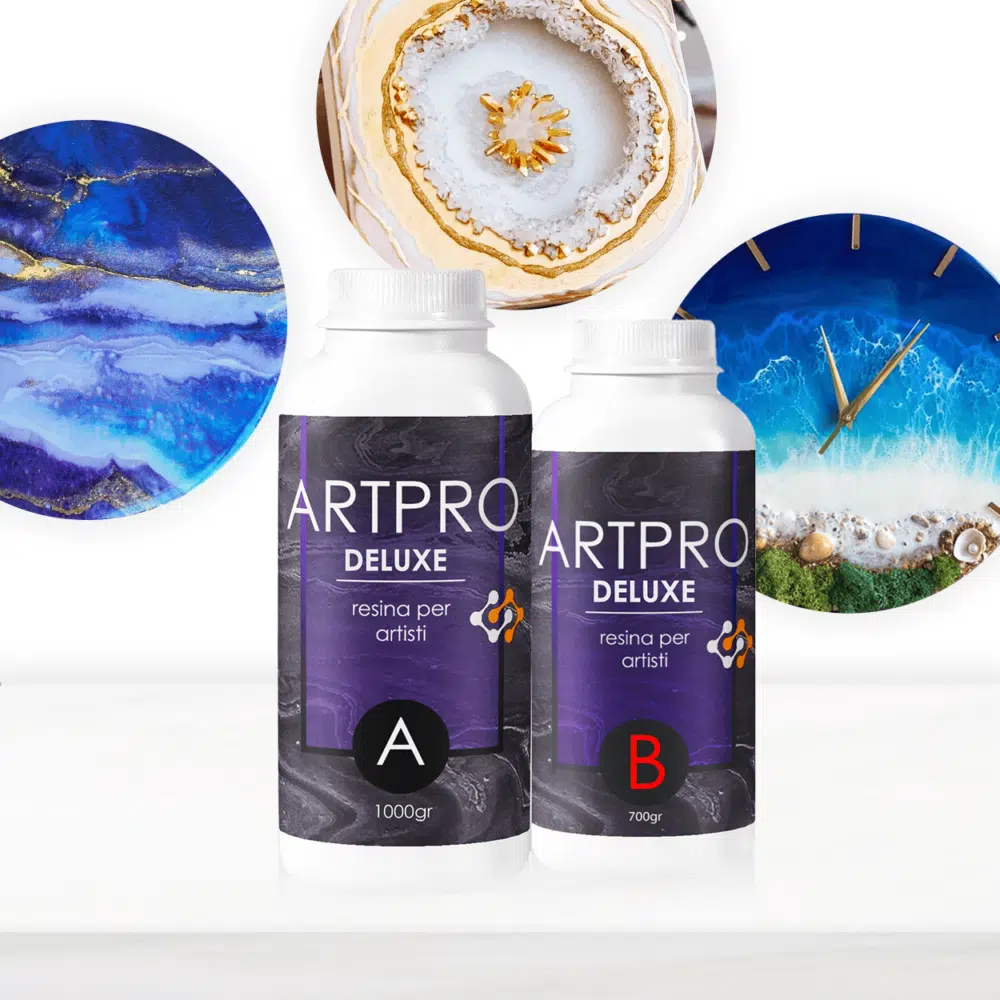
ART PRO DELUXE High-Density Transparent Epoxy Resin: Sharp and Perfect Designs!
Starting from £30.40
MIXING RESINS FROM DIFFERENT SUPPLIERS
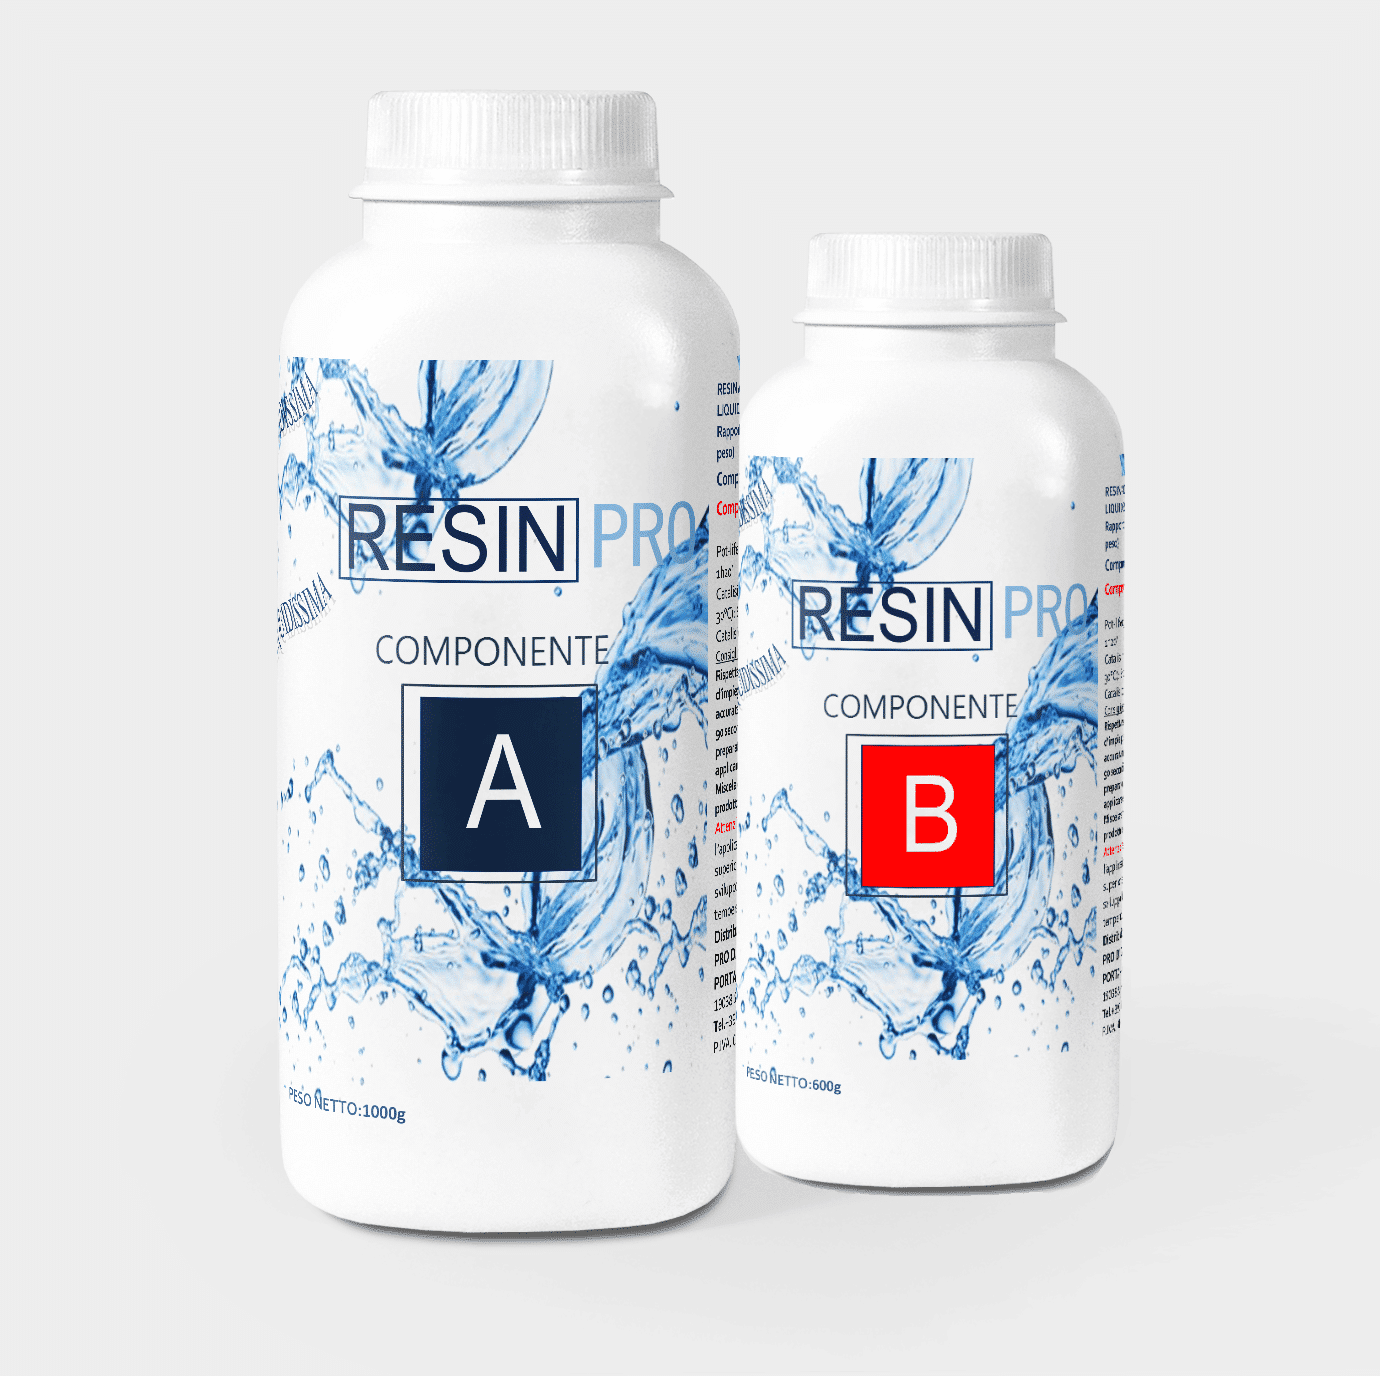
We strongly advise against this type of application. Chemically different components will almost certainly result in an altered chemical reaction and a potentially negative outcome. Whether it's Resinpro or another company, when you decide to work on a project, make sure to use resins and products from a single manufacturer. Lastly, we recommend not mixing Resinpro products (part A or B) intended for different thicknesses or applications.
SHELF LIFE OF EPOXY RESINS
One of the positives of resin is that, unlike many other products on the market, it doesn't have a "hard" expiration date (it is required by law, but to give you a daily-use example, it behaves like salt). The only thing to be mindful of is storage. In this regard, we recommend storing the resin at room temperature (not below 15°C), avoiding direct contact with UV rays, and protecting component A from direct contact with moisture.
STORAGE RECOMMENDATIONS
Store the resin in a room at ambient temperature (minimum 15°C), avoiding direct contact with UV rays and humidity, which are the main "enemies" of resin.
MY RESIN IN THE ORIGINAL PACKAGE HAS TURNED YELLOW
If the resin has been stored for two years or more, it may start to yellow. This is only an aesthetic issue. In terms of hardening and mechanical properties, it remains 100% effective. If you plan to color it, you can use it without any problems.
SINGLE OR MULTIPLE POURS
For aesthetic reasons and to avoid visible lines on the edges of the creation, it is recommended, when possible, to perform a single pour, keeping in mind the maximum thickness properties of epoxy formulas.
THE BEST RESIN FOR CASTING IN SILICONE MOLDS
For use with silicone molds, we recommend the classic multi-purpose resin system Icrystal.
WHICH RESINS TO USE TO COAT A CANVAS PAINTED WITH ACRYLICS?
For canvases, paintings, or artistic creations in general, the best product is Art Pro resin.
WHICH RESIN IS BEST FOR CREATING SEASCAPES?
The best resin for the artistic/creative field is without a doubt our "Art Pro."
CAN I POUR RESIN WHEN IT'S VERY HOT IN THE WORKSHOP?
The ideal temperature for pouring is between 25 and 30°C. Pouring at temperatures above 80°C may compromise the final result, with possible cracks due to too rapid curing. Conversely, pouring at an ambient temperature below 15°C may result in a matte surface.
CAN I USE RESIN ON VERTICAL APPLICATIONS?
It is possible to work vertically with a spatula or brush. For this type of use, we recommend our "ART PRO DELUXE." Thanks to its highly viscous nature, it allows vertical applications while limiting the risk of direct drips onto the floor.

ART PRO DELUXE High-Density Transparent Epoxy Resin: Sharp and Perfect Designs!
Starting from £30.40
HOW CAN I SPEED UP RESIN CURING?
FOR SMALL CASTS: To accelerate the curing process, it is necessary to provide a thermal advantage, i.e., place the object/mold near a heat source (e.g., radiator, stove) or simply in the warmest room of the building, aiming to reach a temperature between 25-30°C, the optimal temperature for proper resin application.
FOR LARGE CASTS, however, it is better not to apply high heat at the beginning of the curing process.WHAT IS THE MINIMUM APPLICATION THICKNESS?
We recommend a starting minimum thickness of 1.5 mm (bare minimum) up to 10 cm for casting.
RECOMMENDED AMBIENT TEMPERATURE AND HUMIDITY
For proper application, it is recommended to never let humidity exceed 50% and/or temperature fall below 15°C or rise above 60°C. Ideally, the perfect temperature is between 20-30°C with humidity levels at or below 40%.
APPLICATIONS TO AVOID
Epoxy resin is compatible with almost all surfaces, except for materials that contain water. Therefore, it is necessary to encapsulate moist objects before immersing them in resin.
IDEAL TEMPERATURE AND HUMIDITY FOR CASTING
The ideal temperature for working with resin is between 20-30°C for small volume creations and between 15-20°C for large-scale applications. It is recommended to work in a ventilated environment (not within living spaces), with humidity levels below or equal to 40%.
WHAT MOISTURE CONTENT SHOULD THE WOOD HAVE BEFORE ENCAPSULATING IT IN RESIN?
Before encapsulating wood in resin, ensure that the internal moisture content is equal to or less than 15%.
SHOULD WOODEN BOARDS BE TREATED BEFORE BEING PLACED IN RESIN?
Absolutely yes, this is a crucial step for successful application. The wood must be planed, roughened (with the bark removed), cleaned (dust-free), and impregnated with a highly fluid resin (impregnating resin) like our "liquidissima." This final phase aims to seal every pore in the wood, thus preventing any air infiltration and subsequent bubble release from within the wood.
DO I NEED TO PLACE A SUPPORT FRAME UNDER THE TABLE?
Yes, we recommend placing a support structure under the table to ensure that the table top is stable and level to avoid sagging. This is particularly important for tabletops with a high percentage of resin compared to wood. Resin should not be used as a structural support.
CAN I POUR A NEW LAYER ON A SURFACE THAT HAS NOT FULLY CURED YET?
We need to carefully analyze the situation by answering some questions; what state is the resin in at the moment? Is it still warm or cool? Is it hard or in a gel state? If it is cool and hard/soft (not gel), we can pour, otherwise, we must wait for the complete curing of the resined surface.
WHAT CAN I "ENCAPSULATE" IN RESIN?
In theory, you can encapsulate any type of object/material. For aesthetic/application reasons, we recommend encapsulating non-organic objects/materials, and here’s why: If you encapsulate an organic material (like a rose), a natural decomposition process of the material will occur within your resin creation, significantly impacting the final aesthetic effect. The only feasible solution is to dry the material before encapsulating it. In any case, the most suitable product for this type of application is our "Epoxytable 10 - up to 10 cm of casting," the highest-quality product in the entire ResinPro range. An excellent alternative, for thicknesses up to 5 cm, is our "Epoxy-Table 5."

Non-Toxic Epoxy Resin for Tables Epoxytable 5-FIVE - Perfect Castings up to 5 cm
Starting from £14.85
CAN I MIX DIFFERENT RESINS?
No. Each resin is formulated for a specific adhesion reaction. It is possible to apply a different resin over an already cured and cooled layer. (We recommend contacting the dedicated technical office to receive 360° application advice) via WhatsApp at >3334819266.
CAN I POUR RESIN OVER AN IMAGE/PHOTO?
Certainly, it is an increasingly popular type of application in the artistic/decorative world. For this type of work, we recommend a specific product: Our "ART PRO" transparent epoxy resin, also available in the Deluxe version (even denser). Thanks to its viscosity/density, it allows working even vertically with a spatula or brush, significantly limiting potential resin drips.

ART PRO DELUXE High-Density Transparent Epoxy Resin: Sharp and Perfect Designs!
Starting from £30.40
APPLYING ADDITIONAL LAYERS
It is possible to perform multiple pours 24 hours apart, even on an already cured resined surface, as resin in the curing phase will tend to adhere to an already cured layer. The only aspect to consider is purely aesthetic. In fact, each pour will create a thin line easily visible on the edges/sides of the creation. Consequently, more pours will form more layers of resin, each leaving a slight recognizable mark. For purely aesthetic reasons, it is therefore recommended to perform a single pour when possible (e.g., with EPOXYTABLE 5). To increase adhesion and make the surface more receptive, we recommend a light sanding (grit 320) between pours.
VARIABLES IN CURING TIME
In important applications (such as River Tables), where casting thicknesses range from 3 to 8 cm, a significant total volume of resin is required, typically between 5 and 100 kg. In these contexts, curing occurs approximately after 3-6 hours. Complete hardening takes 2-3 days. For smaller creations, which account for 90% of resin applications, such as jewelry making (thin layers with little resin), complete curing will occur between 12 and 24 hours. Conversely, polyurethane resins have a much faster curing time and, consequently, a shorter working time (curing between 5 and 60 minutes).
CALCULATING THE VOLUME OF RESIN NEEDED FOR ROUND OR CIRCULAR OBJECTS
Download the Smartphone application "ResinCalculator" (available for Android and iPhone). Once inside, click on the project with the option "Circular Filling." You will be asked for the type of resin to apply and the dimensions in terms of diameter, thickness, and volume. At that point, the system will automatically calculate the weight of the resin to pour, divided between component A and component B.
Resin Pro Consumption Calculator
RECOMMENDATIONS FOR THICK CASTING; 2 CM AND ABOVE
With the two transparent epoxy resins "Epoxytable5" and "EpoxyTable10," medium-high thickness layers up to 10 cm can be achieved. The "Epoxytable5" resin allows for a single layer thickness of up to 5 cm, thanks to its low exothermic reaction and high mechanical resistance.

Non-Toxic Epoxy Resin for Tables Epoxytable 5-FIVE - Perfect Castings up to 5 cm
Starting from £14.85
WHY DO RIVER TABLES SOMETIMES BEND?
The key concept here is mass effect: by mass effect, we mean the phenomenon of exothermic reaction and heat release. With minimal thickness, such as when creating castings up to 1 cm thick, the heat is immediately dissipated and heats up more slowly. Conversely, with castings over 1 cm thick, the heat is dissipated more slowly, causing the surface to heat up faster. This accelerated heating significantly increases the exothermic reaction, so much so that cracks, deformations, and toxic fumes may occur. For this reason, we recommend not pouring too much resin all at once, or using specific resins for medium-high thickness castings thanks to their low exothermic reaction, such as EPOXYTABLE 5 or Epoxytable 10.

Non-Toxic Epoxy Resin for Tables Epoxytable 5-FIVE - Perfect Castings up to 5 cm
Starting from £14.85
HOW TO REDUCE OR PREVENT YELLOWING OF THE FINAL PRODUCT
Avoid exposing the finished object to direct sunlight or UV rays. Since this is not always possible, you can try coloring the resin. The higher the percentage of colorants, the lower the likelihood of seeing potential yellowing in the resin creation. In any case, even if the resin has slightly yellowed, it retains its mechanical and resistance properties, so you can still use it without any problems.
WHAT TYPES OF WOOD ARE BEST SUITED FOR USE WITH EPOXY RESIN?
For river tables, we recommend using dense and compact woods, such as fir, oak, walnut, and chestnut.
DO I NEED TO WEAR PROTECTIVE GEAR?
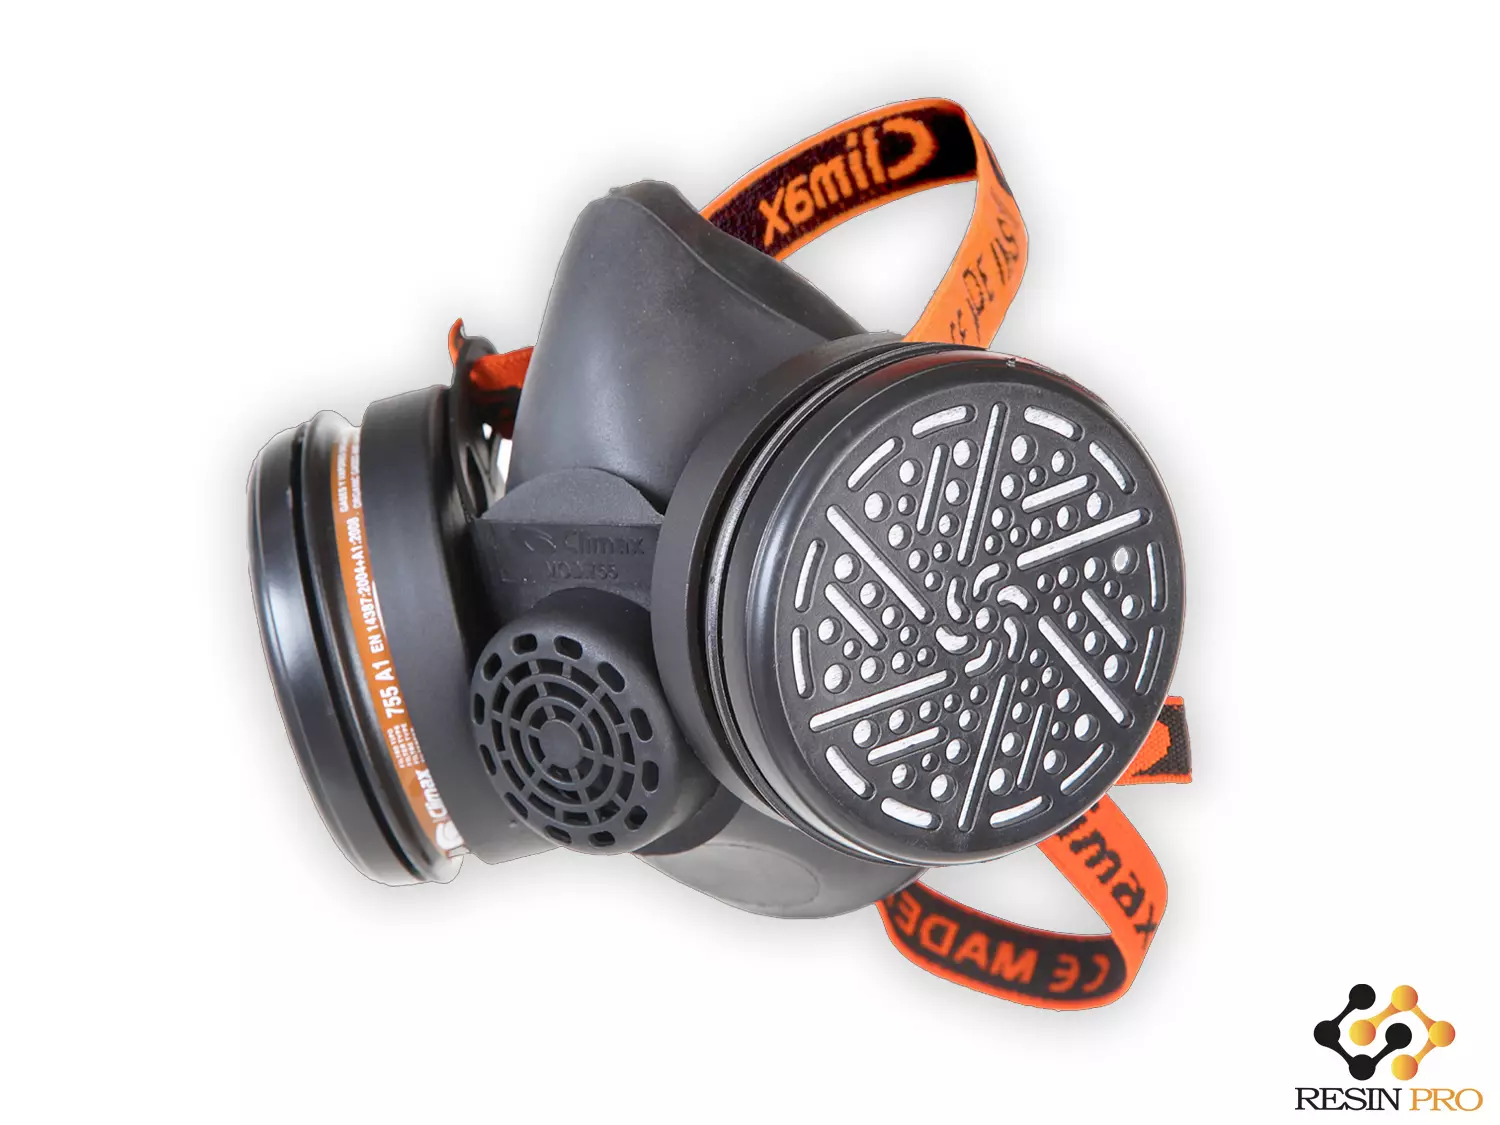
Absolutely yes. Since these are chemical products, we must work in complete safety. Resinpro has written an article providing guidelines and common-sense rules to follow before, during, and after working with resin pours. The most well-known personal protective equipment (PPE) are 3: latex gloves, protective glasses, and an FFP2 mask with interchangeable filters.
DOES RESIN RELEASE TOXIC FUMES?
During processing, resin can release toxic fumes, especially when a rapid and violent exothermic reaction occurs (mass effect). By mass effect, we mean the phenomenon of exothermic reaction and heat release. With minimal thickness, such as casting up to 1 cm, heat is immediately dispersed and heats up more slowly. Conversely, with castings over 1 cm thick, heat is dissipated more slowly, heating the surface more quickly. This accelerated heating significantly increases the exothermic reaction to the point of producing fumes, cracks, or deformations in your tables and various surfaces. For this reason, we recommend not pouring too much resin all at once or using specific resins for medium-high thickness castings thanks to their low exothermic reaction, such as EpoxyTable 5-Five and EpoxyTable 10. In any case, regardless of the application, we recommend using a dust mask with interchangeable filters (every 30 hours of work approximately).

Non-Toxic Epoxy Resin for Tables Epoxytable 5-FIVE - Perfect Castings up to 5 cm
Starting from £14.85
WHAT TYPES OF PERSONAL PROTECTIVE EQUIPMENT ARE RECOMMENDED?
The main and most well-known personal protective equipment (PPE) are 3: latex gloves, eye protection mask, and dust mask with certified special filters.
HOW TO CREATE A CASTING FORM
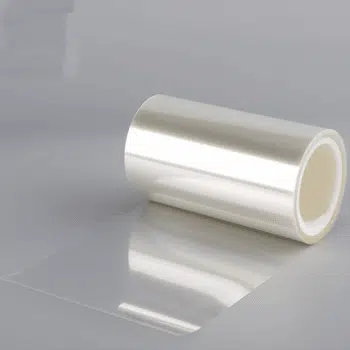
Laminated chipboard is often used for large forms, creating a four-sided rectangular structure. These sides are slotted together, and a release agent is applied (For the outer coating of casting forms, the most efficient product is without a doubt our "Shiny Shield" release film, with a glossy finish).
IS IT BETTER TO USE RELEASE FILM OR WAX AS A RELEASE AGENT FOR FRAME WORK?
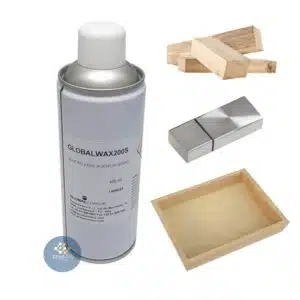
It is preferable to use release film, as it generates a smooth and glossy surface. Wax, on the other hand, creates a more matte finish on the surface of your creation, although it is easier to apply.

Global Wax Release Agent (Liquid) 200L for Epoxy, Polyurethane, and Acrylic Resins
Price £12.87
HOW CAN I AVOID BUBBLES?
It depends on the type and structure of the product. If we need to create a river table, before pouring, we must brush the edges with our "liquidissima" resin, which, thanks to its low viscosity, helps to prevent trapped air and the resulting bubble formation. Other precautions include mixing well and evenly and avoiding direct pouring onto the surface to prevent immediate bubble formation.
DOES EPOXY RESIN STICK TO SILICONE?
No, which is why all our molds are made of silicone. After repeated use, resin may start adhering to the mold. For this reason, we always recommend using release agents before casting (as a precaution).
WHAT MATERIALS DOES RESIN NOT STICK TO?
Resin can be applied to any material. On materials like silicone, we can pour the resin without any further procedures since silicone is one of the few materials (along with Plexiglass and polyethylene compounds) that does not adhere to resin. For all other materials, before casting, to prevent the resin from sticking, we recommend using one of our release agents depending on the desired final effect: glossy or matte.

Global Wax Release Agent (Liquid) 200L for Epoxy, Polyurethane, and Acrylic Resins
Price £12.87
HOW TO PREVENT RESIN FROM STICKING TO THE SILICONE MOLD?
Fully cured resin may adhere to a silicone mold, but usually only after the mold has been used repeatedly and lost its glossy surface. Generally, the issue is not with the resin itself. As a precaution, to ensure easy demolding and extend the life of the mold, it is always advisable to use release agents. In addition to facilitating demolding, the release agent also protects the surface of the mold.
WHY IS RESIN COMPONENT A "WHITE AND GELATINOUS"?
This condition is due to partial or complete freezing of the resin (Component A may freeze if exposed to temperatures below 10°C for a long time). To solve the problem, immerse container A (resin) in a "water bath" in a basin of very hot water for at least 50 minutes. By doing so, the resin will return to its transparent state and regain its original chemical and mechanical properties. Wait for it to cool before using it.
HOW TO CALCULATE THE VOLUME OF RESIN NEEDED
Very simple! Resinpro has developed a simple and comprehensive tool for calculating the exact volume of resin needed to complete all your application projects.
Resin Pro Consumption Calculator
MIXING LARGE VOLUMES WITH MINIMAL BUBBLES
First of all, don't panic! Follow these small precautions. First, stir several times, scraping the bottom and sides, but without rushing, thus avoiding agitating the mixture and consequently creating bubbles. A second precaution is to avoid pouring the resin directly onto the surface, as direct impact creates air infiltration in the mixture and, consequently, bubbles. When pouring, use a stick (a simple coffee stirrer), letting the resin hit the stick first, and then gently pour it onto the desired surface.
HOW TO REMOVE BUBBLES IN A RIVER TABLE OR LARGE CAST WITHOUT A VACUUM PUMP?
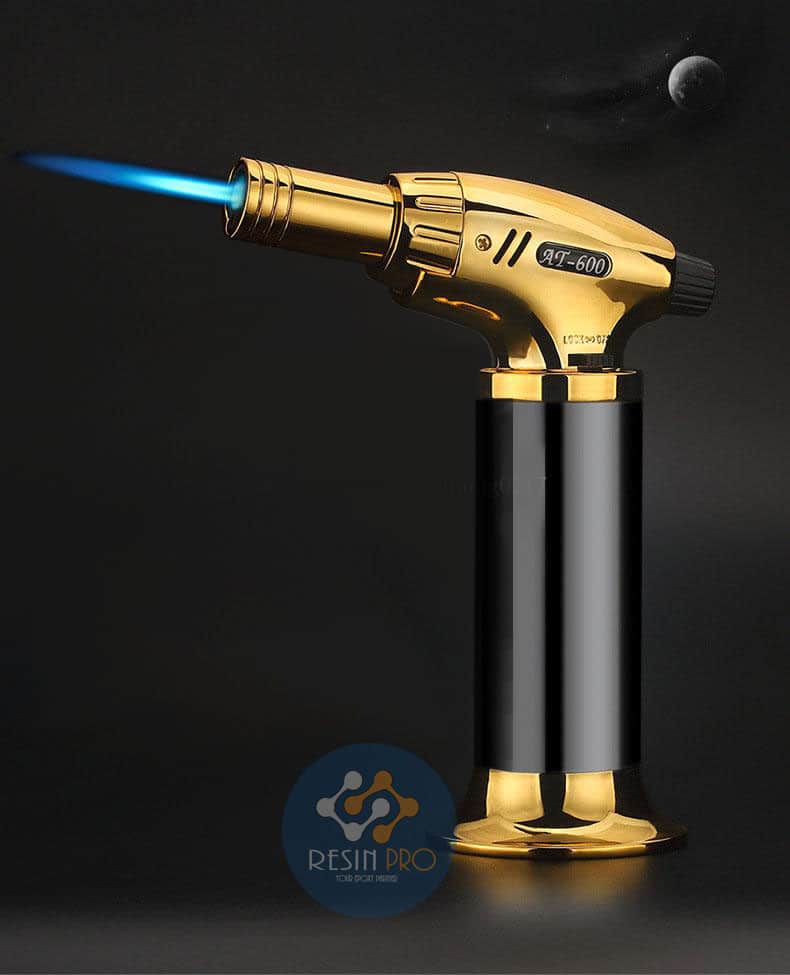
The best prevention is to start with a low-viscosity, slow-setting resin like Epoxytable 5. It is essential to treat the wood or any porous surface before casting. Apply a low-viscosity resin to the porous object to encapsulate the trapped air inside, blocking the release of bubbles (we recommend our "liquidissima"). You can use heat from external sources, such as a hairdryer, lighter, or heat gun (very sparingly), to remove surface bubbles.

Non-Toxic Epoxy Resin for Tables Epoxytable 5-FIVE - Perfect Castings up to 5 cm
Starting from £14.85
WHY DOES RESIN STICK TO THE MOLD?
It can happen that fully cured resin perfectly bonds with the mold, making it impossible to demold the creation. When this problem occurs, it's not always the resin's fault; sometimes the issue lies with the mold itself. For this reason, we always recommend using a release agent because it helps with demolding while also prolonging the life of the mold.
HOW TO AVOID HOLES AND MISSING RESIN ON THE SURFACE?
First, check the flatness of the casting surface. If you notice that the resin does not cover the surface completely, stop and mix more, or decide to wait for full curing and apply another layer. For this reason, we always recommend using the "ResinProCalculator" to calculate the right amount to use (1.5 kg per m²).
Resin Pro Consumption Calculator
HOW TO CALCULATE THE QUANTITY OF RESIN TO POUR?
Resin Pro has created a valuable calculation tool (web version or smartphone app for Android and iOS): RESIN CALCULATOR by RESINPRO. Below is the link to the web version.
Resin Pro Consumption Calculator
CAN I CHANGE THE A + B MIXING RATIO?
Absolutely not! You must be precise and carefully weigh the ratio indicated on the label. Altering the mixture or estimating the amounts "by eye," so to speak, can compromise the catalysis process irreversibly.
HOW TO REMOVE AIR BUBBLES?
It depends on the type of structure/mold. If we've already created an object, like a coaster, that has bubbles, we have several options: 1) A light (and sparing) pass with a heat gun 2) Warm the object (temperature around 40°C) to give it a thermal boost 3) Wait, as bubbles may eventually self-eliminate. If it's a closed mold, such as a two-part mold, we must apply "liquidissima" resin, which combats trapped air thanks to its low viscosity.
HOW TO CALCULATE THE AMOUNT OF PIGMENT TO MIX WITH RESIN?
As a general rule, it is recommended to use between 0.1/2% of pigment in proportion to the amount of poured resin.
HOW MUCH COLORANT CAN I ADD TO THE RESIN?
There is no limit, but it is understood that beyond a certain level, the color is not intensified, and the strength of the final product may be compromised. Our colorants (Colorfun) are very concentrated. It is recommended to use between 0.1% (semi-transparent) and 3% (very dark) relative to the total weight of the resin, depending on the desired degree of transparency.
HOW CAN I ACHIEVE A PETRI DISH EFFECT?
The Petri Dish effect arises from the combination of epoxy resin and alcohol-based colors. Recommended resin: ARTPRO, with alcohol-based colors.
HOW CAN I ACHIEVE A MARBLE EFFECT?
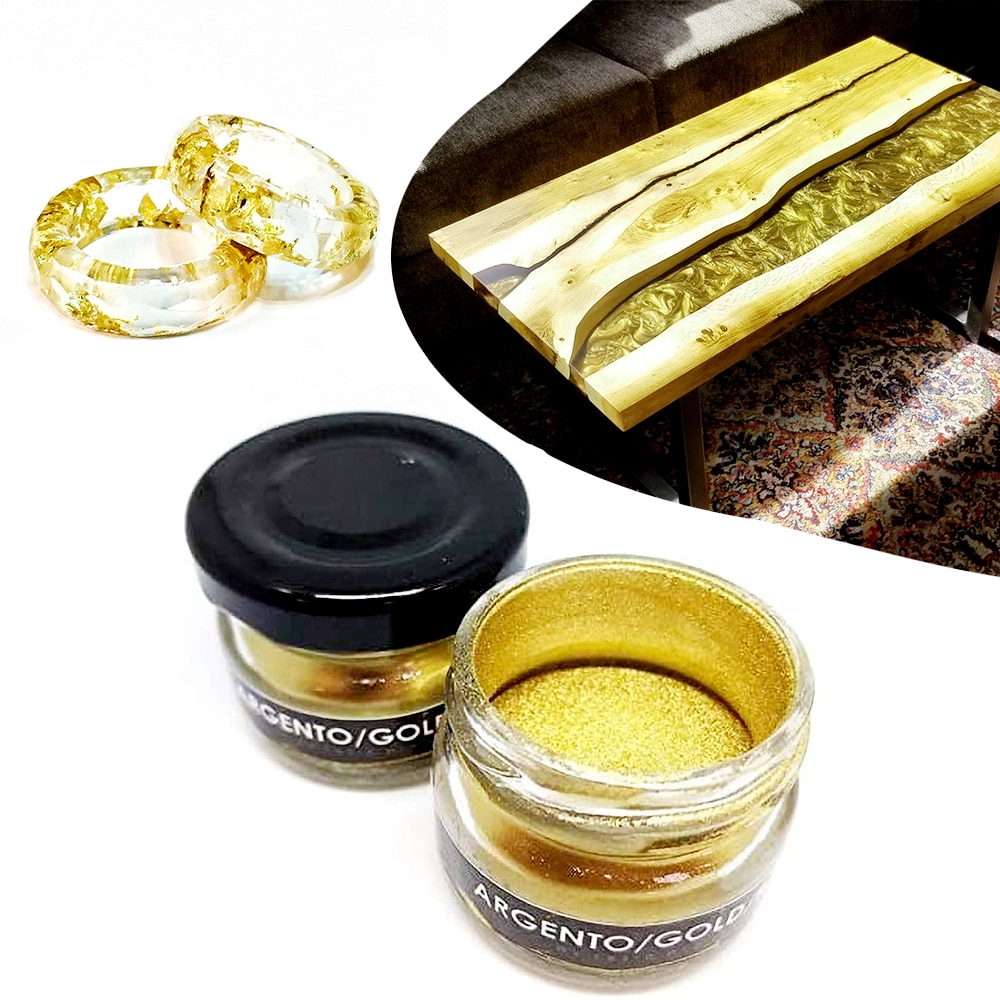
The marble effect is certainly one of the most sought-after effects when it comes to resin tables. In this process, pigments play a fundamental role. Application method: Color the ARTPRO resin with a matte white pigment to serve as a base color, wait about 30-40 minutes, the time needed for the resin to start hardening. Then, when the mixture is thick enough, play with the pigments to recreate the veins of your favorite marble (e.g., gold veining).
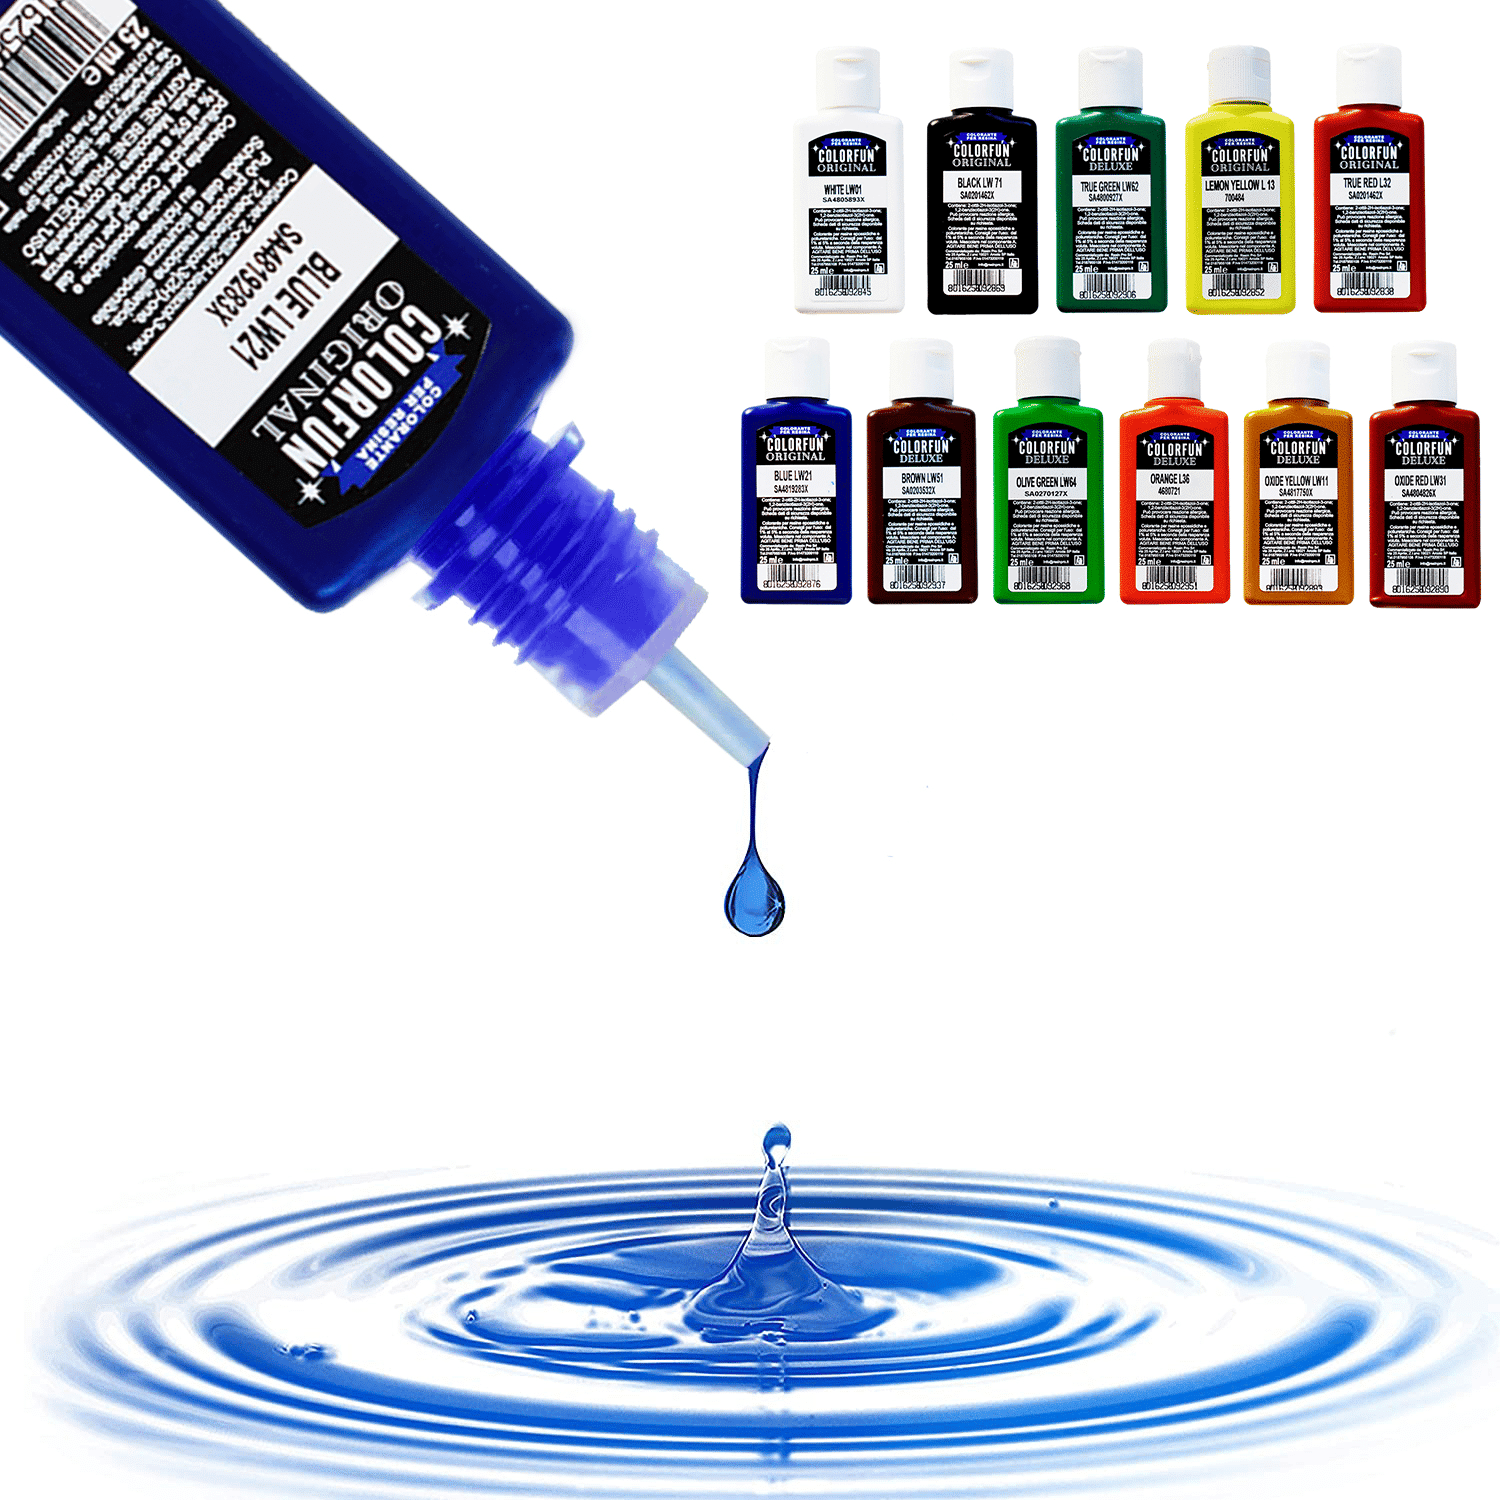
COLORING PASTE 20 ML BLACK-BLUE-BROWN-ORANGE-RED OXIDE-YELLOW-GREEN-RED-WHITE
Starting from £3.15
WHICH PIGMENTS CAN I USE FOR RESIN?
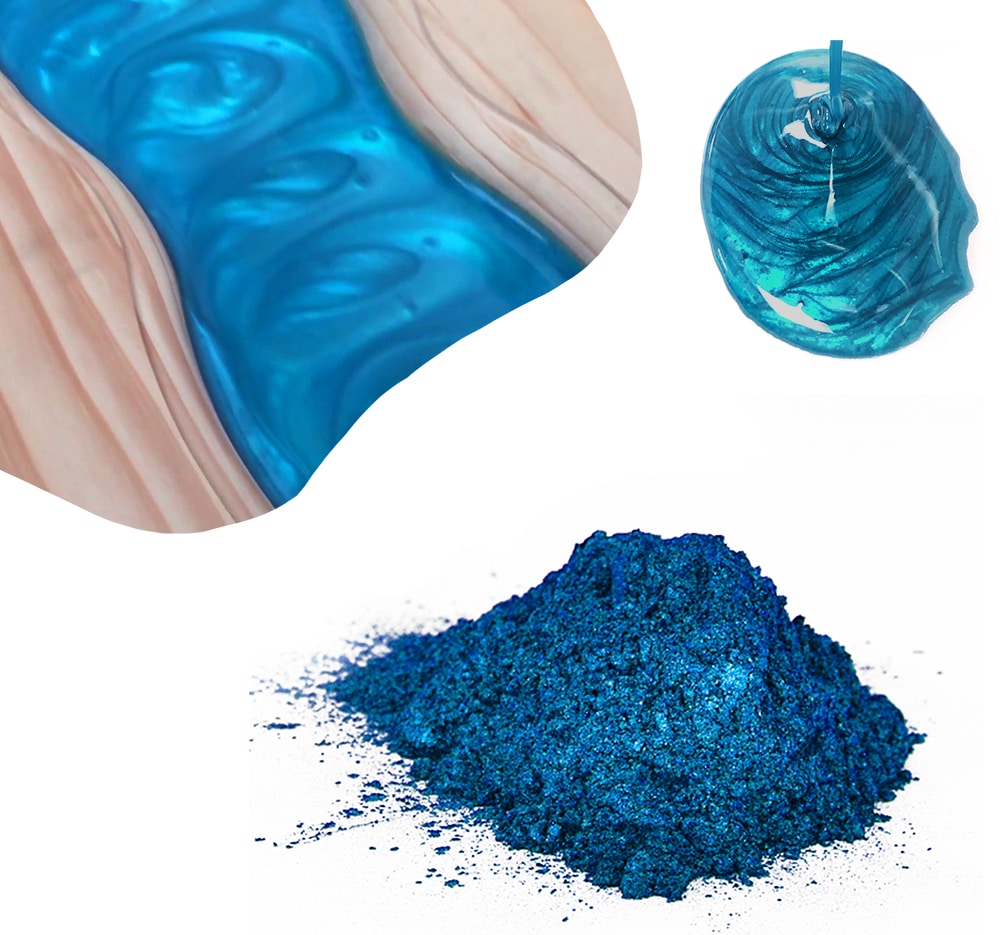
Avoid acrylic paints and do not use uncertified resin-based colorants. Mica powders and alcohol-based pigments are generally safe to use. All our pigments are certified safe for use with resins.
PERCENTAGE OF COLORANTS FOR A MATT OR TRANSLUCENT RESULT?
Depending on the desired degree of transparency, we recommend using our colorants in proportions between 0.1% and 0.3%, resulting in greater/less brightness or opacity.

COLORING PASTE 20 ML BLACK-BLUE-BROWN-ORANGE-RED OXIDE-YELLOW-GREEN-RED-WHITE
Starting from £3.15
CREATING WAVE EFFECT
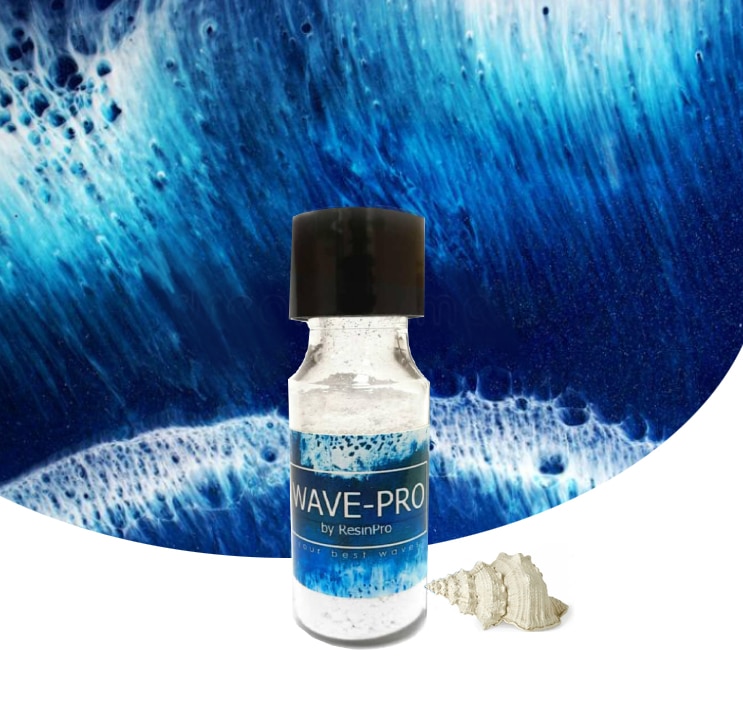
To achieve this fantastic effect, we need to mix the classic transparent epoxy resin (low viscosity) ART PRO DELUXE with a non-toxic pigmented additive WAVE PRO that allows us to create the wave effect; the result will leave you speechless, it's a must-try!

ART PRO DELUXE High Density Transparent Epoxy Resin: Sharp and Perfect Designs!
Starting from £30.40
DO PIGMENTS AFFECT THE CATALYSIS OF RESIN?
Always use certified pigments designed for epoxy resin. Avoid enamel or acrylic colorants. Compatible liquid pigments must be alcohol-based. Avoid buying wholesale colorants to save money, as they may ruin your creation. Purchase one type of certified pigment at a time and test it in your creations, such as COLORFUN or MICA POWDER.
HOW CAN I ACHIEVE THE "WAVE EFFECT"?
To achieve this fantastic effect, we need to use the transparent epoxy resin ARTPRO, add 0.1% white colorant, and silicone oil on top.

ART PRO DELUXE High Density Transparent Epoxy Resin: Sharp and Perfect Designs!
Starting from £30.40
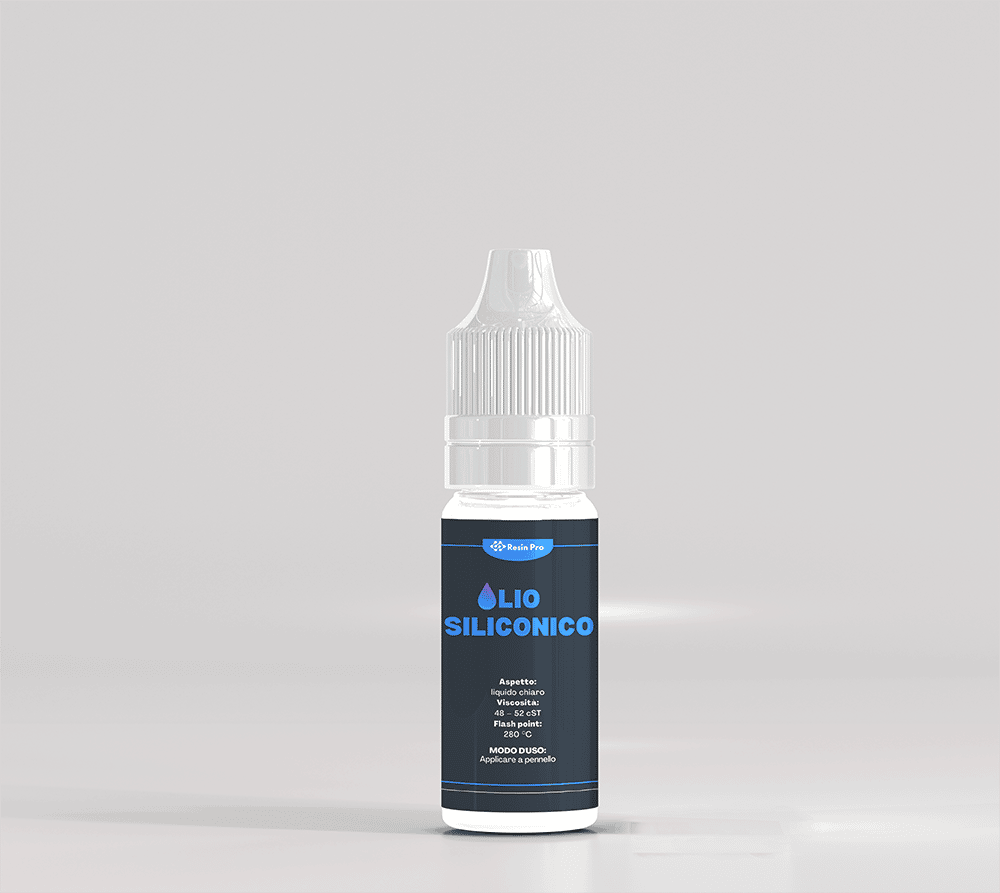
Silicone Oil – Protect your silicone molds and create special effects! – 20 ml
Price: £5.15
HOW LONG DOES IT TAKE FOR RESIN TO CATALYZE?
Assuming you are in an ideal environment, with an ambient temperature between 20-25°, the only variable that determines the polymerization time is the type of resin chosen. We can divide resins into two macro areas: epoxy resins and polyurethane resins. Epoxy resins have a slower curing time, thus greater workability. They generally cure completely between 12 and 96 hours (when talking about large tables). Polyurethane resins, on the other hand, have a much faster curing time, consequently a shorter workability time. Here, we talk about complete hardening between approximately 5 and 60 minutes depending on the specific resin.
MEASURING THE CORRECT PROPORTIONS
To accurately calculate the quantities A + B (carefully following the indicated usage ratio), it is advisable to use a special calibrated digital scale, on which to weigh the two components. It is recommended to always work by weight and never by volume to be precise in dosing and thus achieve a satisfactory result.
UNEXPECTED GELATION
Every resin system has its own pot life. Epoxy resins have longer times, while polyurethane formulas have shorter times. When mixing the two components A+B, a chemical reaction is triggered. The components react when in contact with each other, thus starting the pre-curing phase or the heating phase of the curing. After 10-15 minutes, the mixture produces heat. Once skin temperature (38-40°) is reached, you are ready to pour. If you continue to leave the mixture in the cup, the resin will begin to harden quickly and become difficult to pour. Higher ambient temperatures accelerate the chemical reaction between the two components.
opacity issue, uneven surface (humidity, see ideal usage conditions)
Ideal conditions for effective application: 1) Work in an environment with a temperature of 20-25° and humidity below 40%. 2) Work in an indoor, ventilated environment where you do not stay. Protect the application from direct contact with sunlight and rain.
HOW CAN I REMOVE UNCURED RESIN RESIDUE FROM MOLDS?
The foolproof method for eliminating resin residue from tools is direct contact with ethyl alcohol/thinner/acetone at 90°. Let it sit for a few minutes and carefully remove all resin residues. The resin will come off very easily, leaving the surface of the tools and molds clean and shiny. If the resin is cured, the only way is to do it "mechanically". If proper disposal methods are available, hot water should be mixed with powdered laundry detergent. Alternatively, if the mold is small enough, you can try storing it in the freezer for 12-24 hours, and once solid, remove it.
HOW TO REMOVE RESIN FROM A SILICONE MOLD IF IT GETS STUCK?
To solve this simple issue, we recommend using our release agents (available in wax or spray form). A more "homemade" method is to try placing the mold in the freezer, away from food, and wait for the resin to freeze completely, then remove it from the mold (like when we take ice cubes out of the ice tray).
Is the resin toxic once cured and can it affect food?
All our resins are certified non-toxic once fully cured. However, there is only one resin that, besides being non-toxic like the others, is certified for contact with food (including liquids). This is our transparent epoxy resin EPOXYFOOD.
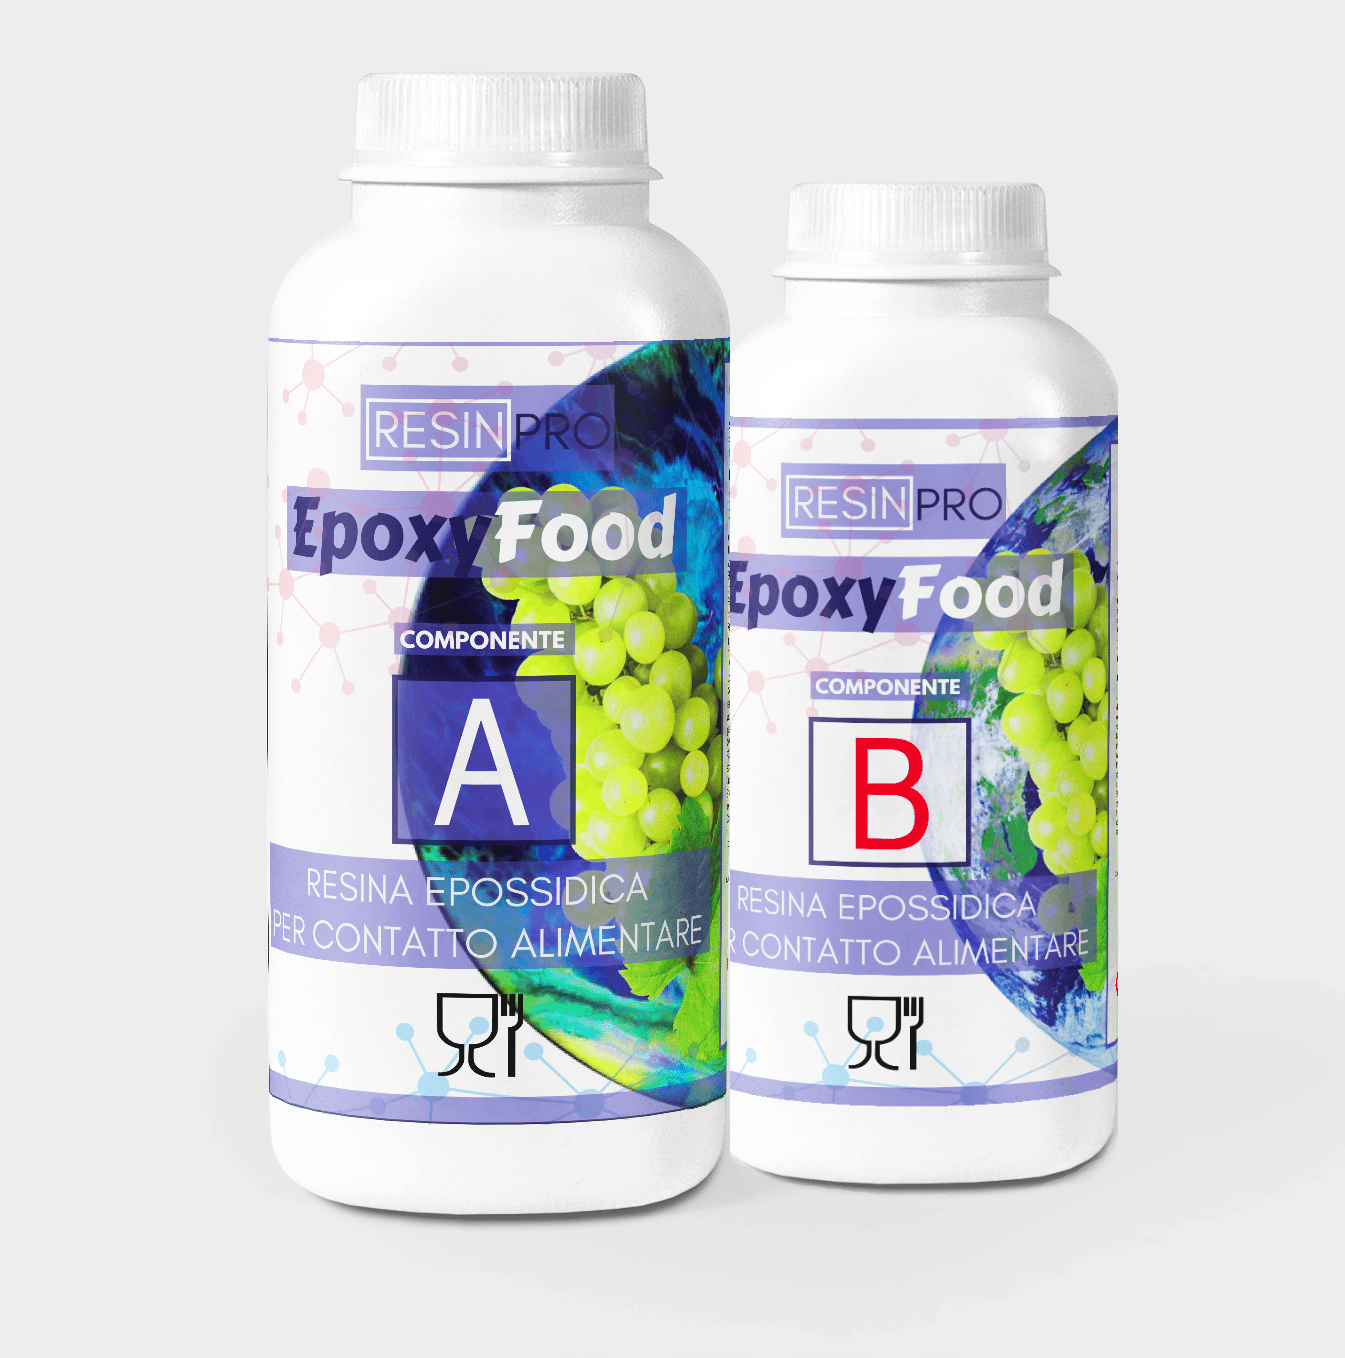
Transparent EpoxyFood Resin – For Food Contact – Food Safe: Safe and Certified!
Starting from £19.85
HOW LONG BEFORE I CAN REMOVE THE MOLD?
In general, once the resin compound has fully catalyzed (polymerized), you can proceed to remove the mold; usually 24-48 hours after application.
SHOULD I BE CONCERNED ABOUT A RESIN TABLE YELLOWING OVER TIME?
Generally, yellowing occurs after a medium to long period, presumably 6-7 years. Three factors significantly impact this: placement and exposure to sunlight, the type of resin used, and the color/quantity of colorant used. In a location with little sunlight exposure, the resin can remain intact for many years. When we expose the resin directly to UV rays, the yellowing time is accelerated. Different resins contain varying amounts of anti-UV polymers. The amount of anti-UV polymers (more or less significant) in the resin greatly influences its susceptibility to yellowing. The other important factor is color. With dark colors/shades, the yellowing process is usually imperceptible.
CAN I REMOVE A BUBBLE IF THE RESIN IS ALREADY HARD?
The only way to remove bubbles from a surface of resin that has already cured is to mechanically sand the resin surface (grit from 80 to 320), then apply a second pour (preferably ARTPRO or HEATPRO (flexible formula).
I have "holes" on the resin surface.
The orange peel effect mainly indicates an insufficient amount of resin poured to cover the entire surface. In simple terms, there was an error in weighing the correct quantity of resin for that application. To solve this common problem, we always recommend using the "calculate consumption" service or our "Resin Calculator" app to estimate the correct amount of resin needed for the job.
Resin Pro Consumption Calculator
HOW CAN I CLEAN MY TOOLS?
The best product to clean tools and resin residue is regular acetone/alcohol (for example, leaving a brush soaking in a glass of alcohol). Alternatively, it's advisable to use thinners (preferably epoxy, but white spirit is fine too) for cleaning immediately after using the resin, as once cured, the resin can only be removed mechanically. If you have proper disposal, tools can be washed with warm water and laundry detergent.
What are the possible post-curing finishes? For wood and resin: Varnish? Oil? Polishing?
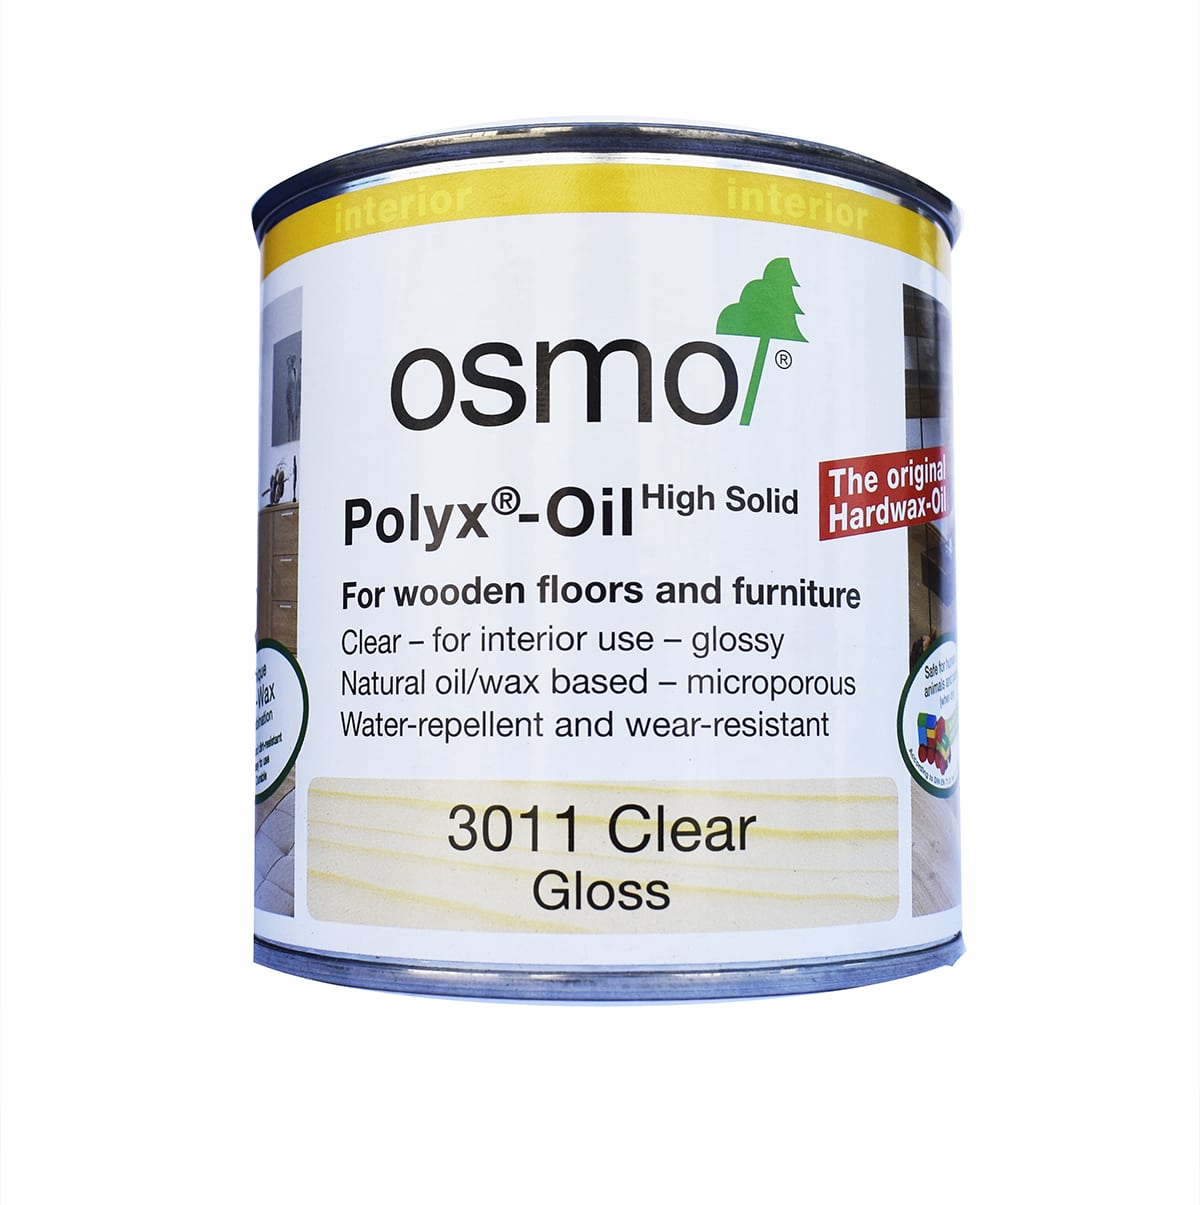
- Oil: easier but not durable.
- Varnish: requires additional equipment for application and a 100% dust-free area.
- Polishing: is the best option but requires more physical (mechanical) work.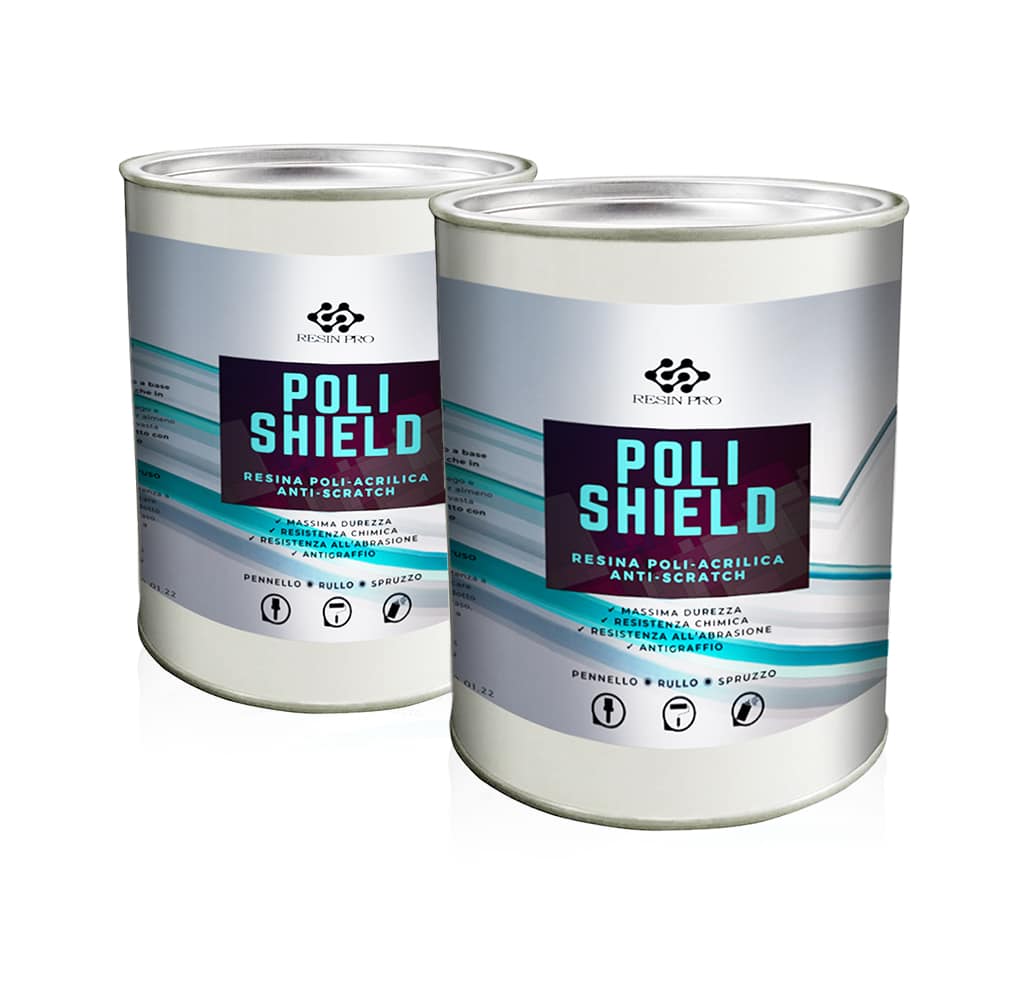
POLI-SHIELD – Scratch-Resistant Paint for Surfaces and Floors – Simply Protect Your Surfaces!
Starting from £11.88

“Perfect Touch” Kit - Shaping, Sanding, and Polishing Resins - All in One Kit, for a Perfect Result!
Starting from £14.85
Resistance of epoxy resins to high temperatures and abrasion
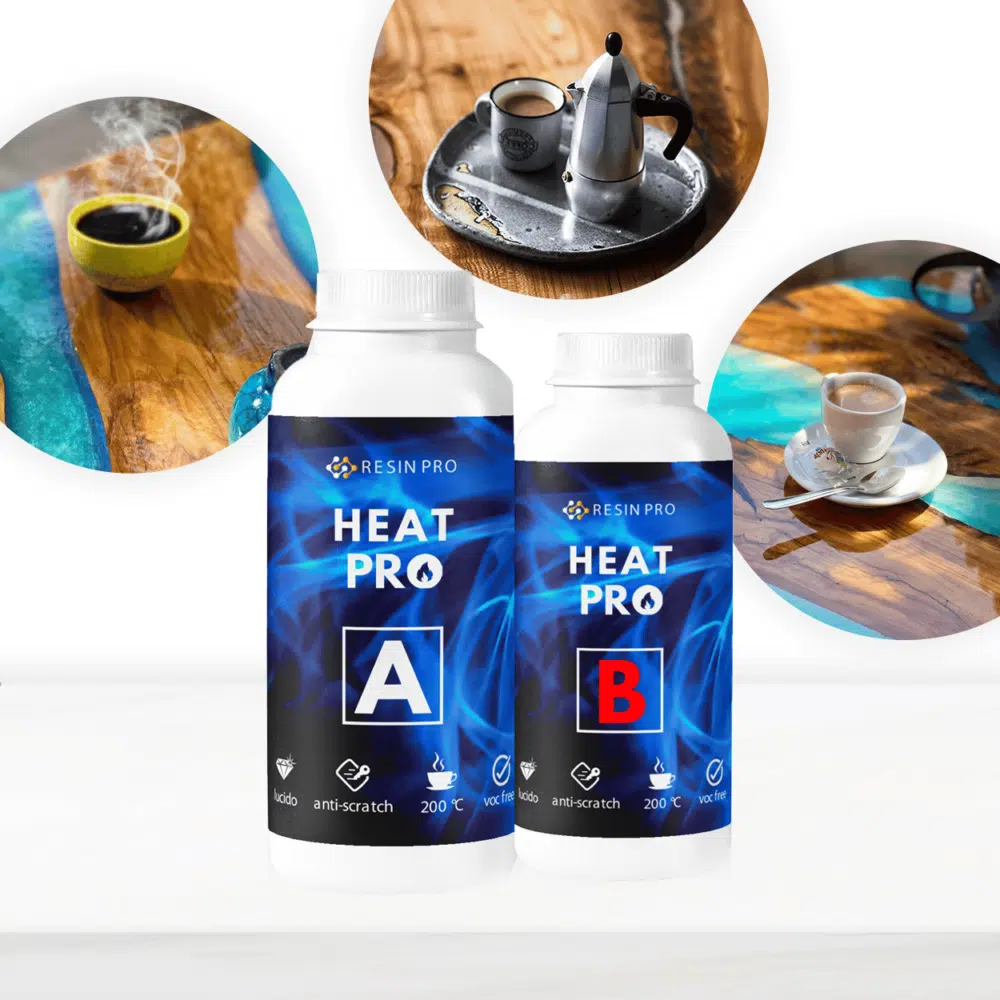
Epoxy (once fully cured) has mechanical resistance similar to plexiglass. Therefore, even though it is hard, it is NOT indestructible. To improve scratch and temperature resistance, we recommend our Heat Pro, a polyurethane resin with a glossy finish, highly resistant to scratches and abrasions.
What is the resistance of the resin to high temperatures?
It depends on the purpose of the resin application. Theoretically, however, it is recommended not to expose the resin to temperatures above 50/60°, beyond which the resin may deform or even break.
THE RESIN IS NOT COMPLETELY CURED
If the resin does not cure within the expected times (usually 24-48 hours), we must consider these two application variables; the first could be an error in the proportions of the two components A+B. In fact, if the resin is mixed following a disproportionate usage ratio, the resin may not harden. The other variable is temperature. If the pour is performed at a temperature below 15°, the curing process may barely be completed. If you find yourself in this last condition, we recommend giving a thermal boost to the application. In simple terms, you need to position the object near a heat source, such as an electric stove, a radiator, or simply move it to a room/environment with a higher temperature. The ideal ambient temperature during application is between 16 and 22°.
The resin is still soft after 24-48 hours.
The first thing to consider is whether the resin has already exceeded the expected curing time. If it has already been exceeded, you need to intervene by applying more heat to complete the polymerization process. Place the object near heat sources (or, if impossible, wait another couple of days). If the resin is still soft, it likely means that there was an error in the proportion of the two components A+B. If, for example, we mix the two jars incorrectly or pour one of the components in disproportionate amounts, the resin will hardly cure. If the partially cured part does not play an important structural role within the resin creation (i.e., it is a marginal part), you can try to proceed with another layer on top (always checking the mixing ratio, mixing procedure, etc. very carefully).
HOW TO REMOVE THE "cloudiness" THAT HAS FORMED ON THE SURFACE?
To eliminate cloudiness, wrinkles, or surface imperfections, it is advisable to lightly sand the surface with 320 grit, and then we recommend performing a second pour of resin or alternatively proceeding directly to full polishing.
Hardening issue (incorrect ratio or non-homogeneous mixing)
If we fail to follow the correct usage instructions (incorrect usage ratio), or sometimes we confuse and put the same component in twice, we must stop this application, mechanically remove where possible, and prepare the next layer of resin. We tell you this because 99% of the time the resin will not complete its curing process and you will waste time.
THE RESIN IS STILL STICKY
The condition of stickiness of the resin is usually due to non-homogeneous mixing of the two components. The solution may be to wait a day or two, or to heat the entire product and hope to complete the polymerization. To avoid this condition in the future, here’s an extract from our experts in these cases: "Take two different clean containers to mix the resin and pour the two components A+B into the first one in the desired amounts, carefully following the usage ratio (by weight). Then, after three to five minutes of mixing, pour everything into the second clean cup and mix again for three to five minutes. Leave the mixture in the cup for another 10-15 minutes (we should feel the resin with a temperature slightly higher than that of the hand) and then we can proceed with the second pour. After pouring, cover our object to prevent ambient moisture from damaging the surface." - in any case, before "worrying," it is always better to wait 1-2 days.
HOW CAN I POLISH EPOXY RESIN?
Start sanding with medium-coarse grit (80-120), proceeding gradually mechanically up to 4000 grit (wet in the final stages). The purpose of sanding is to make the surface smooth and free of imperfections. Once this application step is completed, the surface is ready for applying the EpoxyPolish polishing cream, applied with a damp wool cloth. We recommend for this purpose our "all-in-one" kit.

“Perfect Touch” Kit - Shaping, Sanding, and Polishing Resins - All in One Kit, for a Perfect Result!
Starting from £14.85
WHAT SCRATCH-RESISTANT FINISH CAN I USE?
We recommend our "Heat Pro," a polyurethane resin with a glossy finish (1 mm thickness, so only as a final finish layer).
The three main features are:
1) elastic formulation
2) scratch and impact absorption
3) total protection of the resin surface.WHICH DETERGENTS TO USE TO CLEAN THE TABLE ONCE DONE?
For regular cleaning and renewing the surface, you can use a solution made of water and neutral soap. Apply the solution to the surface with a sponge and let it sit for a few minutes, then rinse the surface thoroughly, removing any residue with a damp cloth. Occasionally apply regular WAX (which will also cover any surface scratches).
HOW TO POLISH MY CREATION?
If we are talking about small creations, such as jewelry or costume jewelry, the simplest solution is to use our polishing varnishes.
They are easy to apply, transparent effect, reusable multiple times, ensuring a glossy and protective finish to the resin surface.
If we are talking about larger creations/applications, such as creating a River Table, we recommend our polishing set that includes abrasive discs (from 120 to 4000) along with the "EpoxyPolish" polishing cream. For those who finally want to give a protective and glossy coating to the surface of the application, we recommend our polyurethane paint "Poli-shield."
“Perfect Touch” Kit - Shaping, Sanding, and Polishing Resins - All in One Kit, for a Perfect Result!
Starting from £14.85

POLI-SHIELD – Scratch-Resistant Paint for Surfaces and Floors – Simply Protect Your Surfaces!
Starting from £30.40
I WANT A GLOSSY RESIN WITHOUT POLISHING, HOW DO I DO IT?
First, we need to understand the type of application we want to create. If the idea is to make simple applications, we suggest using the pre-curing technique. Specifically, after proper mixing and ensuring that the mold has been made correctly, you should pour the resin when you feel it has reached a warm temperature (about 40°). The "ART PRO" resin is the most brilliant epoxy formula we have.
REPAIRING SCRATCHED OR CLOUDY SURFACES
Two simple application steps; sanding and polishing. Start working on the surface with our abrasive papers, starting from 500 grit up to 4000 grit. At this point, you are ready to polish with the EpoxyPolish cream. (we recommend our polishing kit).
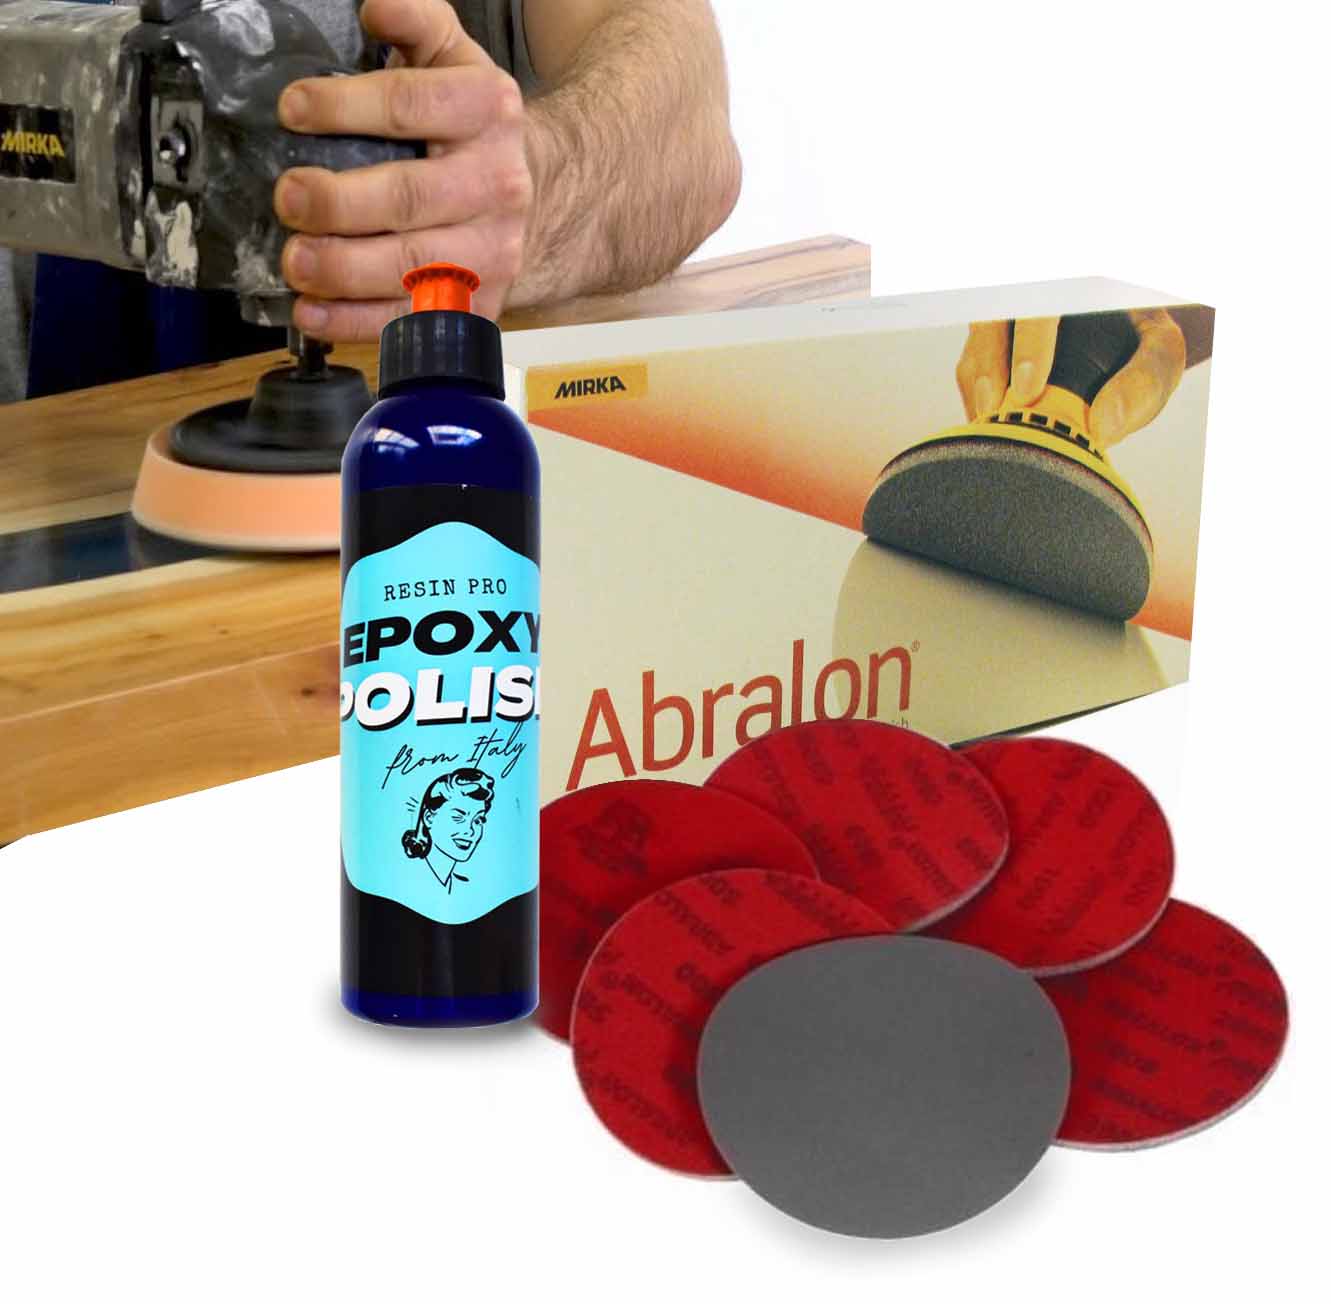
Polishing Kit – Abrasive Papers + Polish for Polishing Resins (with Instructions)
Price: £14.85
Can I put my resin pieces in the microwave or dishwasher?
The microwave is a quick and effective alternative when you know that small amounts of resin are frozen (remember to use it for food). Simply place the frozen resin in a plastic cup, cover it, and put it in the microwave for a maximum of 10-15 seconds. By doing so, the mixture will return completely transparent with all the chemical and mechanical properties restored. We absolutely do not recommend putting resin in the dishwasher, as its temperature is around 70°. At these temperatures, the resin begins the softening process. In general, resin should not be subjected to temperatures above 50°.
STRENGTHEN THE RESIN SURFACE AGAINST IMPACTS, SCRATCHES, AND HEAT
In all three cases, there is no better product than our "Heat Pro" resin, thanks to its special elastic formulation. This resin absorbs impacts and scratches while remaining glossy. It resists up to 200°, making it ideal for surfaces that come into contact with pots and pans or other high-temperature materials.
B. Application methods
C. Planning
D. Safety and personal protection
E. Forms, molds, and release agents
WORKING
F. Casting Preparation
G. Colorants
H. Processing
I. Troubleshooting
POST-PROCESSING
J. Post-Processing Polymerization
K. Polishing and Protection
No FAQs found… Try “Resin, wooden tables, paintings”.
