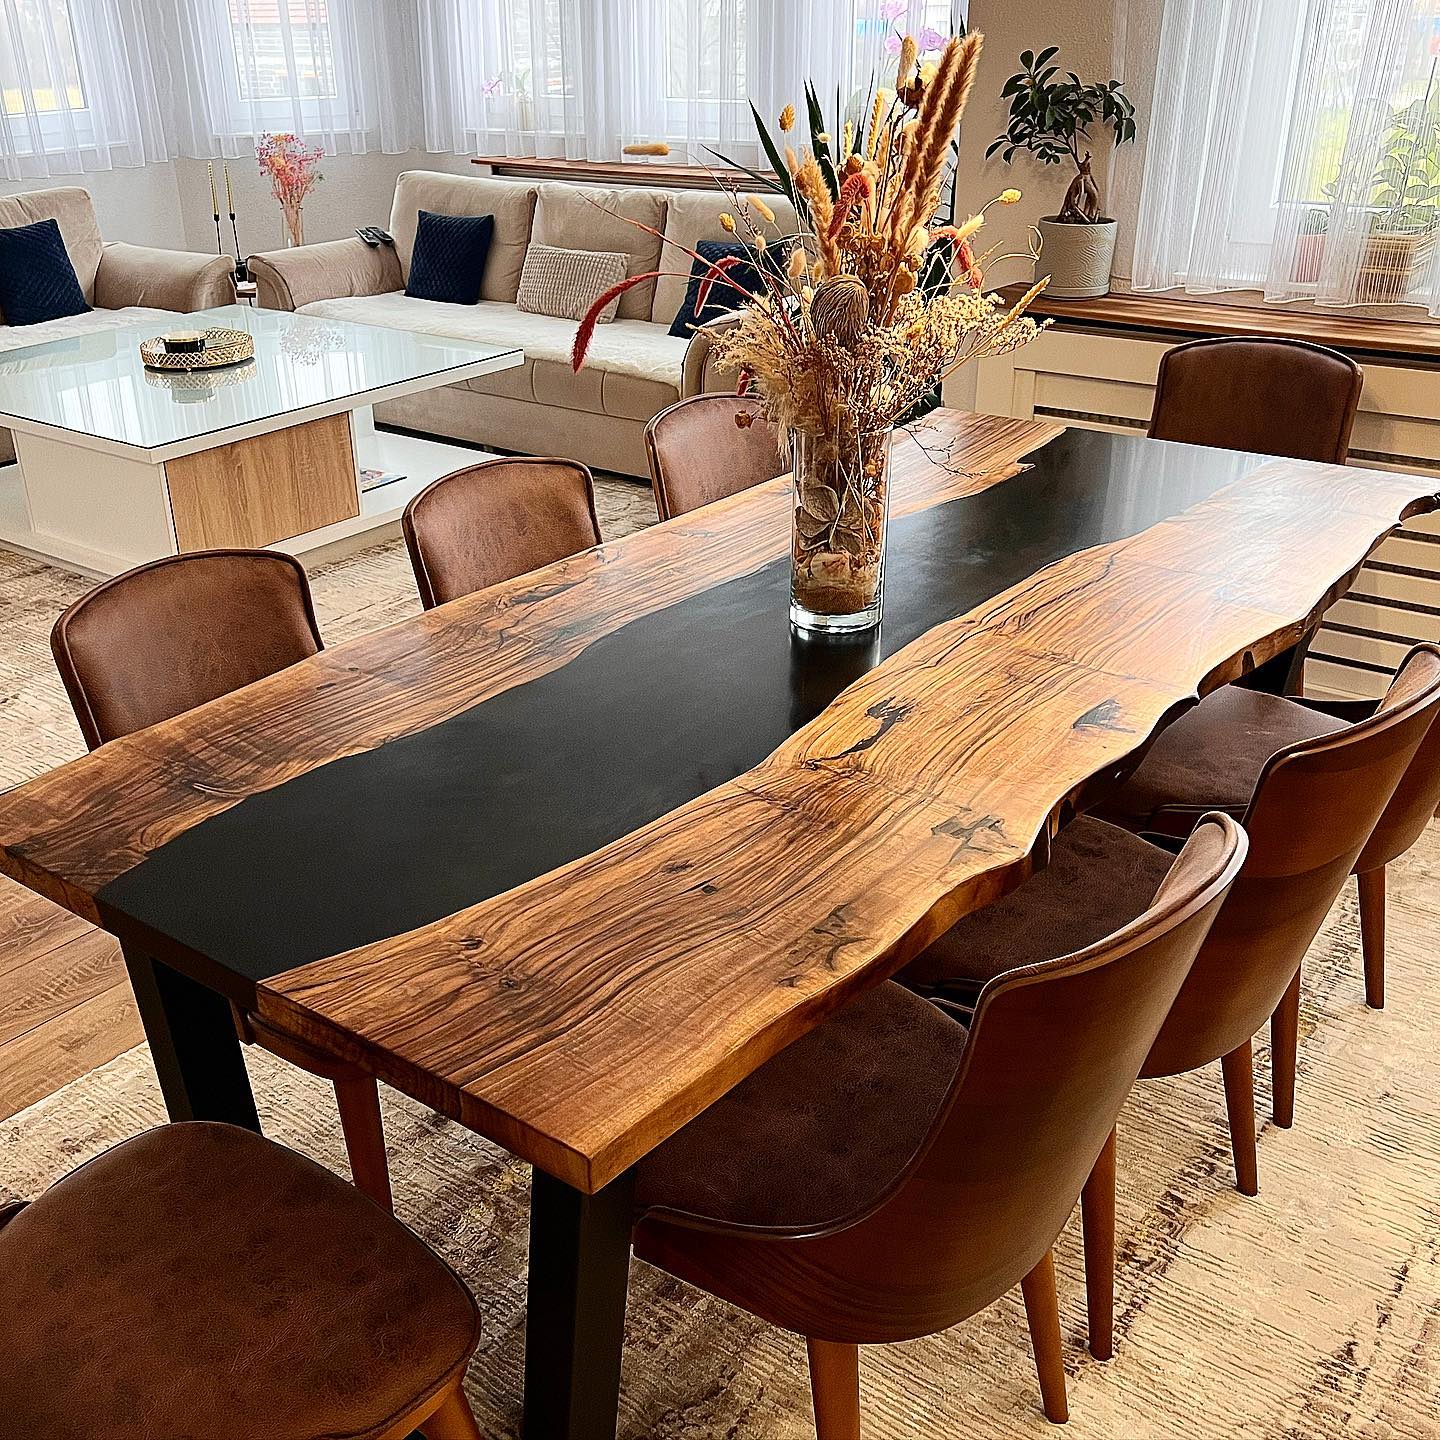
Creating and selling epoxy resin table has become a popular trend in the world of furniture design. These unique pieces offer a combination of durability, versatility, and aesthetic appeal that traditional wooden tables may lack. In this article, we will explore the benefits of crafting and selling resin tables, highlighting the differences between resin-only and resin-wood combinations.
Epoxy resin tables or Rivertables?
Resin-only table provide a modern and sleek look, allowing you to experiment with different colors, patterns, and textures. They are easy to create because it is not necessary to know how to treat wood.
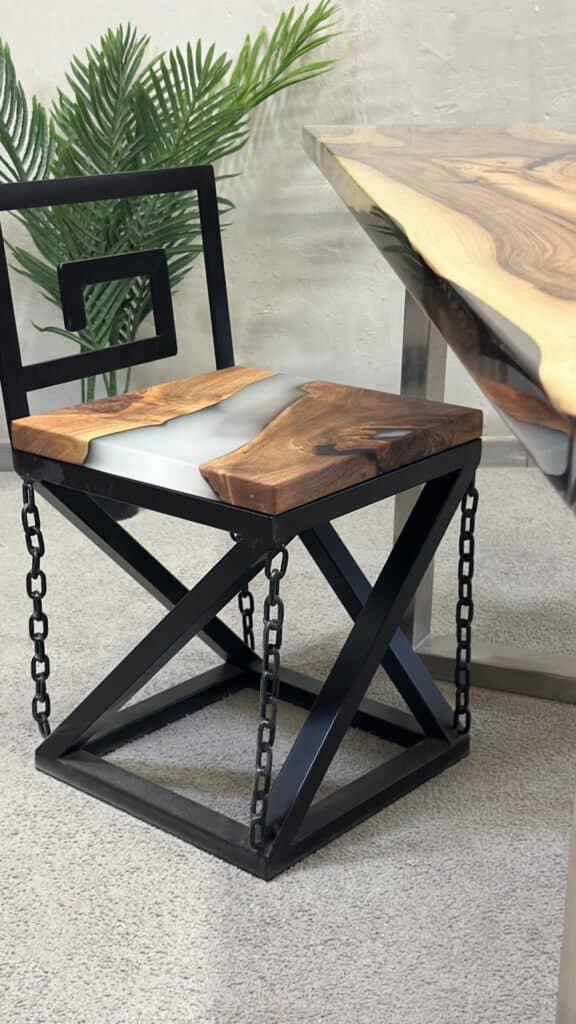
On the other hand, resin-wood combinations offer a more natural and rustic feel, blending the beauty of wood with the artistic touch of resin. These hybrid tables can be designed to showcase stunning live-edge slabs or intricate woodwork, complemented by the glossy finish of epoxy resin. They can also be sold at very high prices, due to the greater processing complexity.
Rivertable: materials needed
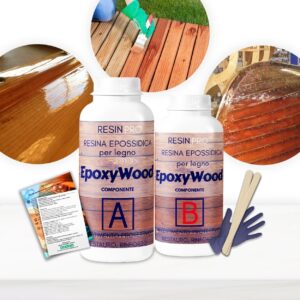
To create a resin and wood table, you will need a few essential materials. Firstly, you’ll require high-quality epoxy resin specifically designed for wood applications. Opting for epoxy resin formulated for wood ensures excellent adhesion and minimizes the risk of any potential damage. Additionally, you’ll need a suitable wood slab or base, a formwork, sandpaper, protective gloves, mixing containers, and various tools for preparation and finishing.
How to make an epoxy resin table?
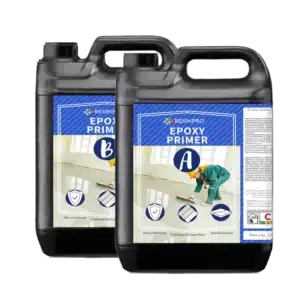
Let’s delve into the process of crafting a resin and wood table. Begin by preparing the wood surface, ensuring it is smooth and free from any imperfections. Sanding the wood and applying a sealant or primer helps create a stable base for the resin. You can also brush a thin layer of resin onto the wood before casting.
Next, mix the epoxy resin according to the manufacturer’s instructions, taking care to achieve an accurate ratio of resin and hardener.
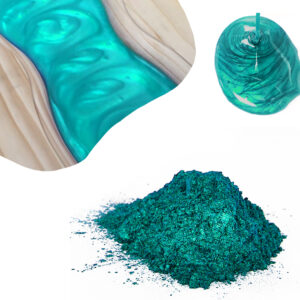
Pour the resin mixture onto the prepared wood, allowing it to flow and settle naturally. This process may involve layering resin or adding decorative elements such as dried flowers or metallic accents. At this stage you can color the resin for a crazy effect, our Sahara pigments are perfect for these works.
Once poured, use a heat gun or a torch to remove air bubbles from resin and create a flawless finish.
Finally, allow the resin to cure for the recommended time, and then sand and polish the table surface for a smooth and glossy appearance. check out our polishing complete kits.
How much resin do I need?
Determining the amount of epoxy resin required for a table can be challenging. However, our recommended solution is to use the Resin Calculator. This tool allows you to input the size and type of your project, providing you with an accurate estimate of the amount of resin needed. Whether you’re working on a small side table or a large dining table, the Resin Calculator takes the guesswork out of the equation, ensuring you have precisely the right amount of resin for your project.
What epoxy resin to create a table?
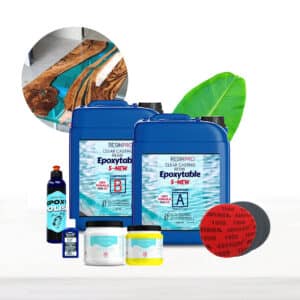
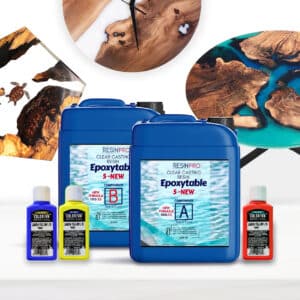
Choosing the ideal resin for your work is crucial to achieving the desired results. For resin and wood tables, we highly recommend the EpoxyTable 5 by Resin Pro. This epoxy resin is specifically formulated for thick pours and offers excellent bubble-free clarity due to its low viscosity. With the EpoxyTable 5, you can confidently create stunning resin-wood combinations, knowing that the resin will flow smoothly and cure beautifully.
Creating and selling your resin table opens up a world of artistic possibilities. Whether you choose resin-only designs or opt for resin-wood combinations, these tables are sure to captivate with their unique beauty. By using high-quality epoxy resin, understanding the necessary materials and techniques, and employing helpful tools like the Resin Calculator, you can embark on a rewarding journey of crafting exceptional resin tables.

