 Free shipping on orders over £29,85

[vc_row][vc_column][vc_column_text text_larger=”no”]Do you want to ride the latest trend and have coasters perfectly in tune with the environment around you?
Here’s how to make custom resin coasters for any occasion!
They are easy to customize even for special events (weddings, product launches, …)
Here’s what you’ll need to create your perfect coasters:[/vc_column_text][/vc_column][/vc_row][vc_row][vc_column]

Small silicone cup
Weight scale
Stick to mix
Thermal gun
Toothpick
Mat[/vc_column_text][/vc_column][/vc_row][vc_row][vc_column][vc_column_text text_larger=”no”]+ Stick to mix & Toothpick
DIE
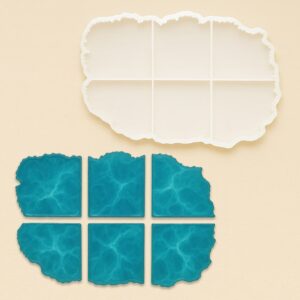
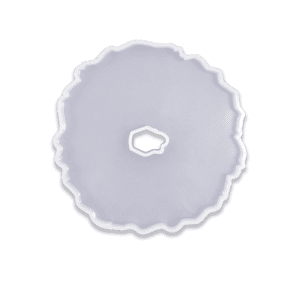
You can buy a ready-made mold or build your own that will have a UNIQUE shape!
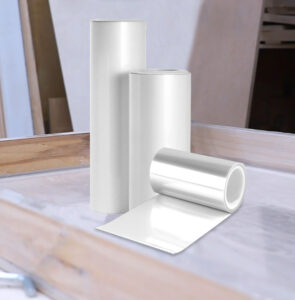
To create your own mould using our iGum paste, start by mixing the 2 components of the iGum paste. Knead until the color becomes uniform (about a minute). Create a tubular shape to adhere to the ShinyShield film (we do not recommend nylon or kitchen film because they create unsightly creases) to create the perimeter of the coaster.
REMEMBER: the more irregular it will be, the more unique it will be!
TIPS: You can also insert a sheet under the film to trace the shape.
ATTENTION: this step must be done quickly because the paste hardens in about 20 * minutes.
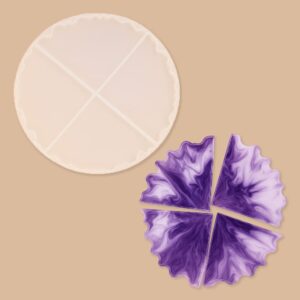
GEODE
This technique is very simple, but it has a wow effect that you will only see by flipping the coaster over.

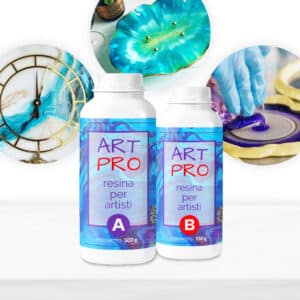
- Divide the Art Pro (after weighing and mixing it) into as many small glasses as there are colors you want to use plus a larger transparent one (about half of the prepared resin) and wait a few minutes for any bubbles to rise to the surface.
- Pour the resin into the mold as close as possible to avoid creating bubbles and following this order:
– a color (generally the darkest) in the outermost perimeter of the mold;
– transparent resin in the center up to the external color;
– second color in the center;
– transparent resin in the center.
- Continue to alternate color and transparent resin until the colors run out.
- Finally add the glitter or read all the way for a secret. ?
FLUIDPAINT

This technique is best suited to coat damaged or refurbished coasters.
Put all the colors chosen inside the same glass.
Turn the glass inside the coaster mold and gradually release the color.
If necessary, help yourself with a stick or hairdryer to create the design you want
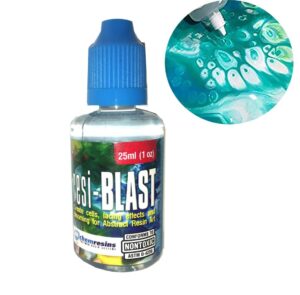
For an effortless wow effect, use Resi-Blast or Magic Drops Small.
FLOWER
Pour the transparent resin inside the mold.
Alternate concentric circles of the chosen colors (you can help yourself with a pipette).
With a toothpick or stick, pull the color from the outside towards the center, cleaning it between one petal and the other.
If you want a more pointed petal rather than rounded, do the exact opposite from the center outwards in the middle of the previously created petals. Otherwise, skip this step.
With a hairdryer or heat gun, heat the surface for a few seconds, then move the color of the petals with the air from the outside to the inside.
Finally pour in the galaxy glitter.

If necessary, quickly pass a flame to burst the bubbles.
Wait for drying, unmold and finish the edges with sandpaper. Finally, color the edges with liquid bronze available in Gold, Silver, Champagne and Pink.

BONUS – The extra tips
- The coasters are easily customizable both in color and with numbers, phrases, badges or logos. You can make double sided coasters by making 2 pours. In this way they will have a personalized side for special events and another for a more general use and adaptable to any type of occasion.
- To create the crystallized part of the geode, you can replace the central glitter with a mixture of coarse cooking salt and UV resin previously cured.
* Times may vary based on environmental conditions.[/vc_column_text][/vc_column][/vc_row]