 Free shipping on orders over £29,85


← Back to How to make artificial resin
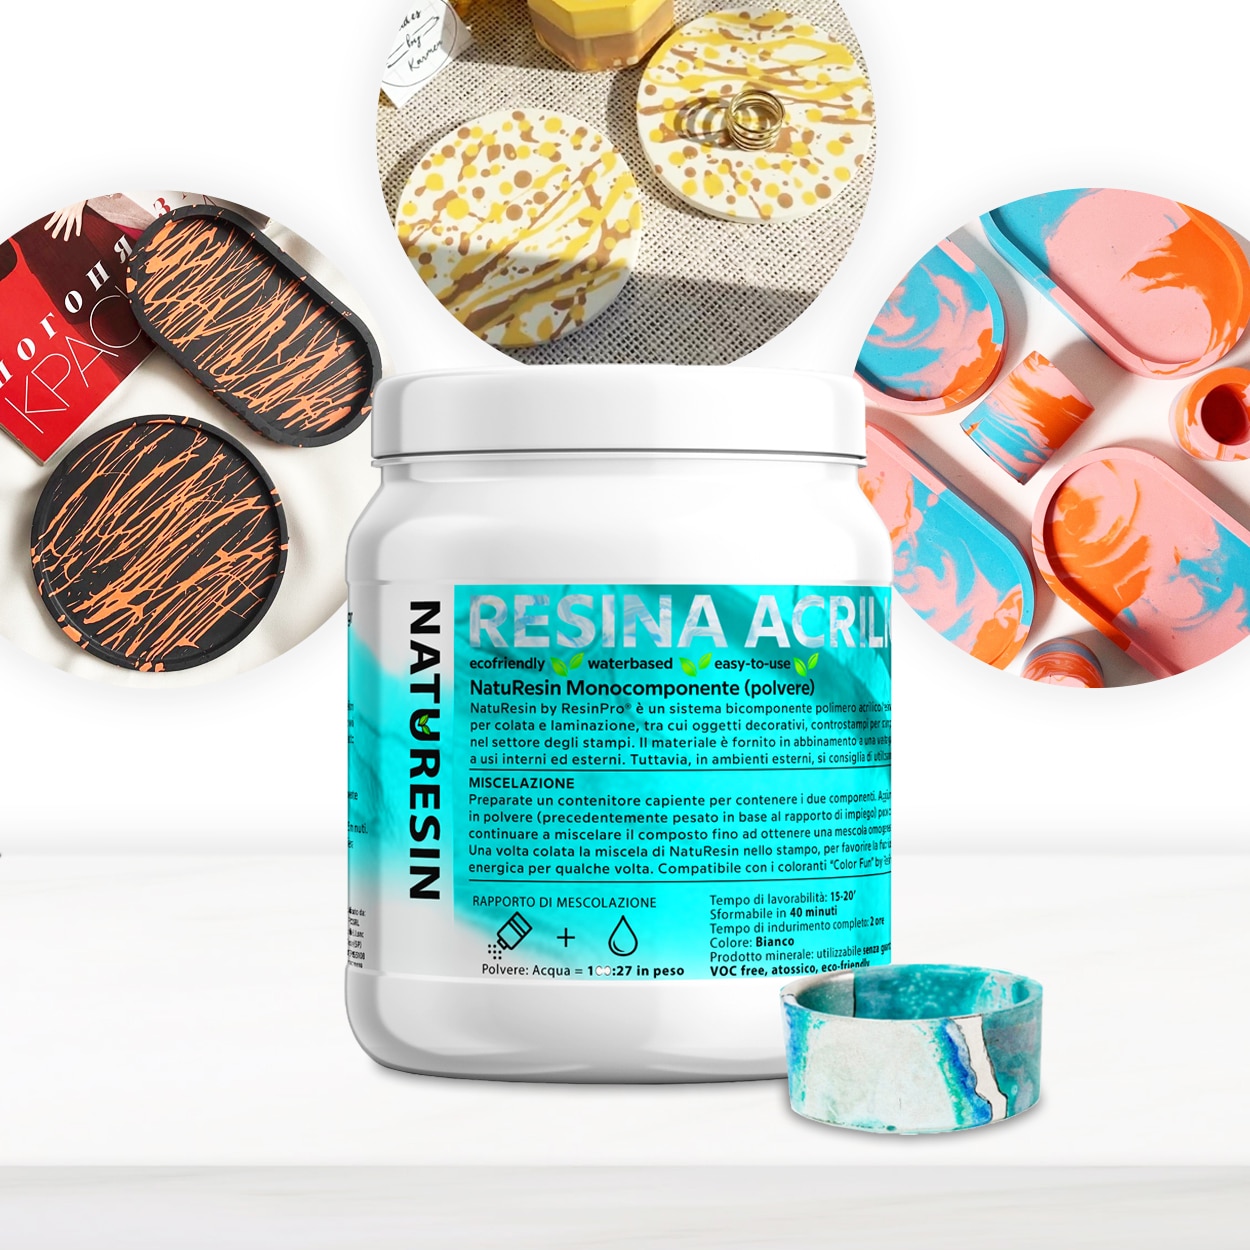
Adding colours or pigments to artificial resin is a fantastic way to personalise your projects, whether you’re crafting decorative items, tabletops or creative art pieces. Both mineral and epoxy resins can be tinted to produce a wide variety of effects.
How to Colour Artificial Resin
Customising artificial resin begins by choosing the right type of pigment or dye suitable for your resin base. Mineral and epoxy resins are both receptive to powdered pigments and liquid dyes. Always add pigments gradually to your resin, blending thoroughly to ensure consistent colour. Most resins should be coloured prior to pouring into moulds for even saturation and a smooth, professional finish.
- Start by mixing a small test batch to determine your preferred intensity.
- Add pigments little by little until you reach the desired shade.
- Stir gently but thoroughly to avoid air bubbles in the final product.
Project Ideas and Buying Tips
Coloured resins open up creative options for projects such as coasters, trays, decorative pots, and unique furniture. For beginners, kits like the Coasters – Creative Kit include pre-measured pigments to make experimenting easy. If casting larger items, consider an epoxy kit with pigments for vibrant tabletops and art pieces. Always check the recommended use and compatibility of pigments with your chosen resin for best results.
When Adding Colour Matters
Personalising your resin creation with colour is especially important when matching décor schemes, making personalised gifts, or experimenting with techniques like terrazzo, marbling, or layering. Some projects, like those using NatuResin, can also be painted after curing for additional effects.
Related products
Related guides
Enhancing artificial resin with colours or pigments allows for limitless creativity and customisation in your craft or home décor projects. For more inspiration and guidance on working with resin materials, explore our main guide on how to make artificial resin.