 Free shipping on orders over £29,85


How do you polish a transparent resin table?
Step-by-step guide for flawless resin clarity and shine


Make your transparent resin table truly shine by revealing its original clarity and gloss. Whether you need to restore an older surface or finish a new project, polishing a resin table the right way ensures a brilliant, scratch-free result. This guide takes you through each step, highlighting tactile technique and common pitfalls, so you can transform a dull or hazy finish into a centrepiece worth admiring.
What You’ll Need
- “Epoxy Polish” – Epoxy Resin Polishing System – for effective scratch removal and surface shine
- 1200W Polisher for Sanding and Buffing – Variable Speed, D-Handle – helps achieve an even, controlled buff
- Soft microfibre or lint-free cloths
- Clean water and mild soap
- Protective gloves and dust mask

Essential Tools and Materials for Polishing Resin
Prepare your workspace with reliable tools such as microfibre cloths, a high-quality polishing compound, and a variable speed polisher for best results. Prioritise cleanliness and protective gear to ensure a smooth and safe experience.

Step 1: Clean and Prepare the Resin Table
Begin by removing dust, grit and any residues from the table surface with a soft, damp cloth and gentle soap. A thoroughly clean surface ensures that grit won’t scratch the resin further during sanding. Make sure the area is well-ventilated and always wear gloves to protect your hands from any cleaning agents. Once clean, allow the resin to dry completely before moving on.
Wipe surfaces clean before and after sanding for a brighter finish.
Step 2: Sand the Surface Smoothly
Progressive sanding is crucial for removing scratches, imperfections or cloudy spots. Start with a fine grit sandpaper (around 1000-1500 grit) and sand in straight, overlapping lines. Continue to higher grits (up to 3000 or 4000) for increasingly smooth finishes, using a flexible sanding block for manual work or a mechanical polisher with compatible pads for larger tables.
The 1200W Polisher for Sanding and Buffing – Variable Speed, D-Handle provides excellent control and variable speed, particularly useful for achieving uniform abrasion and effective smoothing of epoxy resin.
Rinse the surface and wipe clean between each sanding stage to remove residues and check progress. Do not skip grits: this ensures scratch lines are removed, resulting in a clear, even surface.
Never skip progressive sanding steps, even for minor scratches.
Step 3: Apply Resin Polishing Compound
Once the table feels glass-smooth and free of visible lines, it’s time to polish. Apply a small amount of resin polishing cream to the surface. Using a clean, soft cloth or polishing pad, buff the area in gentle, overlapping circles while applying light, even pressure. Work in sections, keeping movements consistent to avoid swirl marks.
For the best results and fast, professional shine, use the “Epoxy Polish” – Epoxy Resin Polishing System. This system is designed to remove micro-scratches, dull spots and restore gloss, delivering a mirror-clear finish when paired with appropriate pads or a rotary polisher.
Remove excess product with a clean cloth, and repeat if extra clarity is needed.
Always polish in gentle, overlapping motions for best clarity.

Step 4: Inspect, Wipe Down and Enjoy
Once polished, inspect the table from multiple angles under good lighting to ensure there are no remaining hazy patches, residue or swirl marks. For a final touch, gently wipe the surface with a clean, dry microfibre cloth to remove any leftover polish. This leaves the resin brilliantly glossy and perfectly clear, ready to serve as a statement feature in your space. Avoid placing heavy or abrasive items directly on the surface after polishing for lasting results.

Tips and Troubleshooting for Polishing Resin Tables
Avoid using cutting compounds not meant for resin, as these may cause dullness or leave visible residue. Always sand evenly, keeping the area lubricated and checking your progress between grits to prevent deep scratches. If you spot persistent swirl marks or holograms, try another pass with the polishing compound using lighter pressure. When working with coloured or black resin areas, consider a specialty polish to avoid white residue.
Polishing in Action
Observe each stage of the process from careful sanding to final buffing, and note the restored clarity and brilliance achieved on transparent resin surfaces. Each careful action contributes to a showstopping final result.

- "Epoxy Polish" – Epoxy Resin Polishing SystemPrice range: £17.85 through £44.85"Epoxy Polish" is suited for achieving a mirror-like finish on resin surfaces with care and appropriate polishing tools.
- 1200W Polisher for Sanding and Buffing – Variable Speed, D-Handle£85.95The 1200W Polisher offers variable speed control and a sturdy D-handle, suited for sanding and polishing epoxy resin surfaces.
 "River-Table" – Complete Kit for Creating Your First Epoxy Resin TablePrice range: £188.85 through £444.85"River-Table" kit provides materials and instructions for creating a wood and resin table, including polishing tools.
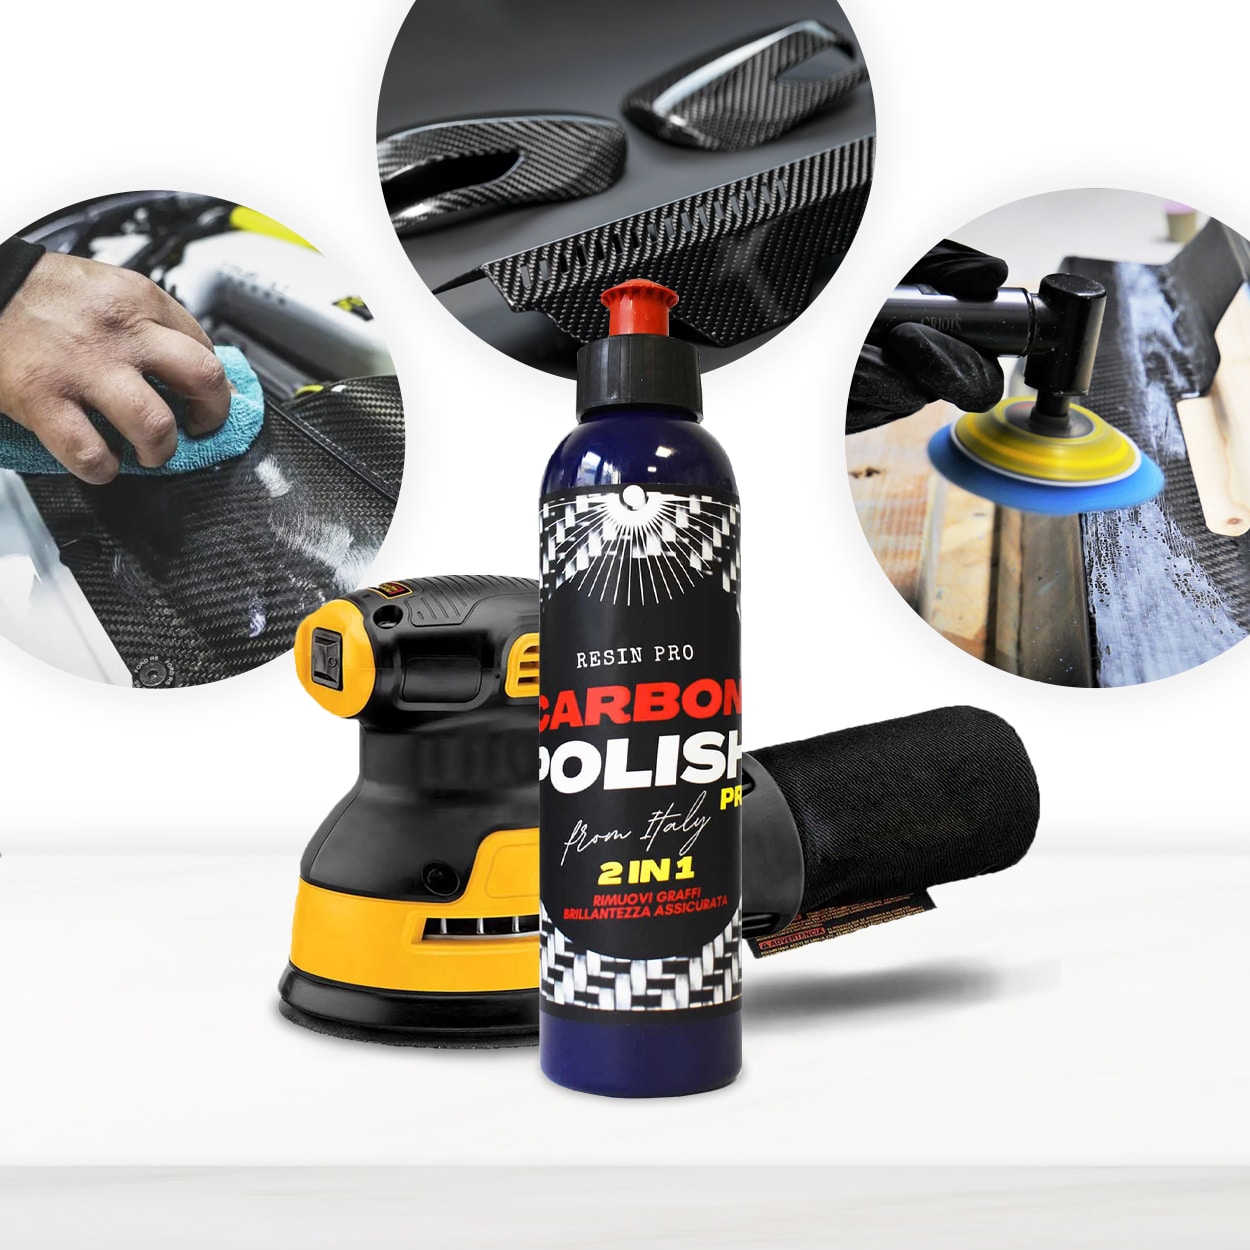 "Carbon Polish" – Polishing System for Dark and Black Surfaces, 250mlPrice range: £17.85 through £44.85Carbon Polish Black is designed for polishing dark surfaces including epoxy resin, providing a finish without white residue.
Frequently Asked Questions
Can I polish a resin table without a mechanical polisher?
It is possible to polish by hand using a suitable resin polishing cream and pads, but a mechanical polisher gives more consistent results and shine.
What grit sandpaper should I use for polishing resin?
Start with a fine grit such as 1000, then gradually work up to 3000–4000 for the smoothest finish before applying polish.
How do I remove haze from an epoxy resin table?
Careful progressive sanding followed by resin polish will usually clear any haze or cloudiness from epoxy resin surfaces.
What should I avoid when polishing resin tables?
Do not use regular car polishes or harsh abrasives, as these can leave residue or dull the resin instead of creating a clear gloss.
How long does polishing a resin table take?
Depending on resin thickness and starting condition, expect the process to take 1–2 hours for a full-size table with careful technique.
What type of polish should I use on transparent epoxy?
Choose a polishing compound specifically formulated for epoxy resin to achieve a crystal-clear, hologram-free finish.