 Free shipping on orders over £29,85


How do you prepare the resin?
Confidently mix, cure, and use resin for art and handcrafts


Preparing resin correctly is essential for achieving stunning, bubble-free results in jewellery, homewares, and art projects. Whether you’re a beginner or an experienced crafter, understanding the right preparation method for your chosen resin type ensures strong, flawless outcomes. This guide compares the main approaches for preparing UV, epoxy, and mineral-based resins—so you can choose the best process for your creative ambitions.
Overview of Resin Preparation Methods
The art of resin preparation involves selecting the right product for your project, understanding mixing ratios, curing times, and safety requirements. There are three primary resin types popular in creative crafts:
- UV-curable acrylic resins – Simple, no mixing, cures in minutes under UV light.
- Two-part epoxy resins – Requires precise mixing of resin and hardener, usually in a 1:1 ratio for straightforward use.
- Mineral (water-based) resins – Activated by adding water, offering an eco-friendly and safe alternative for casting and crafts.
Key differences lie in preparation steps, safety, speed, and the kinds of projects each resin best suits. Selecting the right resin means considering if you need rapid curing, easy mixing, eco credentials, or specific finishes like glassy clarity or ceramic-like hardness.

Visual Guide to Resin Preparation
See the difference between UV, epoxy, and mineral resin setups. Notice how UV resin simplifies crafting with direct application under a lamp, while epoxy resins require careful measuring and mixing. Mineral resins activate with water, offering a simpler, safer process for creative casting.
Fast Acrylic Resin Preparation: UV–Creation UV Resin
If speed and simplicity are your priorities, “UV–Creation” – Fast Acrylic Resin, 3 Minute UV Cure offers a one-component, ready-to-use system ideal for jewellery and small decorative items. Simply dispense the resin, apply directly to your mould or project base, and cure under a standard UV lamp. No mixing or waiting—hardening is complete in 2–3 minutes.
This UV resin yields a crystal-clear, glossy finish that remains non-yellowing for long-lasting clarity. Its safe & vegan-friendly formulation is non-toxic and odourless, making it great for home use. Perfect for rapid results in jewellery, bezels, and miniature crafts.
Simple 1:1 Mixing: One-2-One Epoxy Resin
Looking for versatility and robustness in handcrafts, coasters, or cabochons? “One-2-One” – Epoxy Resin for Handcraft, 1:1 Mixing Ratio is a popular option. With an easy 1:1 equal-parts by volume mixing ratio, it eliminates much of the confusion for those new to resin work.
To prepare, measure equal parts of resin and hardener (by volume), combine in a clean mixing cup, and stir thoroughly for a few minutes until fully blended. Pour the mixture into your mould or onto your surface. This non-toxic formulation delivers a crystal clear, super-glossy finish and includes a UV filter for reduced yellowing over time. Excellent for personalising jewellery, trinkets, and surface coatings.
Masterclass Guidance: Practical Resin Preparation Skills
If you prefer learning by doing or want a comprehensive understanding from preparation to finished product, the Resin Class – 3D Effects Coasters Masterclass, 120 Minutes is tailored for you. It covers workspace setup, choosing materials, correct mixing and pouring techniques, temperature control, colouring methods, and safety essentials.
Through hands-on demonstration, you’ll explore mixing resins, pouring into different moulds, adding decorative elements, and shaping semi-cured resin to create unique homewares. The masterclass is ideal for those seeking guided instruction in resin preparation and creative practice.
Eco-Friendly Mineral Resin: NatuResin Water System
For those seeking a safe, eco-conscious alternative to traditional resins, “NatuResin” – Mineral Resin & Water System for Creative Casting and Crafts is the answer. This innovative resin requires only the addition of tap water to prepare, making it solvent-free and safe—with no gloves needed!
Combine the mineral resin powder with water according to instructions, mix thoroughly, then pour into your moulds. Curing yields a ceramic-like hardness, perfect for indoor and outdoor decorative items. After curing, your creations can be customised with paints or pigments. Ideal for coasters, flower pots, and durable crafts.
Tips for Choosing and Preparing Your Resin
Select your resin type according to your project’s requirements—UV resin for rapid results, epoxy for versatility and gloss, or mineral resin for eco-friendliness and safe handling. Always follow the manufacturer’s mixing ratios and safety guidelines, prepare your workspace to avoid dust and spills, and check temperature requirements for the best results. Consider a masterclass if you want step-by-step support and to avoid common mistakes.
Gallery of Finished Resin Creations
Be inspired by a range of resin art—from glossy jewellery and coasters to ceramic-like homeware pieces—demonstrating the possibilities achieved with proper preparation. Explore textures, shapes, and finishes to spark creativity for your next project.

- "UV–Creation" – Fast Acrylic Resin, 3 Minute UV CurePrice range: £8.45 through £62.95UV–Creation fast acrylic resin cures quickly under UV light, suitable for jewellery makers and crafters needing a clear, glossy finish.
- "One-2-One" – Epoxy Resin for Handcraft, 1:1 Mixing RatioPrice range: £15.95 through £59.95"One-2-One" epoxy resin offers a medium viscosity and simple 1:1 volume mixing, suitable for handcraft projects within the resin preparation theme.
 Resin Class – 3D Effects Coasters Masterclass, 120 MinutesCourse to learn working with resin, making coasters and bowls, with practical guidance for appropriate mixing and shaping.
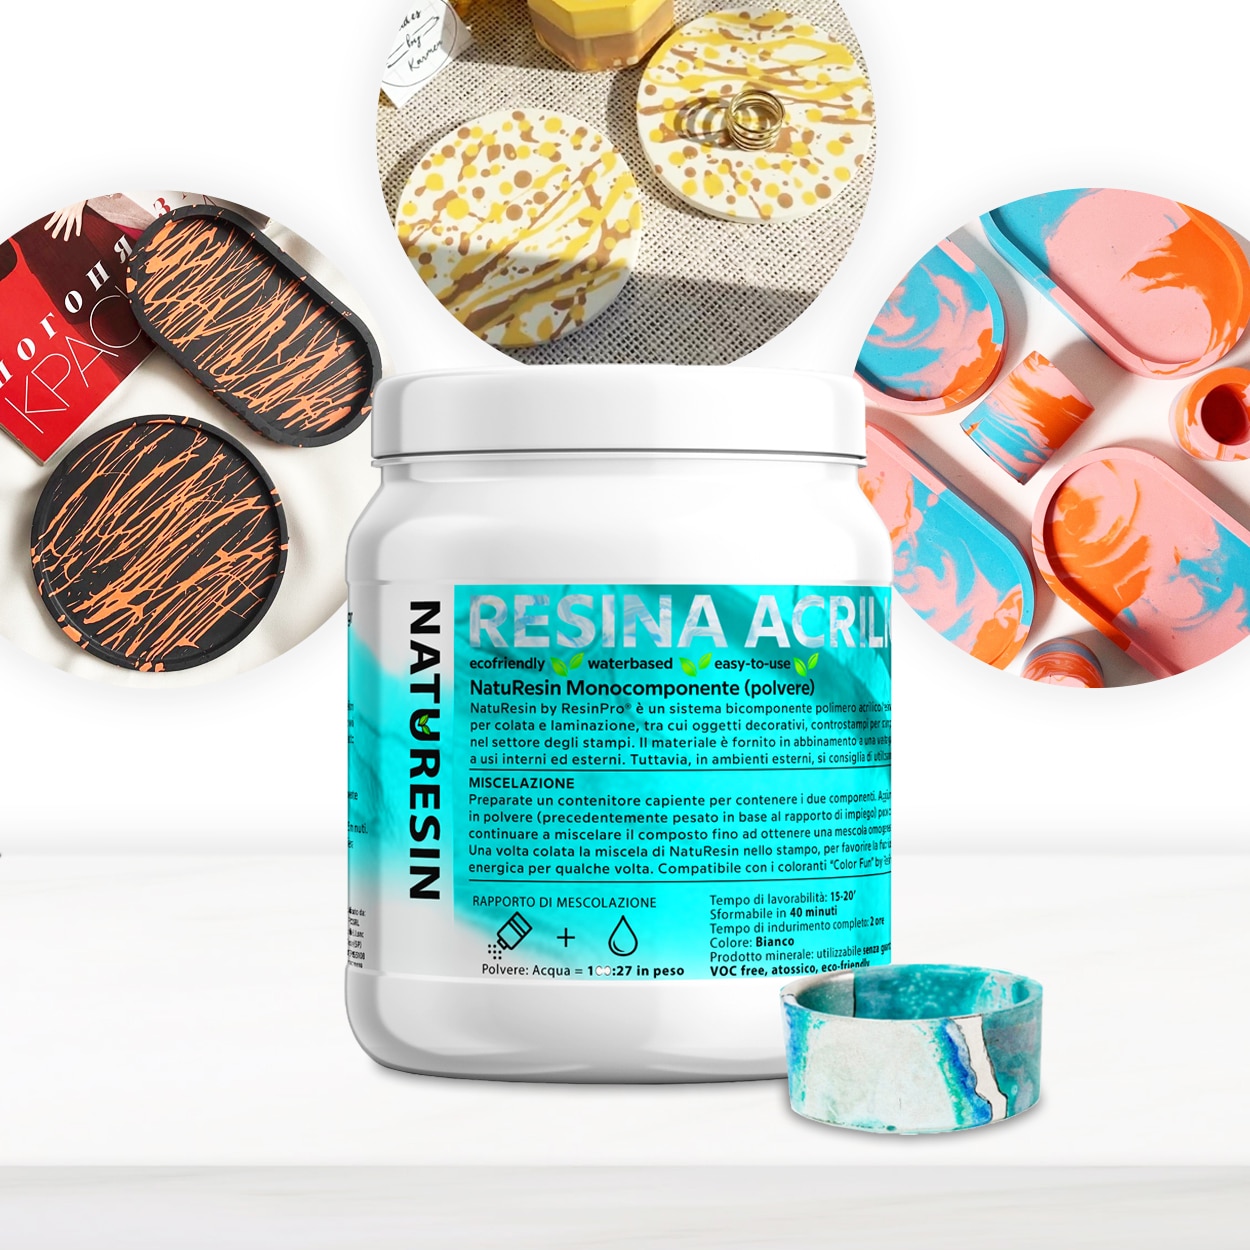 “NatuResin” – Mineral Resin & Water System for Creative Casting and CraftsPrice range: £18.95 through £104.95NatuResin is a single-component mineral resin mixed with water, designed for safe casting of decorative items for creative projects.
Frequently Asked Questions
How much resin should I prepare for my project?
Always estimate your required volume before mixing, as excess cannot be stored once combined. Use measurement guides specific to your mould or surface area.
How can I avoid air bubbles during preparation?
Mix slowly to minimise air introduction. For epoxy or mineral resins, allow bubbles to surface before pouring and, if needed, use a heat gun for finishing.
What are the key safety tips when preparing resin?
Work in a well-ventilated area, wear gloves and a mask for epoxy types, and avoid skin contact. Always read your resin’s safety instructions prior to use.
What is the difference in preparing UV, epoxy, and mineral resins?
UV resins require no mixing and cure with light, epoxies involve precise 2-part mixing, and mineral resins mix with water for activation.
Can I add colour or glitter to resin during preparation?
Yes, many resins accept dry pigments, mica, or glitter. Check your resin’s compatibility—UV resin should not use alcohol inks.
How do I mix epoxy resin without mistakes?
Measure both components precisely by volume or weight. Mix steadily, scraping the sides of the container, until fully blended and free from streaks.