 Free shipping on orders over £29,85


How do you remove epoxy putty?
Step-by-step guide to effective epoxy putty removal at home

Epoxy putty is known for its strong adhesive properties and durability, making it a popular choice for repairs and crafts. That same strength can present a challenge when you need to remove cured or uncured epoxy putty from surfaces. This guide covers safe and effective methods to remove epoxy putty using both manual and solvent-based approaches, whether you’ve encountered a spill, need to correct a repair, or are preparing a surface for a new finish.

What You’ll Need
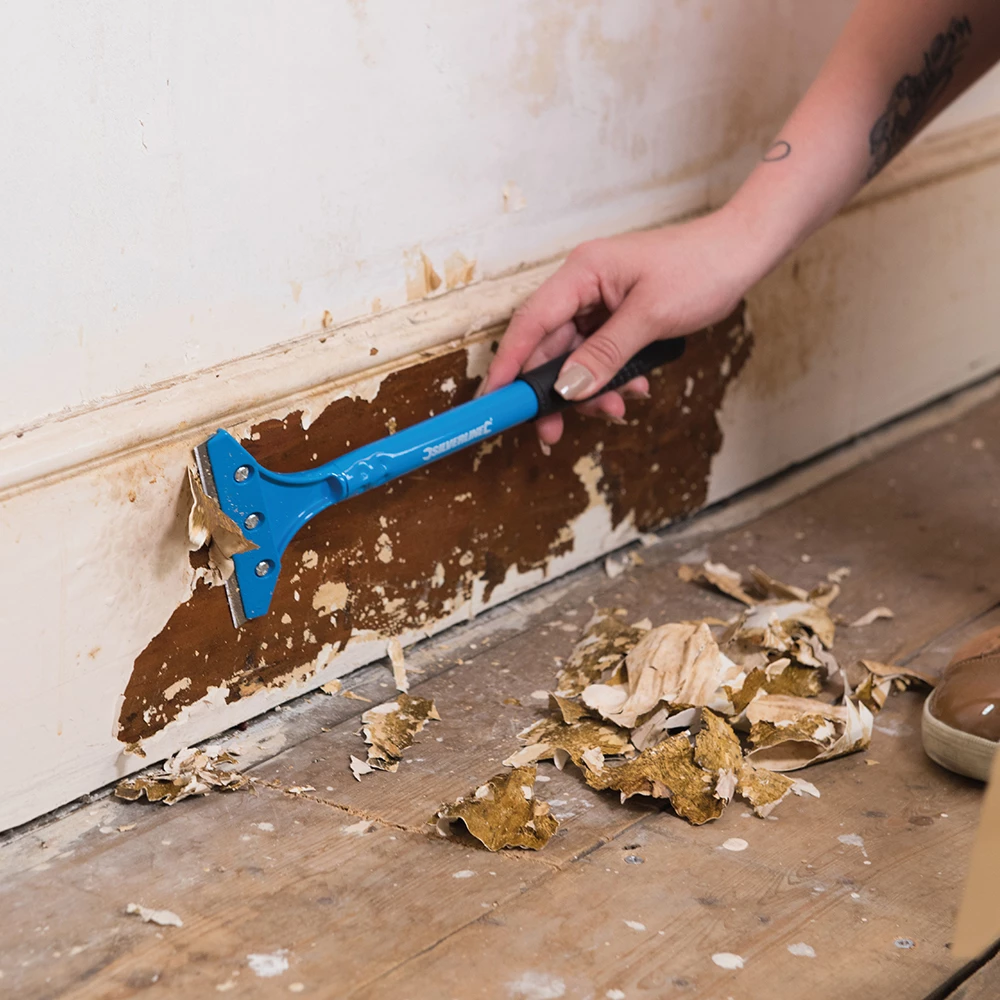
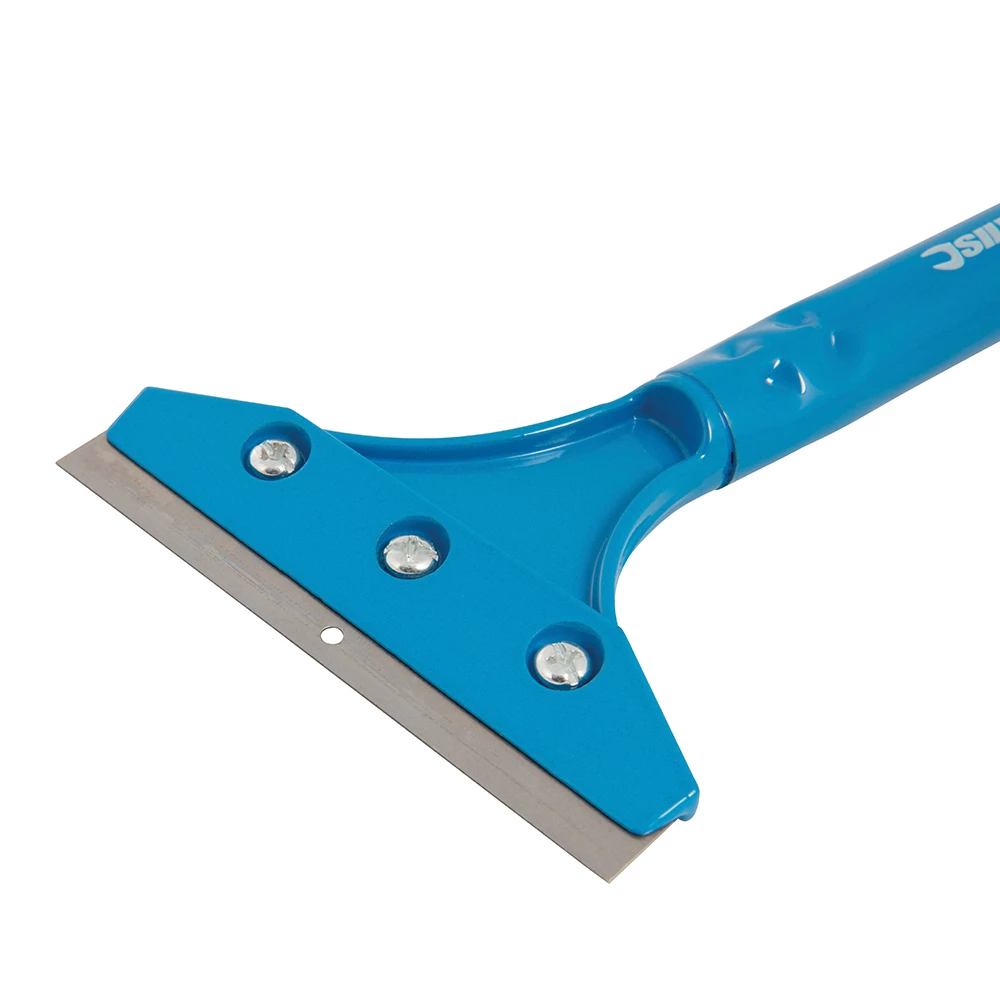
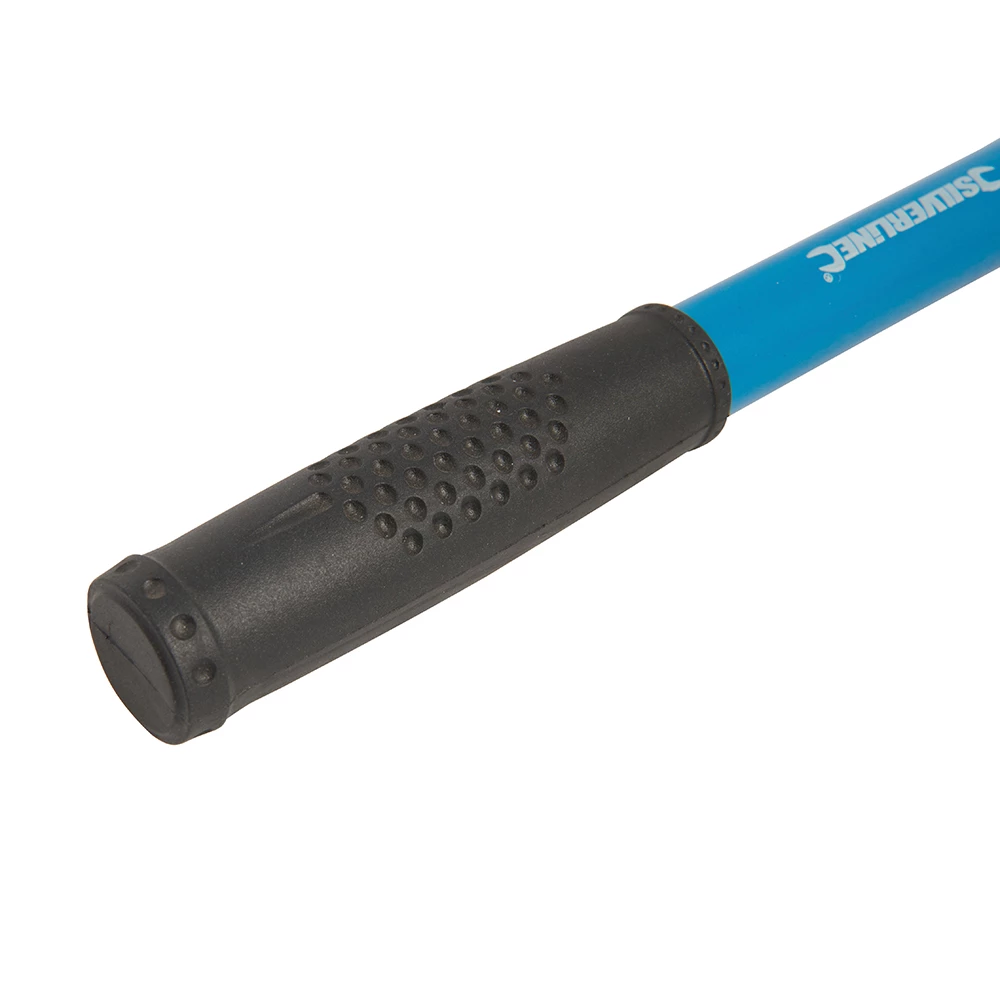
- Heavy Duty Scraper for Paint and Epoxy Resin Removal – Effective for lifting set putty from sturdy surfaces.
- Scraper for Paint & Dry Resin Removal – 10 Double-Sided Blades – Ideal for removing residue and scraping smooth areas.
- Pure Isopropyl Alcohol 99.9% – 1000ml Bottle for Epoxy Resin Projects & DIY – Useful for surface cleaning and addressing uncured epoxy.
- Disposable gloves and safety goggles
- Cloths and sponges
- Mild abrasive pad or fine sandpaper (optional for stubborn spots)
Epoxy Putty Removal Essentials
Choose your removal method based on whether the epoxy putty is cured or still soft. For most tasks, start with mechanical tools before considering solvents. Always prioritise safety and surface integrity.
Step 1: Assess the Epoxy Putty and Surface Type
Begin by carefully checking whether the epoxy putty is cured (fully hardened) or still tacky. The method and effort required differ between uncured and cured putty. Identify the underlying surface material—wood, metal, glass, or tile—to determine whether a scraping or solvent technique is best suited. Some surfaces may be more prone to scratches or solvent damage, so plan accordingly and prioritise gentler methods for delicate finishes.


Step 2: Prepare Your Workspace and Safety Gear
Epoxy removal can generate dust and debris. Protect nearby areas by laying down a drop cloth, and ventilate the workspace well, especially if using solvents. Ensure you are wearing gloves and protective eyewear when working with cured epoxy putty. This not only protects your skin and eyes from potential irritation but also helps prevent accidental contact with any loosened resin or cleaning agents.
Step 3: Remove Cured Epoxy Putty Mechanically
Use a manual scraping tool to carefully lift and remove hardened epoxy putty. For robust surfaces like tile or metal, the Heavy Duty Scraper for Paint and Epoxy Resin Removal is particularly useful, offering precise control and a sharp blade to chip away putty piece by piece. For flat, smooth surfaces such as glass, try the Scraper for Paint & Dry Resin Removal – 10 Double-Sided Blades for efficient residue removal and easy blade swaps. Avoid using excessive force, which can scratch delicate surfaces. Instead, work slowly and incrementally, re-positioning the blade as needed.


Step 4: Address Residual or Uncured Epoxy Putty
If some epoxy remains after scraping, or if it is not yet fully hardened, a solvent approach may help. Dampen a cloth with Pure Isopropyl Alcohol 99.9% – 1000ml Bottle for Epoxy Resin Projects & DIY and gently rub over the affected area, allowing the solvent to soften residue for easier removal. Repeat as necessary, always testing on a small area first to ensure compatibility. Never use flammable solvents near open flames or heat sources. Once removed, wipe the area with water and let it dry thoroughly before refinishing or repainting.
Step 5: Final Surface Cleaning and Inspection
After the bulk of epoxy putty is gone, give the area a final wipe with a clean, damp cloth to remove any dust or solvent traces. Check carefully for remaining spots; if necessary, use a mild abrasive pad or a little fine sandpaper for small, stubborn patches—always proceeding gently to preserve the surface underneath. Test a small, inconspicuous area to confirm compatibility before proceeding. Your surface is now ready for its next stage, whether painting, sealing, or further restoration.

Tips and Common Mistakes for Removing Epoxy Putty
Patience and careful technique are key to a clean removal. Work methodically and avoid the temptation to rush the job. Always protect surfaces and yourself, and use the gentlest effective method, starting with mechanical removal before turning to solvents. Be particularly cautious with decorative finishes, as excessive force or harsh chemicals can cause permanent damage.
Expert Advice for Epoxy Putty Cleanup
Take your time with challenging areas and test all products in a discreet spot first. Consistent, gentle action prevents damage to underlying surfaces and produces better results.
- Heavy Duty Scraper for Paint and Epoxy Resin Removal£8.95Heavy Duty Scraper is designed for removing wall coverings, floor tiles, and paint with comfort and control.
- Scraper for Paint & Dry Resin Removal – 10 Double-Sided Blades£4.95This scraper is designed for removing paint and dry resin from smooth surfaces, featuring a tool-free blade change suitable for professionals and DIY…
- Pure Isopropyl Alcohol 99.9% – 1000ml Bottle for Epoxy Resin Projects & DIYPrice range: £10.45 through £20.95Pure Isopropyl Alcohol 99.9% in a 1000ml bottle is suitable for epoxy resin projects including bubble removal and artistic effects.
Frequently Asked Questions
Can scrapers remove cured epoxy putty?
Yes, sharp scrapers are ideal for safely lifting and breaking away hardened epoxy putty from robust surfaces.
Is isopropyl alcohol effective on epoxy putty?
Isopropyl alcohol is mainly effective for cleaning uncured epoxy putty or residue after physical removal.
Will removal damage underlying surfaces?
Gentle scraping and testing solvents on small areas minimises damage; delicate surfaces require extra care.
How do I remove epoxy putty from glass or tile?
Use a dedicated scraper with replaceable blades for smooth results, working gently to avoid scratches.
What PPE should I use when removing epoxy putty?
Gloves and safety goggles are recommended to prevent skin or eye irritation while scraping or cleaning.
Can sandpaper be used on epoxy putty removal?
Fine sandpaper can help with lingering residue, but use sparingly to avoid damaging finishes.