 Free shipping on orders over £29,85


← Back to How do you remove epoxy putty?

Before you begin removing epoxy putty, it’s essential to test your chosen method on a small, hidden section of the surface. This simple step helps you avoid accidental damage and ensures the removal process suits your material.
Why Test in an Inconspicuous Spot?
Different surfaces react in distinct ways to removal tools or solvents. For example, wood, glass and painted surfaces can each be affected differently by scraping or cleaning agents. By starting with a patch that’s out of sight, you’ll see how the material copes—if it scratches, discolours or reacts poorly, you can adjust your technique before proceeding broadly.
Steps for a Safe Compatibility Test
- Pick a section under furniture or behind a fixture if possible.
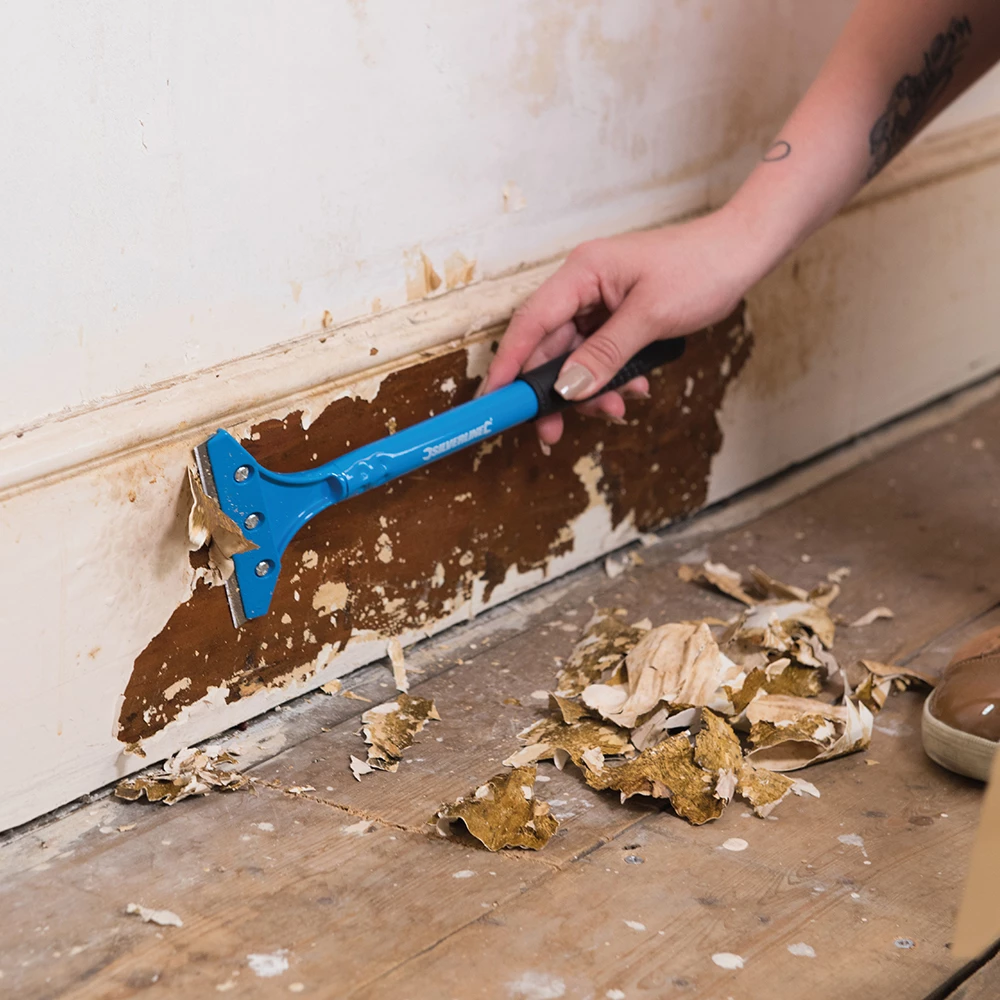
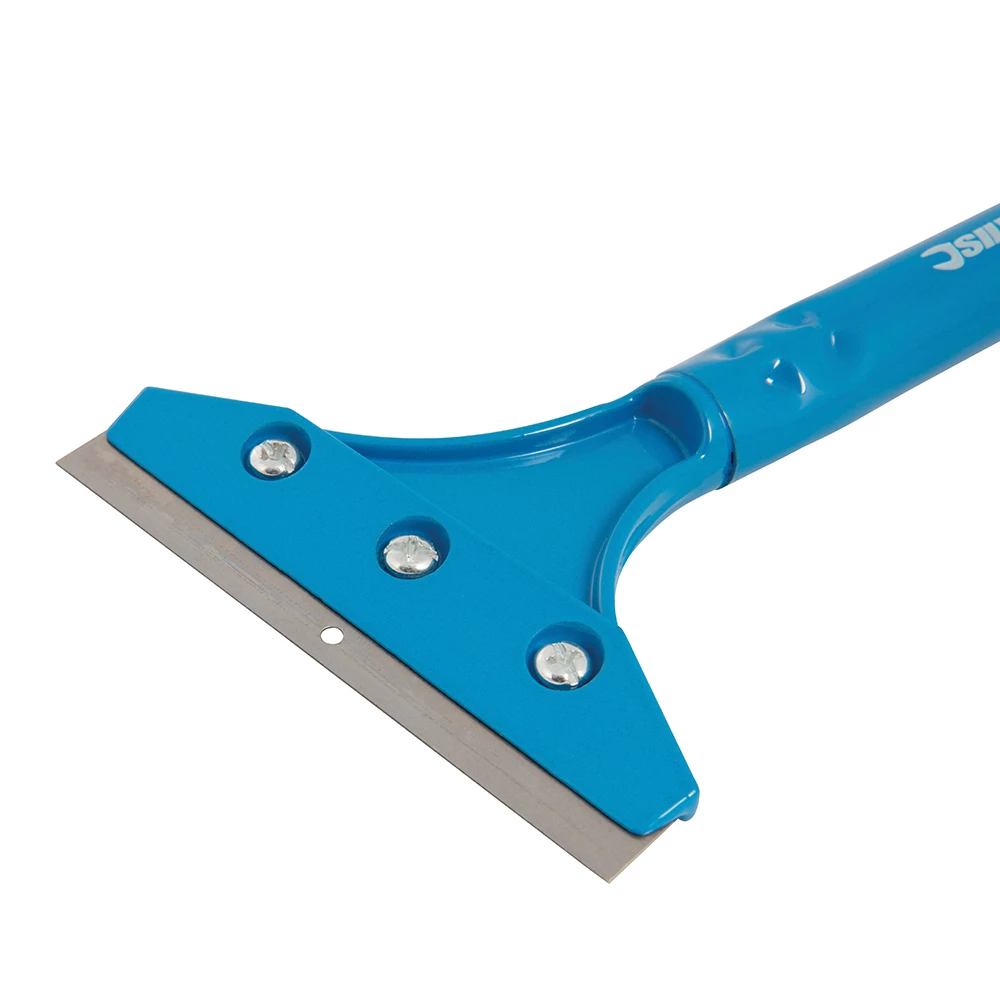
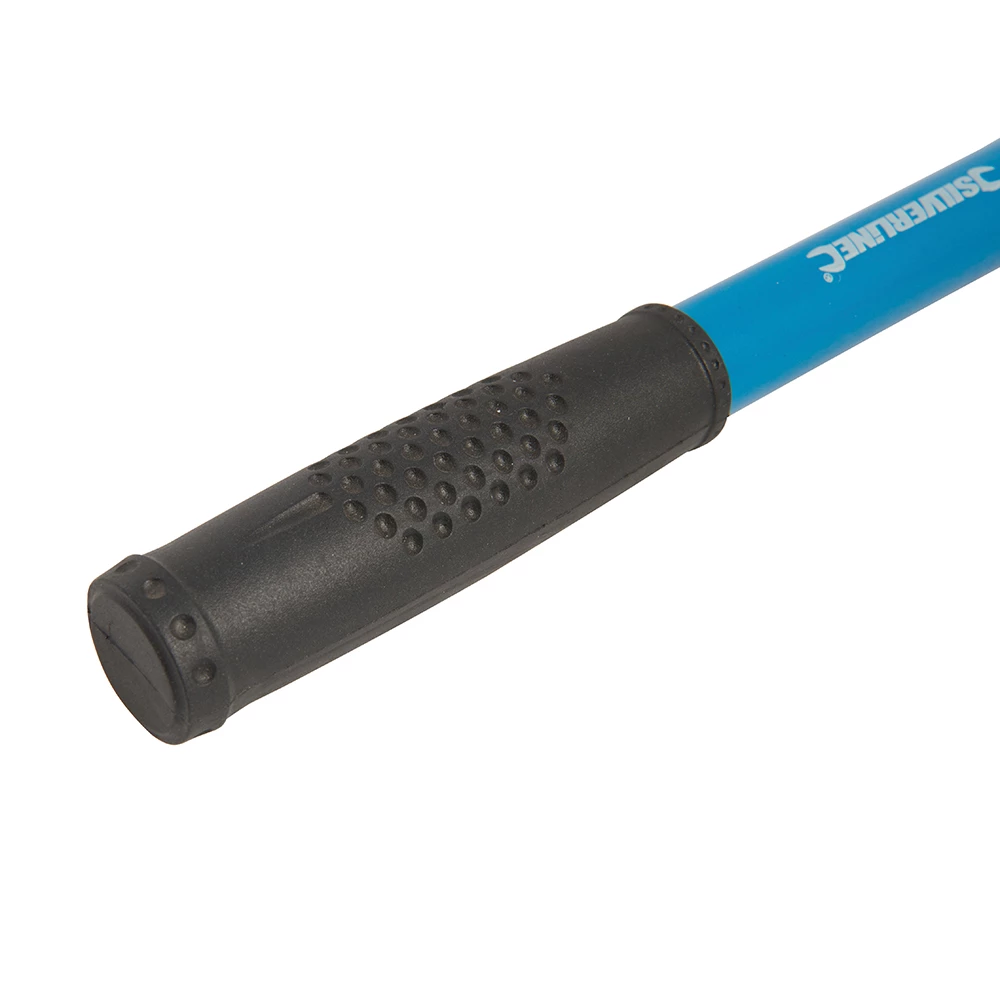
- Use your scraper—such as the Heavy Duty Scraper for Paint and Epoxy Resin Removal—or cleaner gently and observe any changes.
- Check for marks, dullness, or loss of surface integrity after attempting removal on this area.
- If using solvents, always wipe the area clean and check for residue or staining once dry.
If the surface remains unaffected, you can proceed confidently with your chosen removal method.
When This Matters Most
This preliminary check is particularly crucial for finishes that can’t be easily repaired or for highly visible areas where aesthetics matter, such as glass, window frames or tiled surfaces. For renters or listed buildings, testing first helps you safeguard original finishes, saving on costly repairs later.

Related products
Related guides
Taking the time to confirm compatibility makes epoxy putty removal safer and more straightforward—helping you maintain the quality of your surface and link every step back to a stress-free renovation. For more guidance, see our main tips on removing epoxy putty.