 Free shipping on orders over £29,85


How Do You Use Liquid Silicone Rubber?
Step by step guide to creating detailed silicone moulds safely.

Making your own silicone moulds opens up creative possibilities for crafts, casting, and replication of intricate shapes. Whether you are designing jewellery, model parts, or custom art pieces, mastering the technique ensures smooth results and extends the lifespan of your moulds. This guide covers the essential steps and practical tips to use liquid silicone rubber effectively and safely for professional-quality silicone moulds.
What You’ll Need
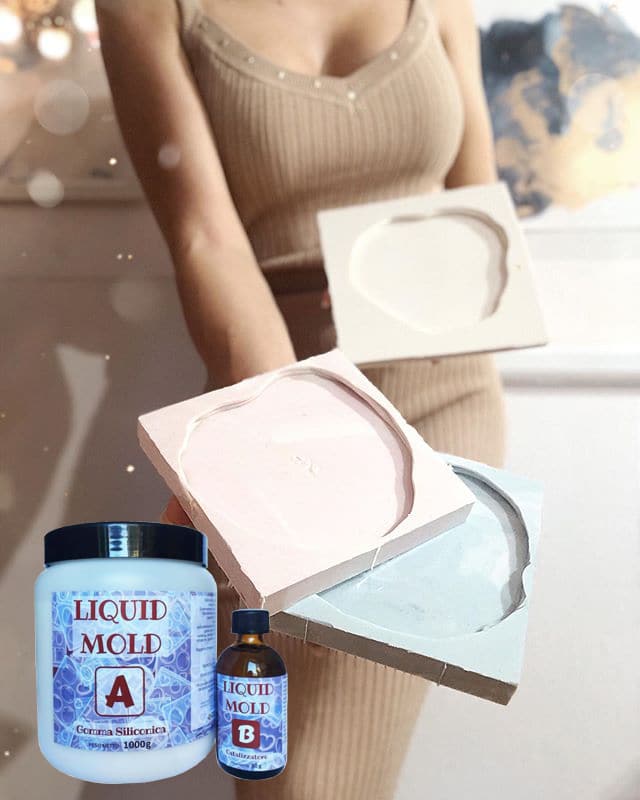
- “Liquid Mould” – Casting Liquid Silicone Rubber, 5-40 Shores, Bi-Component A+B – For creating highly detailed moulds and fine undercuts.
- “Pure Mould” – Translucent Liquid Silicone Rubber for Mould Making – Ideal for hobbyists working with waxes, resins, plaster, or cement.
- “Liquid Mould” – Casting Liquid Silicone Rubber, 15 Shores 20.8 kg – Suitable for larger scale or repeat moulding with delicate details.
- “I–Gum” – Non-Toxic Silicone Putty for Mould Making – For quick, odourless, non-toxic moulds of small objects and frames.
- Mixing tools and a digital scale
- Mould box or barrier (plastic container or similar)
- Protective gloves (as needed)
- Release agent (if moulding non-porous objects)
Essential Tools and Materials for Silicone Moulding
Gather all your materials in advance to ensure a smooth mould making process. Choose your silicone rubber based on the level of detail and size of the object. Reliable products like “Pure Mould” – Translucent Liquid Silicone Rubber for Mould Making are versatile for different casting projects. Don’t forget safe handling and preparation are key for high quality results.

Step 1: Prepare Your Workspace and Object
Start by cleaning and organising your workspace. Ensure your work area is dust-free, well-ventilated, and covered with protective sheets or paper to catch drips. Select your object for moulding and verify that it is clean, dry, and free from oils or residues, as these can affect the silicone’s ability to capture detail. If the item is porous or may bond to silicone, apply a thin, even layer of release agent for easy demoulding.
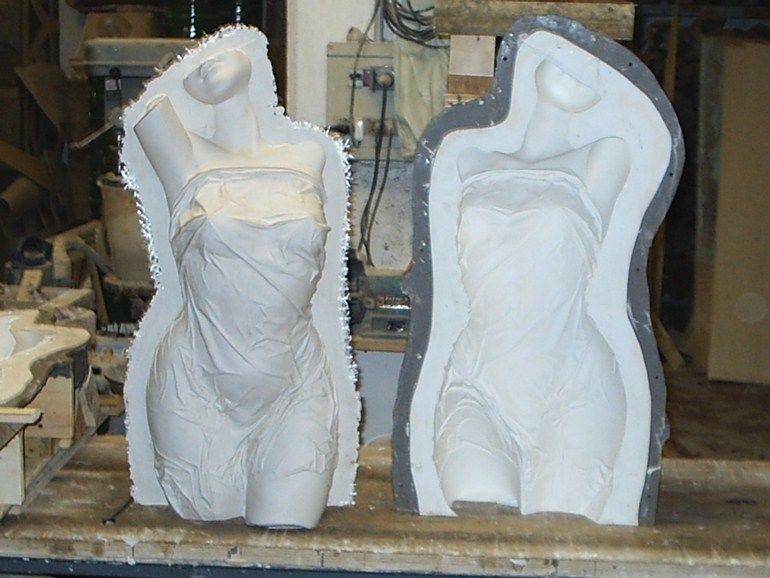
Thorough preparation leads to better mould quality and minimises the risk of imperfections. Use a mould box or build walls around your object, ensuring at least 10 mm gap between the object and box walls. This provides adequate support for your finished mould.
Step 2: Accurately Measure and Mix the Silicone
Carefully read the product instructions for the required mix ratio. Most liquid silicone rubbers, such as “Pure Mould” – Translucent Liquid Silicone Rubber for Mould Making, require a 1:1 ratio, while some may use other proportions. Using a digital scale, weigh the base and catalyst accurately to avoid curing issues or sticky spots.
Pour both components into a clean mixing container. Stir slowly and methodically, scraping the sides and bottom, until the mixture is a uniform consistency and colour with no visible streaks. Precise measuring and mixing is crucial for successful silicone curing and to maximise the mould’s lifespan.
Step 3: Pour the Silicone Over the Object
Begin pouring the mixed silicone into one corner of your mould box. Allow the silicone to flow naturally, gradually encasing the object rather than pouring directly on top. This helps prevent air entrapment and ensures the material thoroughly fills every detail and undercut.
If you’re creating an intricate design with deep cavities, gently tapping the mould box or using a thin tool to coax bubbles to the surface can further reduce imperfections. Pour slowly from one corner to reduce air bubbles and achieve a smoother finish. Do not rush this step, as it is vital for reproducing complex shapes accurately.

Step 4: Allow the Silicone to Cure Fully
Leave your mould undisturbed for the full cure time, typically ranging from 3 to 12 hours depending on the product and room temperature. As a reference, “Liquid Mould” – Casting Liquid Silicone Rubber, 5-40 Shores, Bi-Component A+B typically takes 10–12 hours to reach handling strength.
For faster results, “Pure Mould” – Translucent Liquid Silicone Rubber for Mould Making offers a shorter curing window (about 3–8 hours) with a 1:1 ratio. Allow silicone to fully cure before dismantling the mould to avoid tearing or warping. Once set, carefully remove the mould from the box and gently free your object for a clean and reusable silicone mould.

Tips, Common Pitfalls, and Troubleshooting
For best results, always check mixing directions for your chosen silicone product. Work in a stable environment to prevent premature curing, and avoid over-mixing, which can trap air and result in bubbles. If you encounter surface tackiness or uncured patches, re-examine your mix ratio and ensure thorough mixing in future batches.
Non-toxic putty options, like “I–Gum” – Non-Toxic Silicone Putty for Mould Making, offer a straightforward alternative with minimal odour and no need for gloves. Always select the right product for your object and desired detail.
Troubleshooting Your Silicone Moulds
If you encounter bubbles, incomplete curing, or difficulties demoulding, review your workspace setup and mixing process. Sometimes, choosing a non-toxic putty like “I–Gum” – Non-Toxic Silicone Putty for Mould Making can simplify the process for smaller jobs. Patience in curing and meticulous preparation help you avoid common issues and produce reusable, accurate moulds.
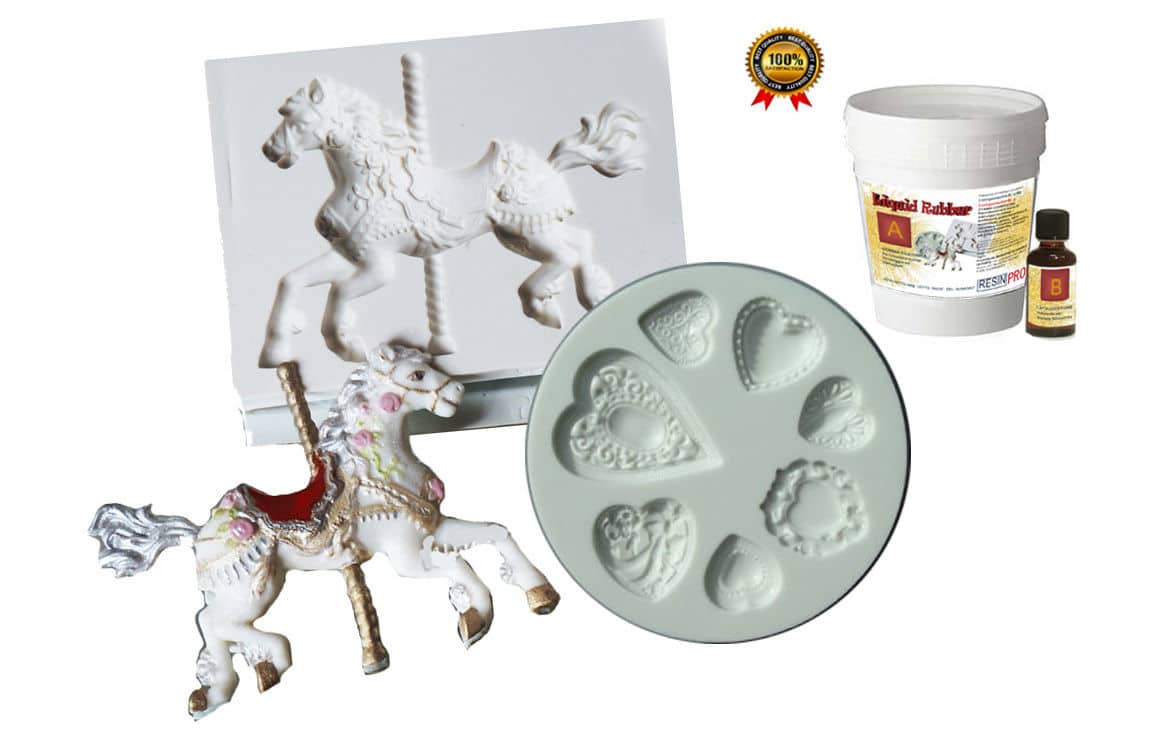
- "Liquid Mould" – Casting Liquid Silicone Rubber, 5-40 Shores, Bi-Component A+BPrice range: £14.45 through £387.45"Liquid Mould" is a liquid casting silicone rubber designed for making detailed moulds suited for small objects and fine details.
- "Pure Mould" – Translucent Liquid Silicone Rubber for Mould MakingPrice range: £23.95 through £166.95"Pure Mould" is a translucent liquid silicone rubber for mould making, suitable for professional and hobby use with various casting materials.
- "Liquid Mould" – Casting Liquid Silicone Rubber, 15 Shores 20.8 kg£348.85"Liquid Mould" is a casting liquid silicone rubber designed for moulds and compatible with resin and polymer pastes, suitable for detailed…
 "I–Gum" – Non-Toxic Silicone Putty for Mould MakingPrice range: £24.00 through £104.95"I–Gum" is a non-toxic two-component silicone putty designed for mould making, suitable for a range of materials and applications.
Frequently Asked Questions
How important is it to measure and mix liquid silicone rubber accurately?
Accurate measuring ensures proper curing. Incorrect ratios can lead to sticky, unusable moulds.
How can I reduce air bubbles in my silicone mould?
Pour silicone slowly from the corner of the mould box and tap gently to help bubbles rise and escape.
How long does silicone rubber take to cure?
Curing times vary by product, usually 3-12 hours. Check your product instructions for the recommended cure period.
Do I need a release agent when making silicone moulds?
Use a release agent if you are moulding non-porous items to make demoulding easier.
When should I use non-toxic silicone putty over liquid silicone?
Choose non-toxic putty for quick, odourless mould making of small items or when ease of handling is a priority.
Can I reuse a silicone mould for multiple projects?
Yes, with proper care, silicone moulds can be used repeatedly for casting resin, wax and more.