 Free shipping on orders over £29,85


How do you use resin in the wall?
Step-by-step guide for applying resin art and coatings indoors


Transforming your walls with resin offers endless decorative possibilities, from glossy finishes to textured, artistic statements. This guide walks you through the entire process—from preparing your wall substrate to applying and finishing resin coatings—for both practical protection and stunning visual effect. Whether you want a modern, waterproof surface or a feature resin art panel, these steps will help you achieve professional results safely.
What You’ll Need
- “Vertical Glass” – Thick Resin Decorative Wall Coating: For custom, waterproof wall coverage.
- “Art Pro Deluxe” – Ultra-High Viscosity Epoxy Resin for Artists: Ideal for fine resin art details and glossy finishes.
- MDF Resin Art Board – Geode V3 – 60x40cm: For creating mounted resin wall panels or artwork.
- “EpoxyWood” – Wood Restoration Epoxy Resin for Deep Penetration and Waterproofing: For sealing or reinforcing any wood used in your wall design.
- Suitable primer (e.g., MDF sealer or gesso for boards, or masonry primer for walls)
- Sanding materials (various grit sandpapers, sanding block)
- Application tools (spatula, trowel, brush, roller, gloves, mixing bucket)
- Dust sheets and masking tape to protect surrounding areas

Inspiration: Creative Wall Resin Designs
Discover how resin can revitalise any interior space—from creating a dramatic, high-gloss feature wall to adding subtle metallic touches for a modern, light-reflecting effect. Use geometric stencils, natural pigments, or create your own resin artworks on MDF panels for unique wall-mounted displays. The versatility of resin allows both seamless, waterproof finishes and artistic, textured expressions within one room.

Step 1: Prepare the Surface
Proper surface preparation is crucial for success. Begin by cleaning the wall or MDF board thoroughly; remove dust, dirt, grease, and any loose paint or material. For brick, tile, or plaster, repair any cracks or holes and allow filler to dry completely. If working on MDF art boards, ensure all edges and faces are sanded smooth.
Always prime your surface: walls and bricks typically require a masonry primer, tiles need a suitable bonding primer, and MDF boards benefit from a coating of gesso or MDF sealer. This step improves adhesion and prevents resin from seeping in unevenly. Allow the primer to dry as per product directions.
Step 2: Mix and Tint the Resin
Carefully read the mixing instructions for your chosen resin. Mix only as much as needed for one coat to avoid waste and premature curing. For custom wall designs or effects, integrate pigments or metallic powders into the resin mixture at this stage. Stir slowly to minimise air bubbles, scraping sides and bottom for even blending.
If you desire a thicker, highly decorative wall coating with good workability, “Vertical Glass” – Thick Resin Decorative Wall Coating is an excellent choice for both function and appearance, allowing creative tinting and metallic effects.
Step 3: Apply Resin to the Wall or Board
Protect your workspace with dust sheets and mask off any adjacent areas. Pour or place the resin onto the surface and use a spatula, trowel, or wide brush for an even application. For feature walls, a trowel or spatula creates dynamic textures; for art panels, spreading with a palette knife or brush allows artistic detail.
If you are creating a resin art panel to mount, applying resin to a pre-primed MDF Resin Art Board – Geode V3 – 60x40cm is ideal. For ultra-glossy, glass-clear finishes, “Art Pro Deluxe” – Ultra-High Viscosity Epoxy Resin for Artists is specially formulated for maximum control and definition on vertical or horizontal projects.

Step 4: Cure, Refine, and Finish
Follow the curing timeline specified by your resin. In general, the area should remain dust-free and undisturbed until fully set (typically 24–48 hours). Avoid touching or cleaning until the resin has hardened.
Once cured, you can sand the surface if a softer, satin finish is desired, or leave it glossy for maximum impact. For wooden elements or frames within your wall feature, use “EpoxyWood” – Wood Restoration Epoxy Resin for Deep Penetration and Waterproofing to carefully seal and reinforce exposed wood before final assembly.

Tips and Common Mistakes for Wall Resin Application
- Test in a small area first before full application—especially for tint colours or on unknown wall types.
- Do not apply resin to damp, dusty, or unsound surfaces—proper preparation prevents adhesion failure and finish problems.
- If air bubbles appear, gently pass a heat gun just above the surface during the pot life window—but avoid excessive heating, which may cause ripples or discolouration.
- Allow resin to cure fully before exposing to moisture or handling to ensure durable, water-resistant results.
- Plan your design and working time—most resins have a limited pot life once mixed, so organise materials and apply promptly.
Project Gallery: Resin Wall Finishes and Art Panels
See a selection of completed resin wall coating projects and resin art panels—from custom kitchen splashback installations to bold decorative boards in living spaces. Each piece showcases the possibilities achieved with professional substrate preparation, quality resin, and creative pigment blending for either subtle enhancements or stunning centrepiece art.

- "Vertical Glass" – Thick Resin Decorative Wall CoatingPrice range: £78.95 through £188.95"Vertical Glass" provides a customisable, waterproof epoxy resin wall coating suitable for vertical and sloping indoor surfaces in line with your…
- "Art Pro Deluxe" – Ultra-High Viscosity Epoxy Resin for ArtistsPrice range: £35.95 through £302.45"Art Pro Deluxe" ultra-high viscosity epoxy resin provides precise control and a crystal-clear finish, suitable for detailed resin art and related…
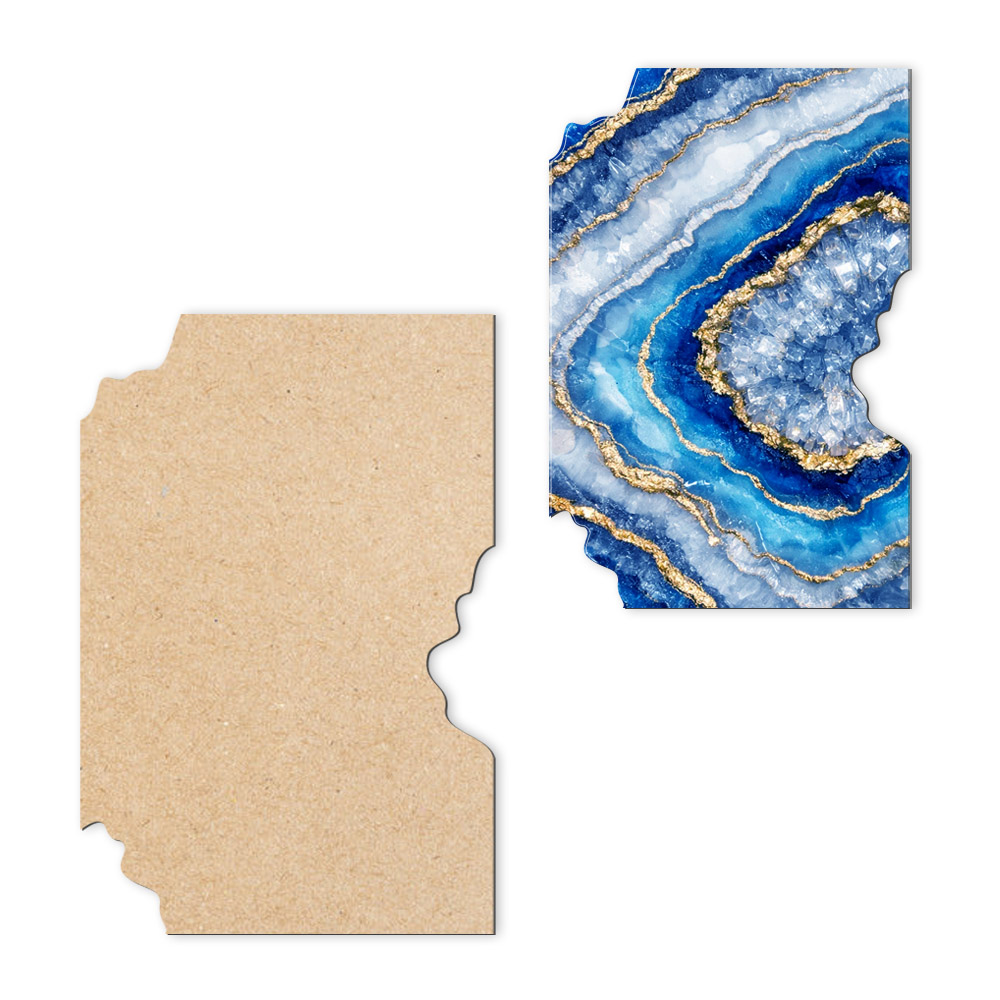 MDF Resin Art Board – Geode V3 – 60x40cm£20.95MDF Resin Art Board – Geode V3 – 60x40cm offers a sturdy 6mm MDF surface with geode-style edges, suitable for wall art and resin projects.
 "EpoxyWood" – Wood Restoration Epoxy Resin for Deep Penetration and WaterproofingPrice range: £27.95 through £41.95"EpoxyWood" is designed for wood restoration with deep penetration and waterproofing, suitable for reinforcing wooden surfaces in the wall context.
Frequently Asked Questions
What surfaces can resin be applied to on walls?
Resin can adhere to brick, tile, cement, wood, plaster, and properly primed MDF panels when prepared correctly.
Can you use resin in bathrooms or kitchens?
Yes, resin coatings are ideal for high-moisture areas if cured fully and applied over sound, prepared substrates.
Do resin walls need primer?
Yes, priming improves resin adhesion and creates an even, sealed surface for durable results.
How do I fix bubbles during application?
Carefully use a heat gun or torch just above the surface to release trapped air in the liquid resin.
Can resin wall coatings be repaired if damaged?
Yes, sand the affected area lightly, clean, and apply a fresh resin layer to restore appearance and protection.
How do I clean resin-coated walls?
Wipe gently with a soft, non-abrasive sponge and mild cleaning solution to preserve the gloss and clarity.