 Free shipping on orders over £29,85


How to apply resin for a 3D effect?
Transform flat surfaces into striking, dimensional masterpieces


Creating a 3D effect with resin elevates artwork, tables, or decorative objects by adding depth, gloss, and a captivating dimensional appearance. This guide will show you the key steps and precautions for successfully applying resin to achieve the ultimate 3D finish, whether you’re working on a painting, a river table, or even a 3D print. By following these best practices, you’ll ensure stunning visual results that will last for years to come.
What You’ll Need
- “Art Pro Deluxe” – Ultra-High Viscosity Epoxy Resin for Artists – For detailed art or finish layers
- “EpoxyTable 5-Five” – Deep Pour Epoxy Resin for Tables and Large Projects – Up to 5cm – For river tables and medium-depth 3D effects
- “Epoxytable 10-Ten” – Deep Pour Epoxy Resin for Tables, Up to 10cm Casting – For ultra-deep pours
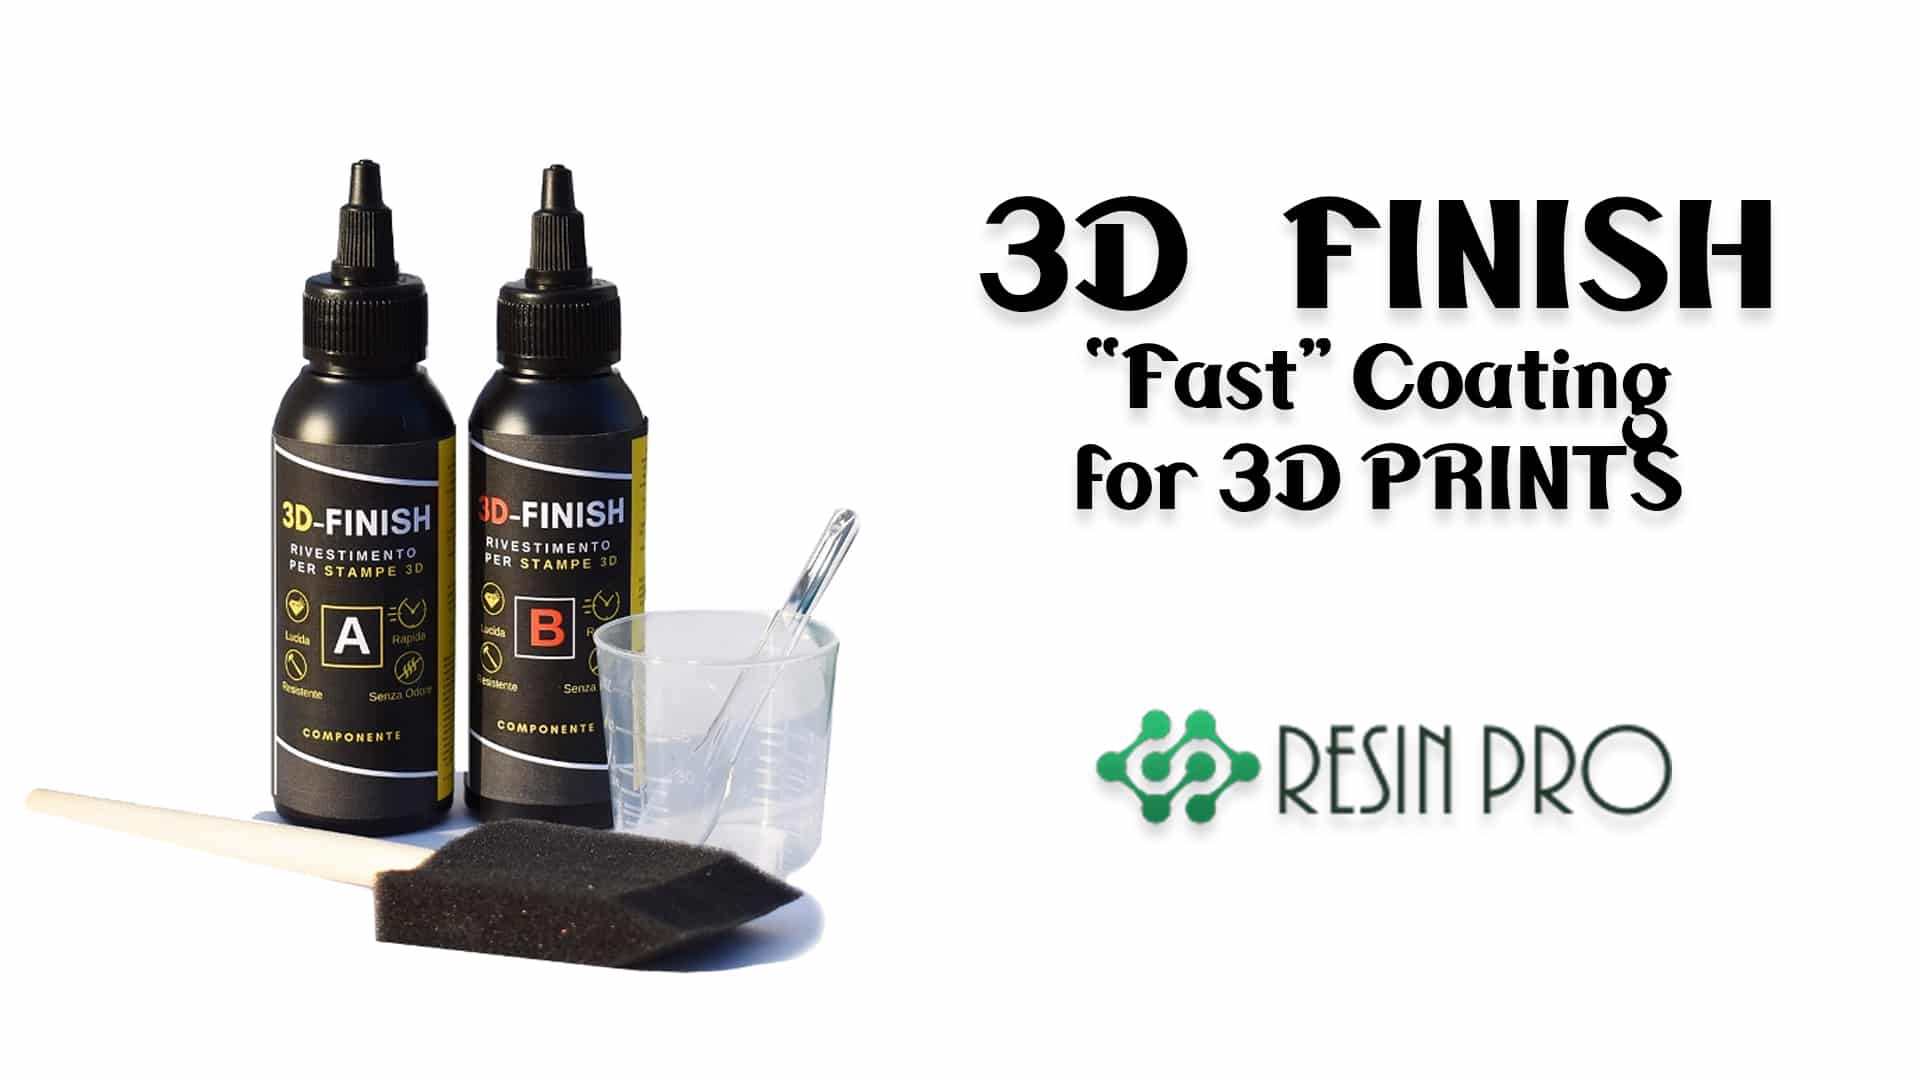
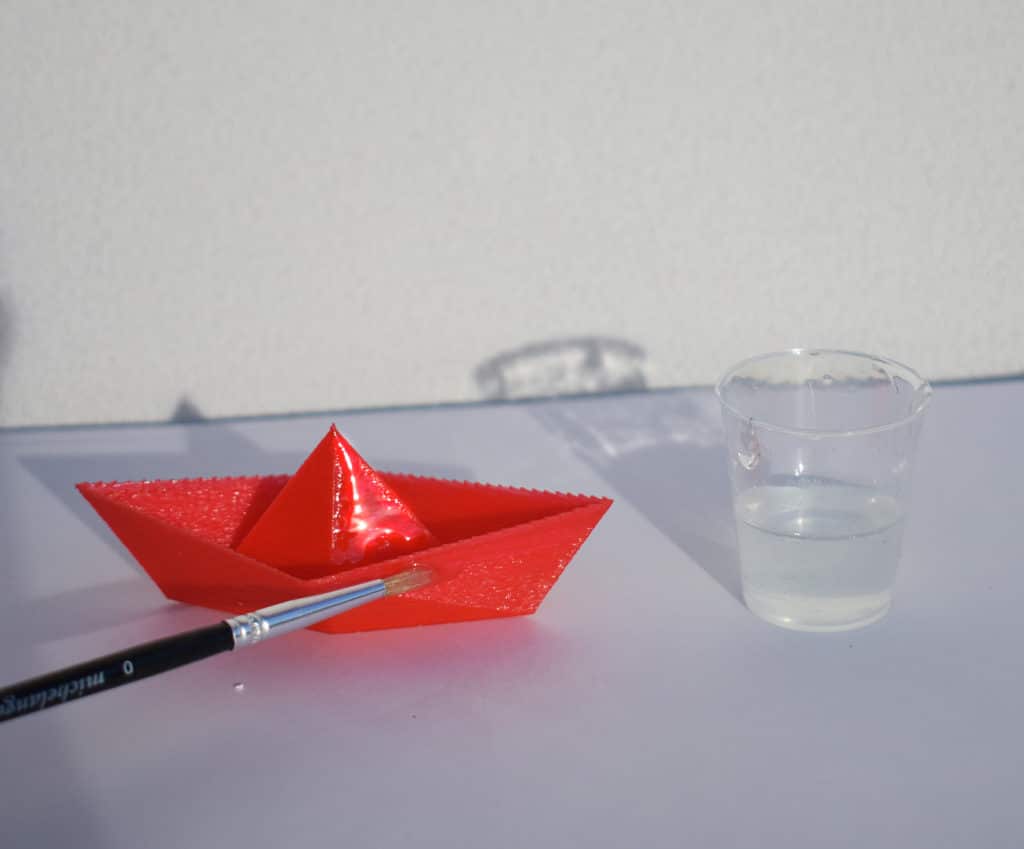
- “3D Finish” – Fast Coating Epoxy Resin for 3D Prints – For 3D printed models
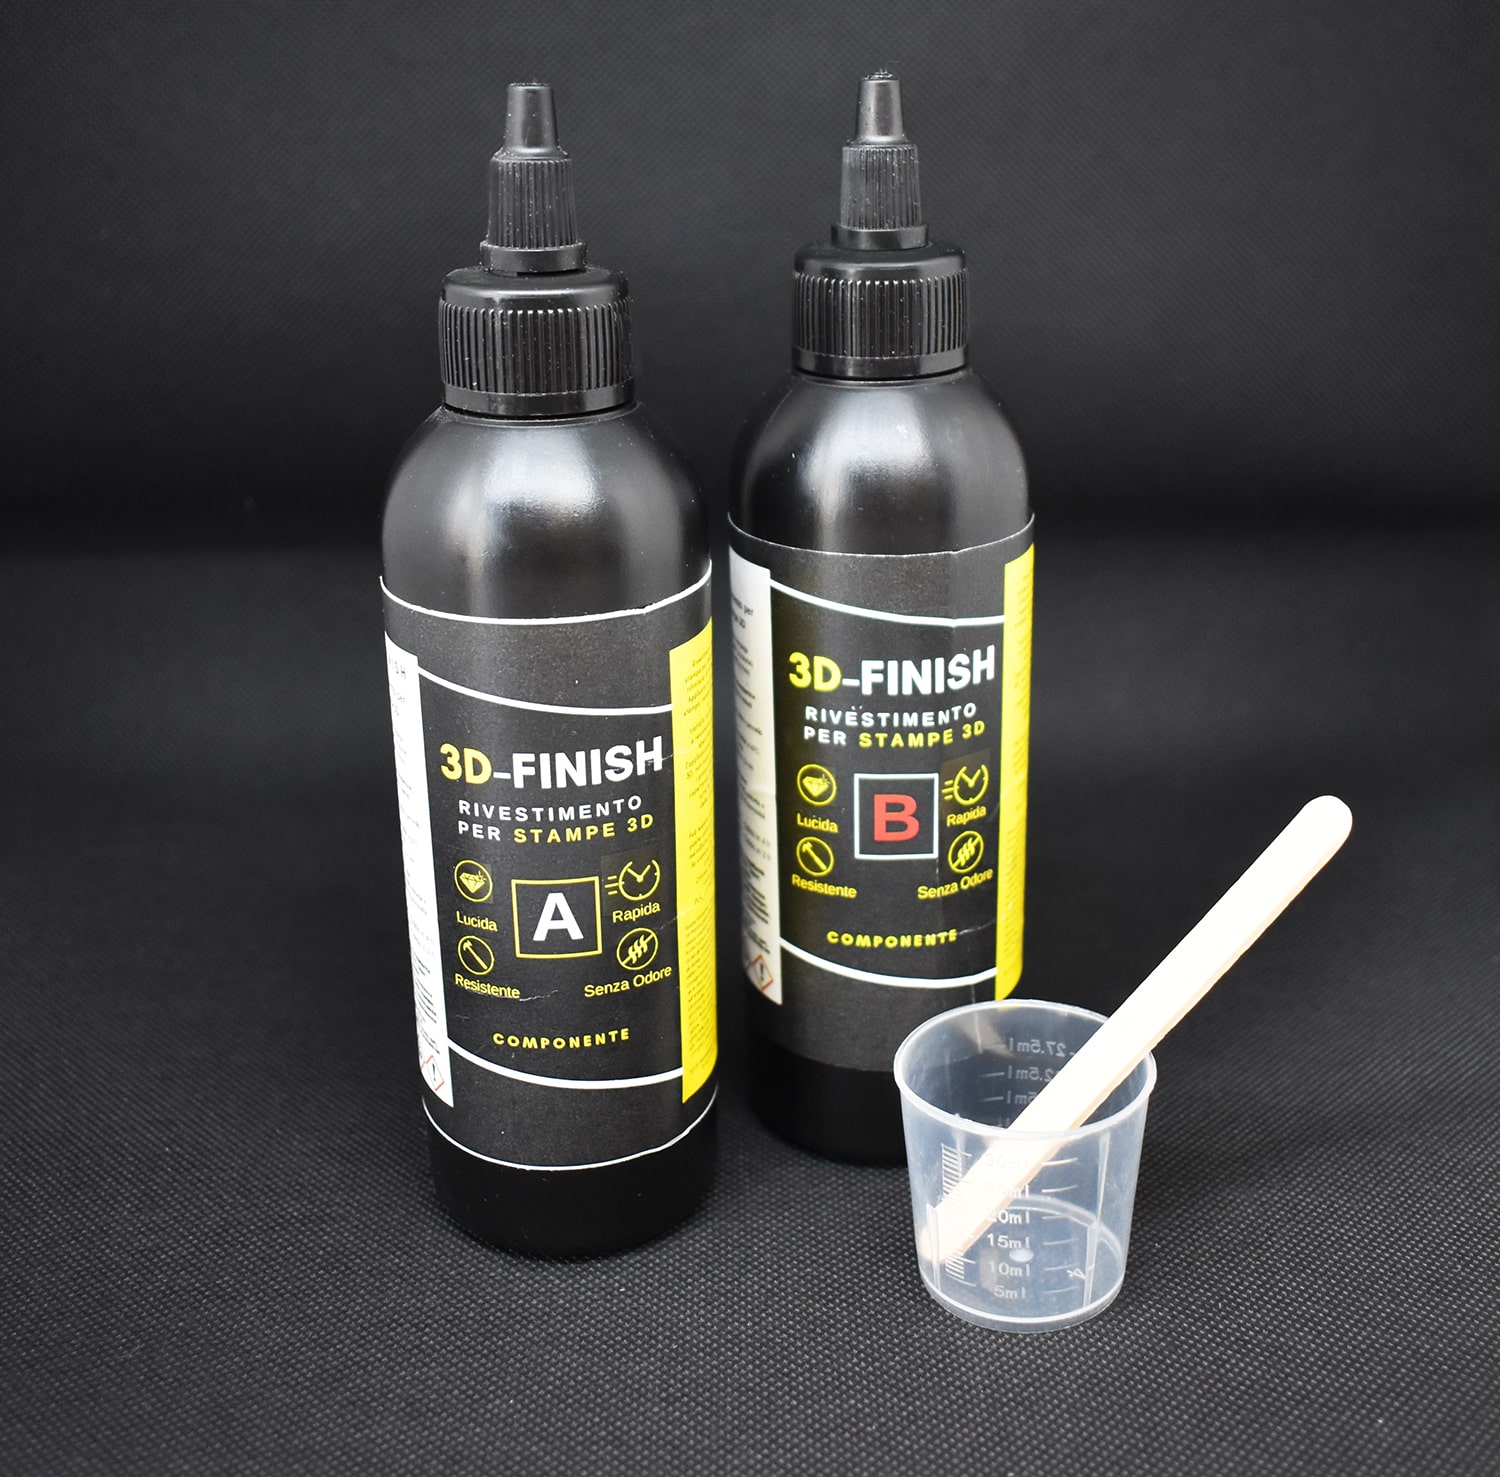
- Mixing containers and spatulas
- Protective gloves and safety eyewear
- Dust-free workspace
- Level surface for curing
- Heat gun or torch (for bubble removal)
- Pigments or dyes (optional, for coloured effects)
Visual Inspiration: Stunning 3D Resin Effects
Explore a range of ResinPro projects that showcase the remarkable depth, shine, and dimension that expert resin application can provide. From river tables with glass-clear layers to 3D print models with a flawless finish and vibrant wave art, see how proper technique brings out the ultimate 3D effect in any creation.
Step 1: Prepare Your Surface and Workspace
Work in a dust-free, well-ventilated space to protect both your project and your health. Ensure the object or surface is clean and dry—dust, grease, or dampness can compromise the final finish and resin adhesion. For paintings, ensure the canvas is taut and sealed; for tables, fill any voids or cracks and sand if required. Level your workspace to prevent uneven pouring and pooling of resin.
For 3D prints or intricate objects, gently sand the surface for better grip. Always check that all tools and moulds (if using) are ready before you begin mixing resin.
Step 2: Select and Mix the Right Resin
Choose a resin suited to your intended 3D effect. For large, clear pours (like river tables or deep castings) select a deep pour formula such as “Epoxytable 10-Ten” – Deep Pour Epoxy Resin for Tables, Up to 10cm Casting. For artistic projects demanding detailed control, “Art Pro Deluxe” – Ultra-High Viscosity Epoxy Resin for Artists allows precise layering and clear colour separation.
Carefully measure resin and hardener according to the product instructions, typically by weight. Mix slowly for several minutes, ensuring all streaks are gone. Scrape the container sides and bottom to prevent unmixed spots, which can cause soft or sticky patches.
Step 3: Pour and Manipulate the Resin for 3D Effects
Pour resin in controlled layers to build up depth and achieve a pronounced 3D effect. For deep projects (tables or castings), pour in increments suitable for your chosen resin’s maximum thickness—use “EpoxyTable 5-Five” – Deep Pour Epoxy Resin for Tables and Large Projects – Up to 5cm for medium pours, and step up to “Epoxytable 10-Ten” when more depth is needed.
For artistic surfaces (geodes, wave art), use high-viscosity resin, manipulating the resin with spatulas or tools to create ridges, cells, or layered effects. Allow the first layer to gel before adding further elements for truly dimensional results. To coat and enhance 3D prints, “3D Finish” – Fast Coating Epoxy Resin for 3D Prints provides a detail-saving, drip-resistant finish.
Step 4: Finishing Touches and Curing
Eliminate bubbles for flawless clarity by passing a heat gun or torch gently over the wet resin immediately after pouring. Monitor the project throughout the next hour to address any late-rising bubbles. Cover your project with a dust shield while it cures to prevent debris landing on the glossy surface. Allow the resin to cure for the manufacturer’s full recommended time before moving or using your piece to ensure maximum mechanical strength and clarity. Time and patience at this stage are key for a spectacular 3D look.
Tips, Common Mistakes, and Troubleshooting
Always check curing temperatures; too cool can slow curing or trap bubbles, while too warm can accelerate reaction and risk yellowing. Be patient with deep projects—don’t exceed maximum pour depth. If a surface remains tacky, it’s likely due to improper mixing. In artistic pours, overworking the resin can muddy colours and reduce the 3D effect. Whenever possible, use products with Strong UV filters or resistance to guard against yellowing over time.
Real-World Resin 3D Masterpieces
Discover finished works by artists and makers using deep-pour and high-viscosity epoxy to achieve true 3D impact—tables, centrepieces, and unique wall art. Let these examples guide your technique and product selection for your next dimensional resin project.
- "3D Finish" – Fast Coating Epoxy Resin for 3D PrintsPrice range: £12.85 through £18.853D Finish provides a seamless, non-drip coating that preserves details and smooths layer lines for 3D prints.
- “Epoxytable 10-Ten” – Deep Pour Epoxy Resin for Tables, Up to 10cm CastingPrice range: £33.85 through £334.85“Epoxytable 10-Ten” is suitable for deep casting up to 10cm, commonly used for tables and artistic projects.
 "EpoxyTable 5-Five" – Deep Pour Epoxy Resin for Tables and Large Projects – Up to 5cmPrice range: £16.85 through £1,099.85“EPOXYTABLE 5-FIVE” – deep pour epoxy resin for tables & large projects. Free 25ml pigment* + Gloves + Detailed instruction. The best…
 "Art Pro Deluxe" – Ultra-High Viscosity Epoxy Resin for ArtistsPrice range: £33.85 through £287.85Art Pro Deluxe resin offers ultra-high viscosity for detailed control and crystal-clear, scratch-resistant finishes suitable for precise artistic…
Frequently Asked Questions
Which resin should I use for the best 3D effect in artwork or tables?
For deep casting (tables/rivers), choose a deep-pour resin. For art pieces with fine details, opt for a high-viscosity resin.
How can I prevent bubbles when applying resin for 3D effects?
Mix resin slowly, pour in thin layers when needed, and use a heat gun or torch to pop bubbles after pouring.
How many layers should I pour for a 3D resin cast?
Pour in layers that match your resin’s max thickness. For deep effects, multiple pours may be needed with curing between each.
Why is my resin still tacky after curing when aiming for a 3D effect?
Tacky resin usually results from incomplete mixing or incorrect ratio of resin and hardener.
What tools do I need to apply resin for a 3D effect?
Basic tools include mixing containers, spatulas, protective gloves, a level work surface, and a heat gun or torch.
Can I add colour or effects to my 3D resin project?
Yes, adding pigments, dyes, or embedded items in layers can enhance the sense of depth and create vibrant 3D effects.
What’s the best environment for curing resin to achieve a flawless 3D effect?
Choose a dust-free and level space at stable room temperature, away from direct sunlight and humidity.
How do I prepare 3D prints for resin coating?
Sand the prints lightly, ensure they’re clean and dry, then apply a thin resin layer for a high-gloss, smooth finish.