 Free shipping on orders over £29,85


← Back to How are resin bells made?


Achieving flawless resin bells can be challenging, especially when pesky bubbles get in the way of a clear, professional result. Here’s how to reduce bubbles and create smooth, glass-like finishes in all your resin bell projects.
Mixing and Pouring Techniques
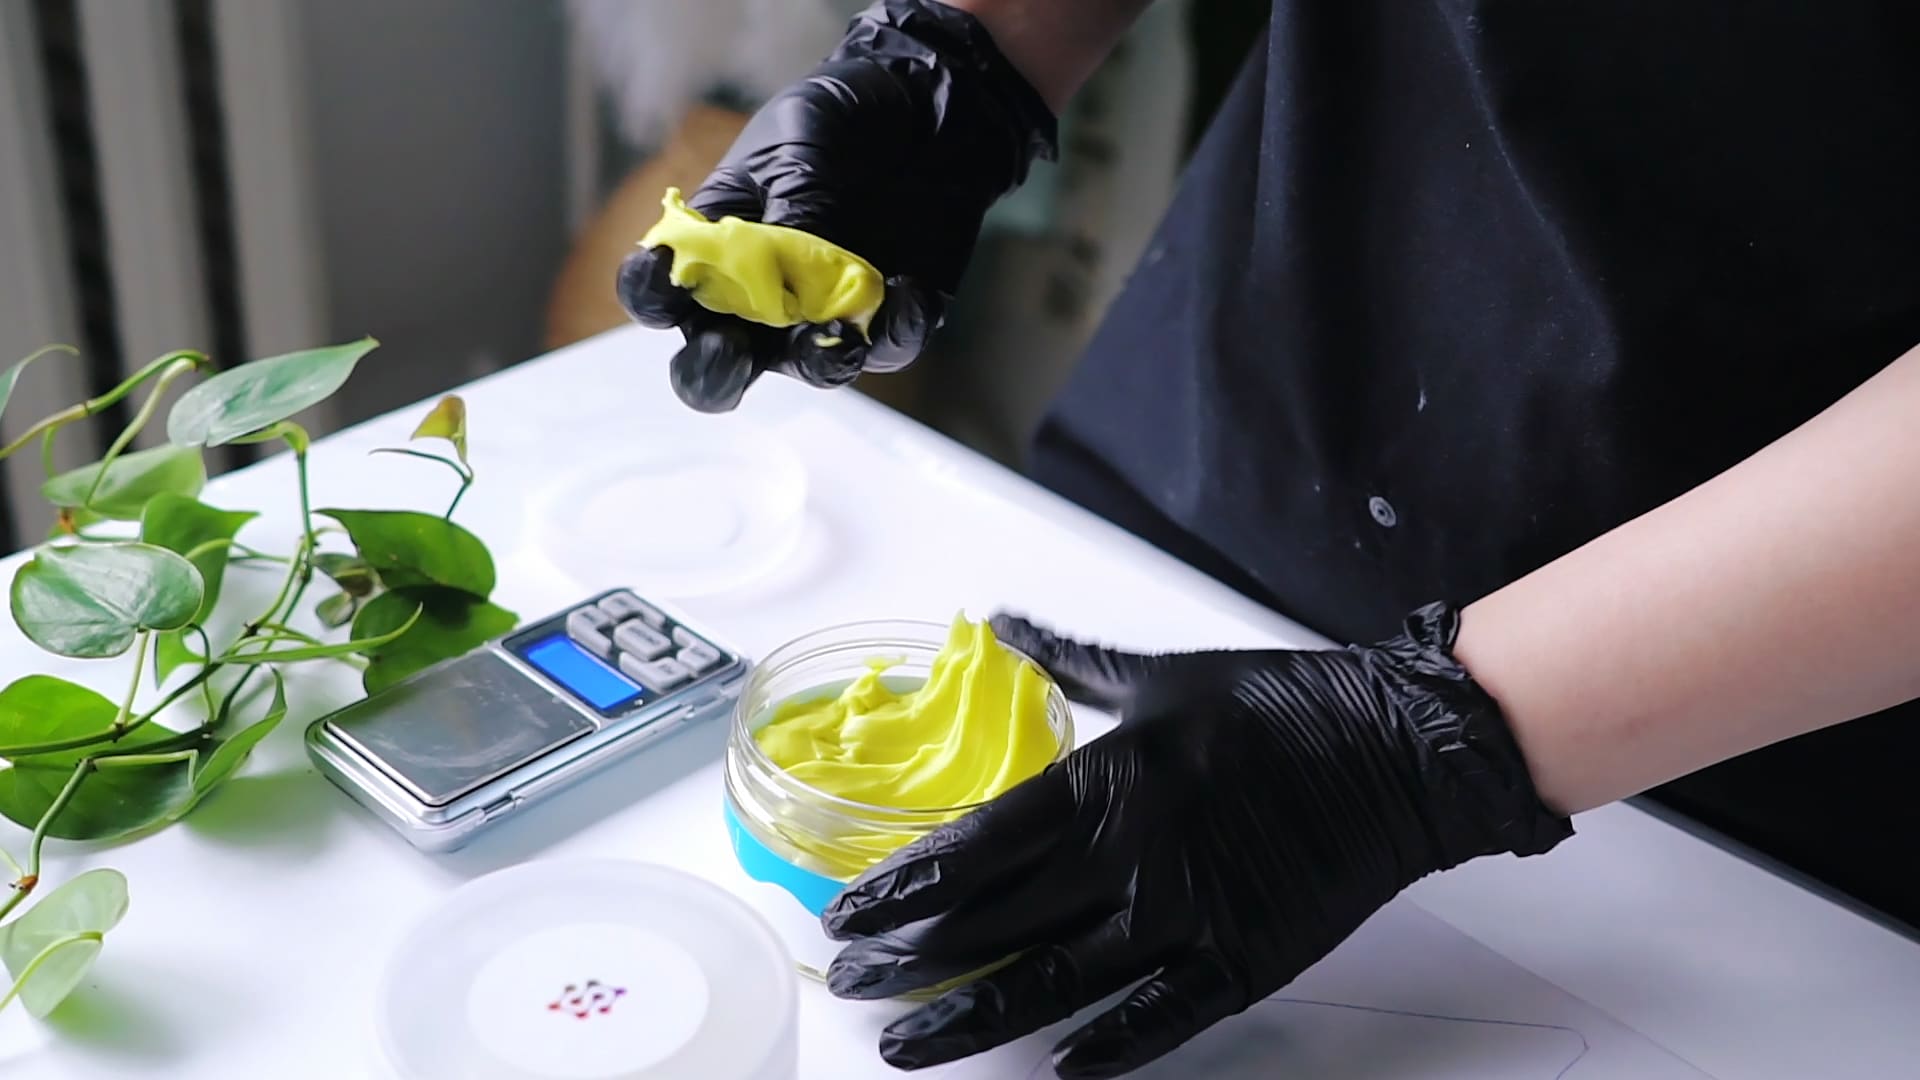
The way you handle your resin plays a crucial role in bubble prevention. Stir resin components slowly and steadily, as vigorous mixing tends to trap extra air inside the resin. When it’s time to pour, direct the resin gently into the mould in a thin, even stream. This helps trapped air escape more easily.
Once poured, tap or lightly vibrate the mould to encourage any remaining air bubbles to rise to the surface. If available, use a cocktail stick or toothpick to pop visible bubbles before curing.
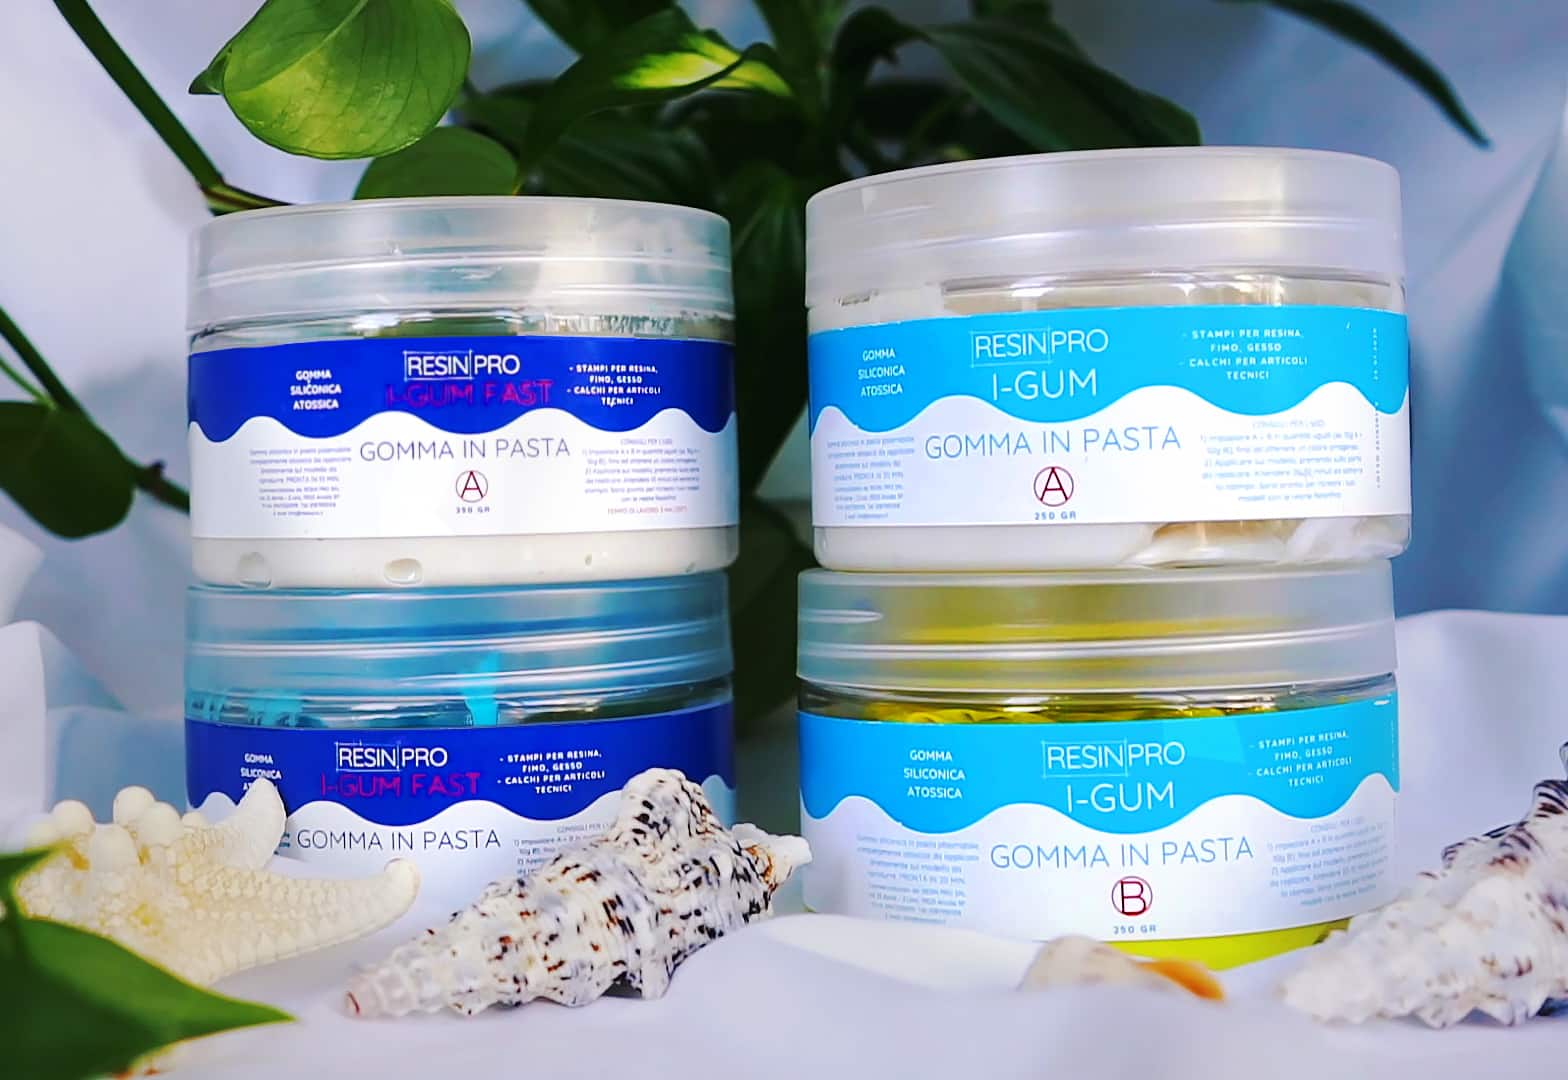
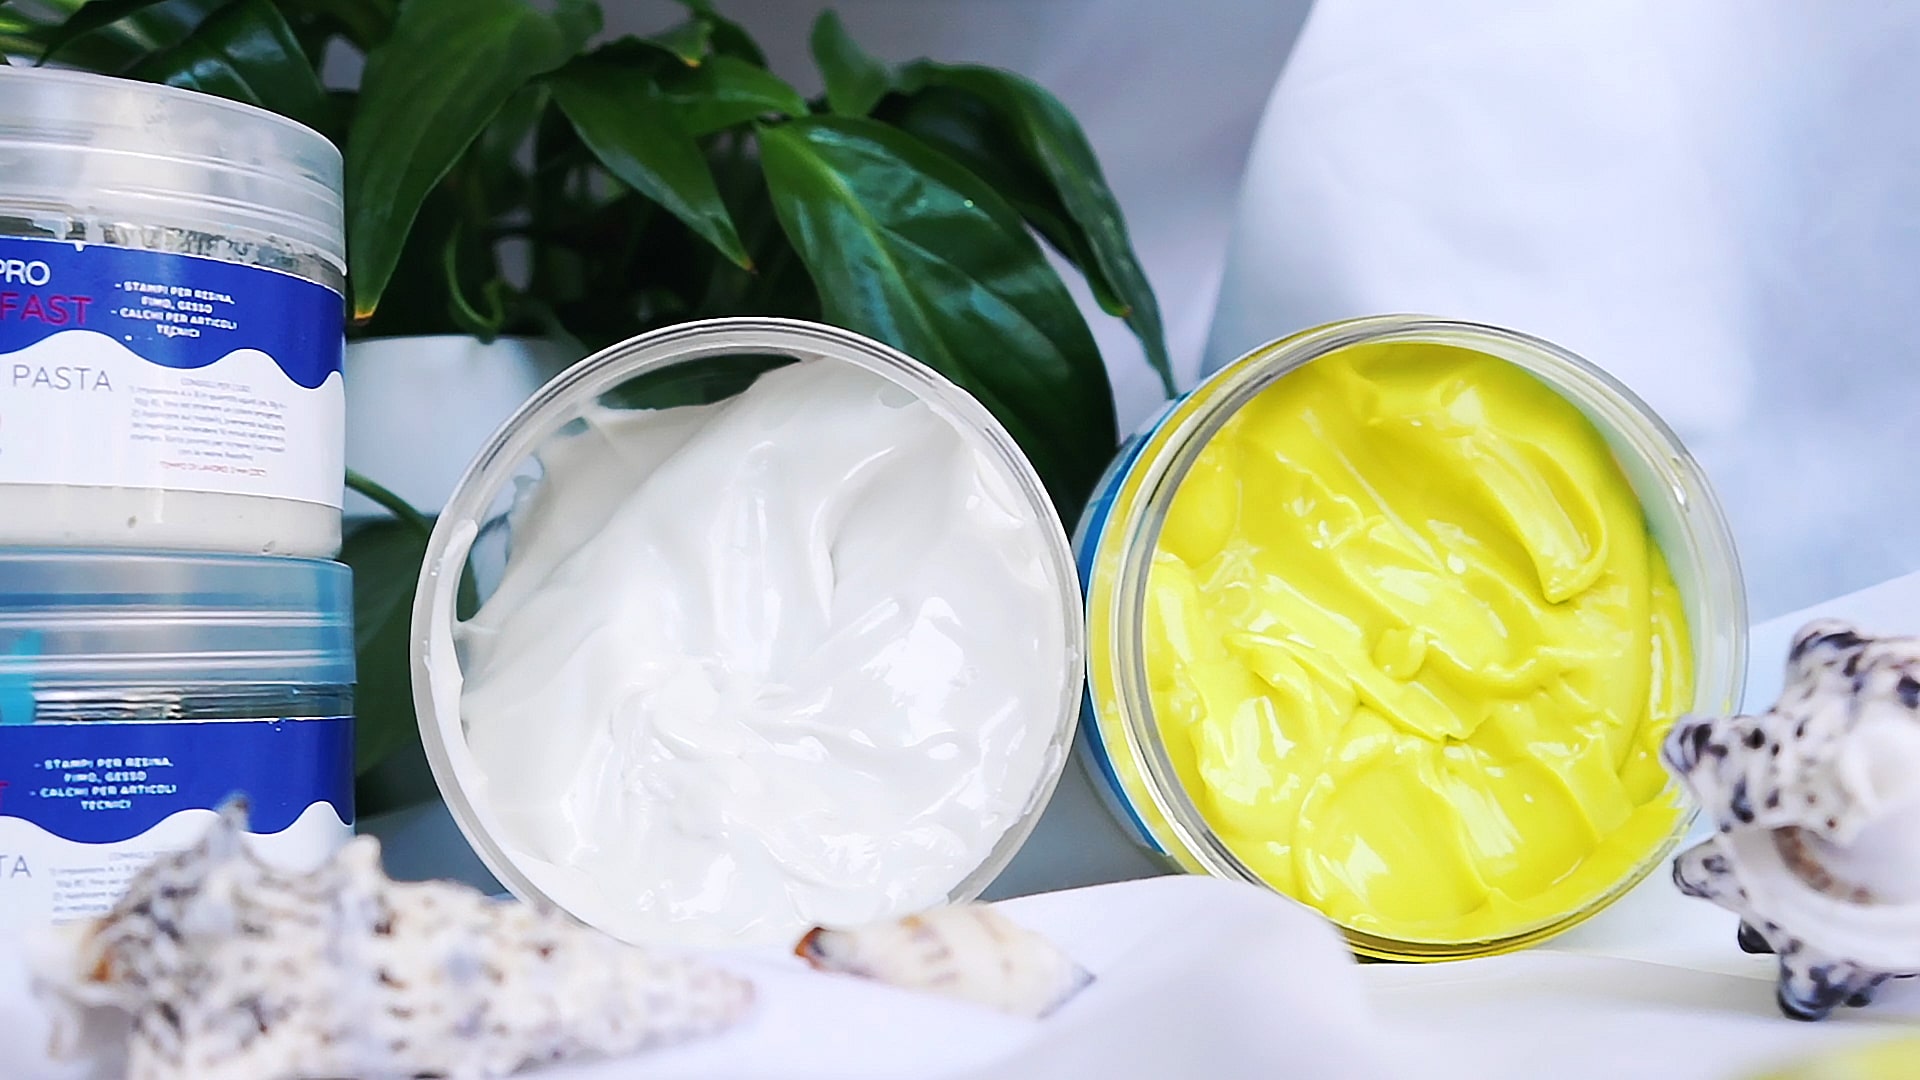
Choosing the Right Resin and Moulds
Some resins are better suited to bubble-free casting. Products like the “Trasparente” Epoxy Resin Kit are designed for clarity and easy de-gassing, making them ideal for detailed bell moulds. Ensure your moulds are clean and dry, as moisture or debris can increase bubble formation.
- Consider room temperature – working in a warm (but not hot) space helps bubbles rise more quickly.
- For small, festive bells, UV resin kits harden rapidly but also benefit from careful mould prep to minimise trapped air.
When This Matters Most
Bubble-free results are especially important when your design relies on high clarity or when you’re embedding objects, glitter, or pigments in your resin bell. If you plan to use transparent finishes or delicate inclusions, take extra care at every step to keep imperfections at bay.
Related products
Related guides
Tackling bubbles successfully leads to stunning, clear resin bells that showcase your craftsmanship. For more insight into the creative process, visit the main guide on how resin bells are made.