 Free shipping on orders over £29,85


How are resin bells made?
Step-by-step guide for crafting beautiful custom resin bells


Crafting resin bells allows makers to create unique, decorative objects that can be personalised in appearance and finish. This step-by-step guide will walk you through the essential techniques involved in making resin bells, whether as a creative home project, thoughtful gift, or eye-catching festive ornament. You’ll gain practical know-how for each stage of the process to produce clear, detailed bells with a professional look.
What You’ll Need
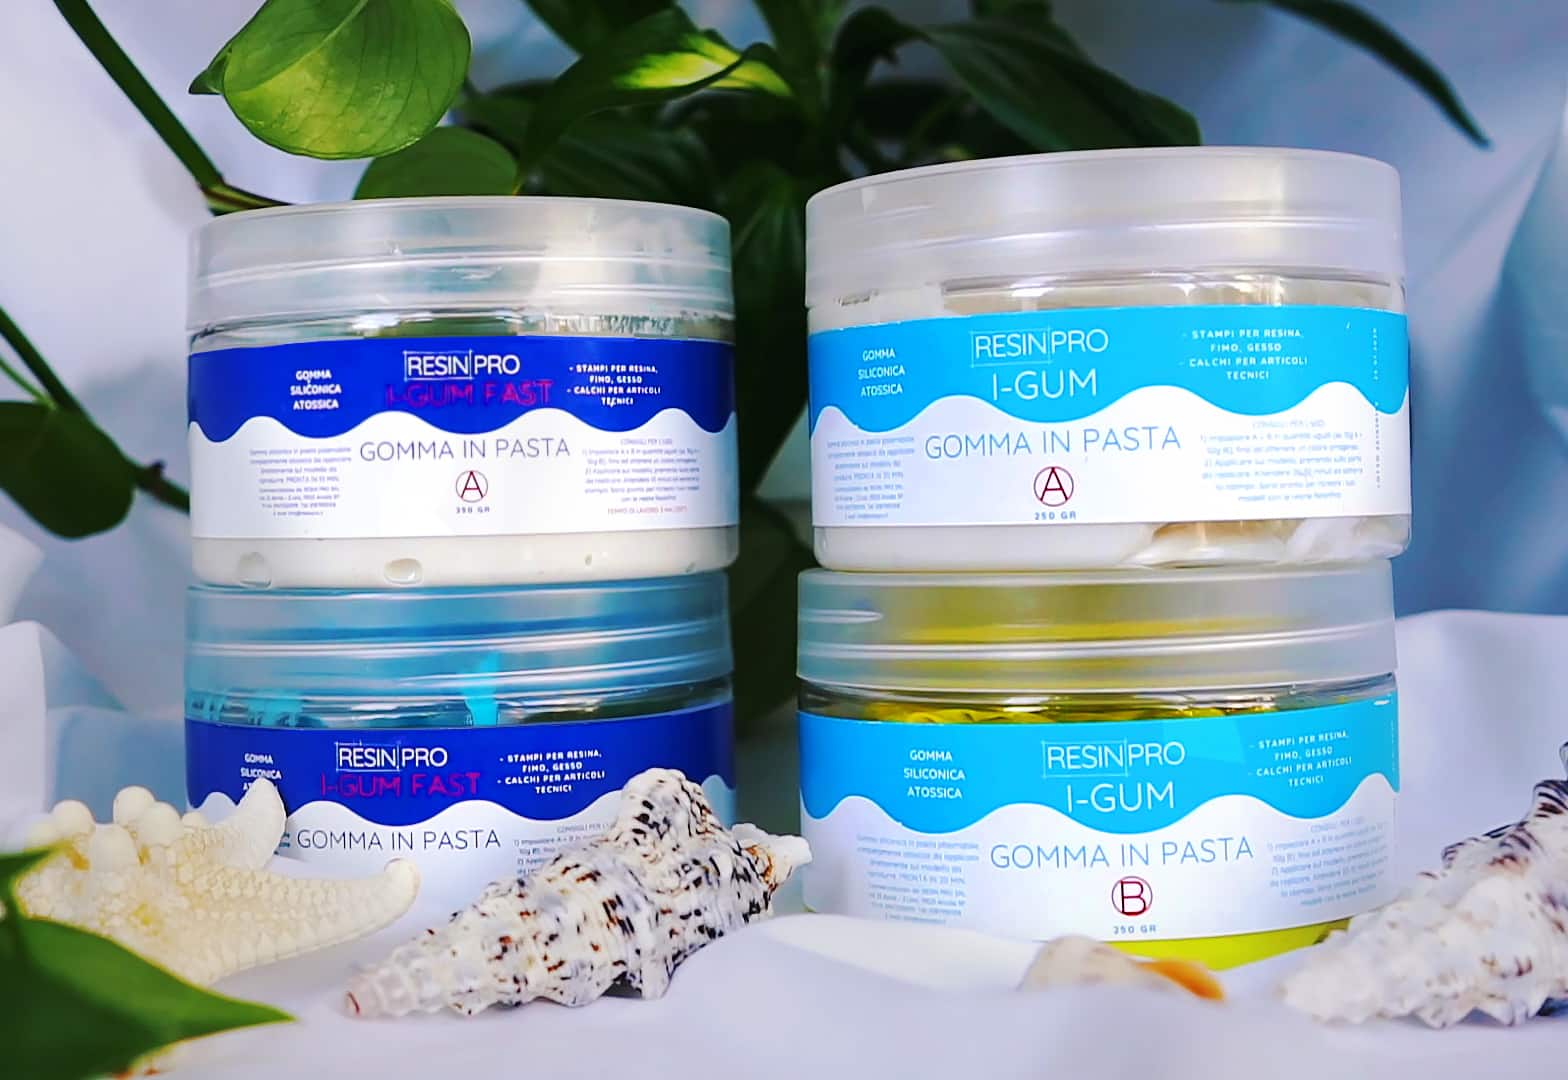
- “I–Gum” – Non-Toxic Silicone Putty for Mould Making: Non-toxic silicone putty for creating precise moulds from existing bell shapes or sculpted forms.
- “Trasparente” Epoxy Resin Kit 800g + Mica Powder 10g – 10 Colour Variations: Ultra clear epoxy resin plus pigment for vibrant bell castings.
- “One-2-One” – Epoxy Resin for Handcraft, 1:1 Mixing Ratio: Easy-mix resin ideal for detailed or small bells.
- UV Resin Kit with 5 Christmas Silicone Moulds for Festive Crafting: For quick, themed bells (requires UV lamp).
- Disposable mixing cups and sticks
- Nitrile gloves and a protective mask
- Optional: Decorative flakes, glitters, or small inclusions for customisation
- Release spray or agent if reusing a complex mould
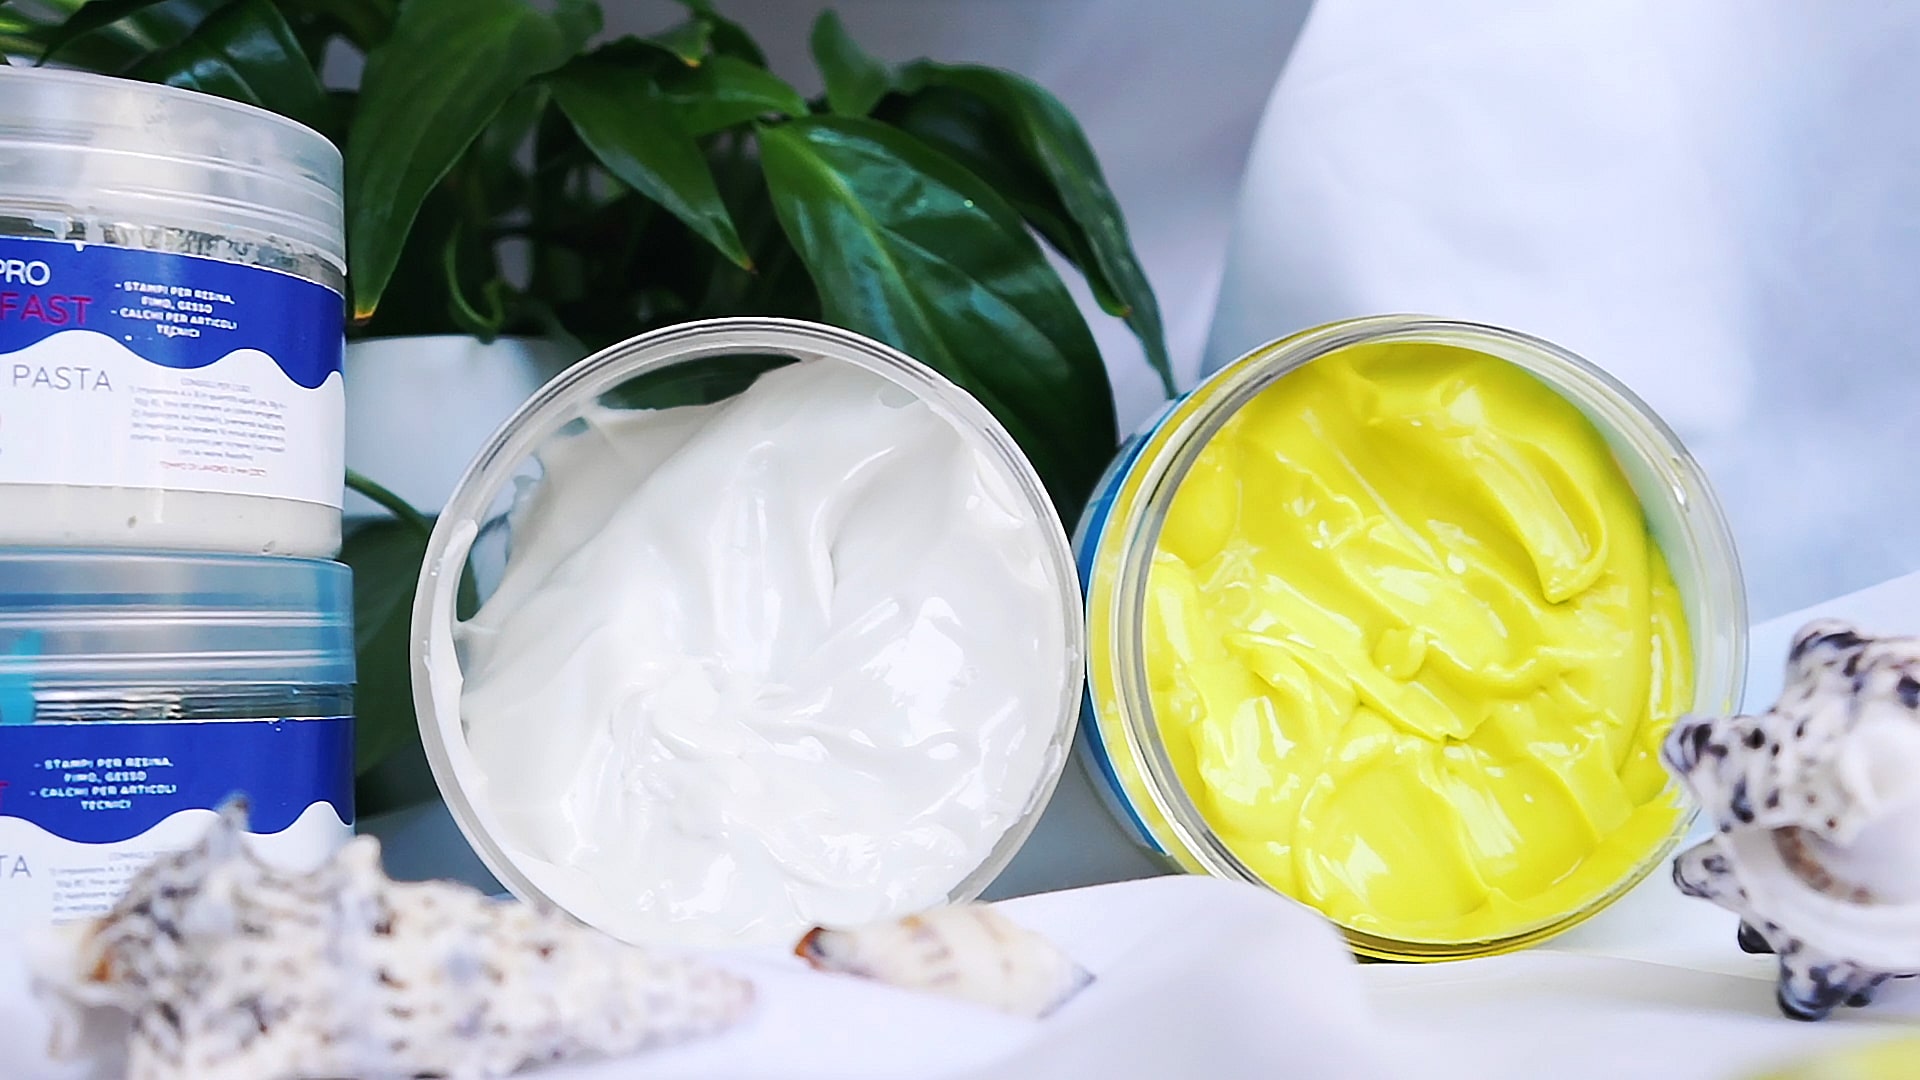
Visual Inspiration: Resin Bell Making Process
See examples of bell moulds and colourful resin castings made with both hand-crafted and festive themed moulds. Notice how custom pigments and inclusions transform each piece into a unique ornament or heirloom.
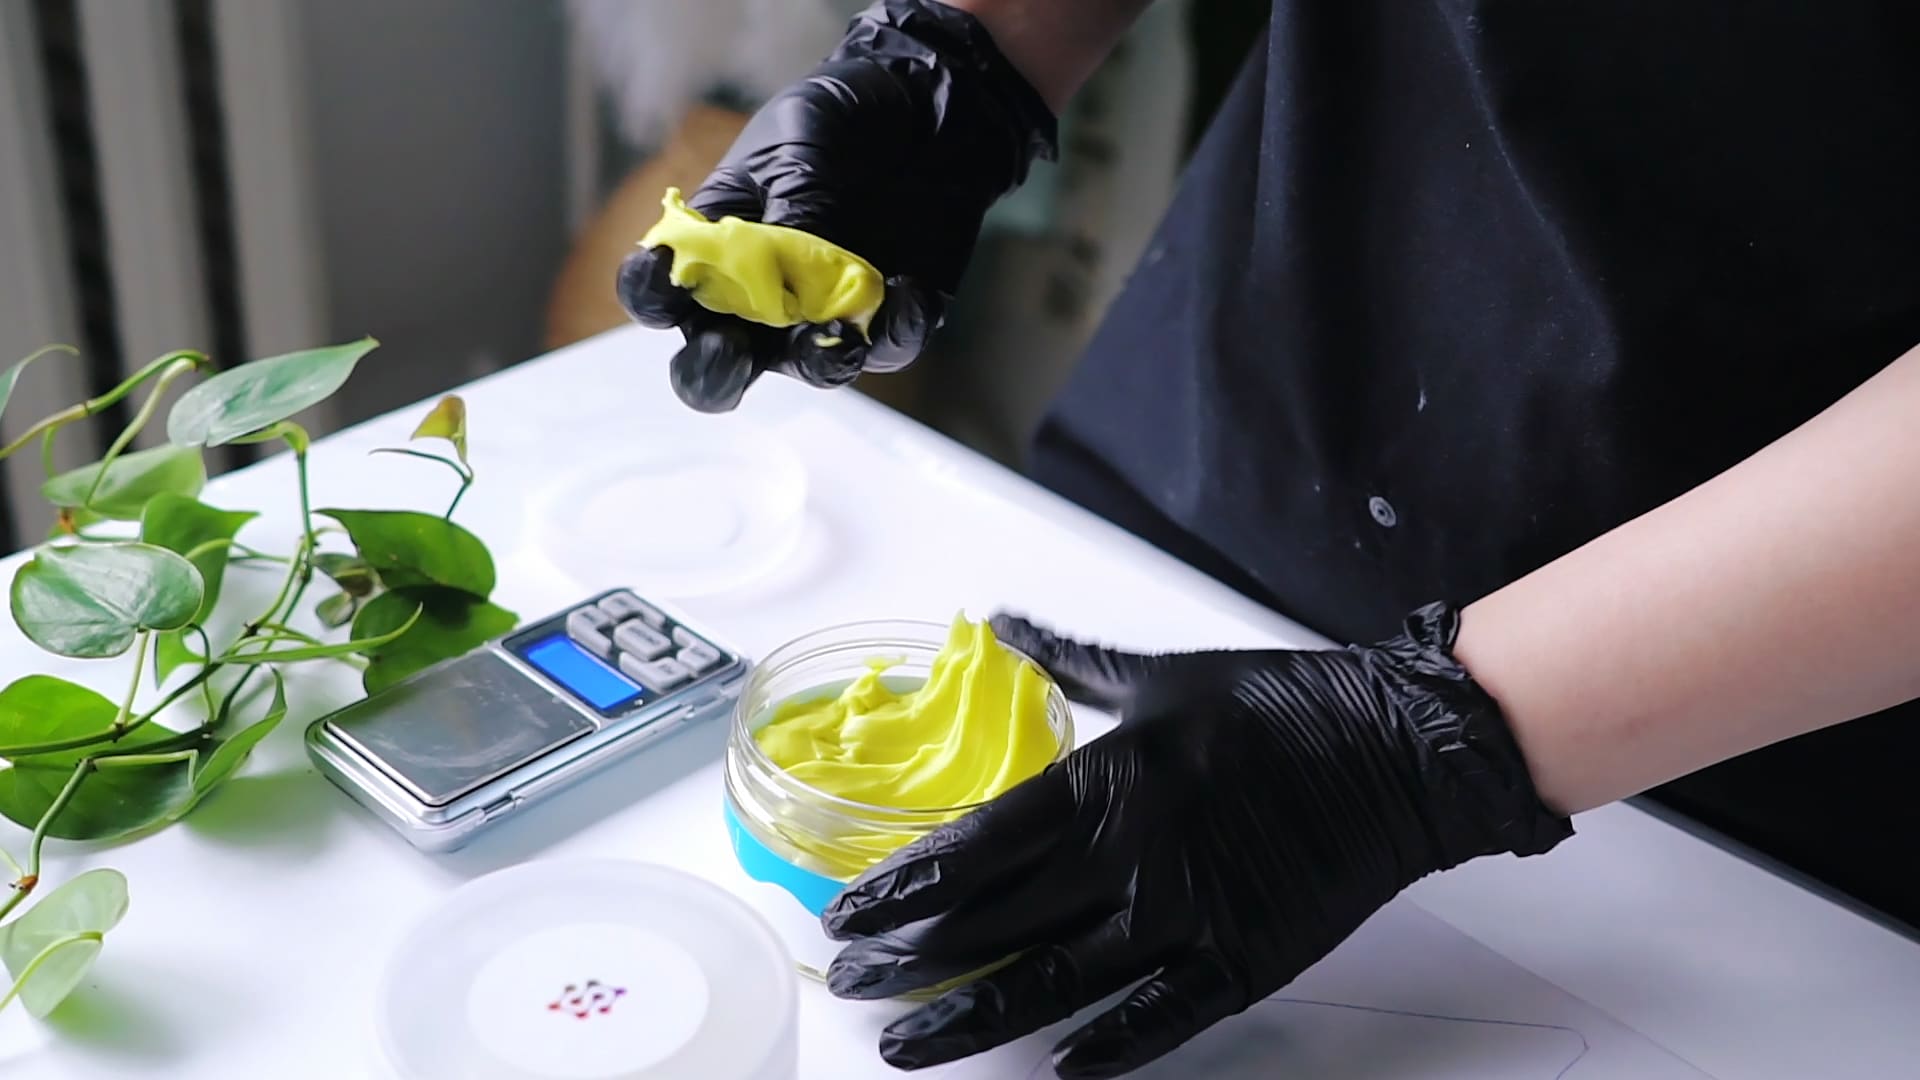
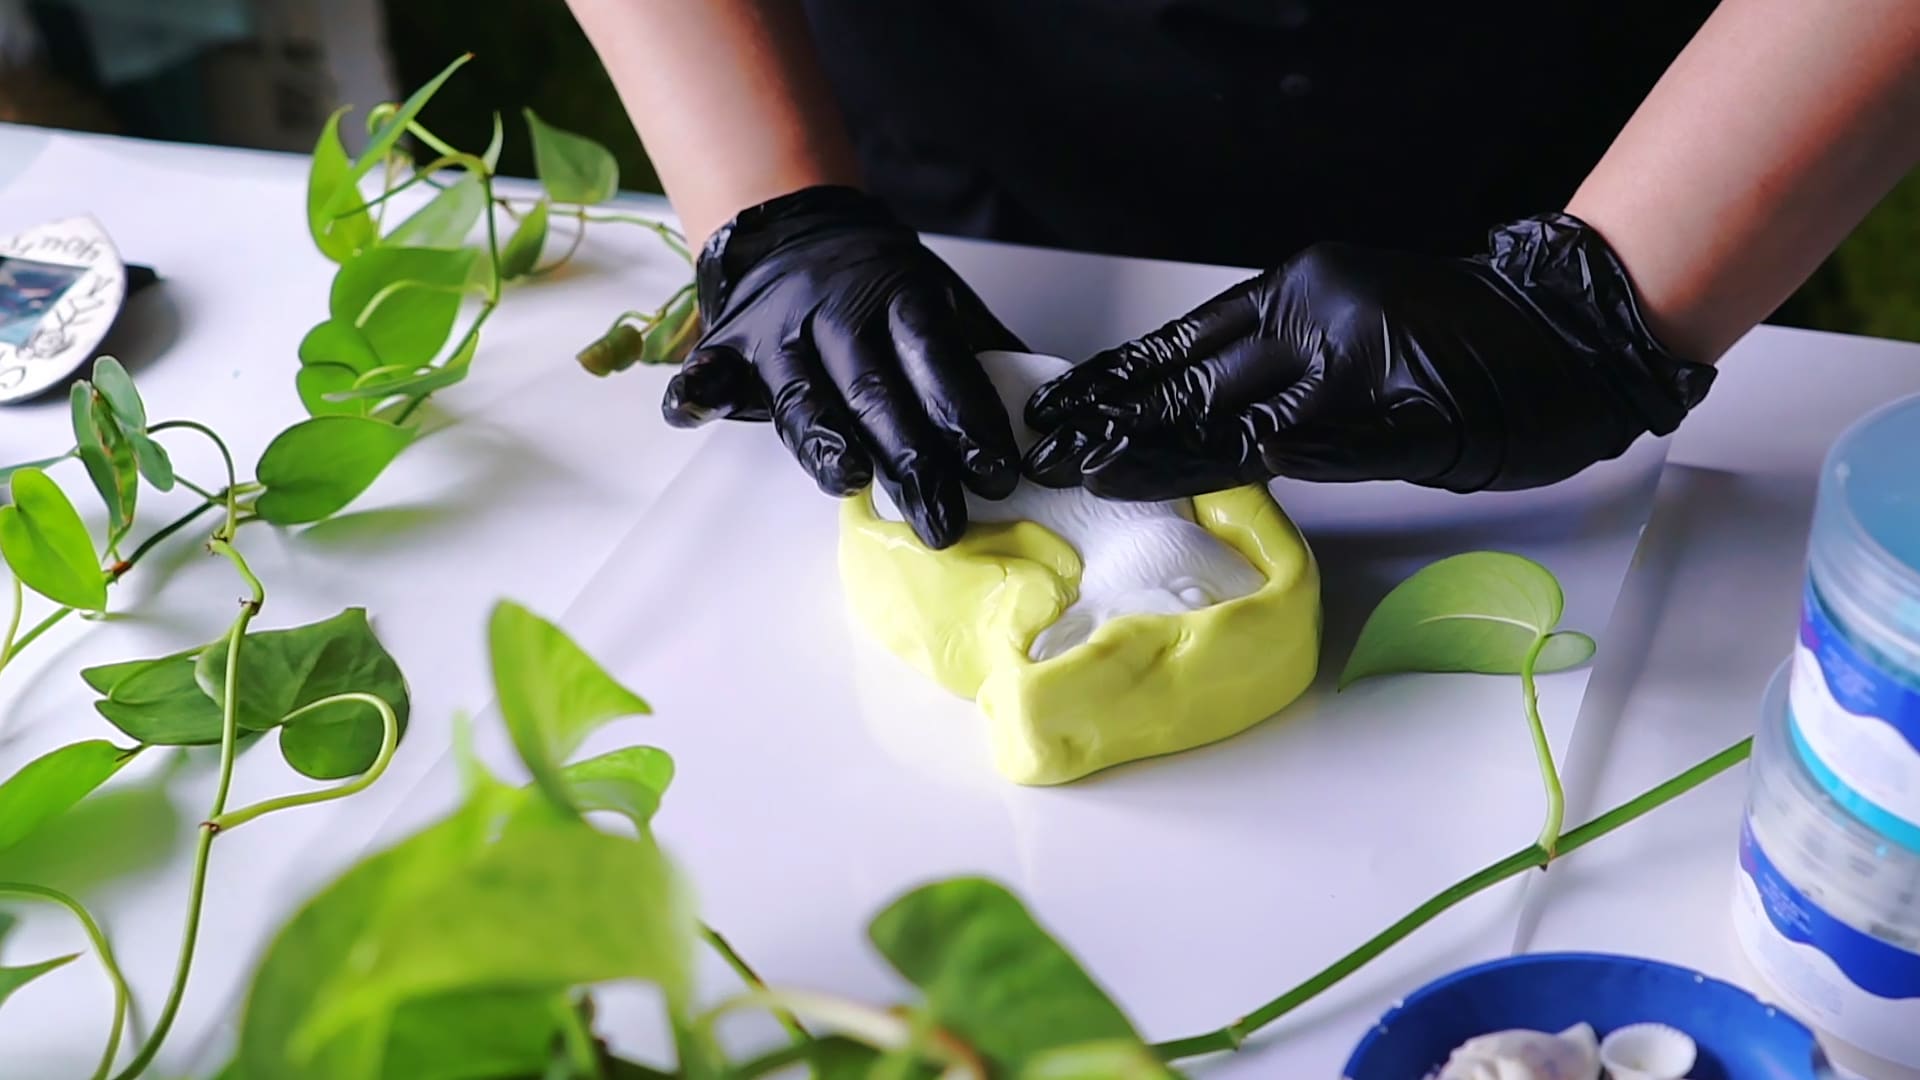
Step 1: Create or Prepare the Bell Mould
The quality of your mould largely determines the final look of your resin bell. You can sculpt a clay model of your desired bell shape or use an existing bell as a template. To make a custom mould, knead together equal parts of a non-toxic silicone putty until the colour is uniform, then press it over your bell model. Ensure the whole shape is covered and allow it to set for around 20 minutes. After curing, carefully remove the original – your mould is now ready for casting. If using a purchased or pre-made silicone mould, inspect for damage and clean thoroughly before use.
For project-specific flexibility, “I–Gum” – Non-Toxic Silicone Putty for Mould Making is a popular choice since it is easy to use and non-toxic, ideal for bell-sized casts.
Step 2: Mix and Pour the Resin
Select your epoxy resin kit, ensuring it is suitable for casting small to medium-sized items. Prepare your workspace by protecting surfaces and putting on gloves and a mask. Carefully follow the resin’s mixing instructions – most handcraft resins work on a simple 1:1 ratio, but always check whether your chosen product is mixed by weight or volume. It’s crucial to mix thoroughly, scraping the sides of your container, to ensure an even cure and prevent soft spots.
If you’d like to add colour or special effects, mix mica powders, glitter, or decorative inclusions into the resin at this stage. Pour slowly into the mould, avoiding air bubbles. Tap the mould gently to help any trapped bubbles rise to the surface. If you want a fast process with festive designs, the UV Resin Kit with 5 Christmas Silicone Moulds for Festive Crafting is ideal for quick curing with a UV lamp. Otherwise, use a clear epoxy such as “Trasparente” Epoxy Resin Kit or “One-2-One” – Epoxy Resin for Handcraft for durable, crystal-clear bells.
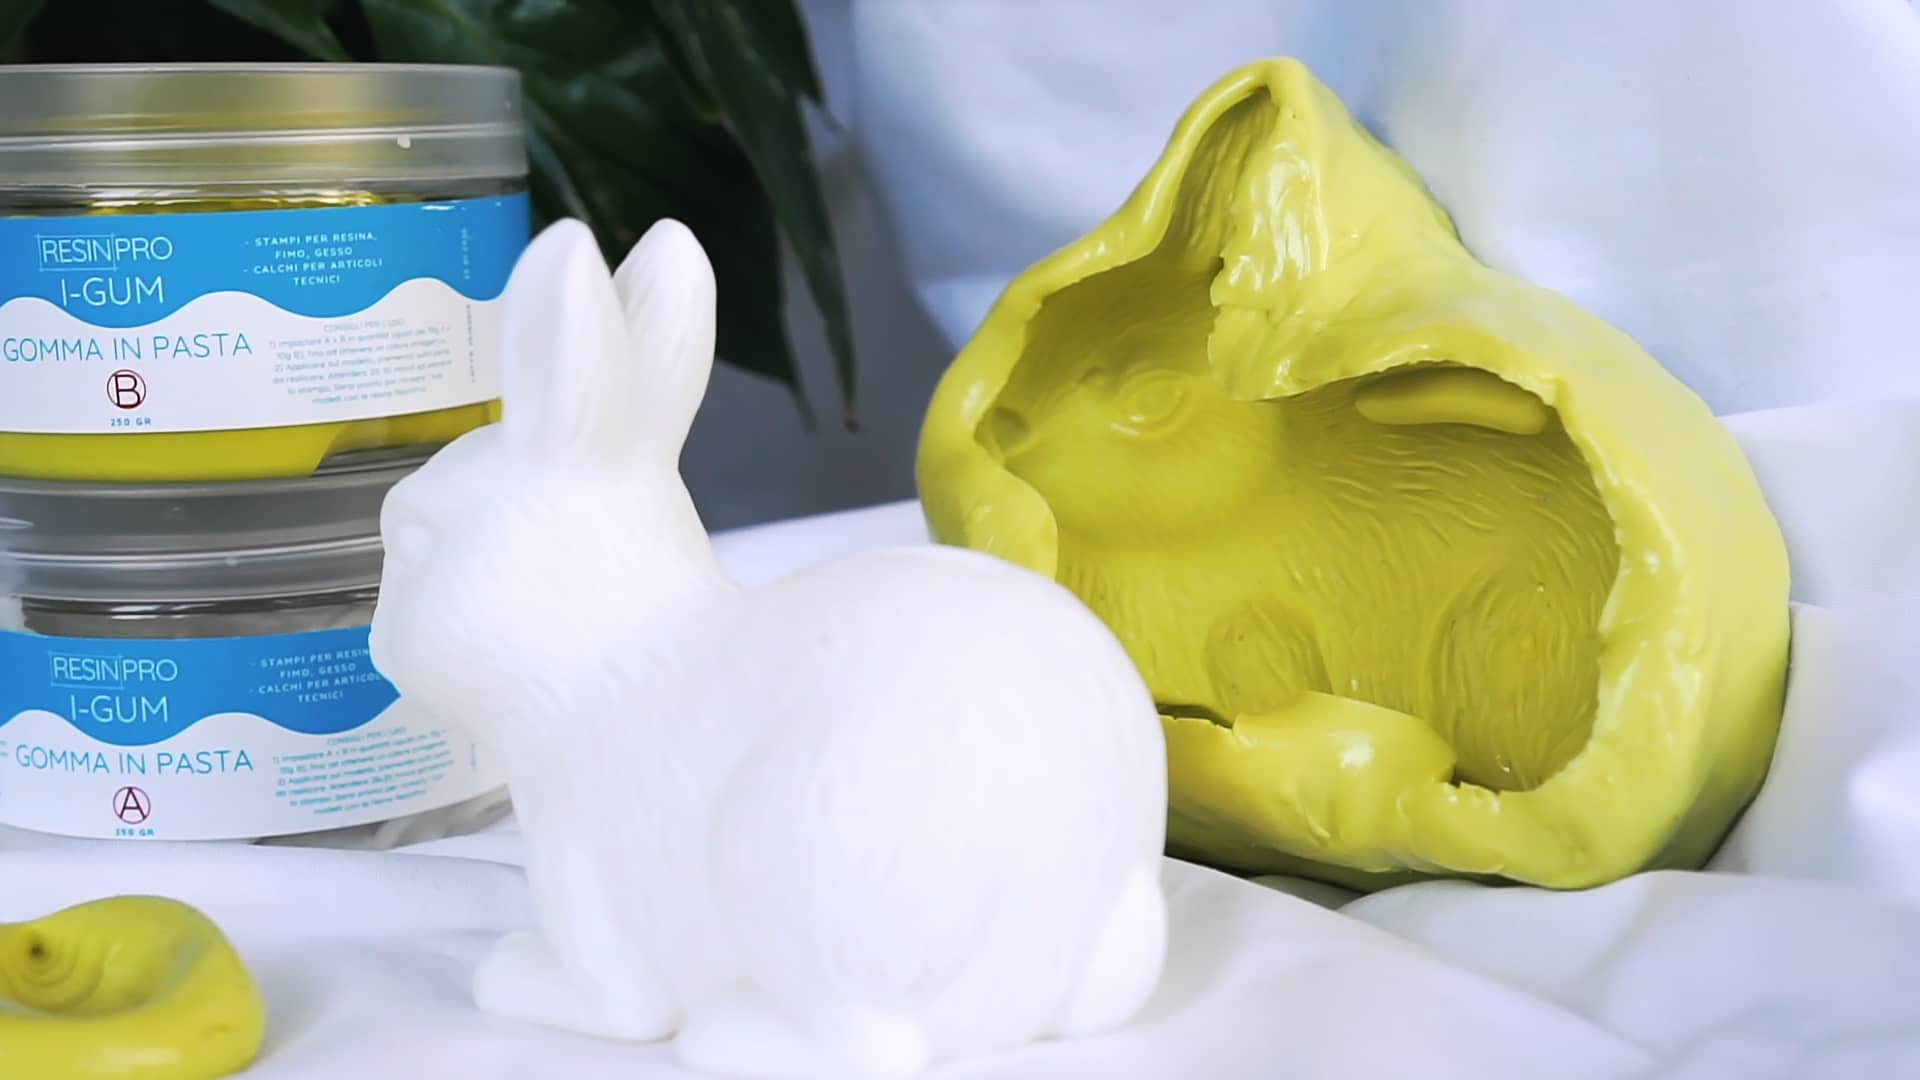
Step 3: Demould and Finish Your Resin Bell
Let the resin cure completely as per the manufacturer’s timings, which can vary from a few hours (with UV curing) to 24–48 hours for most epoxy resins. When ready, carefully remove the bell from the mould, gently flexing the silicone. Take care around delicate edges to prevent breakage. If needed, use fine sanding tools to smooth away any sharp or uneven areas for a professional, finished appearance.
Wash your bell with mild soap and water if any residue remains, then polish the surface to restore maximum shine. Add eyelets, string, or decorative elements as desired to complete your custom resin bell.


Tips, Common Mistakes, and Troubleshooting
- Safety first: Always wear gloves and a mask and work in a ventilated area.
- Work in a dust-free area to prevent particles from sticking to fresh resin.
- Avoid mixing air bubbles by stirring slowly and pouring gently.
- Allow for full curing time before demoulding to avoid deforming your bell.
- Use release agents if necessary when using complex or intricate moulds for easy removal.
The result: a bespoke resin bell ready for display or gifting.
Gallery: Finished Resin Bells and Creative Details
Browse a gallery of finished resin bells. Get inspired by creative surface finishes, embedded decorations, and various hanging and display options for your handmade bells.
- "I–Gum" – Non-Toxic Silicone Putty for Mould MakingPrice range: £24.00 through £104.95I–Gum is a non-toxic silicone putty designed for mould making suitable for resin and other materials, fitting the theme of resin bell creation.
- "Trasparente" Epoxy Resin Kit 800g + Mica Powder 10g – 10 Colour Variations£20.95The "Trasparente" epoxy resin kit is a clear, multipurpose resin designed for castings, table making and DIY with included pigment powder.
 "One-2-One" – Epoxy Resin for Handcraft, 1:1 Mixing RatioPrice range: £15.95 through £59.95"One-2-One" epoxy resin is a medium viscosity resin designed for handcraft projects with a simple 1:1 mixing ratio, suitable for beginners and…
 UV Resin Kit with 5 Christmas Silicone Moulds for Festive CraftingPrice range: £15.95 through £27.45The UV Resin Kit with 5 Christmas Silicone Moulds offers clear, fast-curing resin for festive crafting projects suited to beginners and experienced…
Frequently Asked Questions
What is the best resin for casting bells?
A crystal-clear epoxy resin with a simple mixing ratio works best. Choose a resin formulated for craft projects and detailed castings.
How long does a resin bell take to cure?
Curing time varies by resin type. Epoxy resins may need 24–48 hours, while UV resins can cure in minutes with a UV lamp.
How can I avoid bubbles in resin bells?
Stir the resin slowly, pour gently, and tap the mould lightly to release trapped air bubbles before curing.
Can you colour resin for bells?
Yes, add mica powder, dyes or glitter to the resin before pouring to customise the look of your bell.
Do I need a release agent for silicone moulds?
For simple shapes it’s often not required, but intricate moulds benefit from a thin layer of release agent to ease demoulding.
What is the best way to finish a resin bell?
Carefully sand sharp edges after curing and polish the surface to enhance clarity and shine.