 Free shipping on orders over £29,85


How to colour marble resin?
Creating marble resin effects is a rewarding technique that transforms ordinary surfaces and objects into luxurious works of art. This guide covers step-by-step how to colour marble resin, from surface preparation to applying intricate veining. Whether you are updating a countertop or personalising a decorative panel, these methods will help you achieve natural-looking, striking marble results.
Achieve natural marble veining and depth with the right resin dyes

What You’ll Need
- “Renaissance” – Set of Dyes, 4 Colour Palettes – Dye set designed for achieving marble effects in epoxy resin projects.
- “Stone Effect Collection” – Marble Epoxy Resin Countertop Kit – Epoxy resin kit for transforming worktops with professional-looking marble and stone effects.
- “Colourfun” – Liquid Epoxy Resin Colourant 25-100ml – High coverage – A high concentration liquid colourant designed for epoxy resin projects, allowing customisable colour intensity.
- “Colourfun Set” – Liquid Epoxy Resin Colourant Set for Solid Colour Effects – A set of intense, concentrated liquid colour pastes for consistent effect in transparent epoxy resin.
- Mixing cups
- Disposable gloves
- Mixing sticks or spatulas
- Protective apron and mask
- Isopropyl alcohol (for veining and cleaning)
- Protective sheeting for your workspace

Tools and Pigments in Action
See close-up photos and short clips showing how different pigment sets and kits flow, blend, and produce veining effects as resin is poured. Watch the transformation from clear base to vividly coloured marble in real time.

Step 1: Prepare the Surface
Begin by ensuring the surface you wish to coat or decorate is clean, dry, and free from dust and grease. For countertops or decorative panels, lightly sand the surface and wipe away any residue. Tape off edges if you wish to control resin overflow. This careful preparation ensures optimal adhesion and prevents flaws in the finished marble effect.
Step 2: Mix the Resin and Choose Base Colours
Carefully mix your epoxy resin according to the manufacturer’s instructions, stirring slowly to minimise air bubbles. Once the resin is well combined, divide it into separate cups for each colour you plan to use. For a classic marble look, select a white or light grey as your base. It is important to use pigment in moderation for the best effects; excessive colourant can affect resin curing. The “Colourfun” – Liquid Epoxy Resin Colourant is particularly suitable here, as it allows you to control opacity for both translucent and solid marble bases.
Step 3: Pour and Create Marble Veining
Pour your base colour resin onto the prepared surface and allow it to level evenly. While the base is still fluid, add contrasting resin colours using separate sticks, following veining patterns you have planned. For a natural marble effect, use very thin lines and gently swirl them with a wooden stick. Lightly spraying isopropyl alcohol can help achieve gentle colour transitions and feathered edges, especially when using the “Renaissance” – Set of Dyes or the “Stone Effect Collection” Kit.

Step 4: Refine and Finish the Marble Effect
After initial veining, step back and assess your work. Add extra lines or blend colours as desired, using a gloved finger or soft brush for softening harsh edges. Do not overwork the resin, as this can muddy colours. Air bubbles that rise to the surface can be removed with a heat gun at a low setting, but take care not to disturb your pattern. Once satisfied, allow your piece to cure fully in a dust-free, stable environment.

Tips and Common Mistakes to Avoid
- Use pigment in moderation for the best effects – Excess dye can impede curing and look unnatural.
- Always mix thoroughly to avoid streaks – Take the time to blend colourants evenly into the resin.
- Test colour intensity on a small sample first – Every pigment is different; a test pour can prevent disappointment.
- Plan your veining pattern before pouring – Having a design in mind helps control the look and prevents overworking.
- Work quickly after mixing – Epoxy resins begin to set within their stated working times.
- Keep your workspace clean and ventilated – This protects cured finishes from airborne dust and helps you work safely.
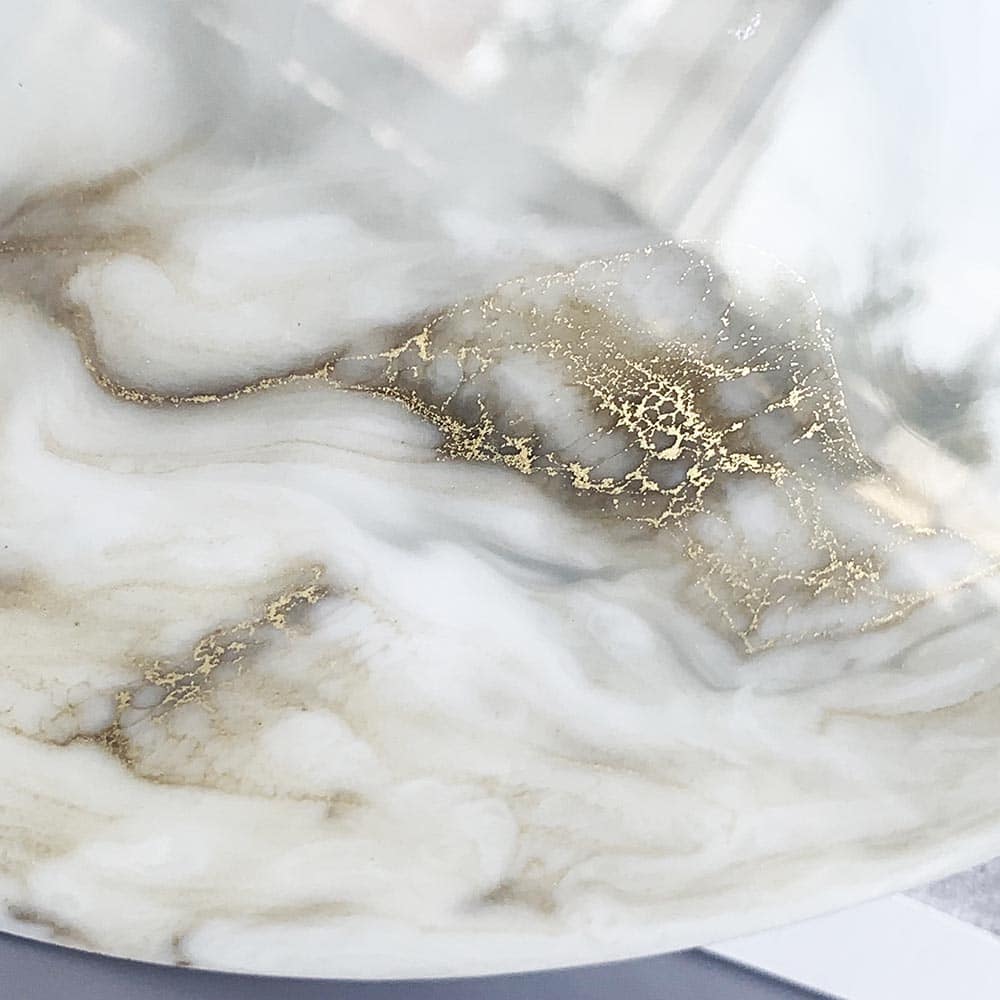
Examples of Marble Resin Finishes
Explore detailed images of finished marble resin pieces, including countertops and panels, highlighting realistic colour blending and depth. Notice the lifelike veining and glassy smooth surfaces you can achieve by following this method.

- "Renaissance" – Set of Dyes, 4 Colour Palettes£10.85"Renaissance" dye set is designed to create a marble effect in epoxy resin projects with simple colouring techniques.
- "Stone Effect Collection" – Marble Epoxy Resin Countertop KitPrice range: £54.85 through £394.85"Stone Effect Collection" offers an all-in-one epoxy resin kit designed for creating marble and stone effect countertops with durable finishes.
 "Colourfun" – Liquid Epoxy Resin Colourant 25-100ml – High coveragePrice range: £3.65 through £9.85"Colourfun" offers concentrated liquid colourant with various intensities, suited for resin art and professional castings under the theme How to…
 "Colourfun Set" – Liquid Epoxy Resin Colourant Set for Solid Colour EffectsPrice range: £13.45 through £48.15The "Colourfun Set" provides intense, translucent colours designed for transparent epoxy resin projects with smooth blending.
Frequently Asked Questions
What is the correct dye ratio for marble resin effects?
Use 1% dye for subtle translucency, increasing up to a maximum of 5% for richer, opaque colours in marble resin projects.
How do I achieve lifelike veining in marble resin?
Pour thin lines of contrasting resin and gently swirl them. Spritz with isopropyl alcohol to feather edges for a natural effect.
How can I avoid overworking my resin marble effect?
Plan your veining in advance and work with minimal tools. Over-mixing can make colours muddy and unnatural.
Which colours help create realistic marble effects in resin?
Light bases with grey, black, and soft pastel veining mimic marble well. Metallic or pearlescent accents can add dimension.
How do I prevent air bubbles in coloured marble resin?
Mix resin slowly, pour in thin layers, and use a heat gun to gently eliminate any surface bubbles straight after pouring.