 Free shipping on orders over £29,85


How to decorate a resin bracelet?
Creative methods for customising your resin jewellery pieces


Decorating a resin bracelet is a rewarding process that lets you combine personal style with imaginative techniques. This guide will take you through everything from preparation and layout to applying intricate embellishments like dried flowers and 3D UV details. Whether you’re customising jewellery for yourself or as a unique gift, you’ll learn how to create durable and dazzling resin bracelets that stand out.
What You’ll Need
- “Evershine Collection” – Artisan Jewellery Epoxy Resin Kit with 100+ Accessories: For casting your base bracelet and basic colour work.
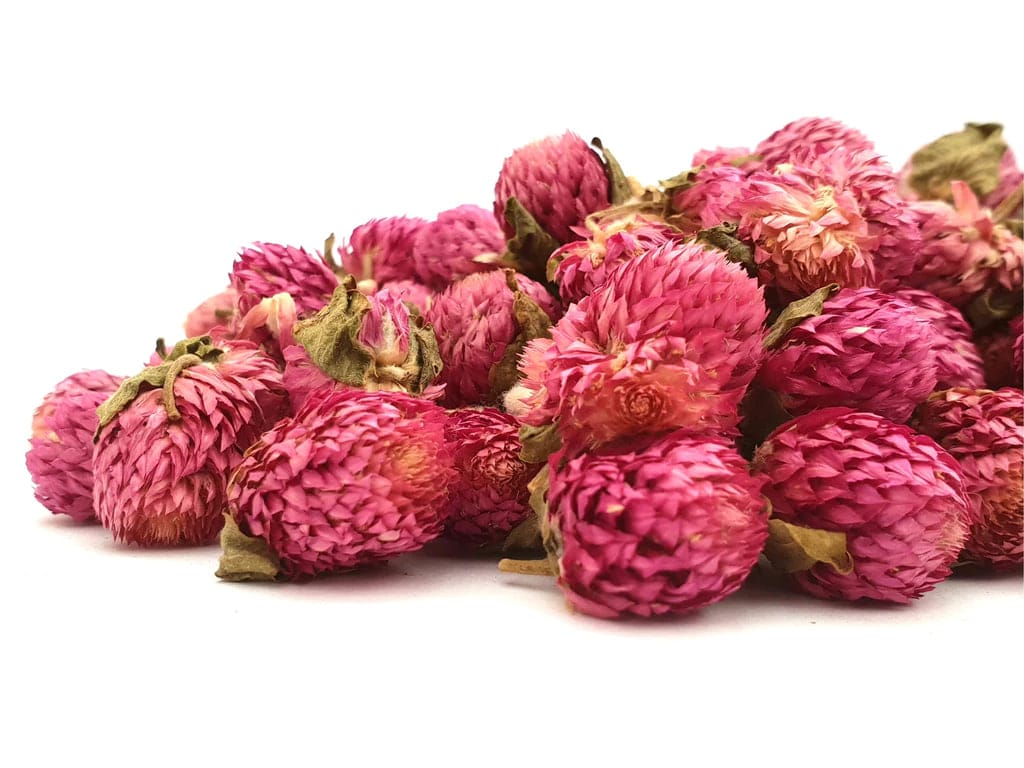
- Natural Dried Flowers for Art Projects and Epoxy Resin Casting: To add natural floral elements for a classic look.
- “Fairy Wings” – UV Resin for Volumetric Reliefs, Dual Colour, 30ml: Perfect for 3D or raised decorative patterns on cured resin.
- UV Resin Kit with 5 Christmas Silicone Moulds for Festive Crafting: Ideal for themed shapes, motifs, and quick surface embellishments.
- Mixing cups, stir sticks, gloves, and a UV lamp (for UV resins)

Inspiration for Designing Your Resin Bracelet
Explore a variety of finished pieces—from bracelets with pressed flowers and delicate gold flakes to playful, luminous 3D embellishments. Use photos of resin jewellery as a mood board to spark ideas for your own project, mixing natural and modern accents.

Step 1: Prepare Your Workspace and Base
Work in a dust-free, well-ventilated environment to prevent imperfections and ensure safety. Lay out all materials before starting, covering your workspace to guard against spills or drips. Ensure you have all your embellishments organised and easily accessible.
If you are starting from scratch, use the base resin included in the “Evershine Collection” – Artisan Jewellery Epoxy Resin Kit with 100+ Accessories to create your bracelet blank. This kit provides an easy 1:1 mixing ratio suitable for beginners, ensuring a clear and flawless base.
Step 2: Plan Your Decoration Layout
Plan your decoration layout before you begin pouring. Decide on the look you’re aiming for—will your bracelet feature natural inlays, festive motifs, or intricate 3D reliefs? Arrange dried flowers, glitters, or UV embellishments on a piece of paper that matches your bracelet’s dimensions, experimenting with combinations until you’re satisfied.
This preparation allows you to work efficiently and achieve a balanced, artistic result once you start handling the resin.
Step 3: Add Embellishments – Flowers, Inlays, and Volumetric Details
Once your base is cured or if you are decorating an existing blank, it’s time to add your chosen details. For a natural touch, gently press Natural Dried Flowers for Art Projects and Epoxy Resin Casting into a thin layer of uncured resin within the bracelet mould. Pour in layers if using multiple flowers or materials—allow one layer to gel before adding the next. This technique prevents movement or unwanted blending.
If you wish to add surface designs or raised motifs, apply a thin bead of “Fairy Wings” – UV Resin for Volumetric Reliefs, Dual Colour, 30ml onto the cured bracelet. Shape it using a fine brush or sculpting tool, then cure under a UV lamp for 3–5 minutes per layer to build up texture and intricate patterns.

Step 4: Cure and Finish the Bracelet
Cure resin thoroughly for a durable finish. Ensure each resin layer is completely set before adding more embellishments to prevent sinking or distortion. For UV resin, follow the lamp’s guidelines and check for tackiness before handling. Epoxy layers may require overnight curing.
Carefully demould your bracelet once all decorations have set. Use a precision drill, such as the one included in the “Evershine Collection”, if you wish to add additional findings, charms, or metal accents.
Step 5: Seal, Polish, and Enjoy
Seal and finish for long-lasting results. Apply a final thin coat of clear resin to encase inlays and ensure a smooth, glossy surface. Lightly sand any rough edges after demoulding and wipe clean before wearing or gifting your decorated bracelet.
Your completed piece is now ready to wear or share—a one-of-a-kind accessory given depth and beauty through thoughtful decorating techniques.
Extra Tips and Troubleshooting
Layer in stages for depth and to prevent flowers or decorations from floating out of place. Avoid overfilling the mould—excess resin can cause details to blur or spill. If glitter or inclusions cloud the surface, try waiting until the first layer partially cures before adding them. For UV resins, avoid applying too thickly, as this can result in uneven curing or a sticky finish.
Should bubbles form, gently pass a heat gun (on low) above the surface before curing or use degassing resin brands for crystal-clear results. Keep patience in the process—artistry lies in thoughtful application and finishing touches.
Decorating Techniques in Action
See hands-on demonstrations of inlaying dried flowers, pouring in layers, and applying UV-relief motifs to elevate your resin bracelet designs. Explore close-up shots showing the nuances of layering, detailing, and finishes to refine your approach.

- "Evershine Collection" – Artisan Jewellery Epoxy Resin Kit with 100+ Accessories£20.85"Evershine Collection" offers a complete epoxy resin kit with 500g high-transparency resin and over 100 accessories, suitable for jewellery makers.
- Natural Dried Flowers for Art Projects and Epoxy Resin CastingPrice range: £5.45 through £7.85Natural Dried Flowers prepared for easy use, suitable for adding a natural aesthetic to resin bracelets and other crafts.
 "Fairy Wings" – UV Resin for Volumetric Reliefs, Dual Colour, 30mlOriginal price was: £15.15.£2.85Current price is: £2.85."Fairy Wings" UV Resin is a ready-to-use acrylic gel suitable for detailed 3D decorative elements, fitting the theme of bracelet decoration.
 UV Resin Kit with 5 Christmas Silicone Moulds for Festive CraftingPrice range: £14.85 through £25.85This kit includes fast-curing UV resin and silicone moulds with Christmas designs, suitable for creating festive jewellery and decorations.
Frequently Asked Questions
Can I use dried flowers in resin bracelets?
Yes, dried flowers can be embedded in resin bracelets to achieve a delicate, botanical look. Place them in thin layers to maintain clarity and position.
How do I prevent bubbles in resin bracelets?
Work slowly, mix your resin gently, and use a heat gun or let the resin rest to release bubbles before curing.
Is UV resin suitable for bracelet decoration?
Yes, UV resin is perfect for applying quick embellishments or raised patterns, but ensure you cure each layer completely for the best result.
How do I make designs stay in place during casting?
Pour resin in stages and allow a partial set before adding delicate items so they remain suspended accurately.
Can I decorate an already cured resin bracelet?
Absolutely. Surface designs and UV resin motifs can be added on top of any fully cured resin surface.
How do I achieve a smooth finish on a resin bracelet?
Apply a final clear resin coat and lightly sand edges after curing to ensure a sleek, comfortable finish.