 Free shipping on orders over £29,85


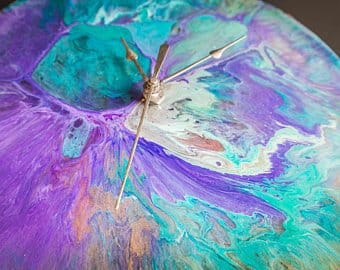
how to make a painting with resin
Master resin painting basics, step by step, with key art techniques.

Resin painting is an exciting, modern art technique that lets you create incredible depth, shine, and vivid colours on canvas or other surfaces. Whether you are a beginner or a practising artist, mastering resin art will enable you to produce contemporary masterpieces and experiment with mesmerising effects that are simply not possible with traditional paints. This guide takes you step by step through the essentials of making your own resin painting—from preparing your workspace, through fundamental pour and layering techniques, to troubleshooting for a professional finish.
What You’ll Need
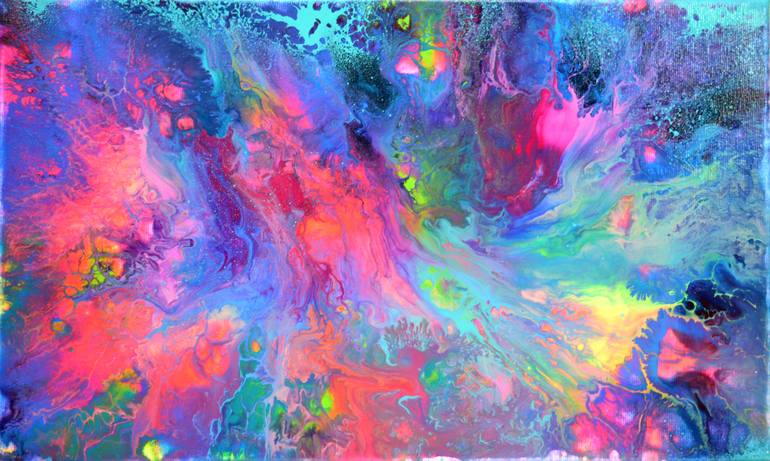
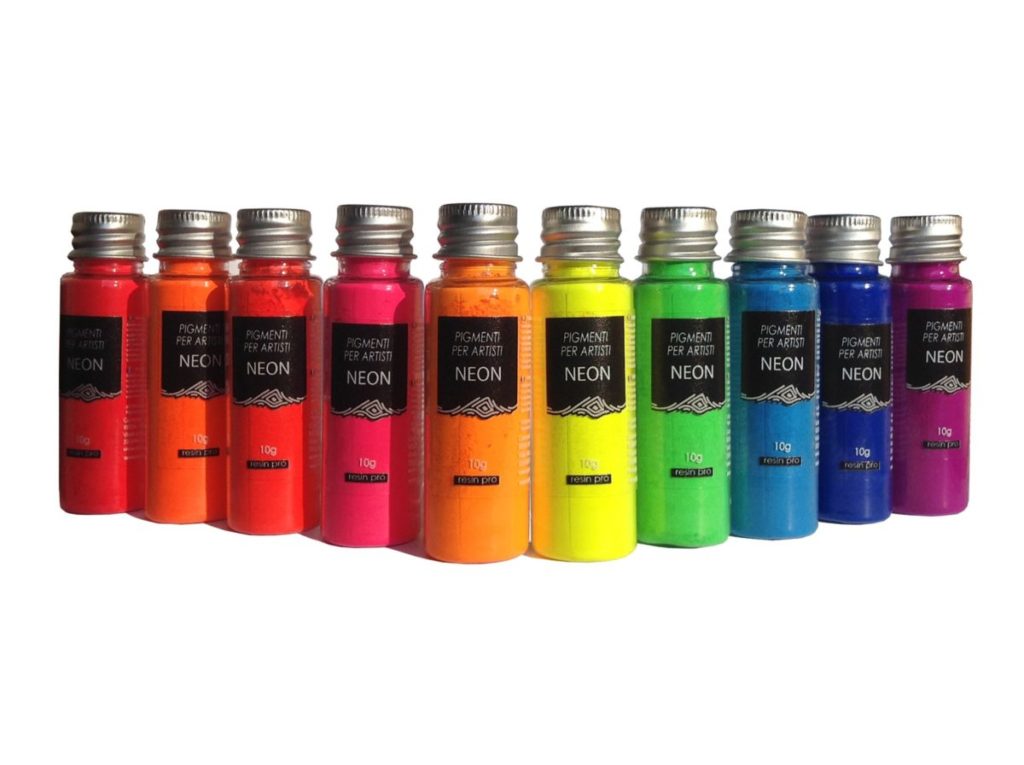
- “Raphael Kit” – Pour Paint & Resin Art Set with Neon Pigments and Canvas: A complete starter set including resin, pigments, gloves, mixing tools, and a canvas.
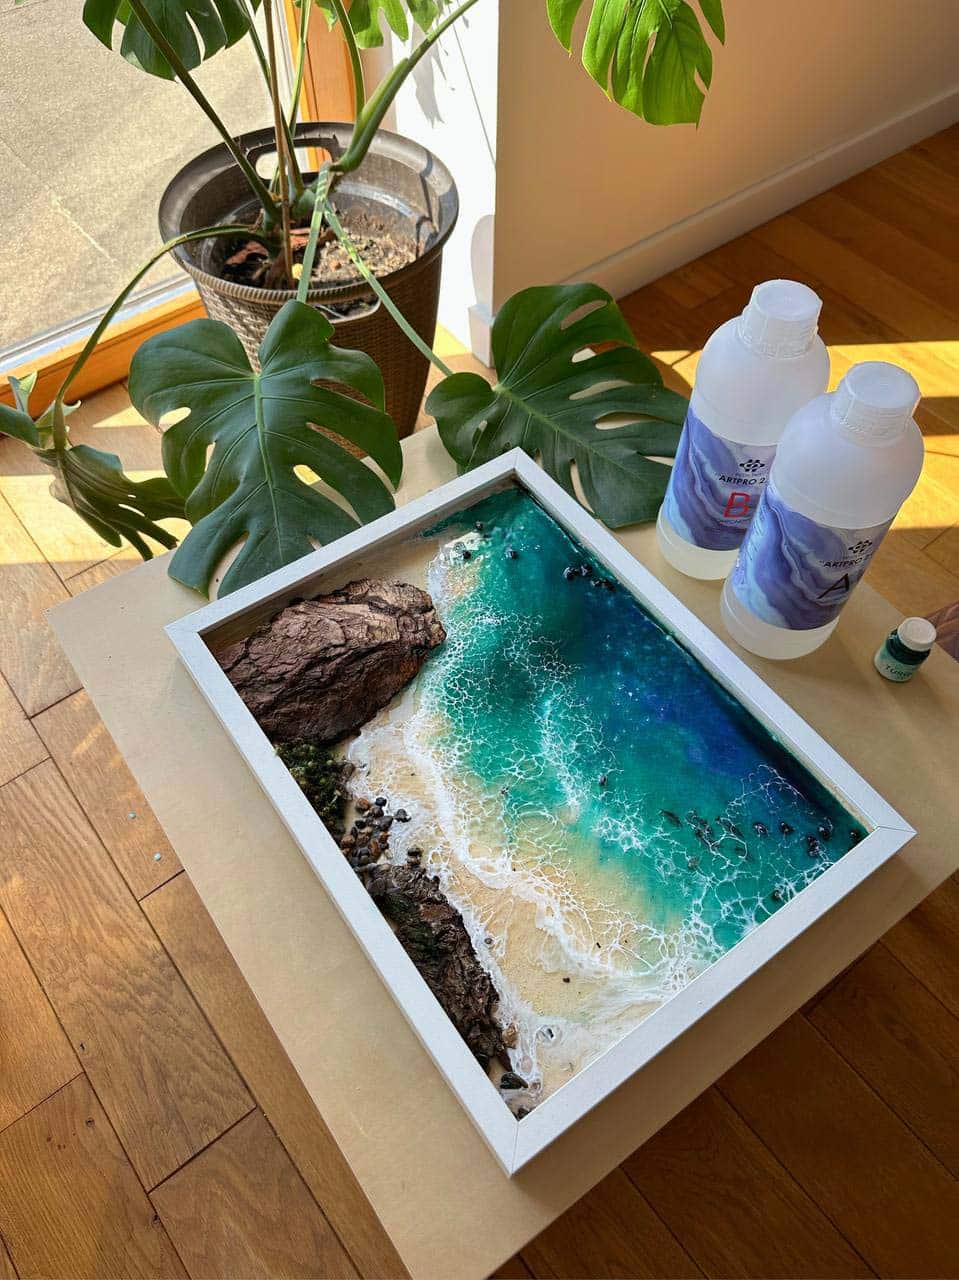
- “Sea” – Resin Kit for Creating Ocean Art, 1.7kg Epoxy, Pigments & Canvas: Designed for ocean-inspired effects, offering thick resin, pigments and a special additive for waves.
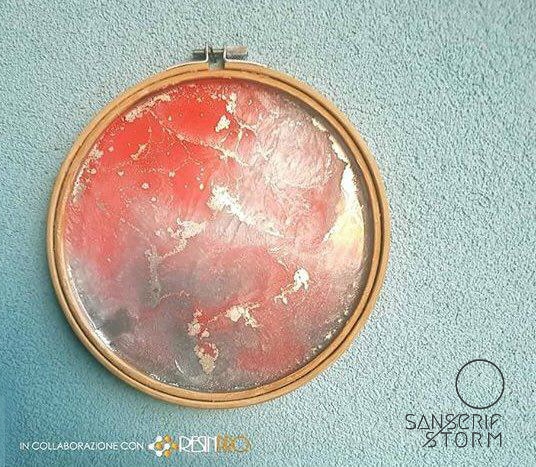
- “Magic Crystal” – Transparent Resin Colour 45ml: Use these transparent pigments for crystal and gemstone-inspired colour effects in your paintings.
- Free Step-by-Step Resin Ocean Art Lesson by Natalia Natirum: An in-depth free video tutorial with recommended materials and expert demonstration for resin painting techniques.
- Essential extras: Protective sheet or table covering, disposable cups for mixing, measuring spoons, nitrile gloves (included in most kits), apron and respirator for added safety.

Essential Resin Painting Tools & Materials
Gathering the right resin kits such as the “Raphael Kit” – Pour Paint & Resin Art Set with Neon Pigments and Canvas or the “Sea” – Resin Kit for Creating Ocean Art, 1.7kg Epoxy, Pigments & Canvas ensures you have all components in one place. This reduces preparation time and helps both new and experienced artists focus on exploring resin techniques.
Step 1: Prepare Your Workspace and Canvas
Begin by selecting a well-ventilated, dust-free area where your painting can stay undisturbed during curing. Cover your work surface with a plastic sheet or disposable tablecloth to protect it from resin spills. Place your canvas on disposable supports—like small cups or blocks—so that drips can fall away from the edges easily.
Ensure all necessary tools and pigments are within arm’s reach before you start mixing. Safety is paramount, so Read all safety instructions before starting and wear gloves; an apron and mask are also advisable if working with pigmented resins in a less ventilated space.
Step 2: Mix Your Resin and Colourants
Most resin kits include detailed instructions for mixing. Measure the two resin components carefully, abiding by the recommended ratio (for example, the “Raphael Kit” – Pour Paint & Resin Art Set with Neon Pigments and Canvas is a 3:2 mix). It is important to combine the resin and hardener thoroughly, scraping the sides and bottom of your mixing cup for a streak-free blend.
Decide on your colour scheme and divide the mixed resin into separate cups for each tint. Add pigment slowly and stir gently to avoid introducing bubbles. For transparent effects, try “Magic Crystal” – Transparent Resin Colour 45ml. For bold, contemporary colours or ocean-style art, kits such as the “Sea” – Resin Kit for Creating Ocean Art, 1.7kg Epoxy, Pigments & Canvas come with ideal shades and additives.
Step 3: Pour and Manipulate Resin on the Surface
Once your resin colours are ready, it’s time to pour onto your canvas. You may experiment with various pour techniques: simple puddle pours, swirling, layering, or tilting the canvas to allow the resin to flow and blend naturally. For ocean effects, use a thick-bodied resin (such as included in the “Sea” kit) and add the wave powder to certain areas before tilting to produce realistic foam.
Remember, resin is self-levelling but moves for 30–60 minutes after pouring. Pour resin slowly and in thin layers if you want sharper lines or to minimise run-off. You can use spatulas, sticks, or even a heat gun to pop bubbles or manipulate designs—but don’t overwork the resin, as this may introduce more bubbles or disturb your colour patterns.
Step 4: Cure and Finish Your Resin Artwork
Once you are satisfied with your design, cover the artwork with a box or dust cover to protect it while curing. Allow each resin layer to level and cure fully as directed—some resins require 12–24 hours depending on the thickness and ambient temperature.
After curing, check the surface for dry spots or drips. If needed, edges can be sanded gently, but always wear a mask when sanding cured resin. For advanced finishing touches or further inspiration, a resource such as the Free Step-by-Step Resin Ocean Art Lesson by Natalia Natirum offers expert demonstrations and troubleshooting tips.
Tips, Common Mistakes, and Troubleshooting
Avoid mixing too vigorously to minimise bubbles in your resin. Always double check your mixing ratio, as an incorrect balance may cause sticky spots or slow curing. Be patient with drying times—forcing a quick cure may dull the shine or cause defects.
If colours start to run together undesirably, try working in thinner layers or allowing partial curing between pours. New to resin? Start with a kit featuring clear instructions, such as the “Raphael Kit” – Pour Paint & Resin Art Set with Neon Pigments and Canvas, to build confidence before experimenting with larger or more complex designs.
Inspiring Finishes and Further Learning
Take your skills further by exploring tutorials like the Free Step-by-Step Resin Ocean Art Lesson by Natalia Natirum, which provides expert insight and visual demonstration—ideal for mastering new effects, troubleshooting, and unlocking creative possibilities in resin art.
- "Raphael Kit" – Pour Paint & Resin Art Set with Neon Pigments and CanvasOriginal price was: £48.85.£37.85Current price is: £37.85."Raphael Kit" includes resin, neon pigments, and canvas, suitable for making resin paintings within the 'how to make a painting with resin' theme.
- Free Step-by-Step Resin Ocean Art Lesson by Natalia NatirumOriginal price was: £99.00.£0.00Current price is: £0.00.Free video tutorial offers guidance on creating Resin Ocean Art with recommended materials suitable for painting and surface coating.
- "Magic Crystal" – Transparent Resin Colour 45ml£4.65"Magic Crystal" – Transparent Resin Colour 45ml provides intense transparent colours suitable for crystal effects in resin painting.
 "Sea" – Resin Kit for Creating Ocean Art, 1.7kg Epoxy, Pigments & Canvas£44.85"Sea" resin kit includes epoxy, pigments and a wave additive suitable for creating ocean-inspired paintings.
Frequently Asked Questions
Is resin painting suitable for complete beginners?
Yes, with a beginner-friendly kit and step-by-step instructions, anyone can start making resin art.
How do I choose the right resin and pigments?
Pick kits designed for art and use quality pigments, like those in the Raphael or Sea kits, for vivid, reliable results.
What safety precautions should I take with resin painting?
Always work in a ventilated space, protect skin with gloves, and follow all kit instructions for safe use.
How can I get rid of bubbles in my resin art?
Gently warm resin with a heat gun or blowtorch after pouring to remove surface bubbles before curing.
Can I add multiple layers or textures to a resin painting?
Yes, allow each layer to cure before adding more for crisp effects or textures, especially with ocean scene techniques.
How long does resin painting take to cure?
Most resin pours cure within 12–24 hours, but times vary with resin brand and thickness. Always follow kit guidelines.
Why is my resin painting sticky after 24 hours?
Incorrect mixing ratios or insufficient mixing can leave resin tacky; ensure accuracy and mix thoroughly each time.