 Free shipping on orders over £29,85


how to make resin-coated labels
Achieve a professional 3D effect with resin doming techniques.


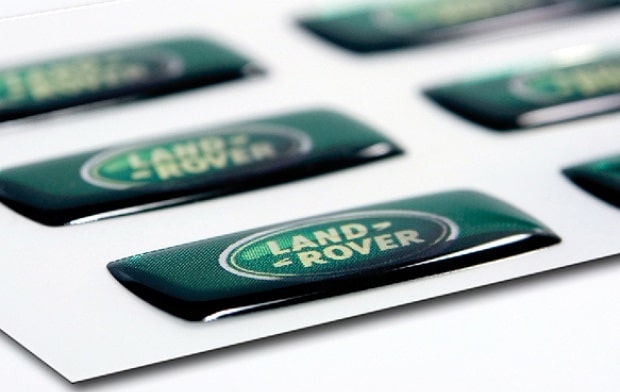
Resin-coated labels, also known as domed or 3D labels, gain popularity for their durability, sophisticated appearance, and the tactile, raised effect achieved by a clear resin layer. Whether creating brand badges, craft stickers, or striking personalised labels, mastering the resin doming process ensures your labels stay vibrant, scratch-resistant, and protected for everyday use.
What You’ll Need
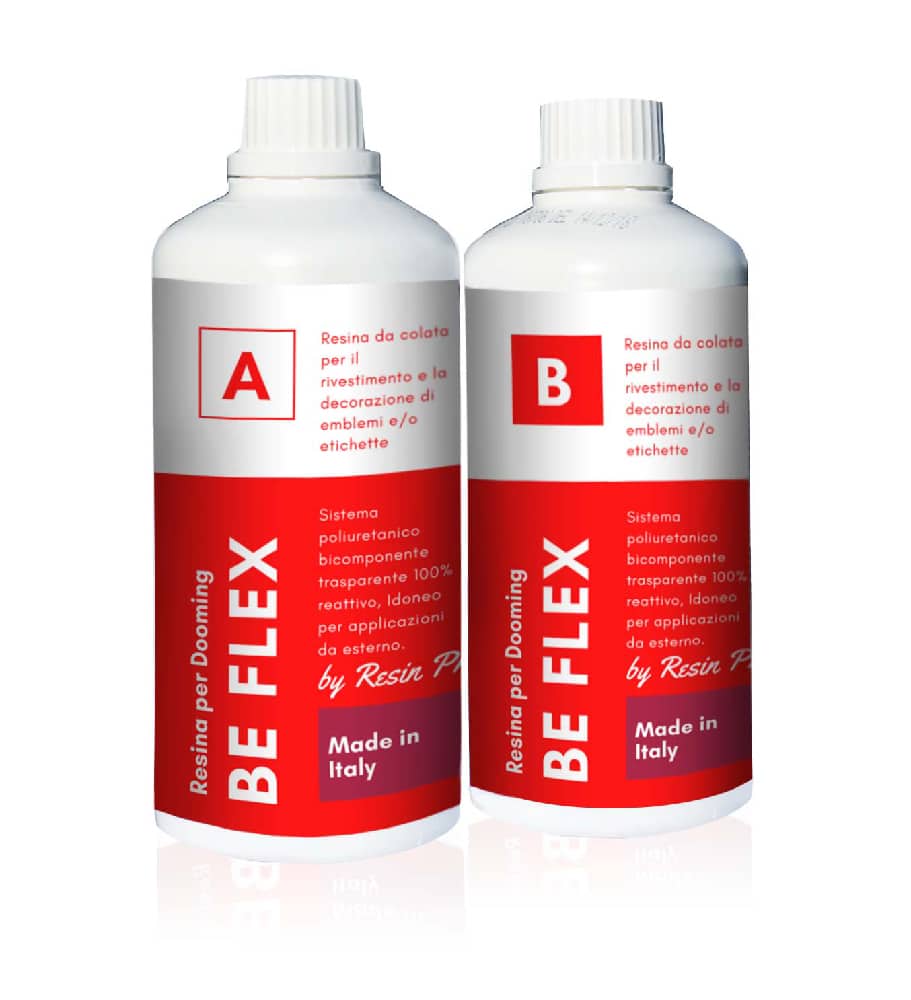
- “Be Flex” – Transparent Polyurethane Doming Resin – Scratch-Resistant – flexible, scratch-resistant finish, ideal for domed labels.
- “UV–Creation” – Fast Acrylic Resin, 3 Minute UV Cure – fast-curing option for small or quick projects using a UV lamp.
- “Fairy Wings” – UV Resin for Volumetric Reliefs, Dual Colour, 30ml – add decorative reliefs or highlights for enhanced texture.
- “3D Finish” – Fast Coating Epoxy Resin for 3D Prints – suitable for detailed, smooth coatings on flat label surfaces.
- Clean, dust-free printed labels (paper, vinyl, or similar material)
- Mixing sticks, disposable gloves, PPE mask
- Non-stick work surface (e.g. silicone mat or wax paper)
- UV lamp (if using UV-curable resin)
- Toothpicks or fine brushes for detailed application
Setting Up for Success
Resin doming works best when your workspace is protected and clean. Make sure to cover surfaces, keep your hands clean, and organise your tools before you start. This prevents dust, pet hair, or oils from finding their way into your labels during the process.
Step 1: Prepare the Labels and Workspace
Begin by ensuring your labels are printed and trimmed to size—free from dust, oils, or fingerprints. Choose a flat, levelled workspace and lay out a non-stick mat to catch drips. Remove dust with a soft brush or air blower before coating. Always use PPE and work in a well-ventilated area.
Step 2: Mix and Apply the Resin
Select the resin best suited for your label’s flexibility and application size. For stickers or labels requiring a supple finish, “Be Flex” – Transparent Polyurethane Doming Resin – Scratch-Resistant is ideal. If pursuing a fast-drying option for small areas, consider a UV-cured solution such as “UV–Creation” – Fast Acrylic Resin, 3 Minute UV Cure.
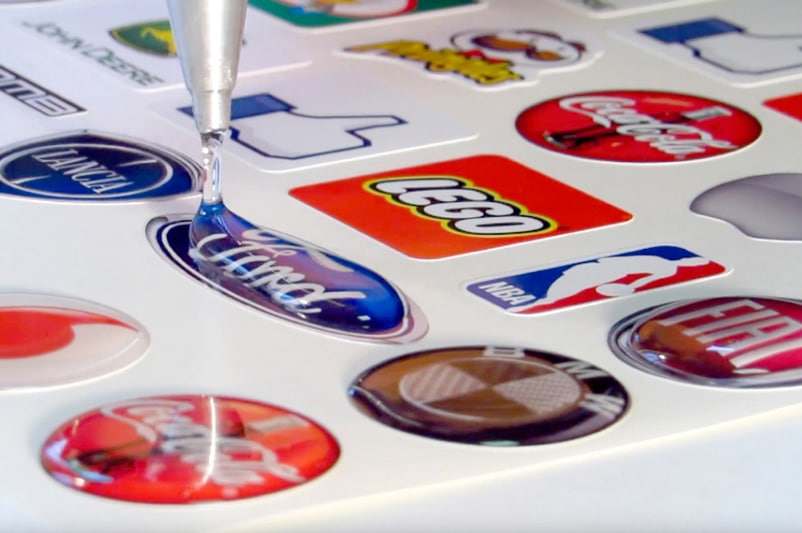
Mix the resin according to the product’s instructions. Slowly dispense the resin onto the centre of each label, letting it spread out to the edges. Use a toothpick or fine tool to guide the resin, gently encouraging coverage, but be careful not to let it overflow the edges. Work patiently to avoid over-pouring.
Step 3: Remove Bubbles and Let the Resin Set
Inspect for any surface bubbles and remove them immediately. Lightly blowing over the resin or using a pin can help. Allow the resin to level and self-dome naturally. If using UV-curable resin, transfer the covered labels under a UV lamp, following the product’s advised curing time. For other resins, leave undisturbed on a flat surface. Avoid touching the labels during curing.

Step 4: Add Details and Finishing Touches
A secondary decorative resin, such as “Fairy Wings” – UV Resin for Volumetric Reliefs, Dual Colour, 30ml, lets you add dimensional highlights or reliefs atop the cured base for creative effect. Apply thinly and cure as required. When using “3D Finish” – Fast Coating Epoxy Resin for 3D Prints, ensure a smooth, even layer for a glassy effect on rigid or flat labels.

Tips, Troubleshooting, and Common Mistakes
- Work patiently to avoid over-pouring. Too much resin can overflow the edges, spoiling the domed effect.
- Always use PPE and work in a well-ventilated area. Safety is crucial when handling resins of any type.
- Remove dust with a soft brush or air blower before coating. Debris on the surface will appear as flaws in the cured resin.
- Allow the resin to level and self-dome naturally. Over-manipulation can introduce more bubbles or ruin the finish.
- Avoid touching the labels during curing. This prevents marks or indentations and ensures an even finish.
Perfect Your Finish
For a flawless, professional domed look, ensure the resin is applied in a controlled environment, free from temperature and humidity extremes. Always allow resins to cure fully before handling, and remember that a little patience at this stage goes a long way towards a glossier, more durable label.
- "Be Flex" – Transparent Polyurethane Doming Resin – Scratch-ResistantPrice range: £21.85 through £77.85"Be Flex" offers a flexible and transparent coating suitable for durable, scratch-resistant 3D labels with a glossy finish.
- "UV–Creation" – Fast Acrylic Resin, 3 Minute UV CurePrice range: £7.85 through £59.85UV–Creation is a fast-curing UV acrylic resin suitable for jewellery and crafting, offering a clear, glossy finish with ease of use.
 "Fairy Wings" – UV Resin for Volumetric Reliefs, Dual Colour, 30mlOriginal price was: £15.15.£2.85Current price is: £2.85."Fairy Wings" UV Resin is a ready-to-use acrylic gel suitable for detailed 3D reliefs and decorations using UV curing.
 "3D Finish" – Fast Coating Epoxy Resin for 3D PrintsPrice range: £12.85 through £18.85"3D Finish" is a fast-curing epoxy resin coating designed to preserve fine detail and improve 3D print surfaces with a smooth, glossy finish.
Frequently Asked Questions
Which resin is best for flexible, scratch-resistant labels?
"Be Flex" offers flexibility and self-healing for 3D domed labels, providing resilience against pressure marks and scratches.
Can UV resin be used for label doming?
UV resins like "UV–Creation" cure quickly under a UV lamp, making them ideal for rapid doming on small labels or badges.
How do I prevent bubbles when applying resin to labels?
Pour slowly, use a toothpick to remove bubbles, and work in a dust-free space to keep the surface clear.
Will resin-coated labels withstand outdoor use?
Some resins offer UV and water resistance, so choose accordingly if your labels will be exposed to sunlight or rain.
Can you add 3D decoration on top of domed labels?
"Fairy Wings" UV resin makes it possible to add fine relief details after the main dome is cured.
What surfaces do doming resins adhere to?
Doming resins bond well with vinyl, paper, and polymer-based label materials for versatile applications.
How long does it take for doming resin to cure?
Curing varies by product—UV resins can cure in 3–5 minutes under a UV lamp, while other types may need several hours.