 Free shipping on orders over £29,85

How to make objects with resin?
Simple guide for creating unique resin art and crafts at home


Creating objects with resin opens up a world of artistic possibilities, from practical coasters and trays to decorative art pieces and keepsakes. This guide covers the complete process for making your own resin objects safely and successfully, whether you are new to resin or looking to expand your creative skills. You will learn about essential materials, preparation tips, the correct casting technique, and finishing touches for exceptional results.
What You’ll Need
- “One-2-One” – Epoxy Resin for Handcraft, 1:1 Mixing Ratio – Ideal for beginners and DIY decorative projects.
- “Art Pro” – Clear Epoxy Resin for Artists and Surface Coating – Best for high-gloss finishes on artistic pieces.
- “Pure Mould” – Translucent Liquid Silicone Rubber for Mould Making – For making or choosing detailed and reusable moulds.
- Protective equipment (gloves, mask, apron)
- Mixing cups, stir sticks, and scales
- Decorative pigments, glitters, or inclusions (optional)
- Cleaning materials (paper towels, isopropyl alcohol)

See the Materials and Setups
Get inspired by different workspace setups and see how tools and safety gear make resin crafting easier and safer. A well-prepared setting saves time and delivers cleaner results.
Step 1: Prepare Your Workspace and Safety Gear
Before starting, protect your workspace with a plastic sheet or disposable covering to make cleaning up easier. Keep paper towels and cleaning materials nearby. Always wear gloves and a mask when handling resin and hardener to prevent skin contact and inhalation of fumes. Work in a well-ventilated space to avoid fumes, and wear old clothes or an apron to avoid spills on clothing. Gather all your tools within easy reach for a smooth workflow.

Step 2: Measure and Mix Your Resin Precisely
Careful measurement is crucial to ensure the resin cures correctly and stays durable. Measure resin and hardener according to the instructions for your chosen product. Use a digital scale or graduated mixing cups for accuracy. For example, if you select “One-2-One” – Epoxy Resin for Handcraft, 1:1 Mixing Ratio, mix equal parts resin and hardener by volume. If opting for “Art Pro” – Clear Epoxy Resin for Artists and Surface Coating, follow its 3:2 mixing ratio for excellent clarity and durability.
Blend the two components together in slow, steady motions for at least 2–3 minutes. Mix slowly to avoid introducing bubbles that can show up in your finished piece. Scrape the sides and bottom of the container regularly to combine fully.
Step 3: Choose and Prepare Your Moulds
Select the right mould for the object you want to create—options include silicone moulds for coasters, trays, jewellery, or custom shapes. Silicone moulds are flexible and non-stick for easy release, making them ideal for resin. If you wish to make your own moulds for unique projects, “Pure Mould” – Translucent Liquid Silicone Rubber for Mould Making is an excellent choice for crafting detailed, reusable moulds.
Thoroughly clean and dry your moulds before each use to prevent unwanted marks or contaminants on your final resin object. Place the moulds on a levelled, flat surface before pouring the resin.


Step 4: Pour and Decorate Your Resin Object
Slowly pour the mixed resin into your chosen mould, allowing air bubbles to rise to the surface naturally. If desired, add pigments, glitters, or decorative inclusions at this stage. Tap or gently shake the mould to help bubbles escape and distribute the resin evenly.
You can use special tools like a heat gun on a low setting briefly over the surface to remove persistent bubbles. Experiment with colour and inclusions for custom effects; less is often more for clarity and detail.
Step 5: Curing, Demoulding and Finishing
Cover your moulds to prevent dust settling, and let the resin cure undisturbed. Demoulding too soon can cause warping or breakage, so refer to product guidelines—most resins cure within 24–48 hours at room temperature. Let resin cure completely at room temperature for best results.
Once de-moulded, you may sand edges or polish the surface for a glossy finish. Some projects, like trays or bowls, can also be shaped in a semi-cured state. Always follow safety recommendations while sanding, such as wearing a mask and gloves.


Tips for Success and Common Mistakes
- Avoid proportions errors—measure carefully to prevent sticky or brittle resin.
- Always work in temperatures recommended by the resin product, usually between 18–25°C.
- Protect finished pieces from dust as they cure.
- If making your own moulds, follow instructions for “Pure Mould” – Translucent Liquid Silicone Rubber for Mould Making to achieve the right detail and flexibility.
- Dispose of waste responsibly and avoid pouring resin down the drain.
Following these practical tips will help you avoid frustration and achieve impressive, durable resin creations every time.
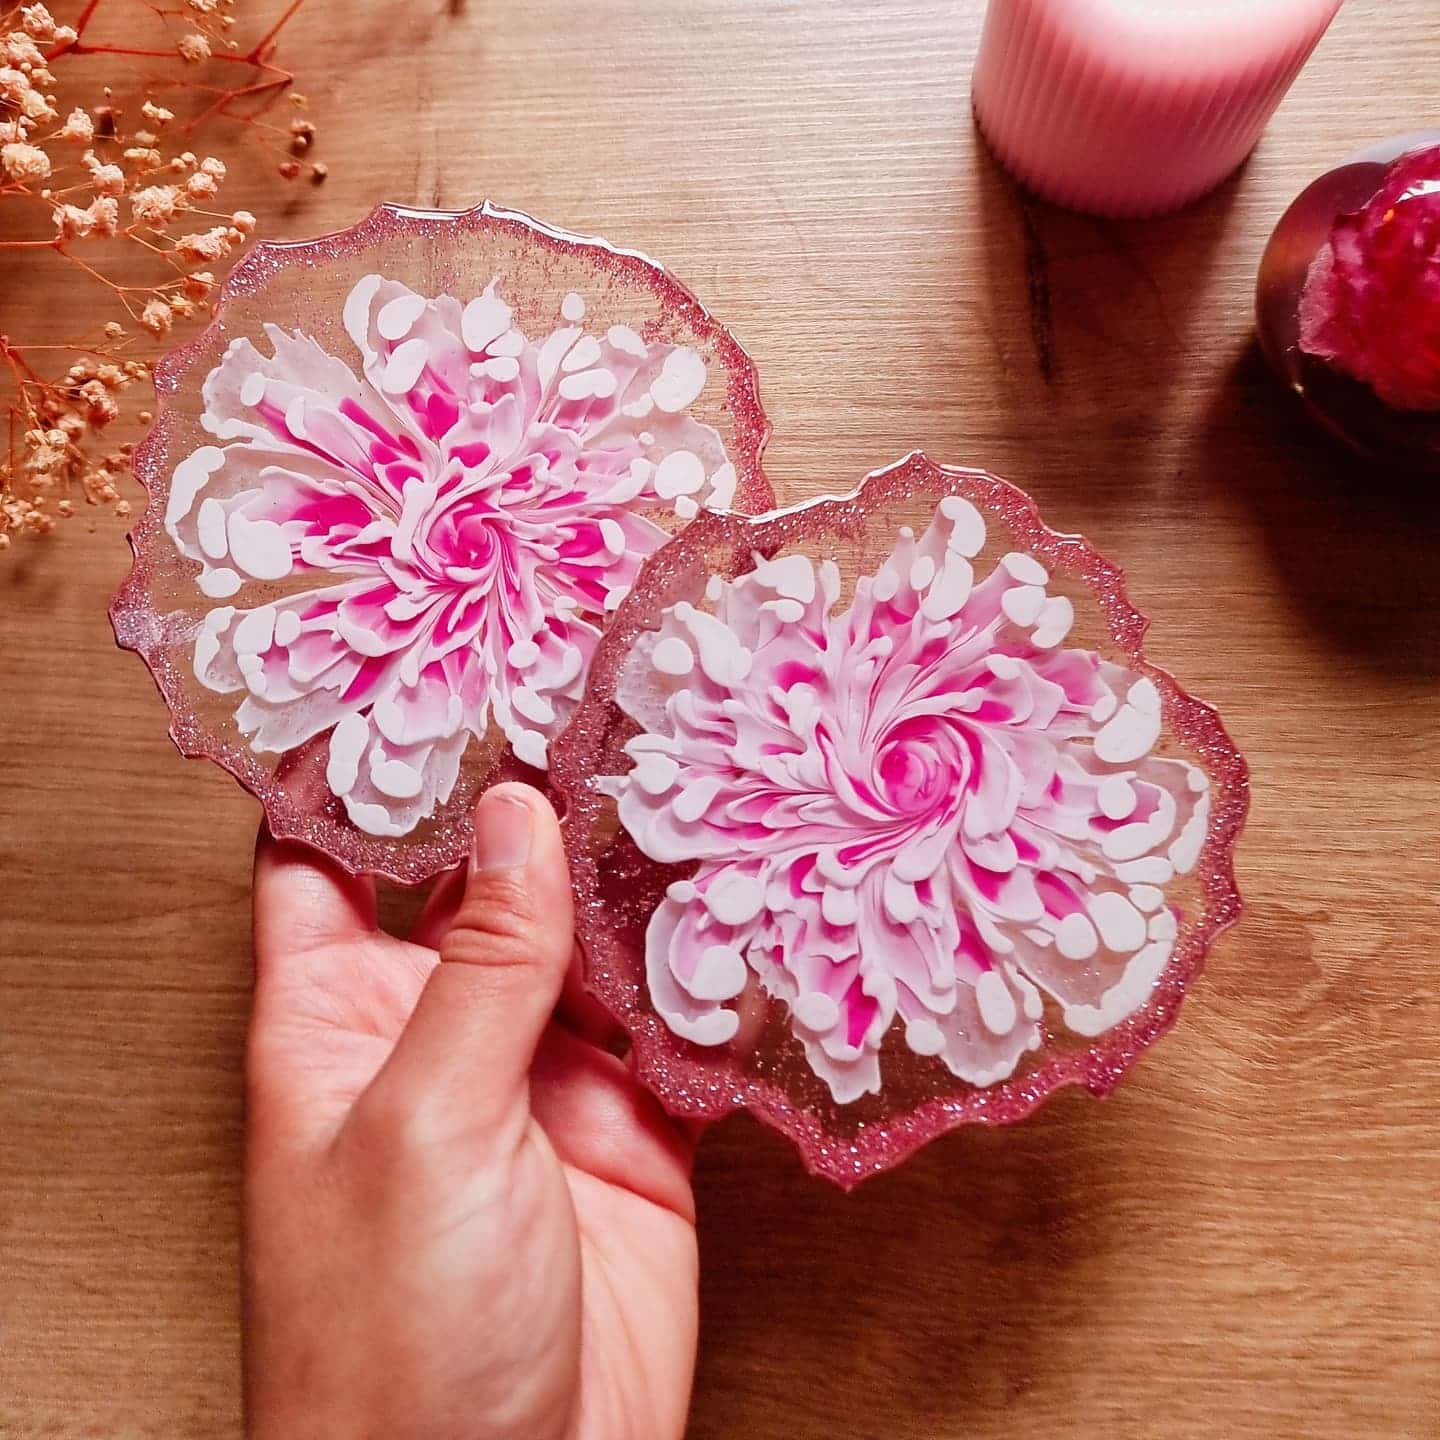
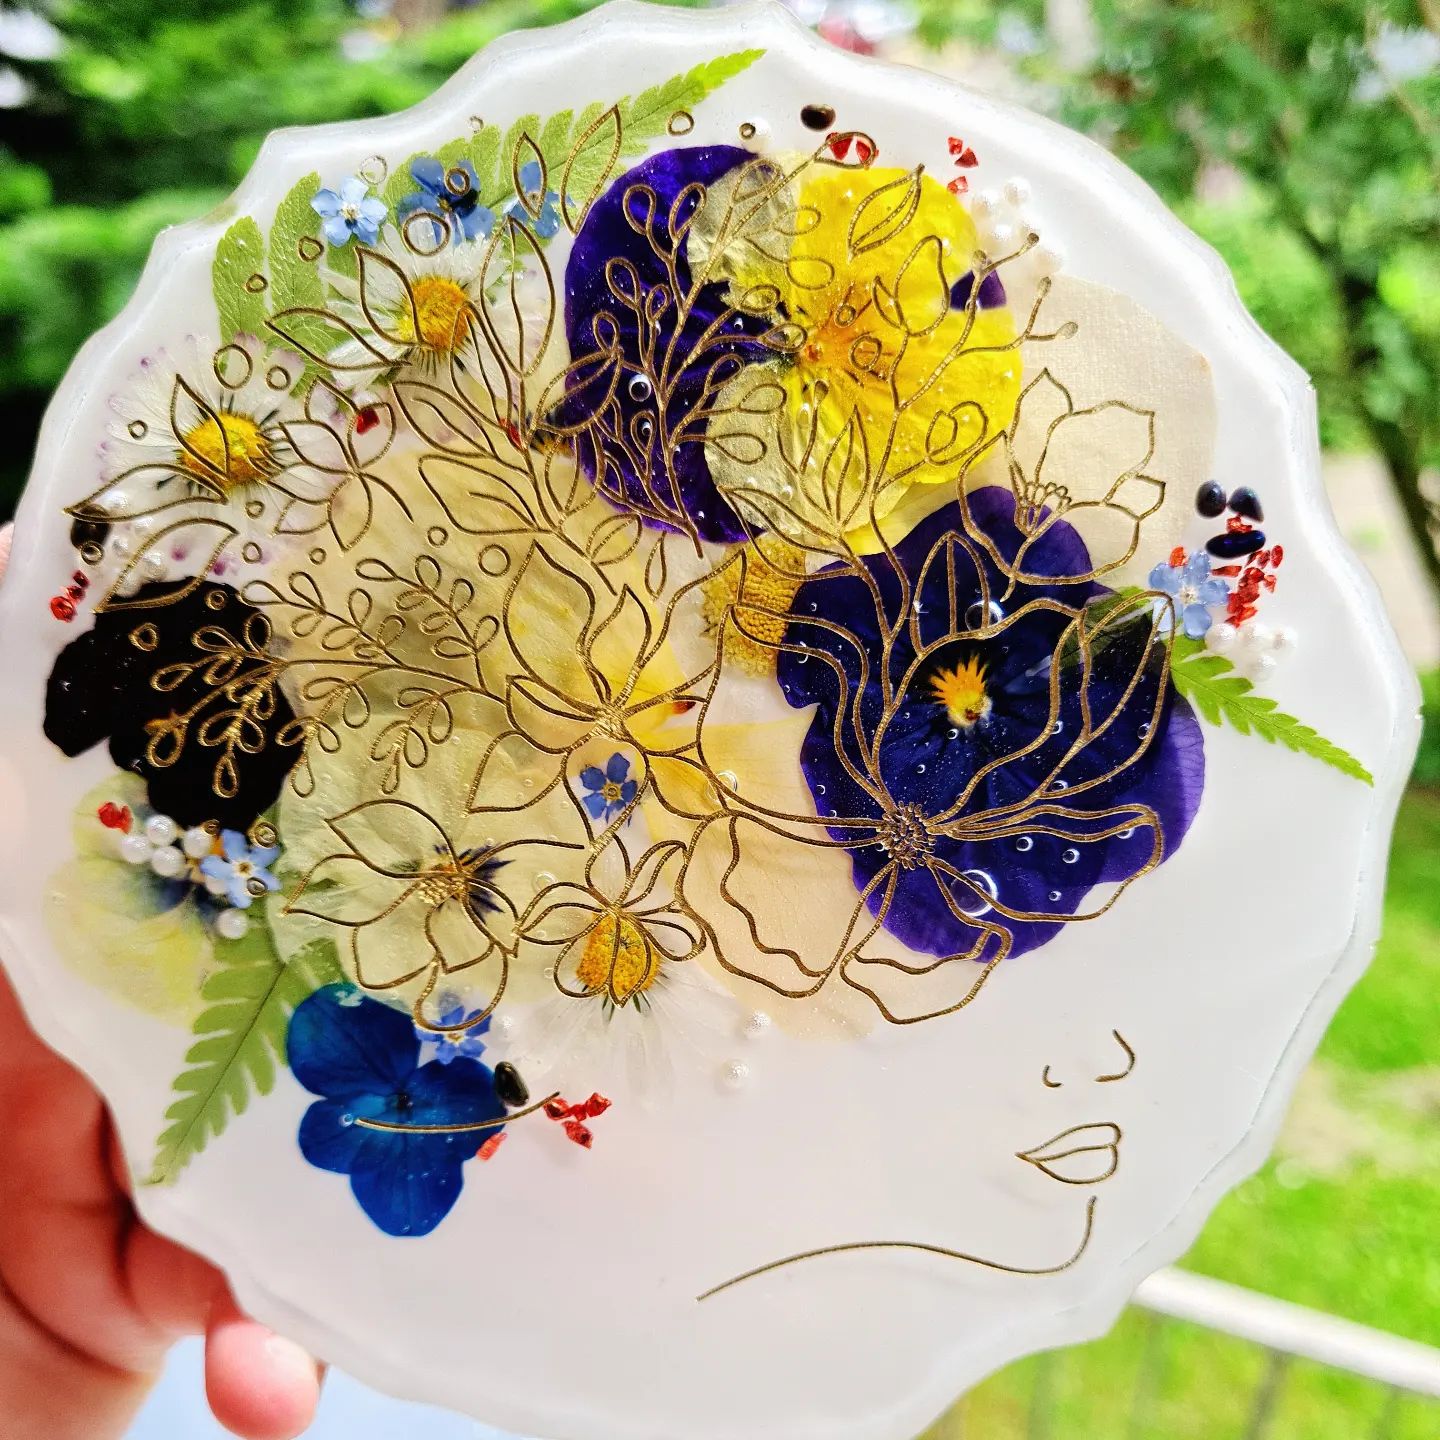
Examples of Finished Resin Objects
View creative projects such as colourful coasters, trays, and custom-shaped bowls made with epoxy resin and silicone moulds. Notice the clarity, decorative effects, and variety of inclusions achieved through careful technique.

- Resin Class – 3D Effects Coasters Masterclass, 120 MinutesThis course introduces techniques for creating resin coasters, trays and bowls, suitable for those learning how to make resin objects.
- "One-2-One" – Epoxy Resin for Handcraft, 1:1 Mixing RatioPrice range: £15.95 through £59.95"One-2-One" epoxy resin is a medium viscosity resin suitable for beginners and experienced crafters using a simple 1:1 mixing ratio.
 "Art Pro" – Clear Epoxy Resin for Artists and Surface CoatingPrice range: £19.95 through £267.95"Art Pro" clear epoxy resin is suitable for creating high-gloss, durable finishes on decorative surfaces. It supports artistic and DIY projects.
 "Pure Mould" – Translucent Liquid Silicone Rubber for Mould MakingPrice range: £23.95 through £166.95"Pure Mould" is a platinum-based translucent silicone designed for mould making, compatible with various materials and suitable for different skill…
Frequently Asked Questions
What resin should I use for making objects as a beginner?
"One-2-One" is ideal for beginners due to its easy 1:1 mixing ratio and forgiving handling. It produces clear results for small crafts.
How do I prevent bubbles forming in my resin objects?
Mix slowly and pour gently. Use a heat gun or torch carefully over the surface to remove trapped bubbles.
How long does resin take to cure before demoulding?
Cure times vary; most resins set within 24–48 hours. Always follow the resin manufacturer’s instructions for the best results.
How should I clean my moulds before casting resin?
Wipe with isopropyl alcohol and let dry before use. Avoid abrasives or residues that could affect your finished object.
Can I make my own moulds for resin casting?
Yes, using products like "Pure Mould" silicone lets you create custom moulds for unique shapes and sizes.
How do I mix resin properly to avoid mistakes?
Always use precise measurements, mix long enough to combine fully, and scrape sides and bottom for consistency.
Can I add colours and inclusions to resin objects?
Absolutely—add resin-safe pigments, glitters, or small objects to customise your creations. Add after mixing and before pouring.