 Free shipping on orders over £29,85

How to make the epoxy resin of the table glossy?
Expert steps to achieve a mirror-like finish on resin tables


Transforming an epoxy resin table from a basic casting into a showpiece with a brilliant glossy finish takes careful technique and attention to detail. Whether you are restoring a dull surface or finishing a new resin table, this guide covers how to achieve true glass-like clarity and shine, ensuring your project stands out in any setting.

What You’ll Need
- “Epoxy Polish” – Epoxy Resin Polishing System: A set designed to restore mirror-like gloss to epoxy resin surfaces.
- “Shiny Shield” – Glossy Release Film for Resin Projects: Ideal for mould lining, enabling a glossy finish after curing.
- Soft, lint-free microfibre cloths
- Polishing pad holder or rotary polisher (for large surfaces)
- High-grit sandpaper (800–3000 grit)
- Clean water and spray bottle
- (optional) Dust mask and gloves for safety

Inspiring High-Gloss Resin Table Finishes
Explore examples of epoxy resin tables finished to a flawless gloss. Notice the clarity and depth achieved with careful polishing and high-quality products. These results demonstrate the effectiveness of a proper sanding and buffing process, paired with the right tools.
Step 1: Prepare the Workspace and Table Surface
Choose your workspace wisely. Ensure your workspace is clean and free from dust, as airborne particles can become embedded in the resin or finish. Place your table on a flat, stable surface, and if possible, work in a well-ventilated area to avoid build-up of fumes.
Remove any loose dirt, dust or residues from the epoxy surface using a soft cloth. Now inspect the table: if there are any uneven spots or raised drips, gently level them with a sharp blade or high-grit sandpaper. Ensuring no grease or oil remains on the surface is crucial before progressing to sanding or polishing steps.


Step 2: Wet Sand for Smoothness
Clean and sand thoroughly. Start with the coarsest grit (typically 800) and sand the epoxy table’s surface using even, overlapping motions while frequently spraying with water. Maintain gentle pressure to avoid cutting through the resin layer.
Gradually move up through higher grit sandpaper (1200, 1500, up to 3000) to minimise scratches and refine the finish. Be systematic and check the surface regularly for smoothness; every sanding stage reduces visible marks and prepares the surface for polishing.
After completing the sanding steps, wipe the surface clean with a damp, lint-free cloth and let it dry completely before proceeding.
Step 3: Apply and Buff Polishing Compound
Buff to perfection using a quality polishing system specifically designed for epoxy resin. Apply a small amount of “Epoxy Polish” – Epoxy Resin Polishing System to the surface. Use a polishing pad or rotary polisher to work the compound in—start at a low speed and apply light, even pressure.
Use gentle, circular motions. Gradually increase the speed according to the polisher’s instructions, buffing until the surface develops a clear, glossy appearance. If working by hand, a dedicated pad holder greatly improves results and reduces effort compared to using cloths alone. Wipe off residues with a clean microfibre cloth.


Step 4: Maintain a Dust-Free Gloss and Prevention Tips
Prevent dust contamination by keeping the environment clean until the final coat or post-polishing is fully cured. After achieving a glass-like shine, handle your table with care and avoid exposing the finish to abrasive surfaces.
If you plan to cast again or want to achieve a glossy surface during your initial pour, consider lining your mould or table frame with “Shiny Shield” – Glossy Release Film for Resin Projects. This helps produce a flat, mirror-finish surface and eliminates much of the need for sanding or polishing after demoulding.
Troubleshooting and Expert Tips
- Allow adequate curing time for resin before sanding or polishing to avoid smearing.
- Avoid excessive polish or heat, which may cause softening or cloudiness.
- Always use progressively fine abrasives; skipping grits can leave behind scratches that appear after polishing.
- If imperfections remain after buffing, repeat with a finer sanding grit and reapply the polishing compound.
- Never use household glass cleaners as they can dull or damage the epoxy’s glossy surface.

Professional Secrets to Achieving a Mirror Finish
Resin artists recommend working patiently, gradually refining the surface and avoiding haste at each stage. Careful control of your workspace’s cleanliness and the right use of polishing products ensure a truly glass-like shine that lasts and resists scratching.

- "Epoxy Polish" – Epoxy Resin Polishing SystemPrice range: £18.95 through £47.45"Epoxy Polish" offers a polishing system that helps rejuvenate resin surfaces to a glossy finish suitable for the theme of making epoxy resin tables…
- "EpoxyTable 5-Five" – Deep Pour Epoxy Resin for Tables and Large Projects – Up to 5cmPrice range: £17.95 through £1,154.95"EpoxyTable 5-Five" is designed for deep pouring projects like tables, offering a non-yellowing and scratch-resistant finish.
 “Epoxytable 10-Ten” – Deep Pour Epoxy Resin for Tables, Up to 10cm CastingPrice range: £35.95 through £351.95“Epoxytable 10-Ten” is designed for deep table castings up to 10cm. It offers a bubble-free finish with strong UV resistance.
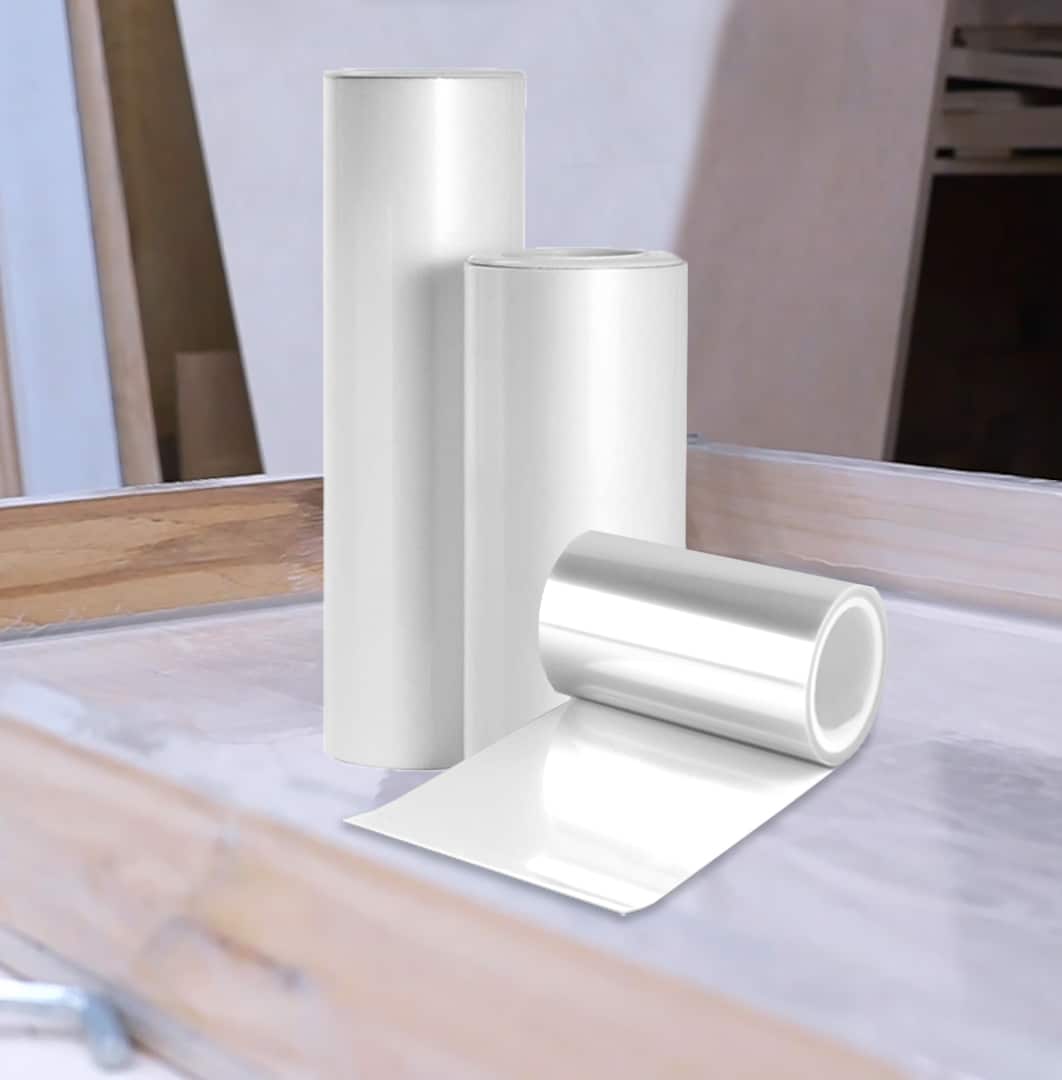 "Shiny Shield" – Glossy Release Film for Resin ProjectsPrice range: £3.45 through £12.95Shiny Shield is a self-adhesive release film designed to create a flat, high-gloss surface for epoxy resin projects.
Frequently Asked Questions
How can I get a really glossy epoxy table surface?
Wet sand progressively, then polish with an epoxy-specific polishing system for a flawless, glass-like finish.
How do I remove surface scratches from my epoxy resin table?
Carefully wet sand the affected area with fine grits and buff using a resin polish to restore shine.
Why is my epoxy resin table cloudy after polishing?
Cloudiness usually results from insufficient sanding or using the wrong polishing technique. Polish with the correct pad and compound for best results.
Can I reuse Shiny Shield release film for multiple epoxy castings?
Yes, Shiny Shield can be carefully reused in several projects without losing its glossy effect or leaving residue.
When can I start sanding or polishing my epoxy table?
Begin sanding and polishing only after the resin has fully cured, which is typically 48 to 72 hours depending on conditions.
What is the best product for a gloss finish on epoxy tables?
"Epoxy Polish" offers a polishing system formulated specifically for resin surfaces, giving excellent, mirror-like results.