 Free shipping on orders over £29,85

How to make transparent resin shelves?
Step-by-step guide for flawless, crystal-clear resin shelving.


Transparent resin shelves offer a sleek, modern look while showcasing your creativity. This guide will walk you through every stage of the process, from preparation to finishing, to help you create durable, crystal-clear resin shelves suitable for any room. Whether you’re an experienced maker or new to epoxy, you’ll learn all the vital techniques and considerations for a flawless finish.

What You’ll Need
- “Epoxytable 10-Ten” – Deep Pour Epoxy Resin for Tables, Up to 10cm Casting: For shelves over 5cm thick or large castings, delivers clarity and depth.
- “EpoxyTable 5-Five” – Deep Pour Epoxy Resin for Tables and Large Projects – Up to 5cm: Ideal for mid-range shelf thickness and minimal bubbles.
- “Trasparente” – Multipurpose Clear Epoxy Resin for Casting – Up to 2cm: Suitable for slim, detailed shelves and accent pieces.
- “Shiny Shield” – Glossy Release Film for Resin Projects: Prevents resin sticking, ensures a flawless glossy face.

Visual Inspiration and Project Examples
Browse real-life resin shelf projects and see the high-gloss clarity you can achieve using properly chosen resins. Notice the seamless joins, vibrant transparency, and the range of thicknesses—from slim decorative shelves to robust statement pieces. Let these examples guide your design choices!
Step 1: Prepare the Workspace and Mould
Thoroughly plan your project before beginning. Choose your shelf’s measurements and thickness—this will determine the type and quantity of epoxy resin you need. Build or obtain a mould (often MDF or melamine-faced board) that is well sealed, with clean, sharp corners. Ensure your workspace is dust-free and level to avoid imperfections in the resin as it cures.
Line the mould interior using a high-quality release film, such as “Shiny Shield” – Glossy Release Film for Resin Projects, which will make demoulding simpler and leave the resin with a professional, high-gloss surface straight from the formwork.


Step 2: Measure and Mix the Resin
Always follow your resin kit instructions. Measure and mix your resin precisely by weight using digital scales for accuracy. Pour the resin and hardener into a clean mixing vessel, using gentle but thorough motions to combine. Scrape the sides and bottom to ensure complete blending and minimise unmixed spots that can create cloudy areas.
If your shelves require deep casting (over 2cm), select the appropriate resin—use “EpoxyTable 5-Five” for shelves up to 5cm or “Epoxytable 10-Ten” for up to 10cm.
Step 3: Pour the Resin Layer by Layer
Pour resin slowly and in stages for thick shelves. This minimises exothermic heat build-up and helps control bubble release. For shelves thicker than the single-pour limit of your resin, pour in layers, allowing each to set before adding the next. Allow each layer to cure fully between pours as per product instructions to prevent cloudiness or cracks.
If you’re working with thinner shelves, “Trasparente” resin offers excellent clarity and is perfect for pours up to 2cm.


Step 4: Cure and Demould for a Glossy Finish
Use a glossy release film for perfect surfaces—this ensures the shelf face is already glass-smooth after curing, reducing or eliminating polishing work. Maintain a consistent temperature (generally 18–25°C) and avoid direct sunlight and humidity while curing for optimal clarity.
When the shelf is fully cured according to your resin’s specified time, gently release it from the mould. If you used a glossy release film, the resin should demould cleanly, leaving a high-shine finish ready for mounting.
Tips, Common Mistakes, and Troubleshooting
Plan your mixing and pouring so you never exceed the maximum advised pouring thickness for your resin to avoid overheating and trapped bubbles. Use a heat gun or torch carefully to eliminate surface bubbles but take care not to overheat the resin. Always measure components by weight, not volume, for consistent curing. Dust contamination is a common issue—cover the casting with a box during curing if possible. If you notice cloudiness, it usually relates to poor mixing or humidity during cure; always mix thoroughly and work in a stable environment for best transparency.

Mastering Transparent Resin Shelf Crafting
Experiment on small samples if it’s your first time—get familiar with your resin’s work time and cure behaviour. Organise your space and tools before mixing for a smooth process. Combine precision, patience, and quality materials to produce stunning shelves that stay clear and strong for years to come.

- “Epoxytable 10-Ten” – Deep Pour Epoxy Resin for Tables, Up to 10cm CastingPrice range: £35.95 through £351.95“Epoxytable 10-Ten” is designed for deep resin casting up to 10cm, suitable for tables and larger artistic projects with clarity and UV resistance.
- "EpoxyTable 5-Five" – Deep Pour Epoxy Resin for Tables and Large Projects – Up to 5cmPrice range: £17.95 through £1,154.95"EpoxyTable 5-Five" is a deep pour epoxy resin designed for projects up to 5cm thick, suitable for creating transparent resin shelves and tables.
 "Trasparente" – Multipurpose Clear Epoxy Resin for Casting – Up to 2cmPrice range: £8.95 through £397.95"Trasparente" resin is designed for detailed casting and DIY projects, providing a clear, self-levelling finish up to 2cm thick.
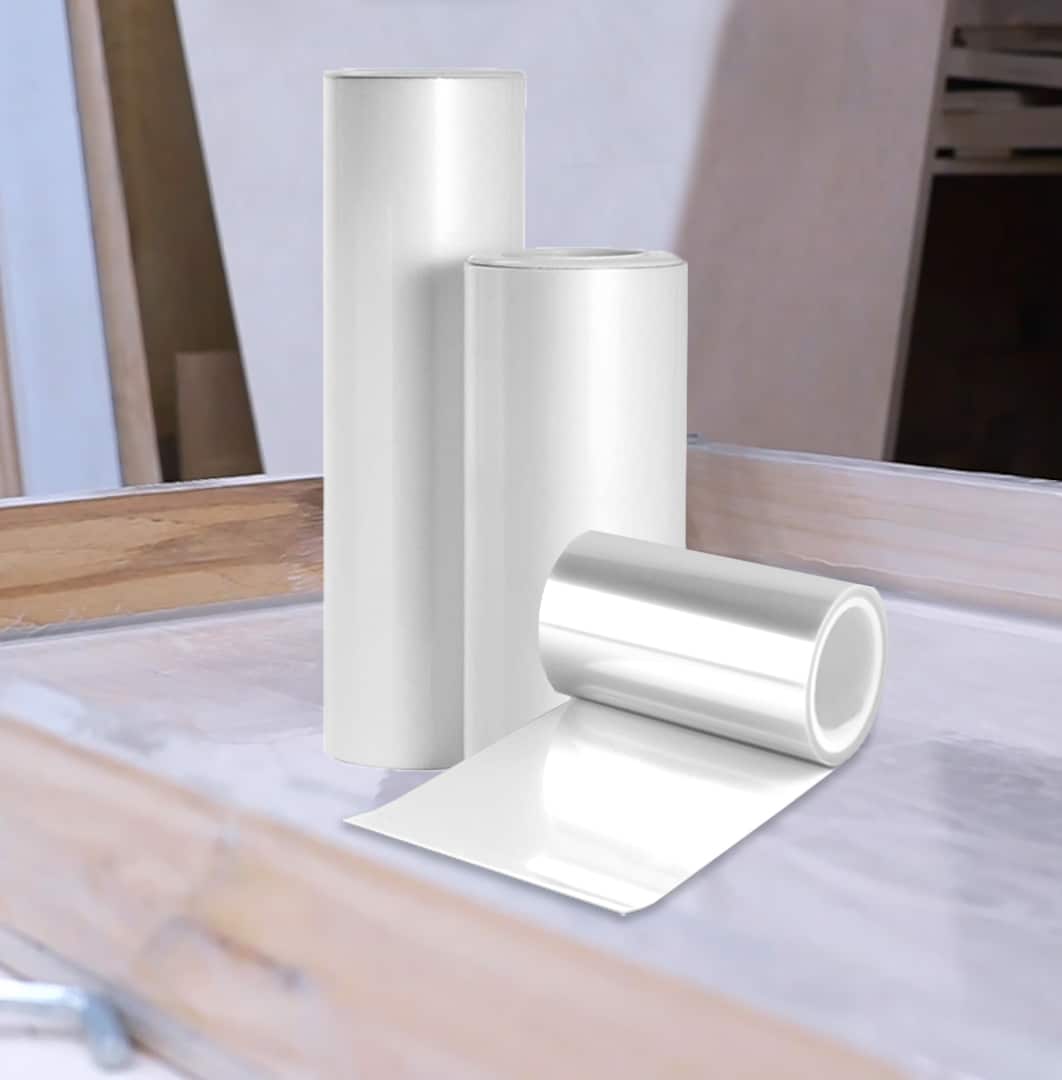 "Shiny Shield" – Glossy Release Film for Resin ProjectsPrice range: £3.45 through £12.95"Shiny Shield" provides a self-adhesive, glossy release film designed for epoxy resin moulds, creating a flat, polished surface without extra…
Frequently Asked Questions
What type of epoxy resin is best for thin, medium, or thick transparent shelves?
For shelves up to 2cm, use 'Trasparente' resin. For 2–5cm, 'EpoxyTable 5-Five' is ideal. For 5–10cm, choose 'Epoxytable 10-Ten'.
How can I achieve a bubble-free and crystal-clear finish on my resin shelves?
Mix slowly, pour in thin layers, and remove bubbles with a heat gun or torch. Work in a dust-free space for best clarity.
What causes my transparent resin shelf to look cloudy or to remain sticky after curing?
Cloudiness is often due to humidity or incomplete mixing, while tackiness results from inaccurate ratios. Measure accurately and mix thoroughly.
What’s the best way to build a mould for transparent resin shelf casting?
Use melamine or MDF, seal all sides, and line with glossy release film for easy demoulding and a flawless surface.
How do I achieve a professional polish on the shelf surface after demoulding?
If using a glossy release film, minimal polishing is needed. Otherwise, sand through fine grits and polish with compound for a clear finish.
Is it possible to embed objects or add colour effects to transparent resin shelves?
Yes, add pigments or place objects between layers before full cure for creative effects. Ensure items are dry and free from oils.
What is the recommended curing time before installing a resin shelf?
Full mechanical strength is usually reached after 5–7 days, even if demoulding is possible sooner. Wait before heavy use or mounting.