 Free shipping on orders over £29,85

How to measure epoxy resin accurately?
Master precise resin dosing for flawless project results every time


Accurately measuring epoxy resin is essential for achieving high-quality, long-lasting results in your creative projects. Whether you’re crafting art pieces, coating surfaces, or working on DIY repairs, precise ratios between resin and hardener ensure optimal curing, clarity, and durability. In this guide, you’ll discover the best techniques and key considerations for measuring epoxy resin with confidence and accuracy.
What You’ll Need
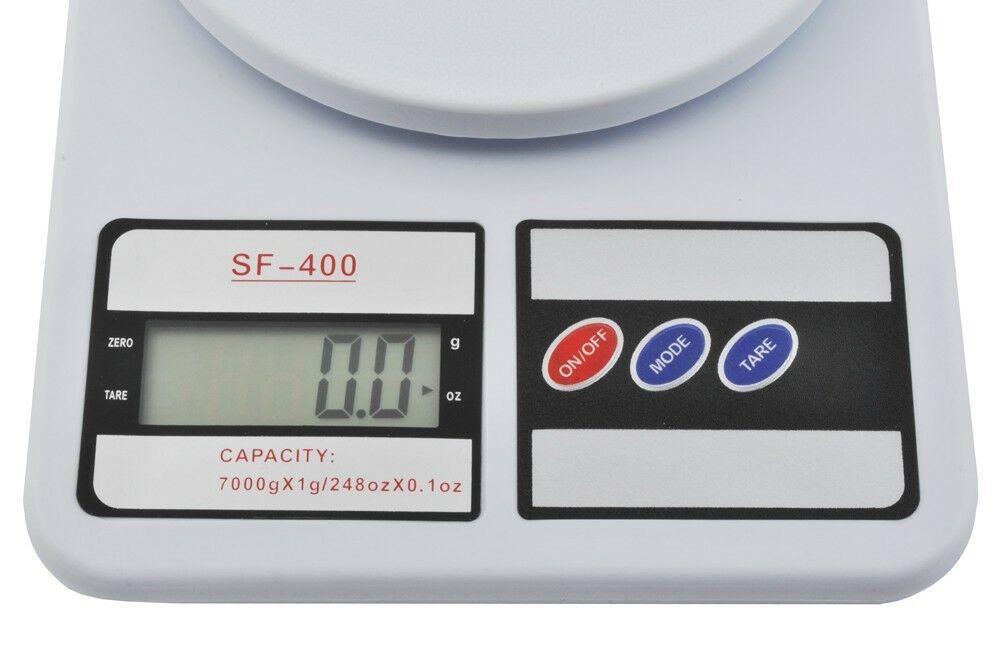
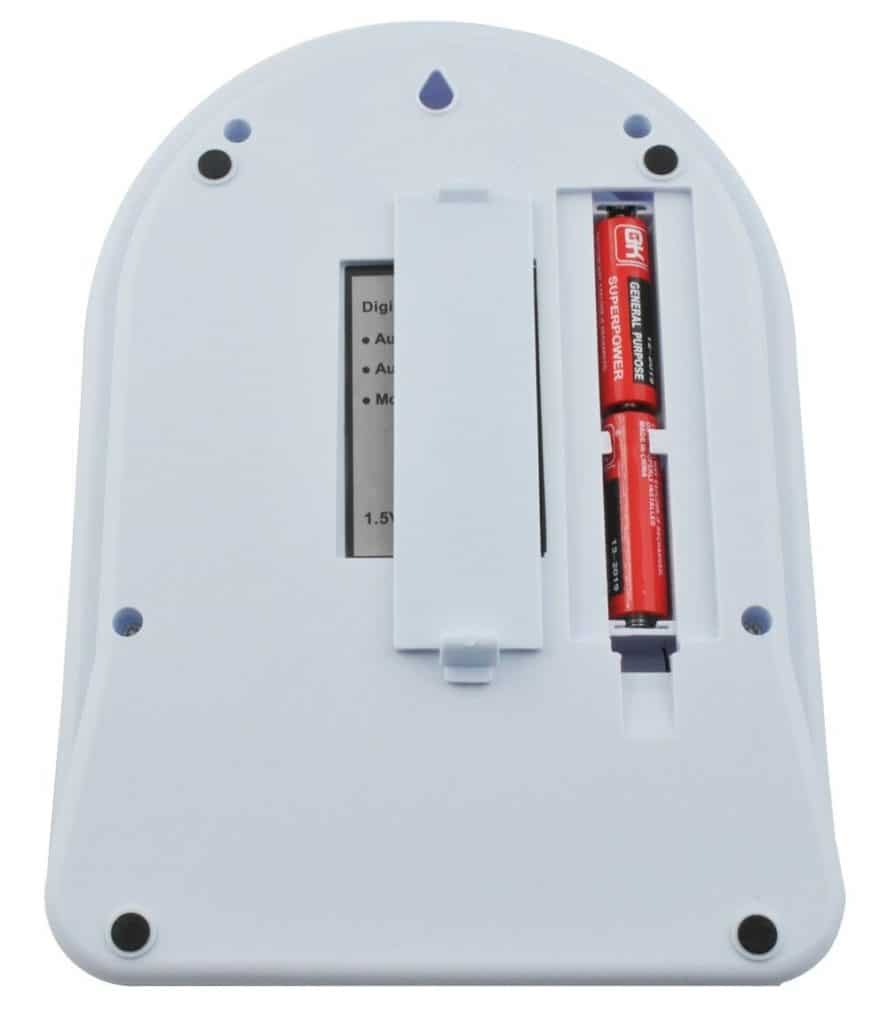
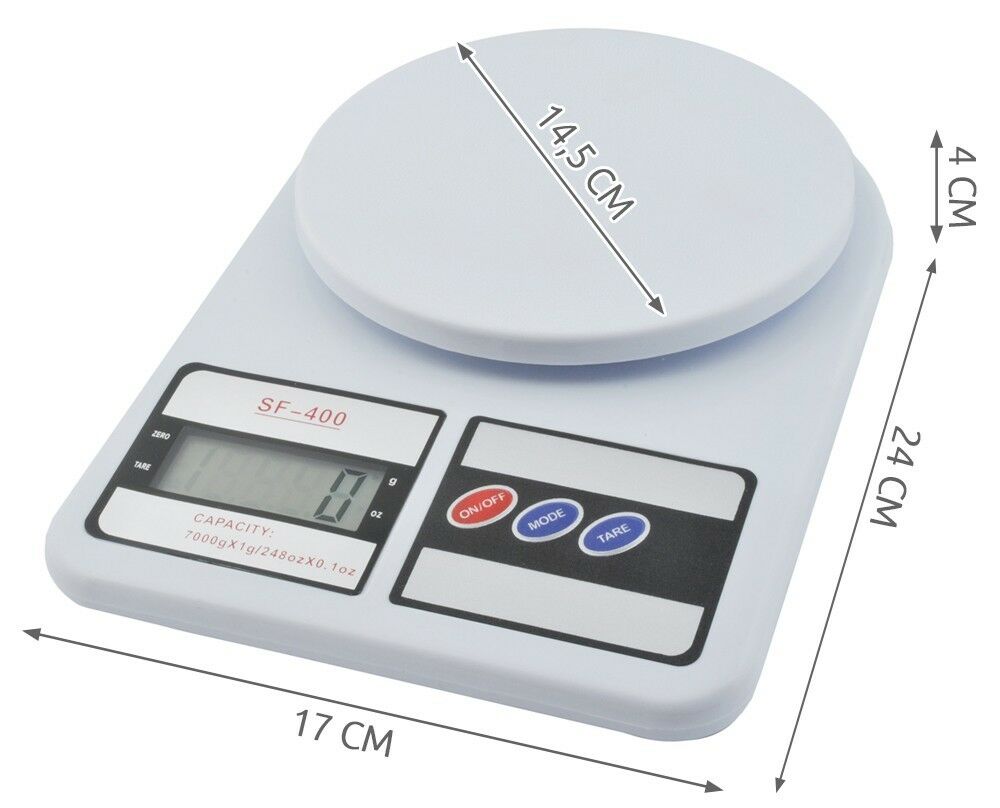
- Precision Digital Scales for Resin and Crafting, 1g–7kg: digital scales capable of measuring from 1g to 7kg, perfect for weighing resin and hardener.
- 2L Graduated Measuring Cup for Resin – Precise Epoxy Dosing Tool: a durable, graduated container for accurate liquid measurements up to 2 litres.
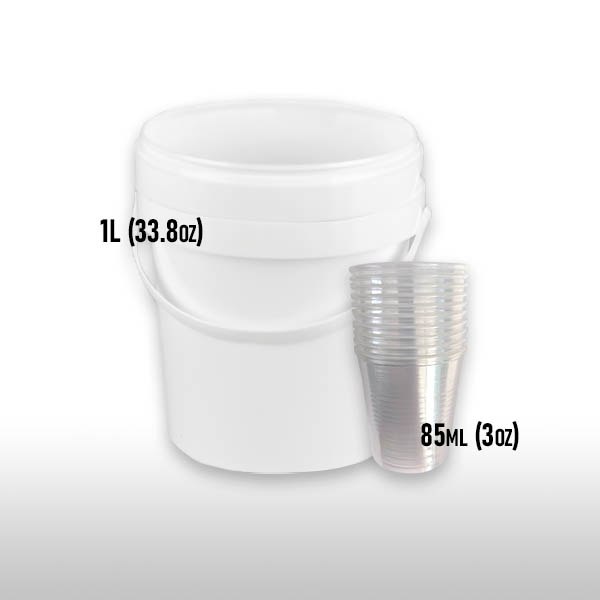
- Mixing Buckets Kit for Epoxy Resin Art – Easy Clean Flexible Design: flexible buckets for easy mixing and cleaning.
- Protective gloves and work surface covering
- Stirring sticks or spatulas
- Paper towels for quick clean-up
Essential Tools for Resin Measurement
Digital scales offer fine precision when measuring resin by weight. Graduated measuring cups are vital for accurate liquid volumes, while flexible mixing buckets simplify both mixing and cleaning after use.
Step 1: Read and Understand Mixing Ratios
Every epoxy resin system is formulated with a specific mixing ratio, usually indicated on the product packaging or technical datasheet. These ratios may be by weight (e.g., 100:60) or by volume (e.g., 2:1). Before starting, review the manufacturer’s guidelines carefully to determine which method applies. Mixing by the wrong ratio can result in tacky residues, poor curing, or compromised strength.
Always read the manufacturer’s instructions for correct ratios—an accurate measurement starts here.
Step 2: Choose the Right Measuring Tools
Select tools tailored to your project’s requirements. For fine accuracy, digital scales are ideal for weighing resin and hardener by mass, ensuring exact dosing for small or intricate projects. If your product requires mixing by volume, use a clear graduated measuring cup with precise markings. Avoid estimating by eye, which can introduce significant errors in your mix.
Choose the right tool for your project scale, whether that’s the Precision Digital Scales for Resin and Crafting, 1g–7kg or the 2L Graduated Measuring Cup for Resin – Precise Epoxy Dosing Tool.
Step 3: Prepare Your Workspace and Materials
Set up a flat, level work area free from dust and moisture. Always wear gloves to protect your hands from resin, and cover surfaces to avoid accidental spills. Make sure your measuring containers are completely dry and clean, as moisture can interfere with the resin’s cure. Arrange all your materials within easy reach before you begin.
Avoid using kitchen utensils for measuring resin, as cross-contamination or inaccurate readings can spoil your results.
Step 4: Measuring Your Resin and Hardener
Carefully pour your resin into your chosen container (such as the 2L Graduated Measuring Cup for Resin – Precise Epoxy Dosing Tool for volume, or place containers on your Precision Digital Scales for Resin and Crafting, 1g–7kg to measure by weight). Reset the scale to zero after adding each component, or check liquid levels against the cup’s graduations. Slowly add the hardener according to the specified ratio. Precision is crucial: never round up or estimate.
Ensure containers are dry and clean before use to prevent unwanted reactions.
Step 5: Mix Thoroughly and Clean Up
Once both components are measured, combine them in your mixing bucket or flexible container. The Mixing Buckets Kit for Epoxy Resin Art – Easy Clean Flexible Design is ideal for this, as its flexibility simplifies the removal of cured residue after your project. Stir the mixture slowly and thoroughly, scraping the sides and base repeatedly until the mixture appears uniform. Unmixed streaks can cause sticky or undercured spots.
Clean tools immediately after use to prevent residue build-up and extend their lifespan.
Tips, Common Mistakes and Troubleshooting
Careful planning and methodical work can help prevent measurement errors. Double-check ratios before mixing, and use measuring tools dedicated only to resin work to avoid cross-contamination. If you find your resin is sticky or does not cure fully, the most likely cause is inaccurate measurement. Always dispose of leftover resin and hardener according to local safety regulations.
For best results, work at temperatures recommended by the manufacturer, and avoid hurrying through the measuring and mixing process. If working on a large batch, consider dividing it into smaller portions to improve accuracy and handling.
Expert Strategies for Consistent Results
Measure twice, pour once: taking a moment to double-check measurements can save time correcting mistakes. Dedicated resin tools, such as a digital scale or graduated cup, ensure professional outcomes every time.
- Precision Digital Scales for Resin and Crafting, 1g–7kgPrice range: £7.85 through £22.85Digital scales designed for accurate resin weighing, suitable for crafters needing precise measurement in epoxy projects.
- 2L Graduated Measuring Cup for Resin – Precise Epoxy Dosing Tool£3.85A 2L measuring cup designed for precise resin dosing, easy to clean and suitable for epoxy resin projects.
- Mixing Buckets Kit for Epoxy Resin Art – Easy Clean Flexible DesignPrice range: £1.95 through £8.35Mixing Buckets Kit offers easy cleaning and a flexible design suitable for epoxy resin art measuring and mixing.
Frequently Asked Questions
Why is accurate measurement crucial in epoxy resin projects?
Precision ensures the proper ratio for strong, fully cured resin and prevents sticky or failed results.
What is the best tool to measure epoxy resin?
Digital scales are best for weight-based ratios, while graduated measuring cups are ideal for volume-based systems.
Should I measure epoxy resin by weight or by volume?
Follow the product's instructions—some require weight-based mixing, others use volume. Never interchange methods unless advised.
What are common mistakes when measuring epoxy resin?
Eyeballing amounts or using inaccurate tools can result in undercured resin or wasted materials.
Can I use kitchen scales or cups for measuring resin?
It’s best to use tools dedicated only to resin work to avoid cross-contamination and achieve consistent precision.
How do I clean my measuring tools after using resin?
Wipe tools with a paper towel while resin is still wet or peel cured residue from flexible containers after hardening.
What happens if I use the wrong resin-to-hardener ratio?
Incorrect ratios can cause incomplete curing, resulting in soft, tacky, or cloudy finishes.