 Free shipping on orders over £29,85

How to prepare a polyurethane resin?
Step-by-step guide for mixing, casting, and applying polyurethane resin.

Preparing polyurethane resin correctly is crucial for achieving strong, detailed, and flawless results in casting, doming, and coating applications. This guide covers the full preparation process, from workspace setup and safety to mixing, pouring, and troubleshooting—all to help both beginners and experienced makers achieve professional results with polyurethane resins.

What You’ll Need
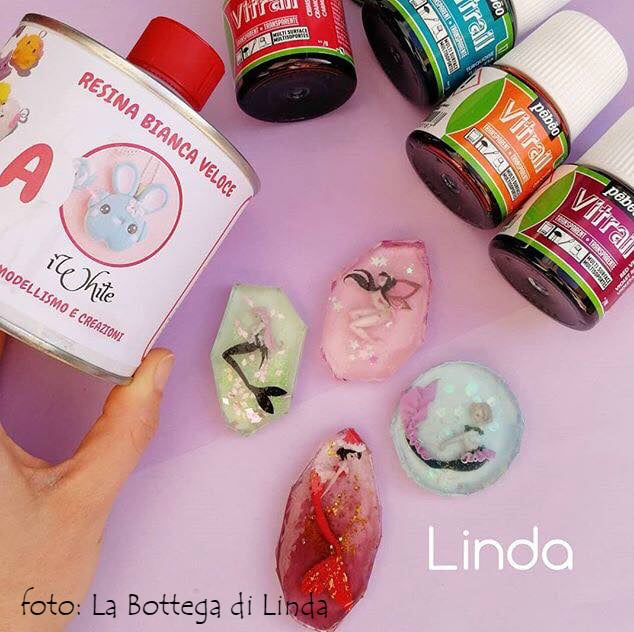
- “IWhite” – Polyurethane Casting Resin – White, Fast-Curing Two-Part System: for rapid, detailed casting work
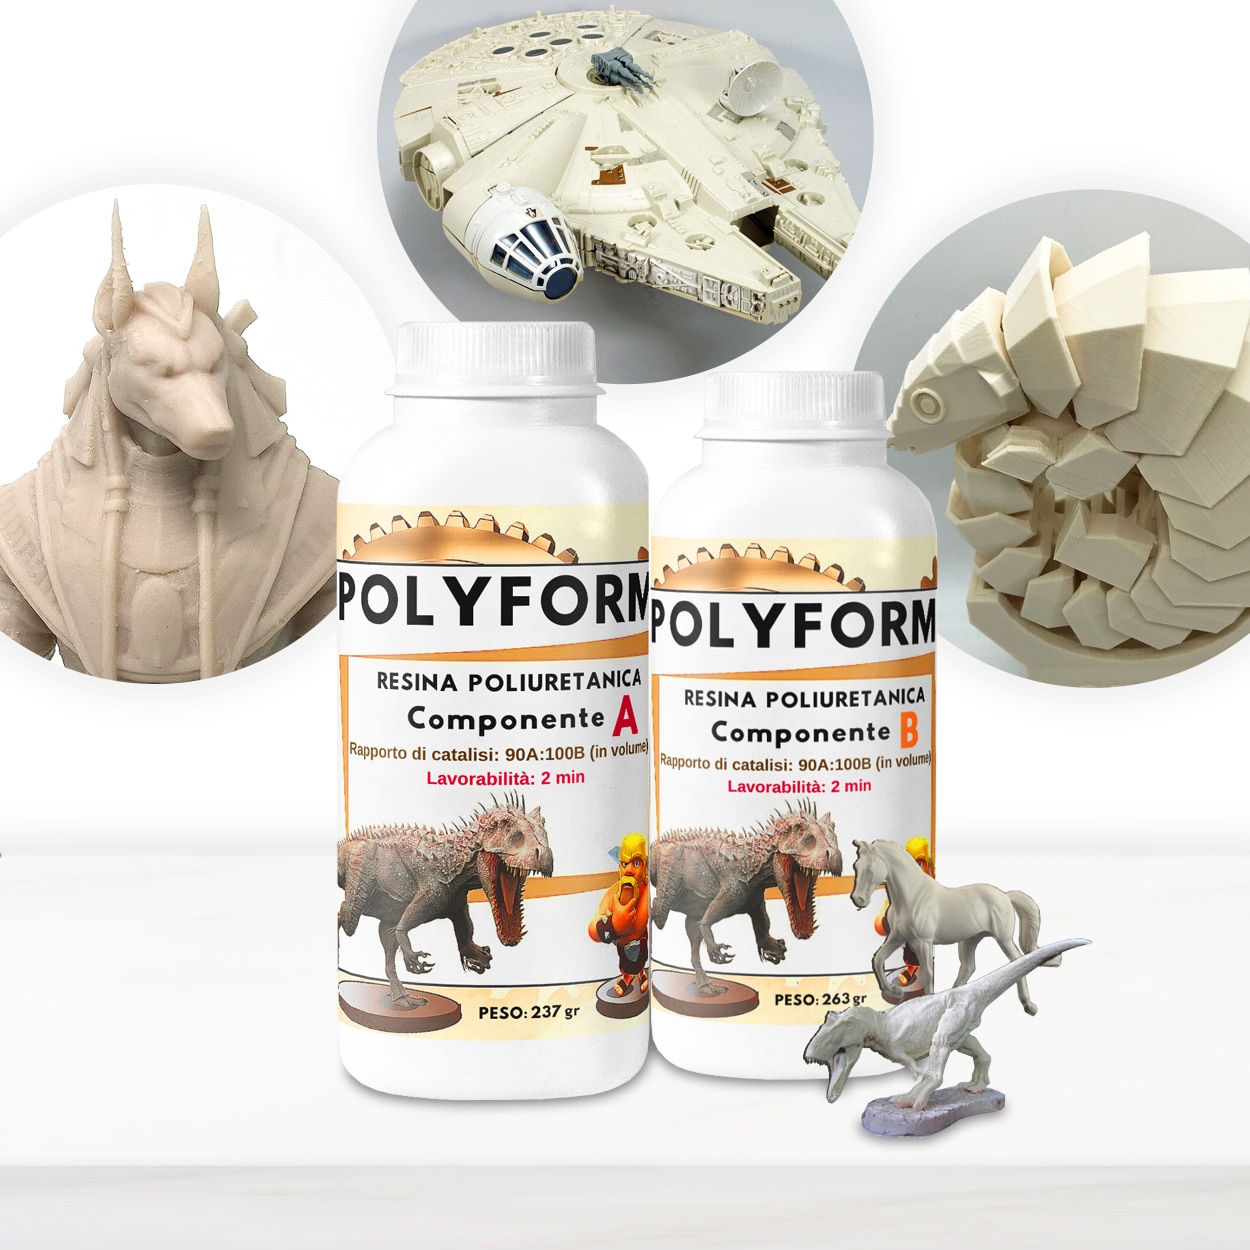
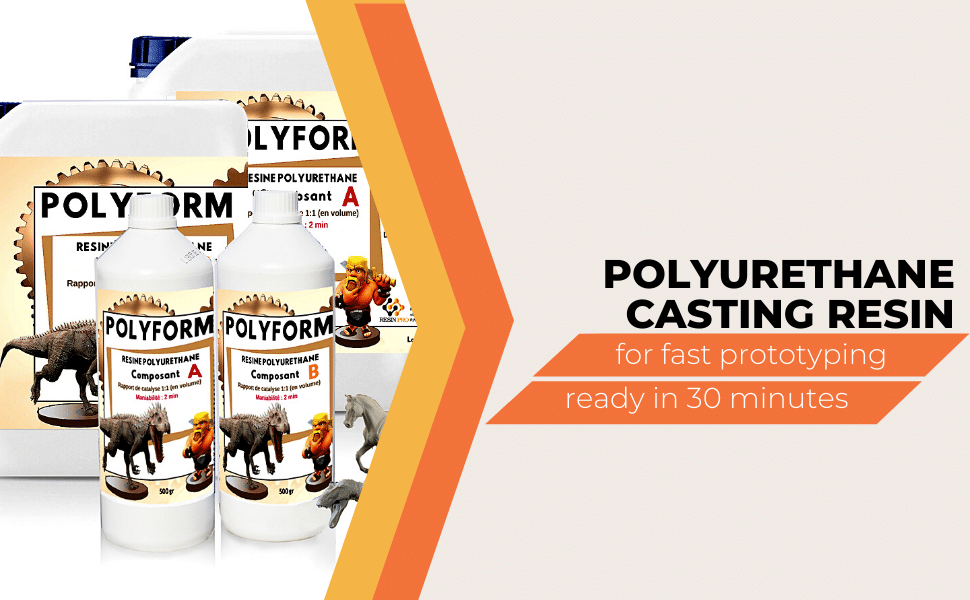
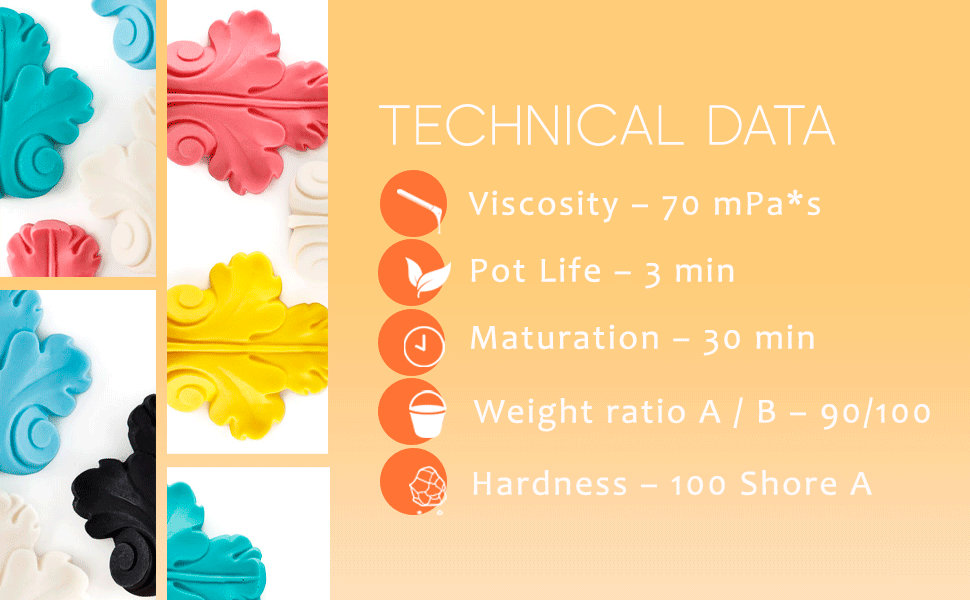
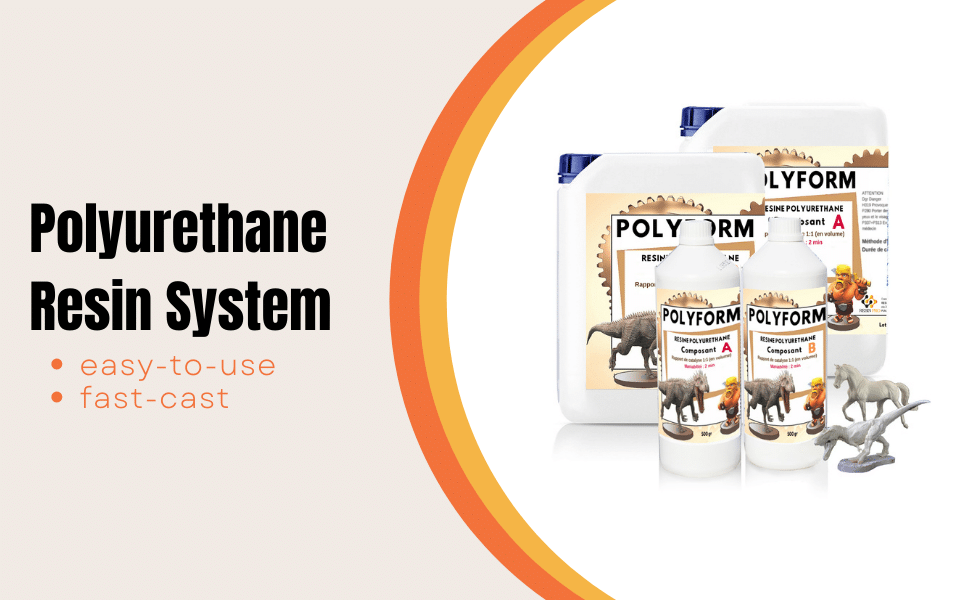
- “Polyform” – Polyurethane Casting Resin, Beige, Fast-Setting for Prototyping: suited to prototyping and small batch manufacturing
- “Be Flex” – Transparent Polyurethane Doming Resin – Scratch-Resistant: ideal for flexible finishes on curved surfaces and doming labels
- “Heat Pro” – Flexible Heat-Resistant Glossy Coating: best for heat-resistant and glossy protective top coats on resin surfaces
- Precision scale for weighing resin components accurately
- Mixing cups and stirring sticks
- Gloves, protective eyewear, and a respirator mask
- Silicone moulds (for casting), or flat prepared surfaces (for coating)
- Clean workspace with good ventilation

Safety and Workspace Setup Essentials
Good ventilation, personal protective equipment, and a dust-free workspace are key to safe polyurethane work. Always wear gloves, goggles, and a respirator when handling unmixed resin. Ensure surfaces are free from moisture, and keep children and pets clear of the work area.
Step 1: Set Up Your Workspace and Gather Safety Gear
Before opening any polyurethane resin, prepare a clean, level workspace with ample ventilation. Polyurethane resins often contain reactive chemicals, especially isocyanates, so personal protection is essential. Avoid skin and eye contact by using nitrile gloves and safety goggles. A well-fitted respirator mask is recommended, particularly when mixing larger batches or working in enclosed areas. Cover surfaces with disposable sheets to make cleanup easier and prevent accidental spills on worktops.
Temperature is key—ensure your workspace is above 15°C (or according to your resin’s instructions) to guarantee optimal curing. All your tools, containers, and moulds should be dry, as moisture can interfere with polyurethane reactions and result in foaming or improper cures.
Step 2: Measure and Mix the Polyurethane Resin Accurately
Read the mixing ratio specified by your chosen resin. Polyurethanes like “IWhite” – Polyurethane Casting Resin and “Polyform” are supplied in two parts (often A and B) to be mixed by precise weight—not by volume. Measure precisely for consistent results: even small deviations can affect setting speed or finished strength.
Pour the required amount of Part A and Part B into your mixing cup. Start by pouring Part B (hardener) first, followed by Part A (base), as this can help with easier mixing in some recipes. Stir gently but thoroughly for at least 60 seconds, scraping sides and bottom, until the mixture is fully homogeneous. Mix thoroughly without introducing bubbles; using a flat spatula or stick is preferable over a whisk or drill, which can create excessive air pockets.
Step 3: Pour, Spread, or Doming—Work Swiftly With the Resin
Polyurethane resins usually react quickly after mixing—some set in as little as 5 minutes—so preparation is vital. Work swiftly to avoid premature setting and get your mixed resin into the mould or onto the surface straight away. For fine castings, slowly pour the mixture into your silicone mould at one edge to help air bubbles escape. Vibrate or gently tap the mould to further release trapped bubbles for the smoothest finish.
For flexible dome finishing on labels or stickers, products like “Be Flex” – Transparent Polyurethane Doming Resin are specially formulated to apply a self-levelling, clear lens layer. Pour carefully onto the centre and allow the resin to naturally spread to the edges. For heat-resistant coatings, use “Heat Pro” – Flexible Heat-Resistant Glossy Coating and follow the recommended mixing and spreading methods for smooth, bubble-free application.
Step 4: Cure and Demould or Finish Carefully
Let your project cure undisturbed for the recommended setting time—usually anywhere from 30 minutes to 24 hours, depending on the specific polyurethane resin and your working temperature. Avoid moving or disturbing the piece during this period, as this can affect clarity or detail. For cast parts, demould slowly once fully set to avoid distortion or fingerprints. For coatings or domed pieces, handle gently once cured, observing any manufacturer’s recommendations for post-curing (such as waiting before exposure to heat or stress).
If touch-ups or polishing are required, always ensure the casting or coating has fully cured—otherwise, marks may become permanent. Polyurethane finishes are typically ready for basic handling soon after cure, but full performance (like maximum heat or chemical resistance) develops over 24–48 hours.
Tips, Common Mistakes, and Troubleshooting
- Protect from moisture and low temperatures: Water or cold can cause foaming or tackiness.
- Never alter mix ratios to ‘slow down’ cure time—inaccurate mixing leads to incomplete cures or soft finishes.
- Bubbles are best prevented by careful mixing and slow pouring, not by aggressive stirring or vacuum chambers (unless your product specifically allows it).
- Store resin in tightly closed containers out of direct sunlight to maintain shelf life.
- For doming, resist the urge to “help” the resin along the edges—self-levelling formulas work best when undisturbed.
Ensuring a Flawless Curing Process
Maintain a stable temperature and avoid disturbance for the curing period. Supporting your castings or coated items in a dust-free environment will ensure a tack-free, clear finish. Don’t rush demoulding—wait for the full recommended cure time for each resin type.

- “IWhite” – Polyurethane Casting Resin – White, Fast-Curing Two-Part SystemPrice range: £24.00 through £36.95Fast-curing white polyurethane resin suitable for detailed casting and rapid prototyping in handcrafted projects.
- “Polyform” – Polyurethane Casting Resin, Beige, Fast-Setting for PrototypingPrice range: £15.95 through £141.95Polyform is a beige polyurethane casting resin designed for rapid prototyping and producing detailed castings with fast setting.
 "Be Flex" – Transparent Polyurethane Doming Resin – Scratch-ResistantPrice range: £45.00 through £81.95BE FLEX offers a flexible, transparent finish suitable for curved surfaces with scratch resistance, supporting precise polyurethane resin preparation.
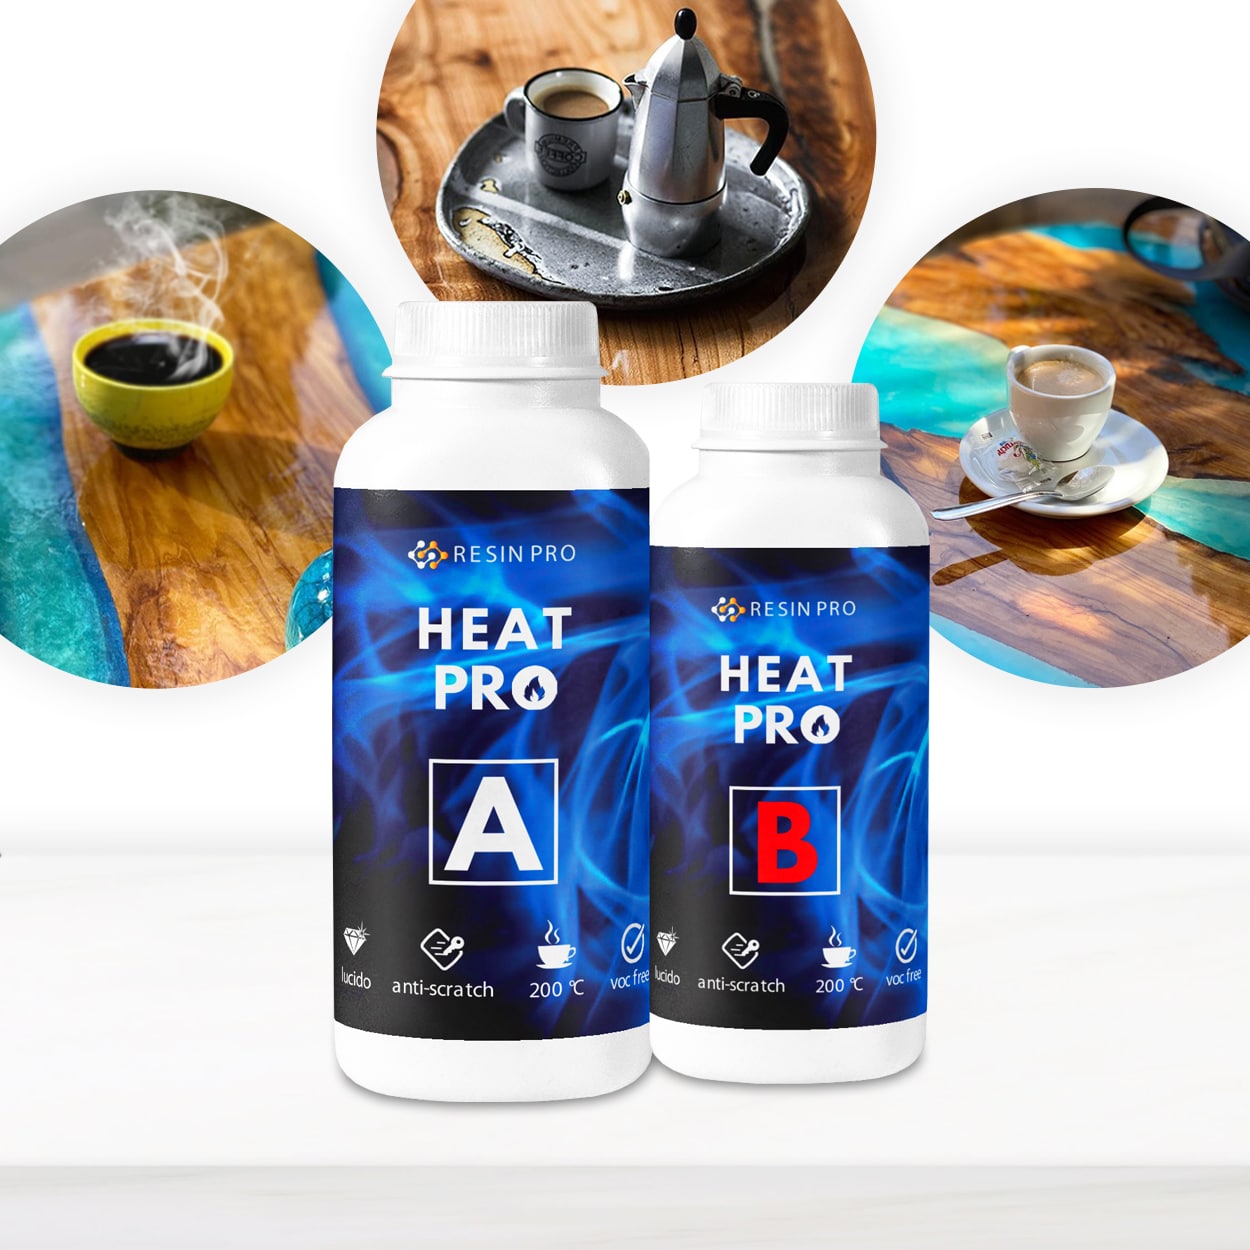 "Heat Pro" – Flexible Heat-Resistant Glossy CoatingPrice range: £26.45 through £185.45Heat Pro is a flexible polyurethane resin designed for epoxy projects that require heat resistance and a glossy finish.
Frequently Asked Questions
How does polyurethane resin preparation differ from epoxy resin?
Polyurethane resins typically cure faster, require more accurate mixing by weight, and are more reactive to moisture than epoxy resins.
What safety precautions are necessary when preparing polyurethane resin?
Always use gloves, eye protection, and ensure the workspace is well-ventilated. Avoid skin or eye contact and prevent inhalation of vapours.
How long does polyurethane resin take to cure?
Curing time varies but is typically 30 minutes to 24 hours depending on the resin and working conditions. Always refer to the product instructions.
How can I prevent bubbles when mixing polyurethane resin?
Mix slowly and pour carefully into moulds. Avoid aggressive stirring and ensure tools and moulds are dry.
Can I colour polyurethane resin before casting?
Some polyurethane resins are suitable for colouring, such as IWhite, while others like Polyform are not. Always check product specifications first.
How should I store unused polyurethane resin?
Store unopened resin in a dry, cool place out of direct sunlight. Ensure containers are tightly closed when not in use.
What’s the best technique for doming or top-coating with polyurethane resin?
Use a self-levelling doming resin, pour carefully in the centre, and avoid touching the edges until fully cured for best results and clarity.