 Free shipping on orders over £29,85


How to repair a hole in a resin jerry can?
Restore resin jerry cans with reliable, long-lasting repair methods


A resin jerry can is designed to be tough and watertight, so discovering a hole can feel like a disaster. Thankfully, with the right approach, you can restore your jerry can’s function and durability. This step-by-step guide explains how to achieve a waterproof, lasting repair at home, ensuring safe storage and transport of liquids.

What You’ll Need
- “FixExpress” – Two-Component Epoxy Glue 500g: A versatile rapid-setting epoxy for minor or small punctures.
- CROP 2K Fiberglass Putty – 750 ml + Hardener: Ideal for filling larger cracks or holes with reinforced strength.
- Resin Fibreglass Repair Kit – Complete Polyester Resin and Hardener Set: For extensive structural repairs requiring a waterproof and impact-resistant fix.
- 150mm Sanding Paper Discs – Assorted Grits for Resin & Wood Finishing, 10pcs: For preparing the surface and smoothing the final repair.
- Protective gloves and mask
- Scissors (if using fibreglass mat)
- Lint-free cloth
- Mild detergent and water

Visual Steps for Jerry Can Repair
See each repair step in action! Our visual gallery features the tools, surface preparation, and application methods that ensure a watertight, lasting result on resin containers. Browse practical images of sanding, resin mixing, and patch placement for extra clarity before you begin.
Step 1: Clean and Dry the Damaged Area
Clean and Dry the Damaged Area thoroughly before beginning any repair. Use a mild detergent and water to remove all dirt, grease, and residue from both the interior and exterior around the hole. Rinse well and let the surface dry completely; moisture or contaminants can severely impact adhesive or resin bond strength and integrity.
After drying, use a lint-free cloth to ensure the area is spotless, as even dust can interfere with the repair.


Step 2: Prepare the Surface for Repair
Prepare the Surface for Repair by lightly abrading the area around the hole with the 150mm Sanding Paper Discs – Assorted Grits for Resin & Wood Finishing, 10pcs. The goal is to roughen the surface just enough for the adhesive or resin to grip effectively.
Wipe away all sanding dust with a clean, dry cloth. Make sure the jerry can remains stable during the next steps—if needed, position it so the hole faces upwards for easy access.
Step 3: Apply Your Chosen Repair Material
Apply Your Chosen Repair Material according to the scale of the damage:
- For small to medium-sized punctures or cracks, mix and apply “FixExpress” – Two-Component Epoxy Glue 500g. Mix equal parts as instructed, apply directly over the hole, and press firmly. The ultra-fast setting formula cures within minutes, so precision is key.
- If the hole is wider or you require a reinforced fill, use the CROP 2K Fiberglass Putty – 750 ml + Hardener. Mix the putty and hardener, apply in manageable layers, and shape the surface smoothly as it begins to set.
- For extensive or structural damage, utilise the Resin Fibreglass Repair Kit – Complete Polyester Resin and Hardener Set. Cut fibreglass mat to size, mix resin and hardener, and laminate over the hole, ensuring the mat is fully saturated for a watertight patch.
Allow your chosen repair to fully cure before proceeding. Refer to the manufacturer’s guidelines for specific curing times and conditions.


Step 4: Finish, Sand, and Test the Repair
Once the repair material is fully hardened, use the 150mm Sanding Paper Discs to smooth any excess material and ensure a flush finish with the surrounding jerry can surface. Take care to feather the repaired area so the patch is even and free from sharp edges.
Finally, test the jerry can by adding a small amount of water and checking for leaks. If needed, repeat the sealing process or lightly sand and reapply a finishing layer for perfect results.
Tips, Common Mistakes, and Troubleshooting
- Choose products designed for resin and rigid plastics – General adhesives or putties might not bond securely with resin jerry cans. Select repair materials specifically described as compatible.
- Work cleanly: remove all dirt and residue before repair – Contaminated surfaces are a top cause of repair failures.
- Allow full curing for maximum bond strength – Premature use or exposure to liquids may weaken your repair.
- Avoid overfilling the hole: smooth, gradual layers are best – This prevents lumpy, brittle, or weak results.
- Check for leaks before using the jerry can again – Always test with water before returning to normal use with chemicals or fuels.

Real-World Results and User Fixes
Explore before-and-after examples of resin jerry can repairs. Discover how the right technique transforms a leaking container into a safe, functional vessel—plus community tips for perfecting your patch or troubleshooting common repair snags.

- "FixExpress" – Two-Component Epoxy Glue 500g£26.95FIX EXPRESS epoxy glue is a two-component adhesive suitable for rapid repairs and bonding of various materials with a 5-minute setting time.
- CROP 2K Fiberglass Putty – 750 ml + Hardener£15.85CROP 2K Fiberglass Putty is a two-component polyester putty reinforced with fiberglass, suitable for filling cracks, dents and holes before finishing.
- Resin Fibreglass Repair Kit – Complete Polyester Resin and Hardener SetThe Resin Fibreglass Repair Kit provides waterproof, impact-resistant structural reinforcement with polyester resin and fibreglass mat.
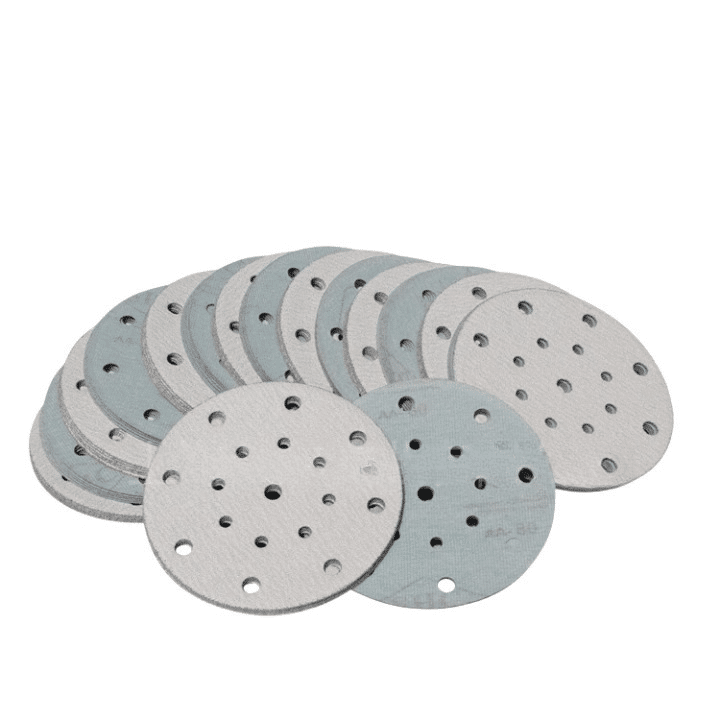 150mm Sanding Paper Discs – Assorted Grits for Resin & Wood Finishing, 10pcs£9.45150mm sanding discs suitable for resin and wood finishing, designed for crafting and repair tasks.
Frequently Asked Questions
Can I use epoxy glue to repair a hole in my resin jerry can?
Yes, rapid-setting epoxy glues are suitable for repairing small cracks or holes in resin jerry cans, provided the area is thoroughly cleaned and dried first.
Should I use fibreglass putty or a full repair kit for larger holes?
Fibreglass putty is great for filling moderate holes, while a complete fibreglass repair kit offers stronger, waterproof reinforcement for larger or structural damage.
How long should I wait before using the jerry can after repair?
Wait until the adhesive or resin is fully cured, which may take several hours to overnight. Consult the product label for precise times.
Can I paint over the sanded patch on my resin jerry can?
Yes, once the surface is cured and sanded smooth, it can be primed and painted with suitable products.
What should I do if my repair leaks after curing?
Clean and dry the area, lightly sand, and apply another thin repair layer. Ensure the patch fully covers and seals the damaged section.
Will my repaired jerry can stay secure with chemicals inside?
Most resin-based repair materials are resistant to common chemicals, but always check compatibility for specific substances you intend to store.
Are these repair methods suitable for similar resin water tanks?
Yes, these techniques work for rigid resin water tanks as well as jerry cans. Ensure materials are food-safe for potable water applications.