 Free shipping on orders over £29,85


How to treat wood before resin?
Prepare wood surfaces properly for flawless resin adhesion


Proper wood preparation is crucial for achieving a flawless, durable bond when working with epoxy resin. Whether you’re making decorative pieces, restoring wooden surfaces, or crafting furniture, treating the wood correctly will ensure lasting adhesion and an attractive finish. This guide covers the essential steps to take before applying resin, so you can start your wood and resin project with confidence.

What You’ll Need
- “EpoxyWood” – Wood Restoration Epoxy Resin for Deep Penetration and Waterproofing
- “River-Table” – Complete Kit for Creating Your First Epoxy Resin Table
- “Trasparente” – Multipurpose Clear Epoxy Resin for Casting – Up to 2cm
- Wooden Resin Coaster Starter Kit – Create Beautiful Handmade Coasters at Home
- Fine sandpaper (various grits)
- Lint-free cloths
- Protective gloves and mask
- Solvent (isopropyl alcohol or acetone)
- Soft brushes or vacuum

Key Materials for Wood Preparation
Using the right products streamlines wood preparation and improves your end result. Epoxy sealers like EpoxyWood offer both deep reinforcement and effective waterproofing, paving the way for a reliable resin coating. Kits such as the River-Table Complete Kit make it easy to treat, seal, and decorate wood in one convenient package.
Step 1: Remove All Old Finishes and Contaminants
Begin by stripping away any previous coatings, wax, oils, or dirt from the wood’s surface. Use a suitable paint stripper or sanding to eliminate old varnish, stains, or leftover finishes. A thorough cleaning ensures nothing interferes with the resin’s adhesion. Wipe down the surface with a lint-free cloth dampened with isopropyl alcohol or acetone to completely remove dust and contaminants. Take care not to leave fibres behind that could get trapped in the resin.


Step 2: Sand the Surface Smooth and Even
Sand the wood evenly, starting with a coarse grit to remove deep imperfections and gradually moving to a finer grit (up to 320) for a smooth, flat finish. Pay extra attention to edges and corners as roughness can create air pockets during resin application. After sanding, thoroughly vacuum and wipe the wood to remove all dust. A smooth, clean surface helps prevent bubbles and imperfections in the final cured resin layer.
Step 3: Allow Sufficient Drying Time
Ensure the wood is completely dry before applying any resin. Moisture trapped inside can lead to poor adhesion, cloudiness, or bubbles. Leave the wood in a warm, low-humidity environment for at least 24–48 hours. This step is especially important for dense or previously damp boards. If you are sealing reclaimed or exterior wood, extend the drying time accordingly and avoid rushing the process.


Step 4: Seal and Prime with the Right Resin Type
To achieve an optimal bond and prevent resin from soaking into the grain unevenly, apply a thin sealing coat of suitable epoxy. For deep penetration and improved waterproofing on restoration or outdoor projects, “EpoxyWood” – Wood Restoration Epoxy Resin for Deep Penetration and Waterproofing is recommended due to its ultra-low viscosity. For resin table projects, use the primer or sealer included in your “River-Table” – Complete Kit for Creating Your First Epoxy Resin Table. Allow the sealer coat to fully cure before pouring your main resin layer. This step minimises bubble formation and ensures a uniform resin finish.
Step 5: Inspect and Address Any Defects Before Pouring
Inspect your prepared surface for any cracks, gaps, or knots. Fill these imperfections with an appropriate filler or a small amount of clear epoxy. This step prevents air pockets from being trapped under the resin, which is especially important for surface layers of “Trasparente” – Multipurpose Clear Epoxy Resin for Casting – Up to 2cm or for detailed craft projects. Let the repair material cure fully and sand flush before continuing with your resin application.


Tips and Troubleshooting for Perfect Wood Preparation
Always wear protective equipment to avoid inhaling dust or resin fumes. Take the time to sand thoroughly and clean meticulously between steps as leftover dust or moisture are the main sources of poor results. Test your chosen sealing resin on an offcut before committing to the final piece if possible, especially with rare or highly valuable woods. Be patient with curing; rushing the process often leads to defects such as fish eyes or pinholes under the resin. If you are new to resin art, consider starting with a beginner-friendly kit like the Wooden Resin Coaster Starter Kit – Create Beautiful Handmade Coasters at Home, which provides instructions tailored to beginners.
Avoid Common Pitfalls When Preparing Wood
Patience and attention make a difference. Skipping sanding, failing to let wood dry, or forgetting to seal porous areas can lead to resin delamination and surface bubbles. Use appropriate protective gear, and always double-check for moisture or debris before any pour. For creative inspiration and reliable products, our complete kits are designed to guide you through the process, from raw wood to finished art piece.

- "EpoxyWood" – Wood Restoration Epoxy Resin for Deep Penetration and WaterproofingPrice range: £27.95 through £41.95"EpoxyWood" is designed for repairing wooden surfaces with deep penetration and waterproofing, suited to projects involving wood restoration.
- "River-Table" – Complete Kit for Creating Your First Epoxy Resin TablePrice range: £198.45 through £467.45"River-Table" kit provides materials and guidance to create a wood and resin table within the theme of treating wood before resin.
- "Trasparente" – Multipurpose Clear Epoxy Resin for Casting – Up to 2cmPrice range: £8.95 through £397.95"Trasparente" clear epoxy resin offers a self-levelling finish up to 2cm thick, suitable for woodworking and restoration projects.
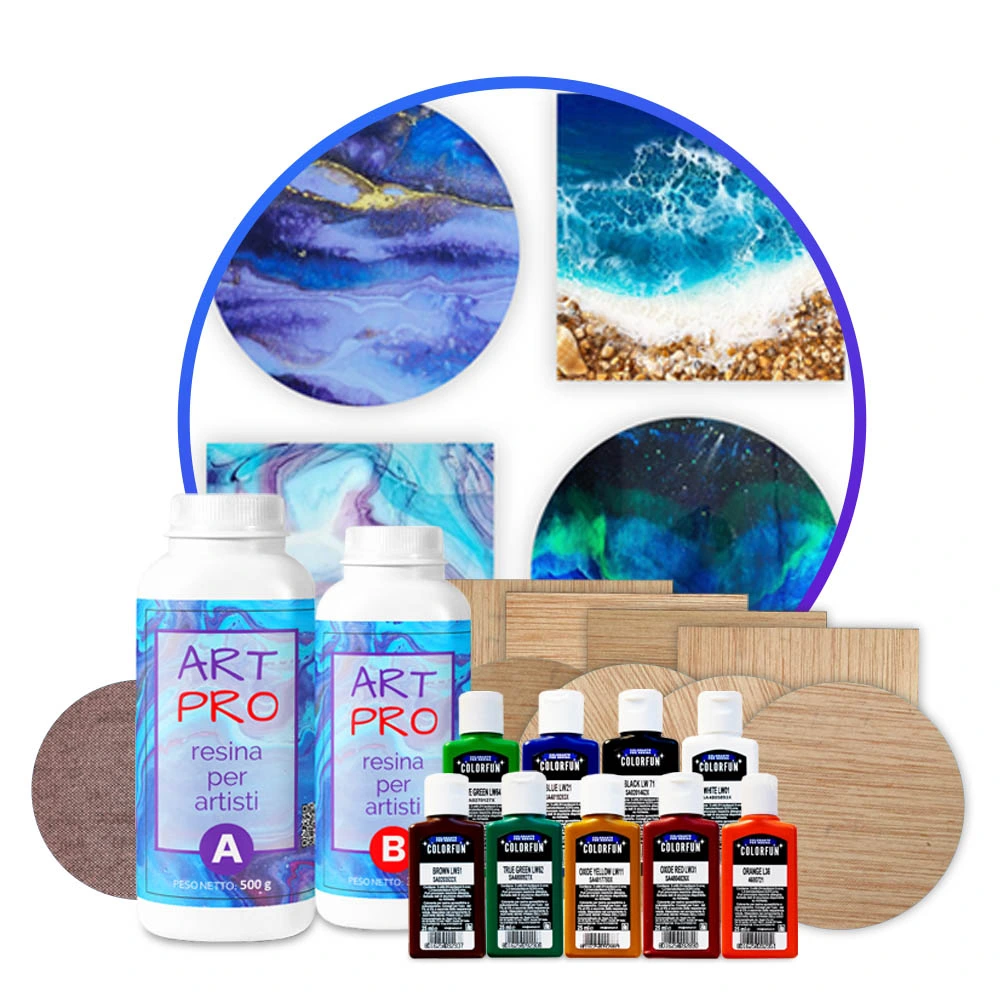 Wooden Resin Coaster Starter Kit – Create Beautiful Handmade Coasters at Home£50.85This kit provides materials and instructions for making wooden resin coasters with a variety of creative colour effects.
Frequently Asked Questions
Can you apply resin on untreated wood?
It is not recommended. Untreated wood can absorb moisture and release air, causing bubbles or poor adhesion in the resin.
Does wood need to be sealed before resin?
Yes. Sealing the wood with a thin layer of epoxy prevents the resin from soaking in unevenly and reduces bubbles.
How do you prepare wood for epoxy resin?
Sand the wood smooth, clean it thoroughly, ensure it is dry, then apply an epoxy sealer before the main resin pour.
Can I use any epoxy resin for wood?
No. Use low-viscosity or specialised wood restoration epoxies for sealing and deep penetration, such as EpoxyWood.
How long should wood dry before resin?
Allow wood to dry for at least 24–48 hours in a low-humidity environment to avoid trapping moisture beneath the resin.
Should I fill knots or cracks before resin?
Yes. Fill and sand any defects before pouring resin to prevent trapped air and weak points in the finished piece.
What safety precautions are needed for wood resin projects?
Always wear gloves, a dust mask, and eye protection during sanding and resin handling to avoid skin and respiratory irritation.