 Free shipping on orders over £29,85


← Back to How to spread GLS 50 silicone rubber?


When working with silicone rubber, achieving a consistent and smooth surface is crucial for high-quality moulds and castings. Choosing the right tool can make all the difference in your results.
Choosing the Right Tool for the Job
For most silicone rubber applications, notched or tooth-shaped spatulas are the ideal choice. The unique edges of these spatulas ensure the silicone is distributed evenly across flat or intricate surfaces, reducing the risk of air pockets or excess build-up. Tools such as the Tooth Shaped Spatula for Epoxy Resin Application are designed to provide controlled, uniform layering, making them especially useful for both small items and larger projects.
Techniques for Achieving a Uniform Spread
Start by pouring your prepared silicone rubber gently onto the surface. Use your notched spatula at a slight angle, moving it steadily in one direction. Overlap your passes slightly to eliminate streaks, and avoid excessive pressure to prevent dragging or trapping air. For detailed moulds, use a smaller spatula or even a soft brush for intricate corners, ensuring full coverage without overly thick layers.
When Spreading Tools Really Matter
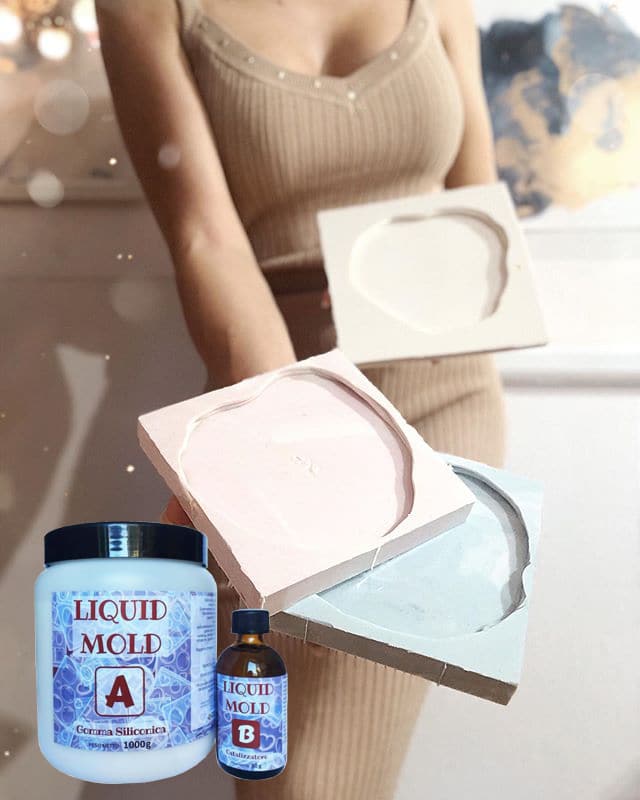
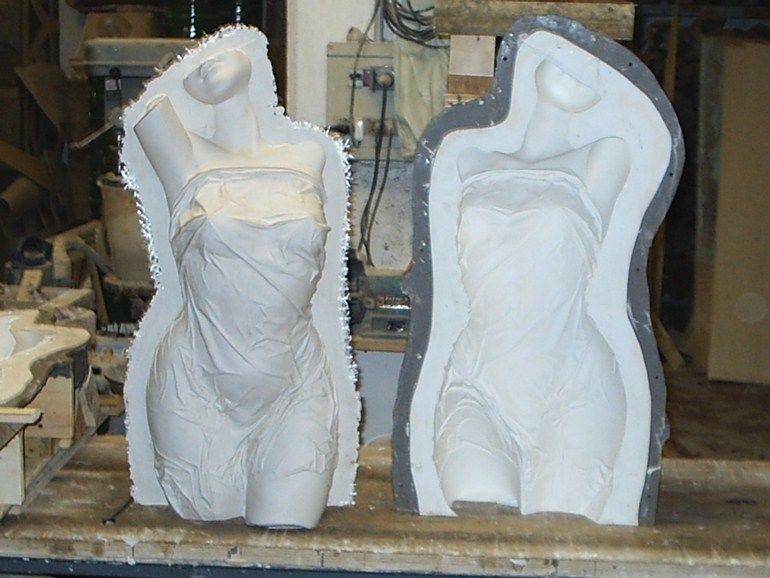
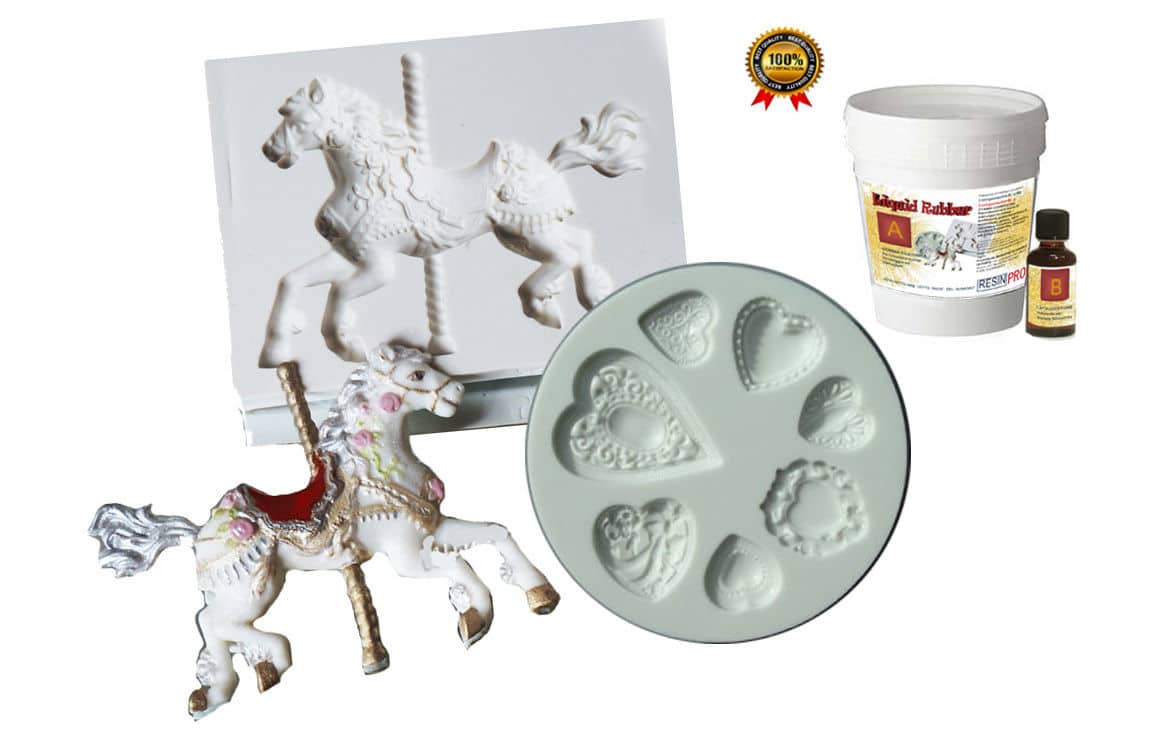
The choice of spreading tool is especially critical when creating highly detailed moulds or working with flowing silicone rubbers, such as “Liquid Mould” Casting Liquid Silicone Rubber. Uniform spreading ensures the rubber penetrates fine details and undercuts, which improves the quality and reusability of your finished mould.
Related products
Related guides
Using the right tools—and good spreading technique—helps achieve professional results with silicone rubber. For more guidance and tips, return to our main guide on how to spread GLS 50 silicone rubber.