 Free shipping on orders over £29,85


How do you colour epoxy grout?
Step-by-step guide to tinting epoxy grout for unique designs


Personalising the colour of epoxy grout opens up countless possibilities for creative tiling, bespoke mosaics, and decorative installs. Whether you want subtle tints or bold hues, adding pigment to epoxy grout lets you control the style and finish of your project with ease. This guide covers everything you need to know to get consistent, beautiful results every time.
What You’ll Need
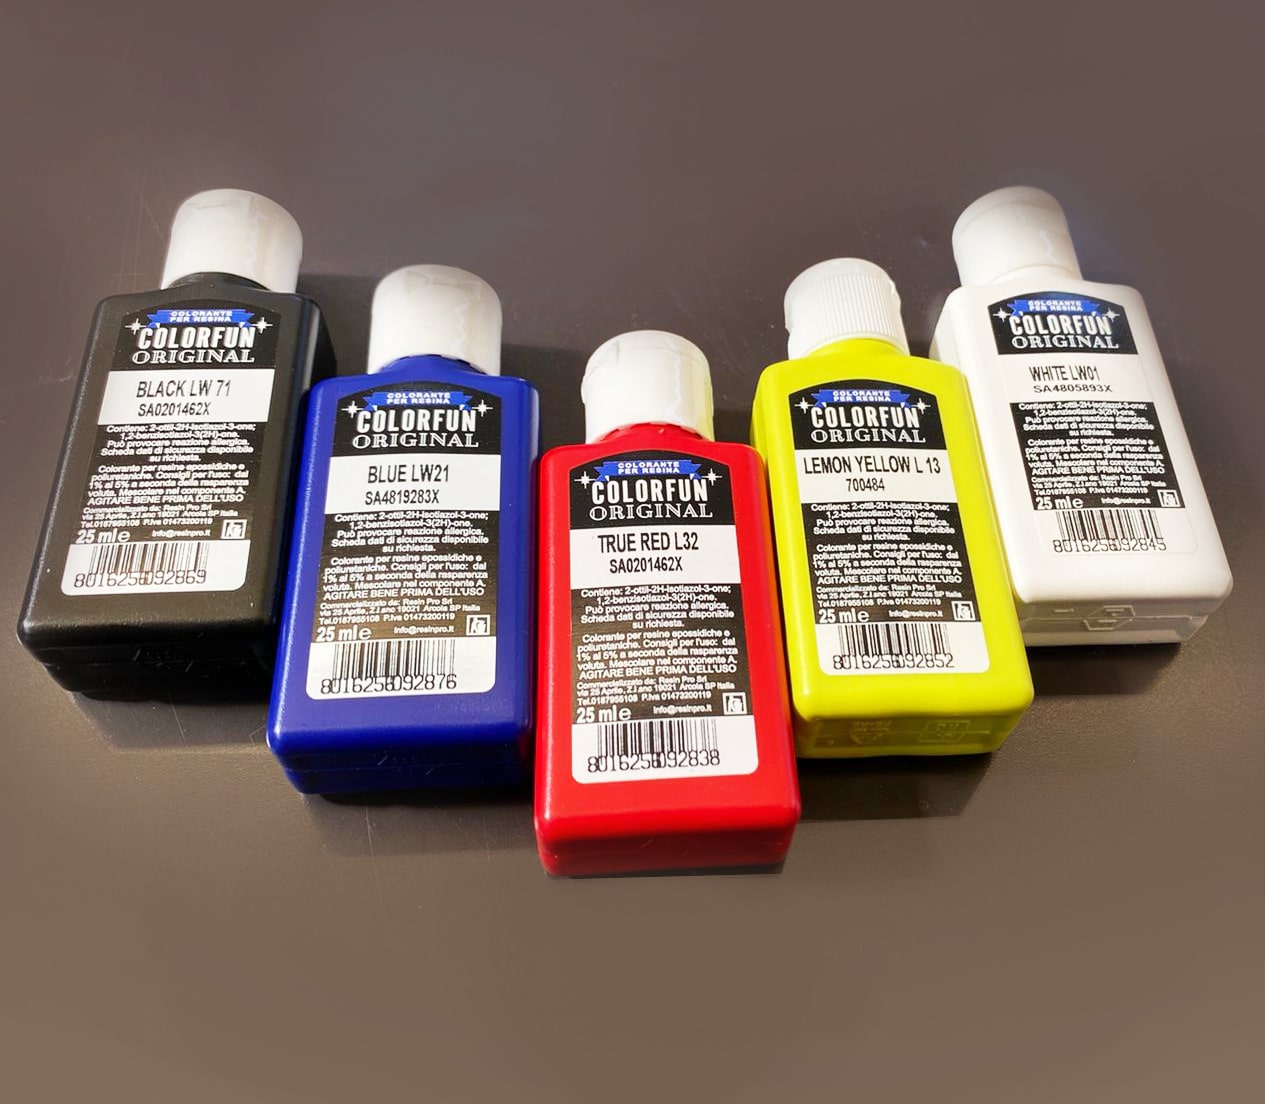
- “Colourfun” – Liquid Epoxy Resin Colourant 25-100ml – High coverage: For adjustable opacity and vibrant pigmentation.
- “Colourfun Set” – Liquid Epoxy Resin Colourant Set for Solid Colour Effects: Provides a palette of intense, blendable shades.
- “Renaissance” – Set of Dyes, 4 Colour Palettes: Suitable for marble and patterned grout looks.
- “Magic Crystal” – Transparent Resin Colour 45ml: Delivers vivid transparent hues for special effects.
- Stirring sticks and mixing containers
- Nitrile gloves and protective wear
- Clean workspace and measuring tools

Choosing the Right Colour Effects
Selecting between opaque, translucent or marble effects depends on the design you wish to achieve. Liquid colourants work well for uniform intense shades, while dye sets or transparent colours are perfect for artistic projects that require light, crystal, or patterned results. Always check compatibility with your epoxy system before mixing.
Step 1: Prepare the Mixing Area and Gather Materials
Set up your workspace on a level, dust-free surface with all materials ready. Ensure the area is well-ventilated, and always wear gloves and safety eyewear as epoxy can be irritant. Lay out the selected colourant, epoxy grout base, and clean mixing tools. Organising everything before opening containers prevents rushed measuring and mixing, which can affect colour consistency.
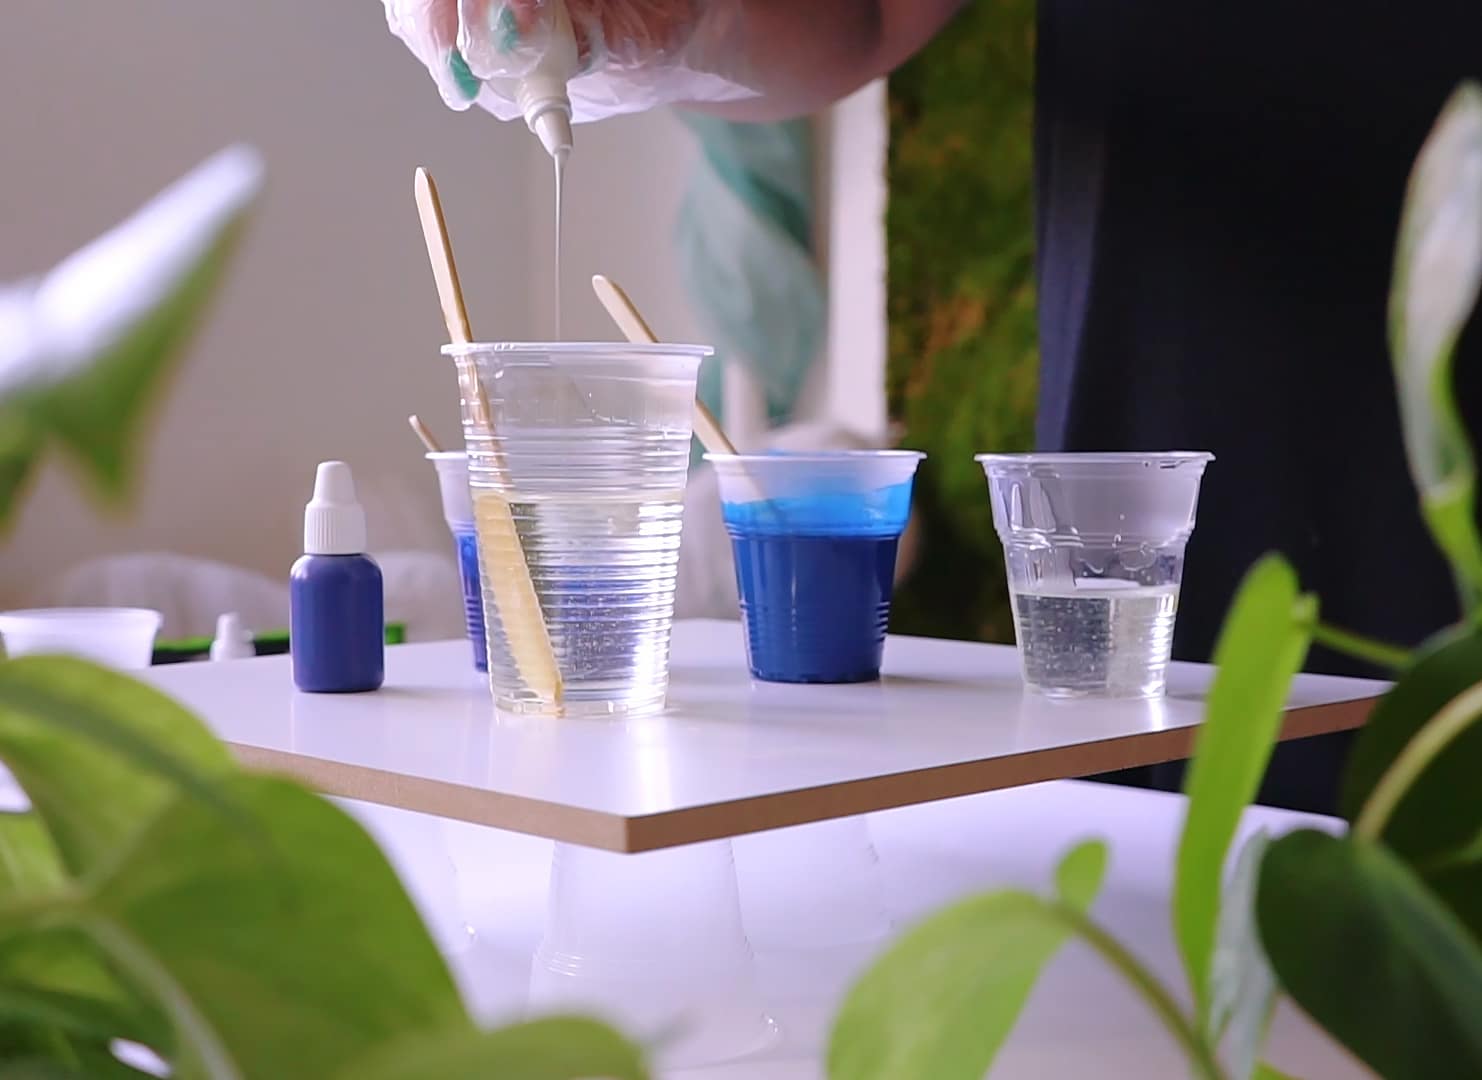
Step 2: Measure and Combine the Epoxy Grout
Follow the epoxy grout manufacturer’s ratio for Part A (resin) and Part B (hardener), as accurate measuring is crucial for setting and durability. Slowly add the hardener to the resin and blend using a stirring stick with a steady, circular motion. Mix until thoroughly combined and no streaks remain—this is the foundation to ensure the pigment disperses evenly later. Avoid whipping air bubbles into the mixture.
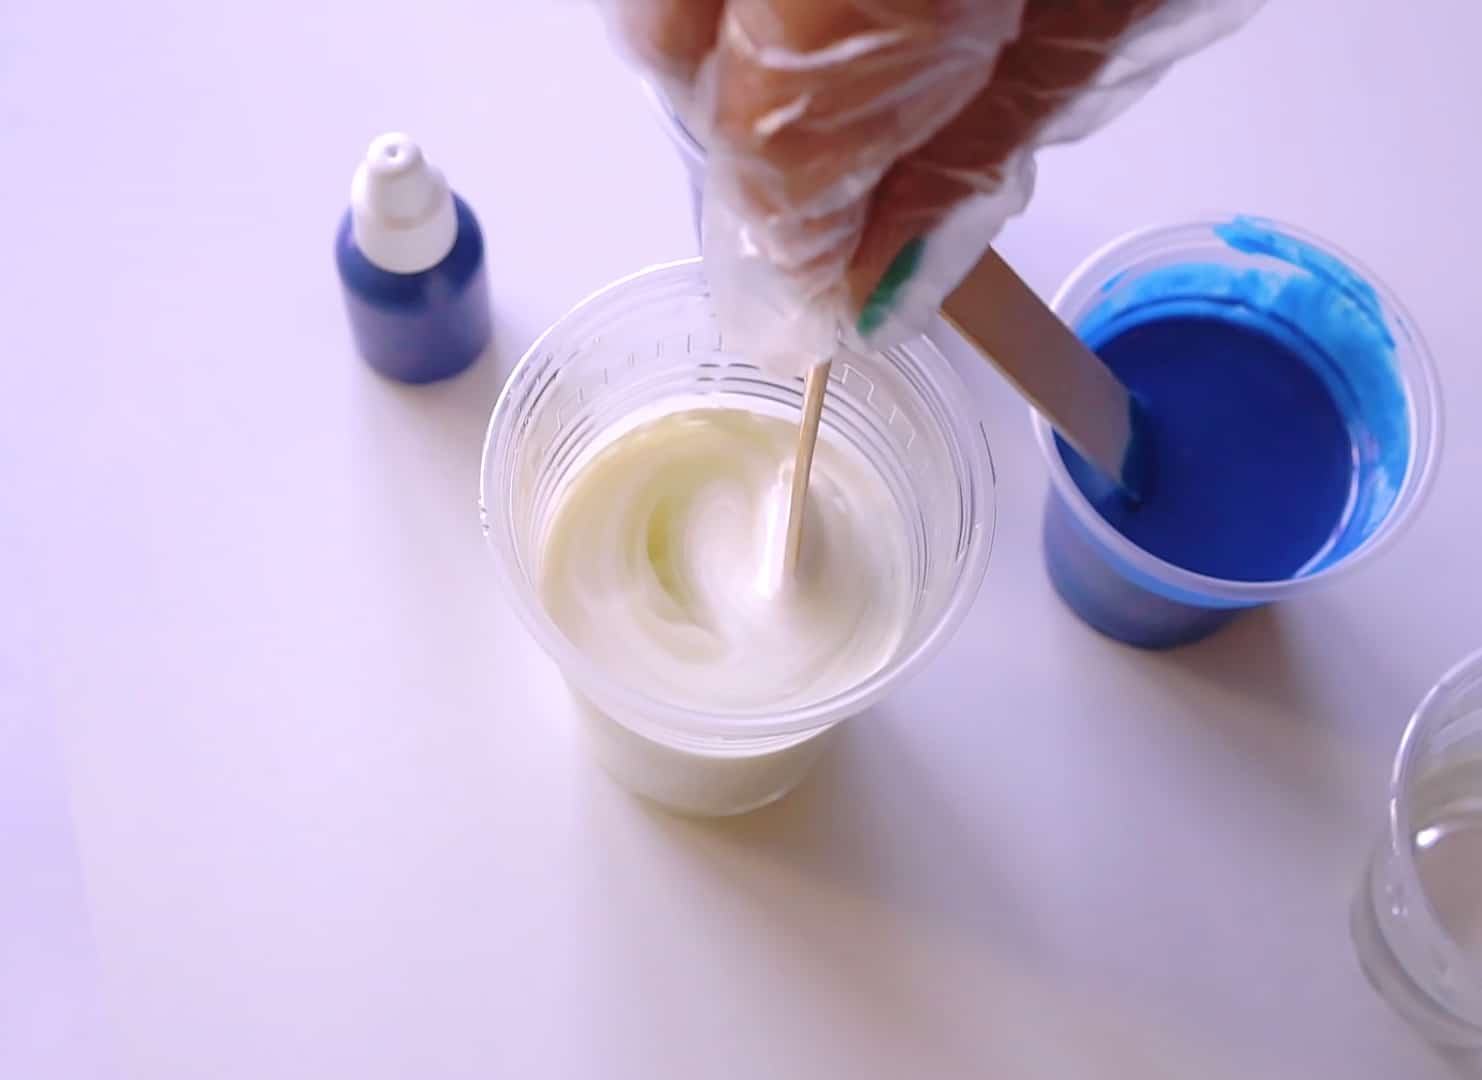
Step 3: Add Colourant and Mix Thoroughly
Introduce your chosen pigment gradually, starting with a small amount before building up to the desired shade. For deep, fully opaque coverage, use a liquid pigment such as “Colourfun” – Liquid Epoxy Resin Colourant. Achieve marble-like or patterned effects by combining drops from the “Renaissance” – Set of Dyes.
Blend thoroughly, scraping the sides and bottom of your container to ensure no uncoloured streaks remain. Always mix thoroughly to avoid patchy results. A pigment concentration between 1% and 5% of total grout mass is recommended; exceeding this can affect curing and strength. For translucent grout or special crystal effects, use “Magic Crystal” – Transparent Resin Colour.
Step 4: Test, Apply, and Adjust as Needed
Before proceeding to application, test a small batch of coloured grout first. Apply a sample to a spare tile or board and let it cure. Assess the dried colour, as tones may change slightly during curing. If the shade is too pale, add more pigment in tiny increments; if too bold, dilute with more uncoloured epoxy grout. Testing also reveals if the mixture was blended enough or requires extra mixing for uniformity.
Tips and Common Mistakes When Colouring Epoxy Grout
Work efficiently, as coloured epoxy grout has a limited pot life once mixed. Stick to pigment ratios under 5% to maintain the strength and finish of your grout; over-pigmentation leads to sticky or undercured grout. Clean all tools promptly with appropriate cleaner to avoid hardened residue. Remember, environmental factors such as temperature and humidity can slightly alter cure times and final colour appearance.
Key Advice for Consistent Colour
Mix in small, measured batches to control the outcome and minimise waste. Record pigment amounts and ratios used for replicable results on larger or future projects. If possible, blend the colourant into part A (resin) before adding the hardener to achieve smoother integration.
- "Colourfun" – Liquid Epoxy Resin Colourant 25-100ml – High coveragePrice range: £3.65 through £9.85"Colourfun" offers highly concentrated liquid colourants suitable for resin art, providing vibrant colour with minimal drops.
 "Colourfun Set" – Liquid Epoxy Resin Colourant Set for Solid Colour EffectsPrice range: £13.45 through £48.15The "Colourfun Set" offers intense, translucent pastes designed for even colour distribution in epoxy resin projects with a focus on vibrant results.
 "Renaissance" – Set of Dyes, 4 Colour Palettes£10.85"Renaissance" dye set is designed for creating marble effects with epoxy resin projects.
 "Magic Crystal" – Transparent Resin Colour 45ml£4.65"Magic Crystal" Transparent Resin Colour is designed for creating vibrant, glass-like resin effects suitable for jewellery and crystal themes.
Frequently Asked Questions
Can I use any dye to colour epoxy grout?
No, only dyes and pigments formulated for epoxy resin should be used to ensure compatibility and proper curing.
How much pigment should I add to epoxy grout?
Generally, between 1% and 5% by weight of total resin mix. Using more may affect the grout’s strength and curing.
Will the colour change as epoxy grout cures?
Some slight colour changes may occur during curing. Always create a test sample before doing your final application.
Why is my epoxy grout colour patchy?
Patchiness usually happens due to poor mixing. Ensure thorough blending of pigment for an even appearance.
Can I achieve marble effects in epoxy grout?
Yes, using a dye set like Renaissance allows you to swirl multiple pigments for a marble or veined appearance.
Does coloured epoxy grout fade over time?
Properly pigmented epoxy grout resists fading, but exposure to strong sunlight may cause gradual colour shift in some cases.