 Free shipping on orders over £29,85


How to create resin-coated stickers?
Step-by-step guide to professional domed sticker finishes


Resin-coated stickers, also known as domed or 3D stickers, combine eye-catching visual effects with excellent protection. These stickers stand out thanks to their glossy, transparent finish and enhanced durability, making them perfect for crafts, branding, or custom merchandise. This guide walks you through the resin doming technique, whether for personal projects or small business applications, ensuring your stickers look vibrant and last.
What You’ll Need
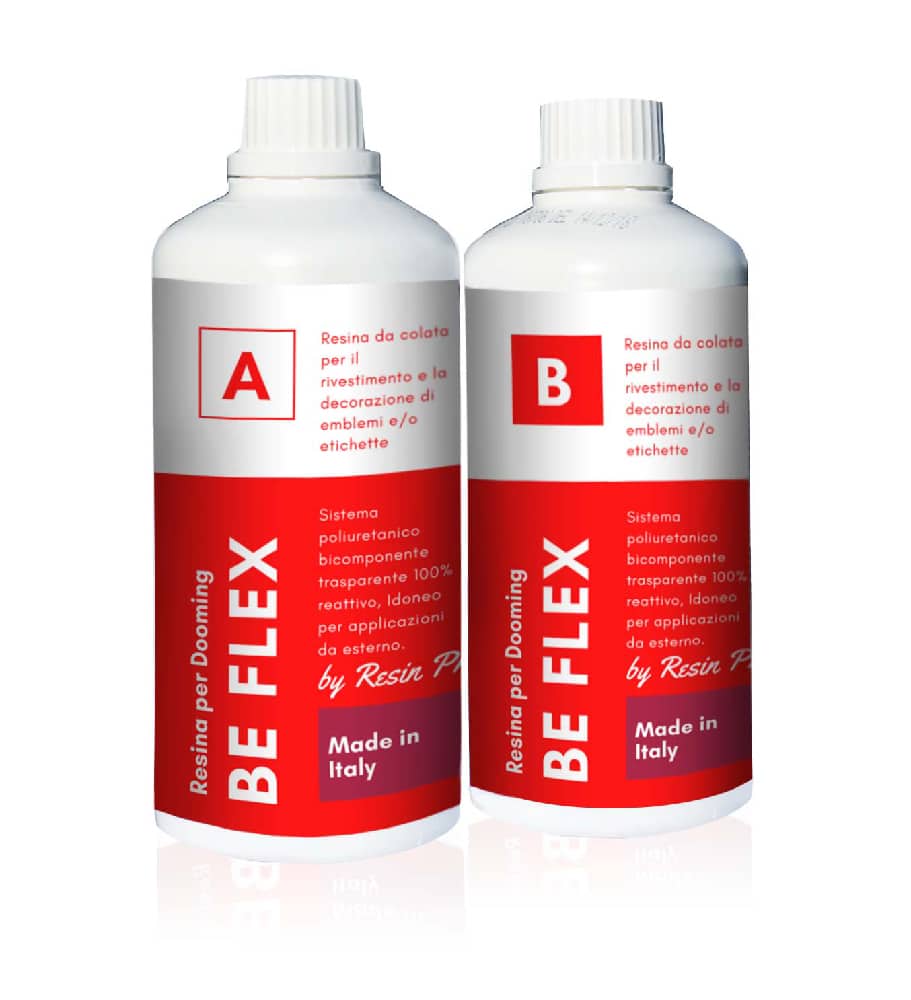
- “Be Flex” – Transparent Polyurethane Doming Resin – Scratch-Resistant: Durable, flexible doming with UV protection for curved or outdoor-use stickers.
- “UV–Creation” – Fast Acrylic Resin, 3 Minute UV Cure: Fast-curing UV resin for rapid, crystal-clear finishes.
- “Fairy Wings” – UV Resin for Volumetric Reliefs, Dual Colour, 30ml: For adding 3D volumetric detailing or decorative highlights.
- “3D Finish” – Fast Coating Epoxy Resin for 3D Prints: Smooth, glossy coating ideal for flat sticker applications.
- Sticker blanks (vinyl, paper, or printable sheets)
- Nitrile gloves, mixing cups, and sticks
- UV lamp (for UV-curing resins only)
- Silicone mat or protected surface
- Precision dropper or pipette
Essential tools for doming and resin-coated stickers
Choose a non-stick working area and gather tools like nitrile gloves, pipettes for precise application, and a UV lamp if using UV-curing resins. Keeping your workspace protected and dust-free will help achieve professional, clear results on every sticker you coat.
Step 1: Prepare and Place Your Stickers
Begin by printing or selecting your sticker designs. If working with printable vinyl or adhesive paper, ensure the ink is fully dry before proceeding. Cut your stickers into the desired shapes if necessary. Place the stickers on a silicone mat or a non-stick, level surface. Make sure there is ample space between stickers to prevent resin overflow from merging designs. Clean surfaces are essential to avoid trapping dust or debris under the resin.
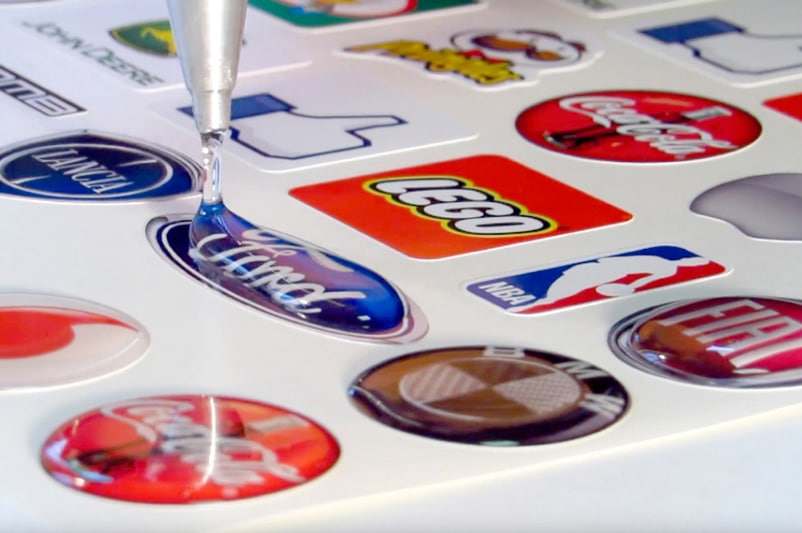
Step 2: Mix or Dispense the Resin
For two-part doming resins, measure each component (resin and hardener) using a precise ratio as described in the instructions. Mix slowly to minimise bubbles, scraping the sides and base of your mixing vessel thoroughly. For ready-to-use UV resins or gels, such as “UV–Creation” – Fast Acrylic Resin, 3 Minute UV Cure, dispense resin directly onto the sticker surface without mixing.
Working carefully, use a pipette or dropper to control resin placement. Start at the centre of each sticker and allow the resin to naturally flow towards the edges, stopping just short of the cut line to avoid overflow.
Step 3: Achieve the Perfect Dome and Cure
Allow the resin to self-level, forming a dome effect on each sticker. Watch closely that the resin does not spill over the edge. If bubbles appear, use a pin or light heat source to carefully remove them before curing. For 3D decoration or added relief, apply a thin layer of “Fairy Wings” – UV Resin for Volumetric Reliefs, Dual Colour, 30ml using a fine applicator to build up volumetric details and highlights.
Cure according to resin type: two-part doming resins like “Be Flex” – Transparent Polyurethane Doming Resin – Scratch-Resistant require room-temperature curing for the specified time. UV resins harden in 2–5 minutes under a UV lamp. Ensure stickers remain level and undisturbed until the surface is fully set.

Step 4: Inspect, Trim, and Finish
Once fully cured, carefully inspect your resin-coated stickers. Remove any excess resin that may have flowed over the edge with a sharp blade. For rigid, high-gloss finishes on flat stickers and craft applications, “3D Finish” – Fast Coating Epoxy Resin for 3D Prints offers polishable and paintable surfaces. Remove stickers from the backing mat only when completely hardened to avoid distortion, and store flat to maintain the dome shape.

Tips, Troubleshooting, and Common Mistakes
Flexible, transparent finish resins like polyurethane doming products are ideal for curved surfaces, whereas UV gels suit quick crafts and fine details. For best clarity, mix and pour resins in a dust-free environment and avoid overfilling to prevent spillage. Scratch and abrasion resistant with self-healing properties provide longer life, especially for items exposed to handling or outdoor use. Cure times and methods vary—read product instructions carefully to avoid sticky results or incomplete hardening. Always wear gloves and work in a ventilated space for safe crafting.
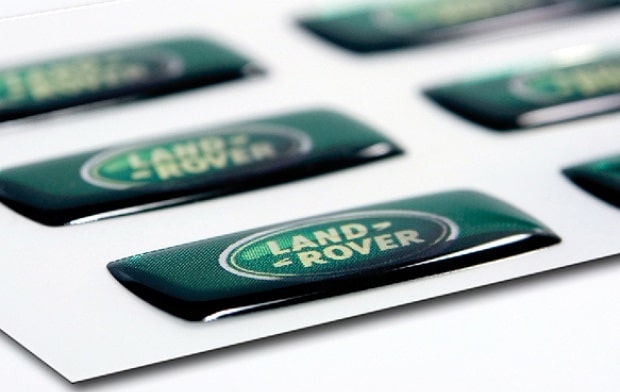
Visual inspiration for unique sticker designs
Experiment with layered doming, colour accents, and creative 3D details to produce standout resin stickers for any project. Resin coatings enhance vibrancy, making your designs more attractive for retail, crafts, or branding purposes.
- "Be Flex" – Transparent Polyurethane Doming Resin – Scratch-ResistantPrice range: £21.85 through £77.85"Be Flex" is designed for stickers and labels, offering a flexible, scratch-resistant, and UV stable finish suitable for resin-coated sticker…
- "UV–Creation" – Fast Acrylic Resin, 3 Minute UV CurePrice range: £7.85 through £59.85UV–Creation is a fast curing acrylic resin, clear and ready to use, suitable for jewellery making in a theme on resin-coated stickers.
 "Fairy Wings" – UV Resin for Volumetric Reliefs, Dual Colour, 30mlOriginal price was: £15.15.£2.85Current price is: £2.85."Fairy Wings" UV Resin offers a ready-to-use acrylic gel suited for intricate 3D effects with quick UV curing in this resin-coated stickers theme.
 "3D Finish" – Fast Coating Epoxy Resin for 3D PrintsPrice range: £12.85 through £18.85"3D Finish" Fast Coating Epoxy Resin provides a non-drip, detail-preserving finish for 3D prints. Suitable for hobbyists and professionals.
Frequently Asked Questions
Can I use doming resin on all sticker types?
Doming resins work best on vinyl and coated paper stickers. Avoid absorbent surfaces, as resin may bleed or soak through.
Why is my resin not curing evenly?
Uneven curing is usually due to incorrect mixing ratios, insufficient UV exposure, or contaminated surfaces.
How do I remove bubbles from domed stickers?
Use a pin or gently pass a heat source like a lighter above the resin surface to release trapped bubbles before curing.
Can domed stickers withstand outdoor use?
Resins with UV resistance, such as polyurethane doming resin, provide good durability and clarity for outdoor applications.
What is the best way to achieve a glossy finish?
Apply resin in one even layer in a dust-free area, use a self-levelling formula, and let it cure undisturbed for maximum gloss.
Can I use UV resin for quick projects?
Yes, UV resins cure in minutes under a lamp, making them ideal for fast or small-scale sticker doming projects.