 Free shipping on orders over £29,85


How to make a geode with resin
Create dazzling resin geodes with clarity and perfect lines.


Resin geodes capture the stunning layers and shimmer of real gemstones, making them a favourite for artists, crafters, and décor enthusiasts. This guide will show you, step by step, how to create a vibrant geode effect using resin—right at home. Whether you’re embellishing coasters, making wall art, or looking for a statement centrepiece, you’ll walk away with a strong foundation for successful resin geode work.
What You’ll Need
- “Art Pro Deluxe” – Ultra-High Viscosity Epoxy Resin for Artists — for crisp lines and controlled pour
- “O” – Geode Coaster Silicone Mould – 13cm or “Agate Geode” – Silicone Mould Set for Handcraft Coasters, 6pcs — for perfectly shaped geode bases
- Pigments (mica powders, transparent colourants, metallic flakes, glitter)
- Mixing cups and stir sticks
- Nitrile gloves and protective workspace covering
- Heat gun or small torch (for releasing air bubbles)
- Optional: Decorative stones, crystals, or gold leaf accents

See Stunning Resin Geodes in the Making
Explore captivating shots of resin geode creations—witness glossy lines, vivid pigment layering, and shimmering details that inspire every project.

Step 1: Prepare Your Workspace and Materials
Start by ensuring your workspace is clean, level, and well-ventilated. Cover surfaces with a plastic sheet or silicone mat to protect from resin drips. Lay out all your tools so they are within easy reach, and wear nitrile gloves to keep your hands safe from resin stains and irritation.
Silicone geode moulds such as the “O” – Geode Coaster Silicone Mould – 13cm offer an easy-release, glossy finish and reliably create a symmetrical base for your artwork. Check your moulds for dust or debris; any imperfections could transfer to your final piece.
Step 2: Mix Resin and Choose Colours
Carefully measure the resin and hardener according to the manufacturer’s instructions, mixing only what you can use within the working time. Stir slowly and thoroughly to ensure an even, bubble-free mixture. Overmixing can introduce unnecessary bubbles—it’s better to mix patiently and scrape the sides of your mixing cup.
Ultra-high viscosity resin for crisp lines: For artistic geode designs where fine lines and separation of colours are essential, use an epoxy resin like “Art Pro Deluxe” – Ultra-High Viscosity Epoxy Resin for Artists. It offers great control over colour placement and minimises blending between layers.
Divide your resin into smaller cups and add different pigments, glitters, or metallic powders. For realistic geode effects, layer tones from dark to light and add touches of shimmer or sparkle.
Step 3: Pour Layers and Create Geode Effects
Begin by pouring a clear base or your darkest colour into the centre of the silicone mould. Pour each subsequent colour in concentric rings, gradually building outward. The slower you pour, the better you’ll control the spread and line definition—a thick resin like Art Pro Deluxe is helpful here.
Use a toothpick, bamboo skewer, or small paintbrush to drag lines through the rings or gently swirl the resin. This is where you can get creative—imitate natural stone banding or add sharp crystal accents.
Finish with embellishments: nestle small crystals or metallic stones on the surface while the resin is freshly poured for extra geode realism.

Step 4: Finish and Demould Your Artwork
Once you’re happy with the design, run a heat gun or craft torch in short bursts over the resin surface to release any trapped bubbles. Avoid holding the heat in one place; this prevents overheating or burning.
Allow the resin to cure undisturbed for the recommended period, typically 24–72 hours depending on the resin and room conditions. Don’t rush the curing times: premature handling can distort the finish.
After complete curing, gently flex the mould to release your geode artwork. Use a clean, dry cloth to polish the surface, and sand edges if needed for a smoother finish.

Tips and Troubleshooting for Flawless Geode Resin Art
Work in layers if you want added depth or to avoid excessive heat build-up—especially if using deeper moulds. If you spot bubbles after pouring, repeating a quick pass with the heat gun will help clear them. Avoid overmixing to reduce bubbles, and always use dust covers while curing to prevent settling particles.
Remember, humidity and temperature can affect curing—aim for conditions between 20–25°C. If colours run together too much, try a thicker resin or allow the first layers to gel slightly before adding more.
Inspiration for Next-Level Geode Crafting
Take your skills further: browse close-ups of intricate geode resin effects and discover artist tips for mastering colour flow and unique embellishments.

- "Art Pro Deluxe" – Ultra-High Viscosity Epoxy Resin for ArtistsPrice range: £33.85 through £287.85"Art Pro Deluxe" ultra-high viscosity epoxy resin offers control for resin art and geode projects with a self-levelling, clear surface.
- "EpoxyTable 5-Five" – Deep Pour Epoxy Resin for Tables and Large Projects – Up to 5cmPrice range: £16.85 through £1,099.85"EpoxyTable 5-Five" is designed for deep pouring projects up to 5cm, suitable for tables, countertops and large artistic works.
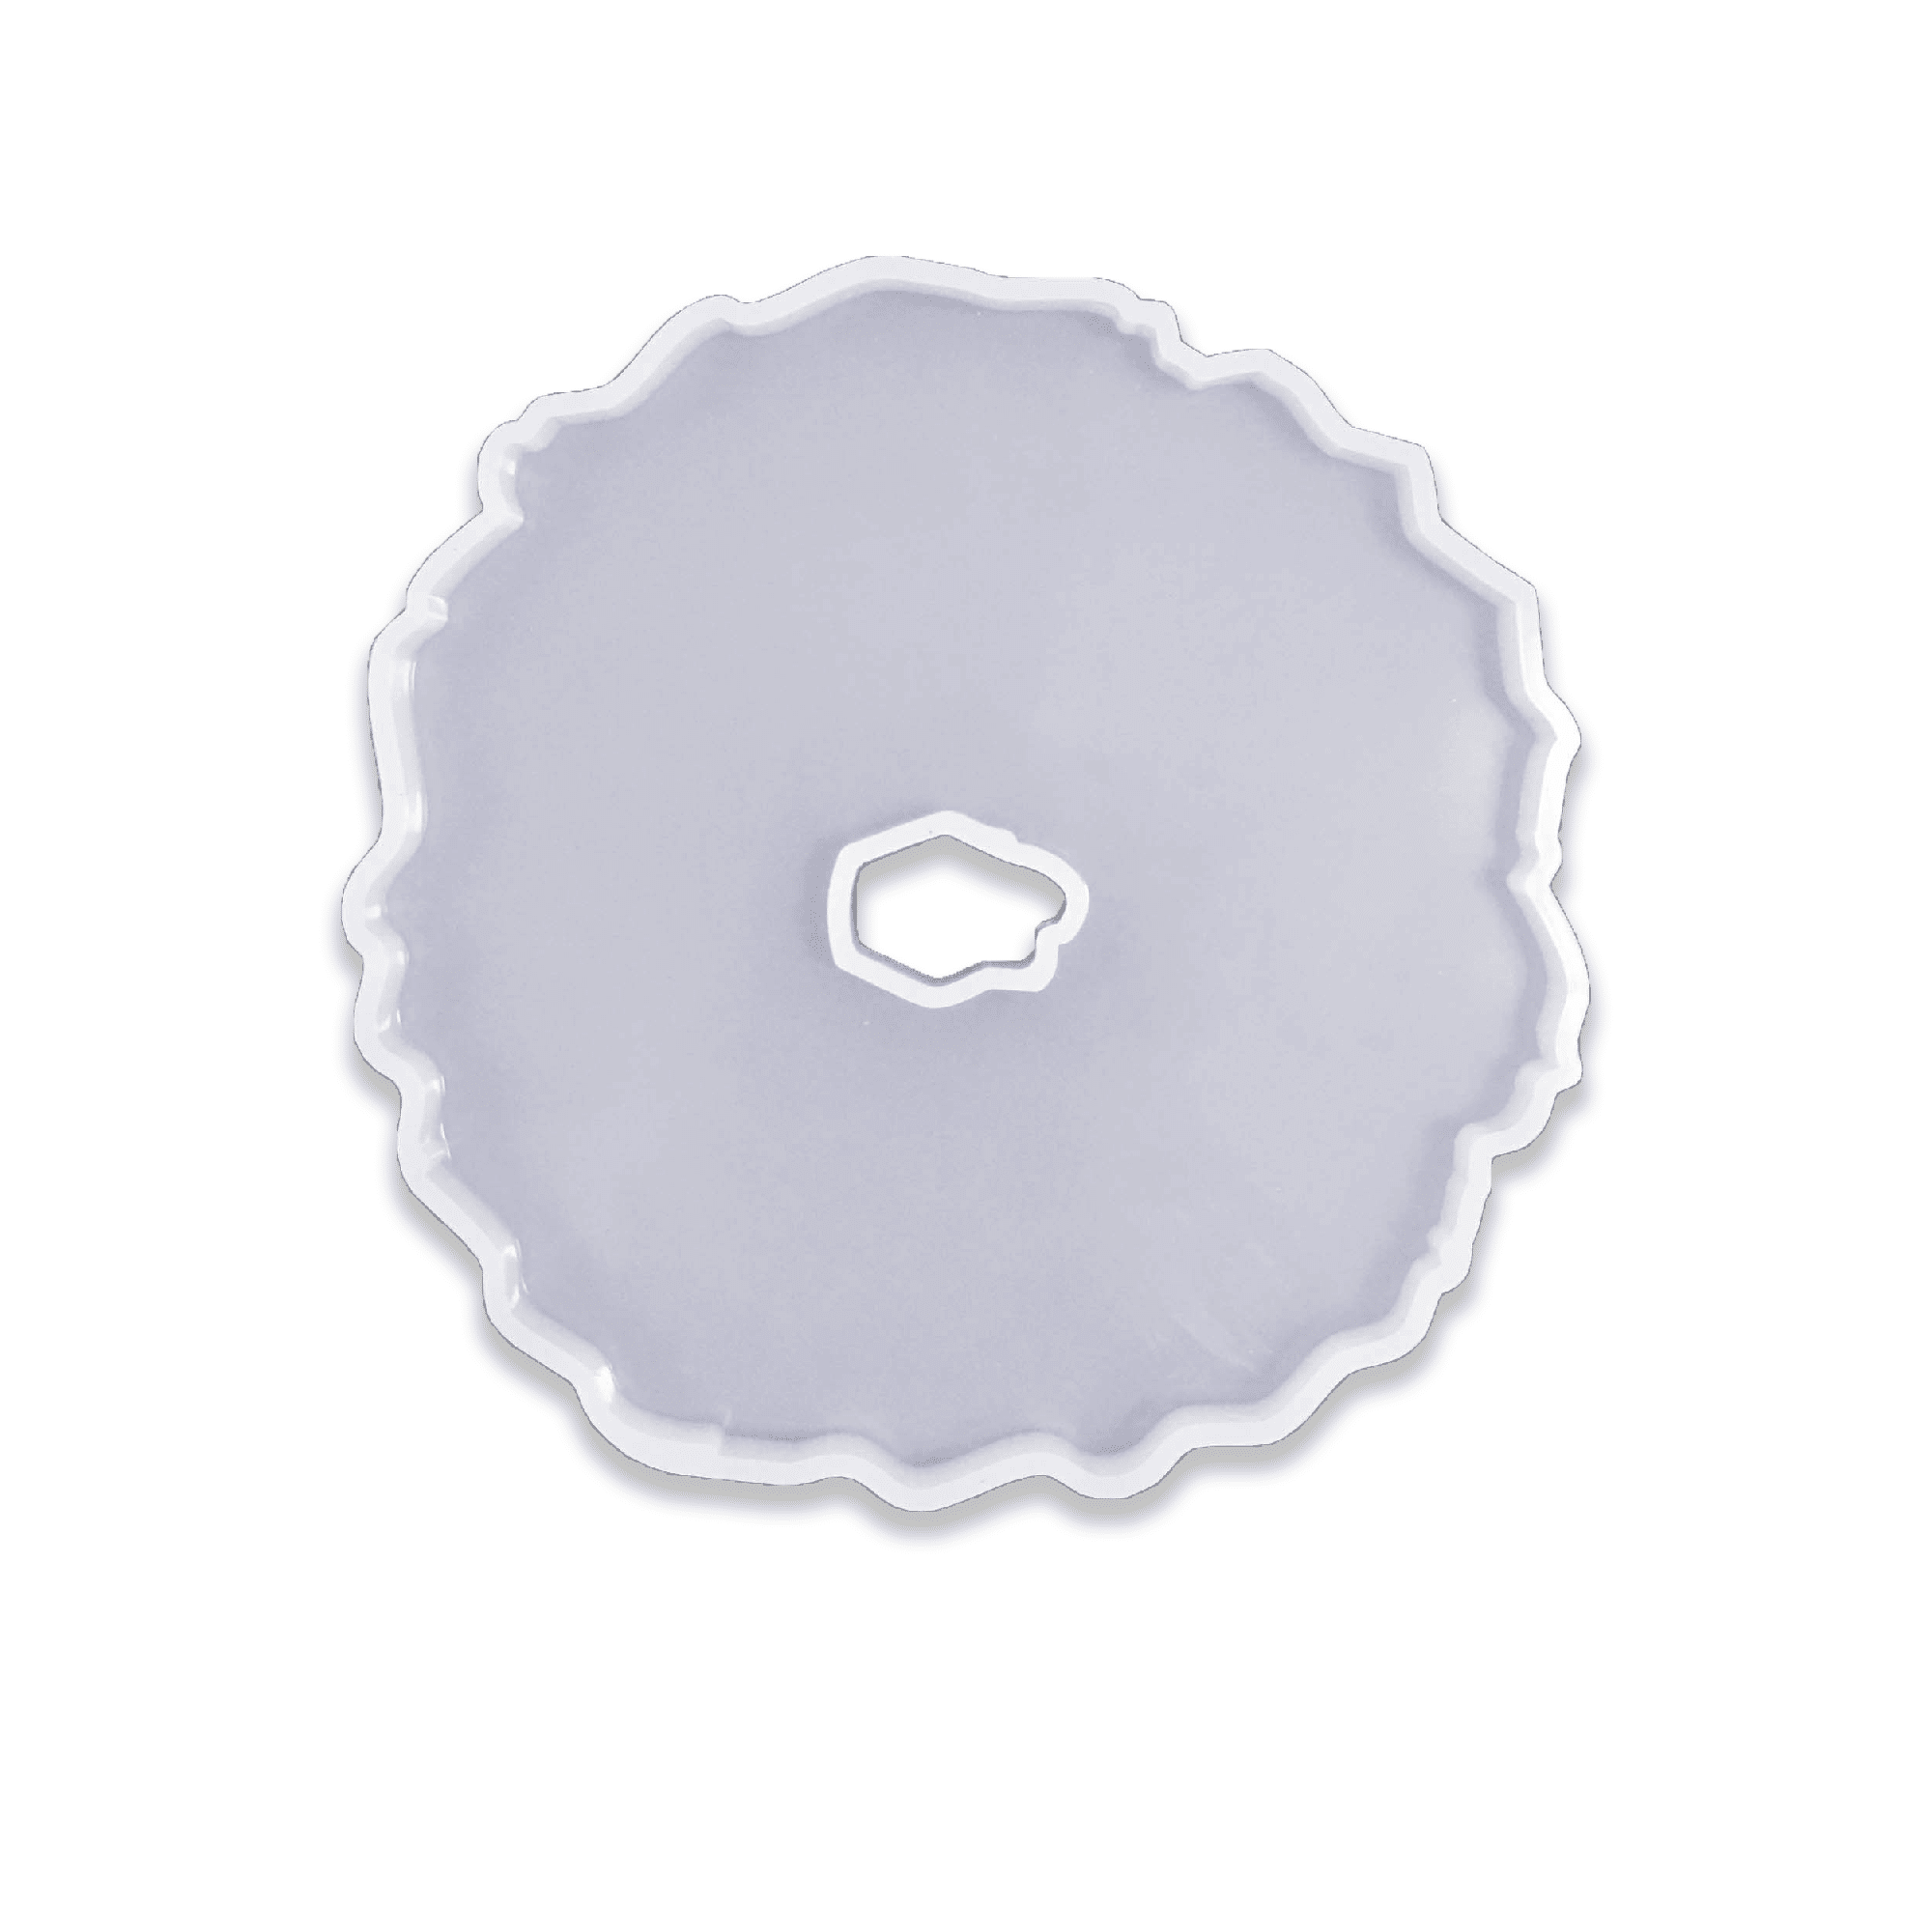 "O" – Geode Coaster Silicone Mould – 13cm£5.00"O" – Geode Coaster Silicone Mould – 13cm is a semi-transparent, reusable silicone mould designed for crafting coasters.
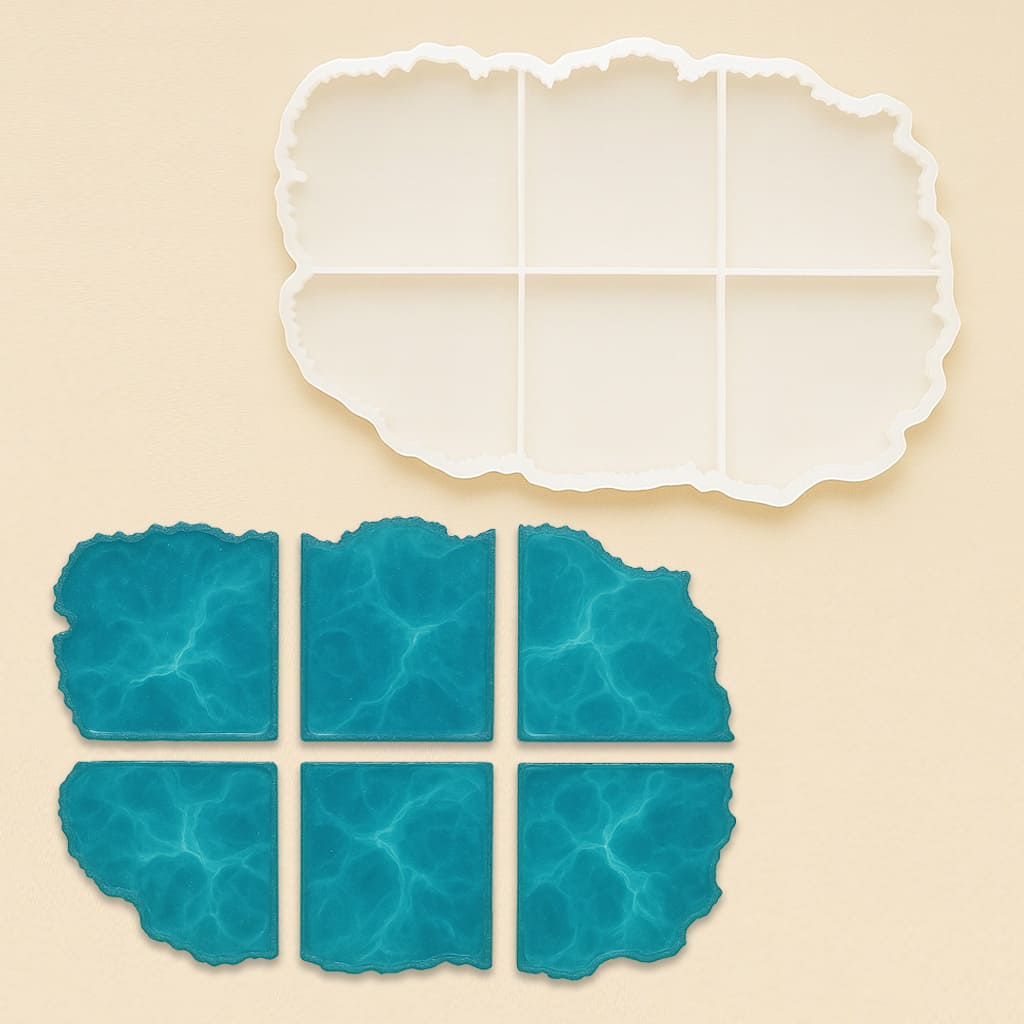 "Agate Geode" – Silicone Mould Set for Handcraft Coasters, 6pcsOriginal price was: £10.00.£8.15Current price is: £8.15.This silicone mould set of 6 produces coasters with a smooth interior and professional finish, suitable for crafting geode-style coasters.
Frequently Asked Questions
What makes a good mould for resin geode art?
High-quality silicone moulds provide easy release and a smooth, glossy finish for professional-looking resin geode pieces.
Which resin is best for geode effect art?
Ultra-high viscosity resin, like Art Pro Deluxe, helps you achieve sharper colour lines and more controlled effects in your geode creations.
How do I get clear lines between colours?
Pour resin slowly and use a high-viscosity formula, letting each colour set slightly before adding the next for distinct bands.
How do I prevent bubbles or surface flaws?
Mix resin slowly, keep your workspace dust-free, and use a heat gun or torch in quick passes to eliminate trapped air.
When can I demould my resin geode safely?
Wait until the resin has fully cured, which may take 24–72 hours depending on the product and environmental conditions.
Can I add stones or metallic flakes to my resin geode?
Yes, add these embellishments while the resin is still wet so they embed and bond securely in the piece.