 Free shipping on orders over £29,85


How do you make a resin base?
Creating a solid resin base is essential for successful resin art, tables, or creative projects. Whether for functional surfaces or decorative pieces, proper preparation ensures durability and a professional finish. This guide explains the key steps to making an ideal resin base, highlighting the importance of material choice, preparation, and finishing touches for crafters and artists at any level.
A practical guide for artists, crafters and DIY resin projects

What You’ll Need
- MDF Board Base for Epoxy Resin Table and Art Projects – a reliable, stable surface for larger pieces or tabletops
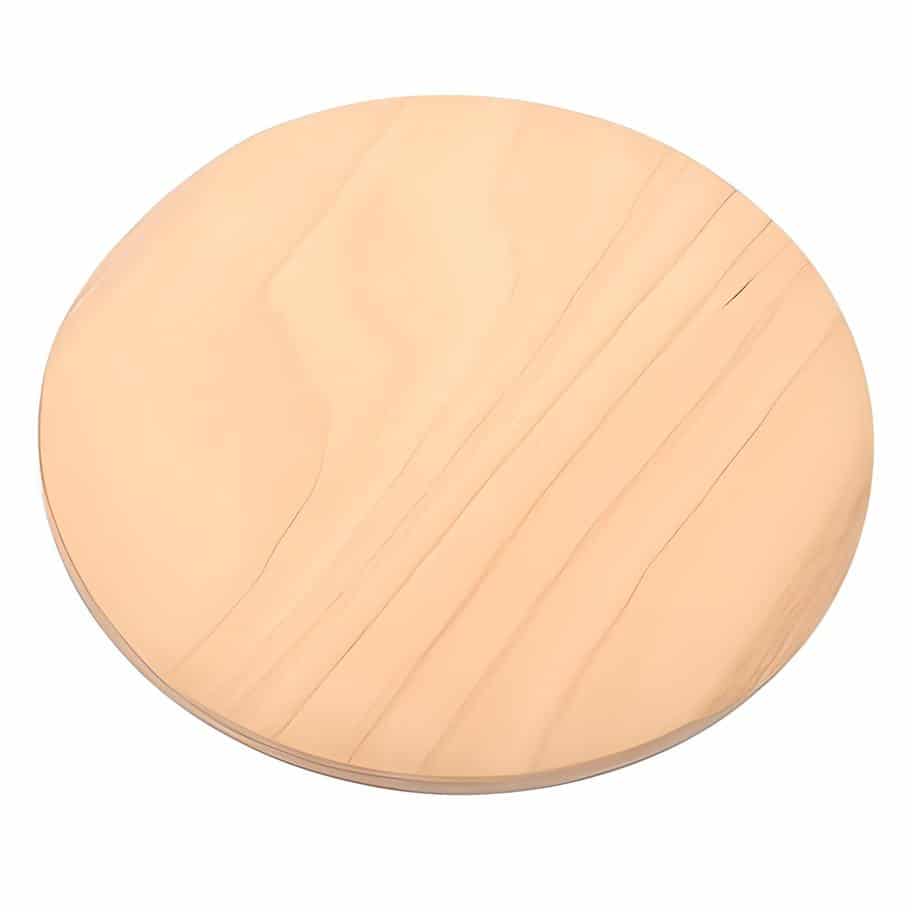
- Wooden Base for Epoxy Resin Christmas Decorations – for small crafts and seasonal items
- “Geode O” – Table Base for Epoxy Resin Art – Wood Support for Resin Projects – perfect for decorative art or layered designs
- “Geode U” – Wooden Table Base for Epoxy Resin Projects – Lightweight & Versatile – suitable for versatile and portable projects
- Sandpaper or sanding block
- Primer or sealant (if needed for porous wood or MDF)
- Clean, dry cloth
- Level surface for working
- Recommended safety equipment: gloves, mask, eye protection

Choosing the Best Base for Your Resin Project
Selecting the right substrate is crucial for your resin project. MDF Board Base for Epoxy Resin Table and Art Projects offers stability for tables, while Wooden Base for Epoxy Resin Christmas Decorations is perfect for small crafts. Choose the base that fits your size and durability needs.

Step 1: Prepare the Base Material
Select the most suitable substrate according to your project. MDF boards are stable and ideal for large, flat resin artwork or tables, while pre-cut wooden bases work well for craft projects and decorative pieces. Ensure the chosen base is dry, clean, and free from oil or wax. Use fine sandpaper or a sanding block to lightly sand the surface for better resin adhesion, wiping away all dust when finished.
Step 2: Seal and Prime the Surface
Most resin bases—like bare wood and MDF—are porous. To stop resin from soaking into the material and to prevent bubbles, seal porous bases before pouring resin. You can use a clear wood sealer, acrylic primer, or even a thin layer of resin itself as a base coat. Apply the sealant with a brush, ensuring all edges are covered. Let all sealants or primer fully cure before applying resin.
Step 3: Level and Clean the Workspace
Move your prepared base onto a protected, flat workspace. Use a spirit level to ensure the base sits completely horizontal—essential for an even resin pour. Always use a level workspace for your base. Remove any dust or debris from the surface with a clean, dry cloth just before working. This step is crucial, as even small particles can affect your finished piece.

Step 4: Pour and Spread Your Resin
Mix your chosen resin according to the manufacturer’s instructions. Pour the resin slowly onto the centre of your base and spread it gently to the edges using a spatula or spreader. If you are layering colours, pouring into a special mould, or adding effects (such as with the “Geode O” – Table Base for Epoxy Resin Art – Wood Support for Resin Projects), work methodically to prevent overflows. Check repeatedly for bubbles and use a heat gun or torch as required.

Step 5: Cure and Finish the Base
Allow your resin base to cure undisturbed. Check specific curing times, which vary depending on temperature, humidity, and the resin used. Avoid moving or covering the piece until it is fully hardened. Once cured, check for sharp edges or small surface irregularities and sand them gently if needed.
Tips and Common Mistakes When Making Resin Bases
Work in a dust-free environment and at recommended temperatures for best results.
Remove all dust from the surface. Dust or grease can ruin the finish of your resin base.
Use a compatible base for your resin type; not all surfaces are suitable. Avoid pouring resin in a humid environment. High humidity may cause unwanted cloudiness or bubbles.
For intricate decorations, such as festive crafts, consider using dedicated bases like the Wooden Base for Epoxy Resin Christmas Decorations for optimal results.
Finishing Touches for a Flawless Resin Base
Patience in curing leads to a professional end result. Allow the resin base to harden completely before handling or adding more layers. If you’re using a base like the “Geode U” – Wooden Table Base for Epoxy Resin Projects – Lightweight & Versatile, enjoy the ease of moving your project to achieve the best lighting and angle for your resin pour.

- Wooden Base for Epoxy Resin Christmas DecorationsOriginal price was: £3.45.£2.15Current price is: £2.15.The Wooden Base for Epoxy Resin Christmas Decorations supports creative epoxy resin projects suited to holiday crafting.
- MDF Board Base for Epoxy Resin Table and Art ProjectsOriginal price was: £25.00.£17.85Current price is: £17.85.MDF board designed for epoxy resin crafting, suitable for tables and art projects within the theme of making a resin base.
- "Geode O" – Table Base for Epoxy Resin Art – Wood Support for Resin ProjectsPrice range: £17.15 through £22.15The Geode O table base offers sturdy wooden support for various epoxy resin art and crafting techniques.
- "Geode U" – Wooden Table Base for Epoxy Resin Projects – Lightweight & VersatileThe Geode U wooden table base is designed for epoxy resin projects, offering a versatile and lightweight support for resin artists.
Frequently Asked Questions
What is the best sealant for MDF or wooden resin bases?
A clear wood sealer or acrylic primer will effectively seal MDF or wooden bases, preventing resin soak-in and minimising bubbles.
Can I use any wood as a resin base?
Most woods are suitable if dry, stable, and sealed. Avoid resinous or oily woods, which may interfere with adhesion.
Why did bubbles appear in my resin base?
Bubbles often result from incomplete sealing, moisture, or excessive stirring. Use a heat tool to remove bubbles promptly after pouring.
How do I achieve a smooth finish on my resin base?
Ensure your base is dust-free, the environment is dry, and resin is spread evenly. Sand edges after curing for the best finish.
Do I need to prime the base before pouring resin?
Priming or sealing porous bases like MDF and wood is recommended to prevent resin absorption and bubble formation.
What size resin base should I use?
The size depends on your project. Use small wooden bases for decorations and larger MDF boards for artwork or tables.