 Free shipping on orders over £29,85


How do you make a resin frame?
Step-by-step method for unique and professional results
Creating a bespoke resin frame offers endless artistic potential, allowing you to craft a unique piece that beautifully showcases photographs, artwork, or keepsakes. This guide will walk you through each stage of making a resin frame, from choosing your materials and preparing your workspace to curing and displaying the finished product.
What You’ll Need
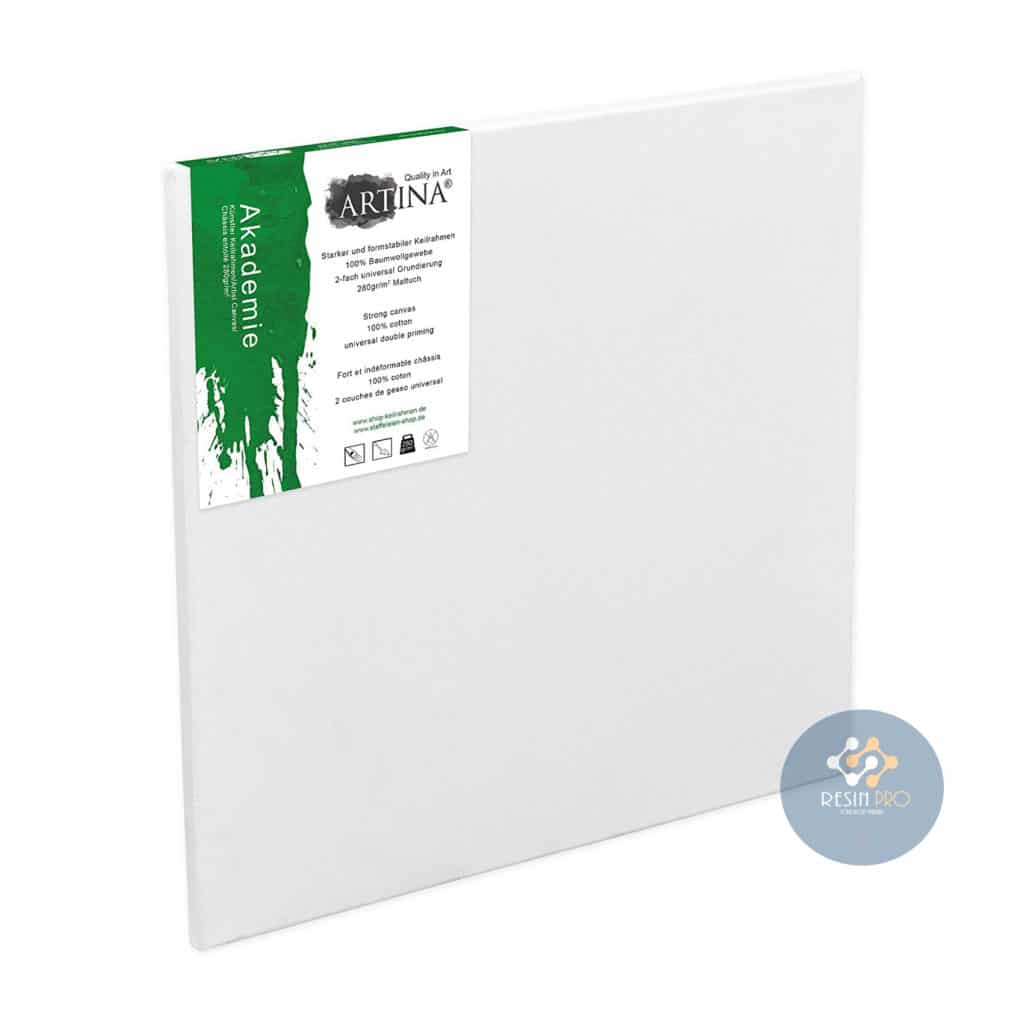
- Cotton Rectangular Frame for Epoxy Resin Art with Cardboard Base – A sturdy, pre-made base ideal for resin artwork.
- “Trasparente” – Multipurpose Clear Epoxy Resin for Casting – Up to 2cm – For crystal-clear resin work up to 2cm thick.
- “Art Pro” – Clear Epoxy Resin for Artists and Surface Coating – Suited for thin, glossy coatings and intricate designs.
- “Icrystal” – Clear Epoxy Resin – Odourless Formula – Up to 1.5cm – Perfect for odour-sensitive indoor environments and projects requiring up to 1.5cm depth.
- Cups and mixing sticks for preparing resin
- Protective gloves and apron
- Level work surface and dust cover
- Optional: Decorative inclusions (dried flowers, pigments, glitter)
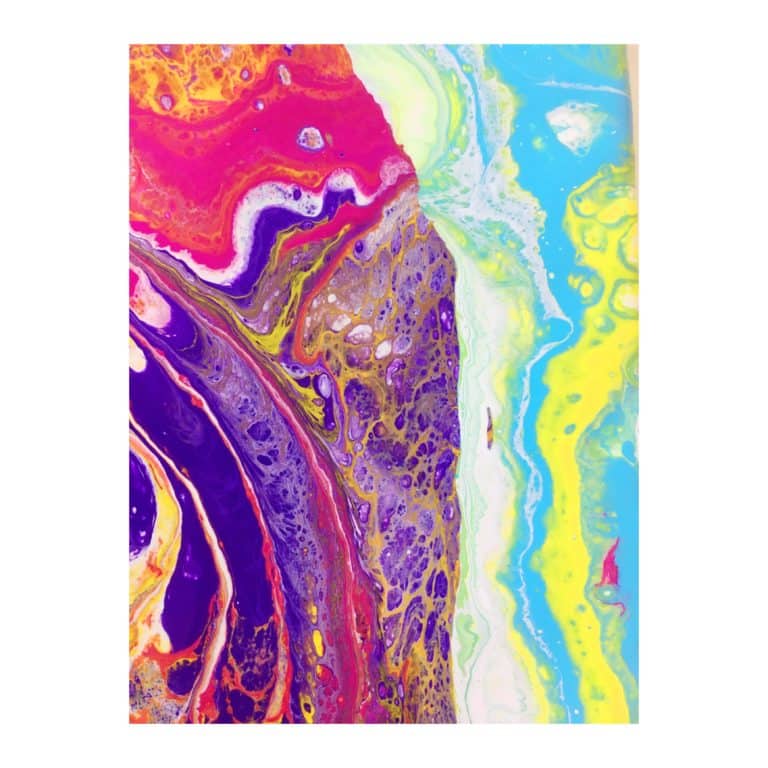
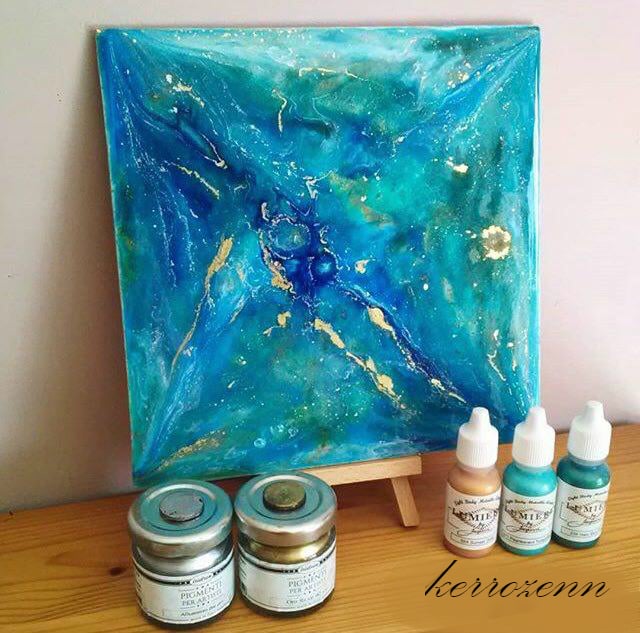
Visual Inspiration for Resin Frame Creation
Browse examples of resin frames that highlight different pouring techniques and creative decorative accents. See how clear resin, pigments, and embedded materials can transform an ordinary frame into a unique centrepiece.
Consider how various resin thicknesses and frame bases affect the final look.
Step 1: Prepare Your Workspace and Materials
Choose a well-ventilated, dust-free area for your project. Lay down protective plastic or drop cloths to shield your work surface from resin drips and spills. Set out all your materials within easy reach, including mixing sticks, resin, frame or mould, and any decorations you wish to add. Position your level surface now, as resin needs to settle flat while curing.
Wear gloves and an apron to protect your skin and clothing. Make sure your Cotton Rectangular Frame for Epoxy Resin Art with Cardboard Base is clean and completely dry before proceeding.
Step 2: Mix and Pour the Resin
Take time to measure accurately according to your chosen resin product’s mixing ratio. If you are aiming for a deep frame or want to embed inclusions, the “Trasparente” – Multipurpose Clear Epoxy Resin for Casting – Up to 2cm is ideal for up to 2 centimetres of depth per pour. For thinner coatings or decorative overlays, “Art Pro” – Clear Epoxy Resin for Artists and Surface Coating offers easy application and a high-gloss finish.
Thoroughly mix resin and hardener as per instructions, ensuring there are no streaks or unmixed portions. Slowly pour the mixed resin into the frame base, spreading evenly. If bubbles appear, use a toothpick or gently exhale over the surface to help them rise and burst. Be sure to avoid overpouring to maintain a neat, flat appearance.
Step 3: Decorate and Finish Your Resin Frame
This is where you can add personality to your frame. Drop in decorative elements like dried flowers or fine glitter for a custom effect. Push inclusions into place with a clean mixing stick or tweezers before the resin sets. For an odour-free application in smaller projects, use “Icrystal” – Clear Epoxy Resin – Odourless Formula – Up to 1.5cm for both clarity and comfort during indoor use.
If you desire a thicker effect, allow the first layer to cure as indicated before pouring additional layers, ensuring each layer is fully set to avoid trapping moisture or bubbles.
Step 4: Remove and Display Your Completed Frame
After the recommended curing period (usually 12–24 hours, depending on resin type and thickness), inspect your frame for any touch-ups. Carefully remove the frame from the protected surface; if using a mould, gently demould according to the product guidelines.
Once fully cured, your resin frame can be displayed on a wall, shelf, or table. Its protective coating guards against scratches and yellowing, presenting your artwork or photo with a truly unique high-gloss finish.

Tips, Common Mistakes, and Troubleshooting
Use safety equipment including gloves and ensure ventilation at all times. Never mix more resin than needed for one layer; excess can lead to waste or incomplete cures. If sticky spots remain after curing, it’s usually due to improper measurement or incomplete mixing.
For best clarity, cover your frame while curing to prevent dust settling on the surface. Avoid pouring layers beyond the recommended depth, as this can lead to overheating or cloudiness. Practising accurate mixing and patient layering will yield the most professional results for your resin frame project.
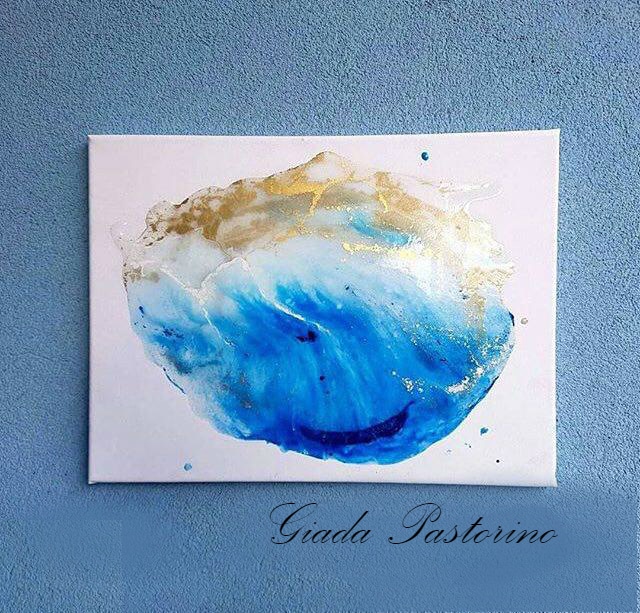
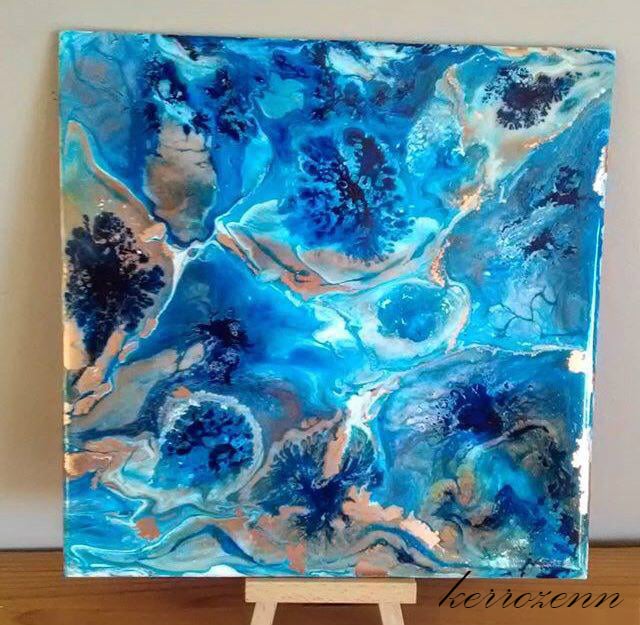
Showcase: Finished Resin Frames in Home Settings
Enjoy a curated gallery featuring completed resin frames in real living spaces. Notice the glossy surfaces and personalised designs achieved through careful resin selection and application.
Let these finished pieces spark ideas for your next creative project.

- Cotton Rectangular Frame for Epoxy Resin Art with Cardboard BasePrice range: £4.35 through £4.85A rectangular frame designed for displaying epoxy resin art, made from cotton with a cardboard base, suitable for artistic presentations.
- "Trasparente" – Multipurpose Clear Epoxy Resin for Casting – Up to 2cmPrice range: £8.45 through £948.85"Trasparente" is a clear casting epoxy resin up to 2cm thick, designed for detailed, gloss-finish projects suitable for DIY and woodworking contexts.
 "Art Pro" – Clear Epoxy Resin for Artists and Surface CoatingPrice range: £31.15 through £388.85Art Pro clear epoxy resin is a durable and clear coating suitable for artists and crafters seeking glass-like finishes for trays and coasters.
 "Icrystal" – Clear Epoxy Resin – Odourless Formula – Up to 1.5cmPrice range: £11.65 through £954.85"Icrystal" Clear Epoxy Resin is a transparent, odourless product suitable for making frames under the theme How do you make a resin frame?
Frequently Asked Questions
Which epoxy resin is best for frame making?
Choose based on your project thickness and finish: Trasparente for deep pours, Art Pro for glossy coatings, and Icrystal for odourless applications.
How do I prevent bubbles in my resin frame?
Mix slowly and thoroughly, use a clean mixing stick, and use gentle heat if necessary to disperse air bubbles before curing.
Can I embed flowers or glitter in a resin frame?
Yes, dried flowers, glitter, and other inclusions can be added before the resin cures for a personalised effect.
Is a resin frame safe for photographs or artwork?
Epoxy resin provides a strong, protective, and non-yellowing cover for photographs and art when fully cured and applied as directed.
How long does it take for a resin frame to cure?
Cure time is typically 12–24 hours depending on the resin formula, thickness of the pour, and ambient room temperature.
Can I create a layered effect in resin frames?
Yes, multiple layers can be achieved by waiting for each pour to cure before adding the next, which also helps embed inclusions safely.