 Free shipping on orders over £29,85


How to stop resin pots leaking?
Leaking resin pots can cause frustration, waste expensive materials, and compromise the overall result of your craft or project. This guide covers step-by-step methods to achieve effective, durable seals so your resin pots remain watertight, whether you’re working with DIY planters, art vessels, or casting forms.
Seal resin pots with confidence for long-lasting use


What You’ll Need
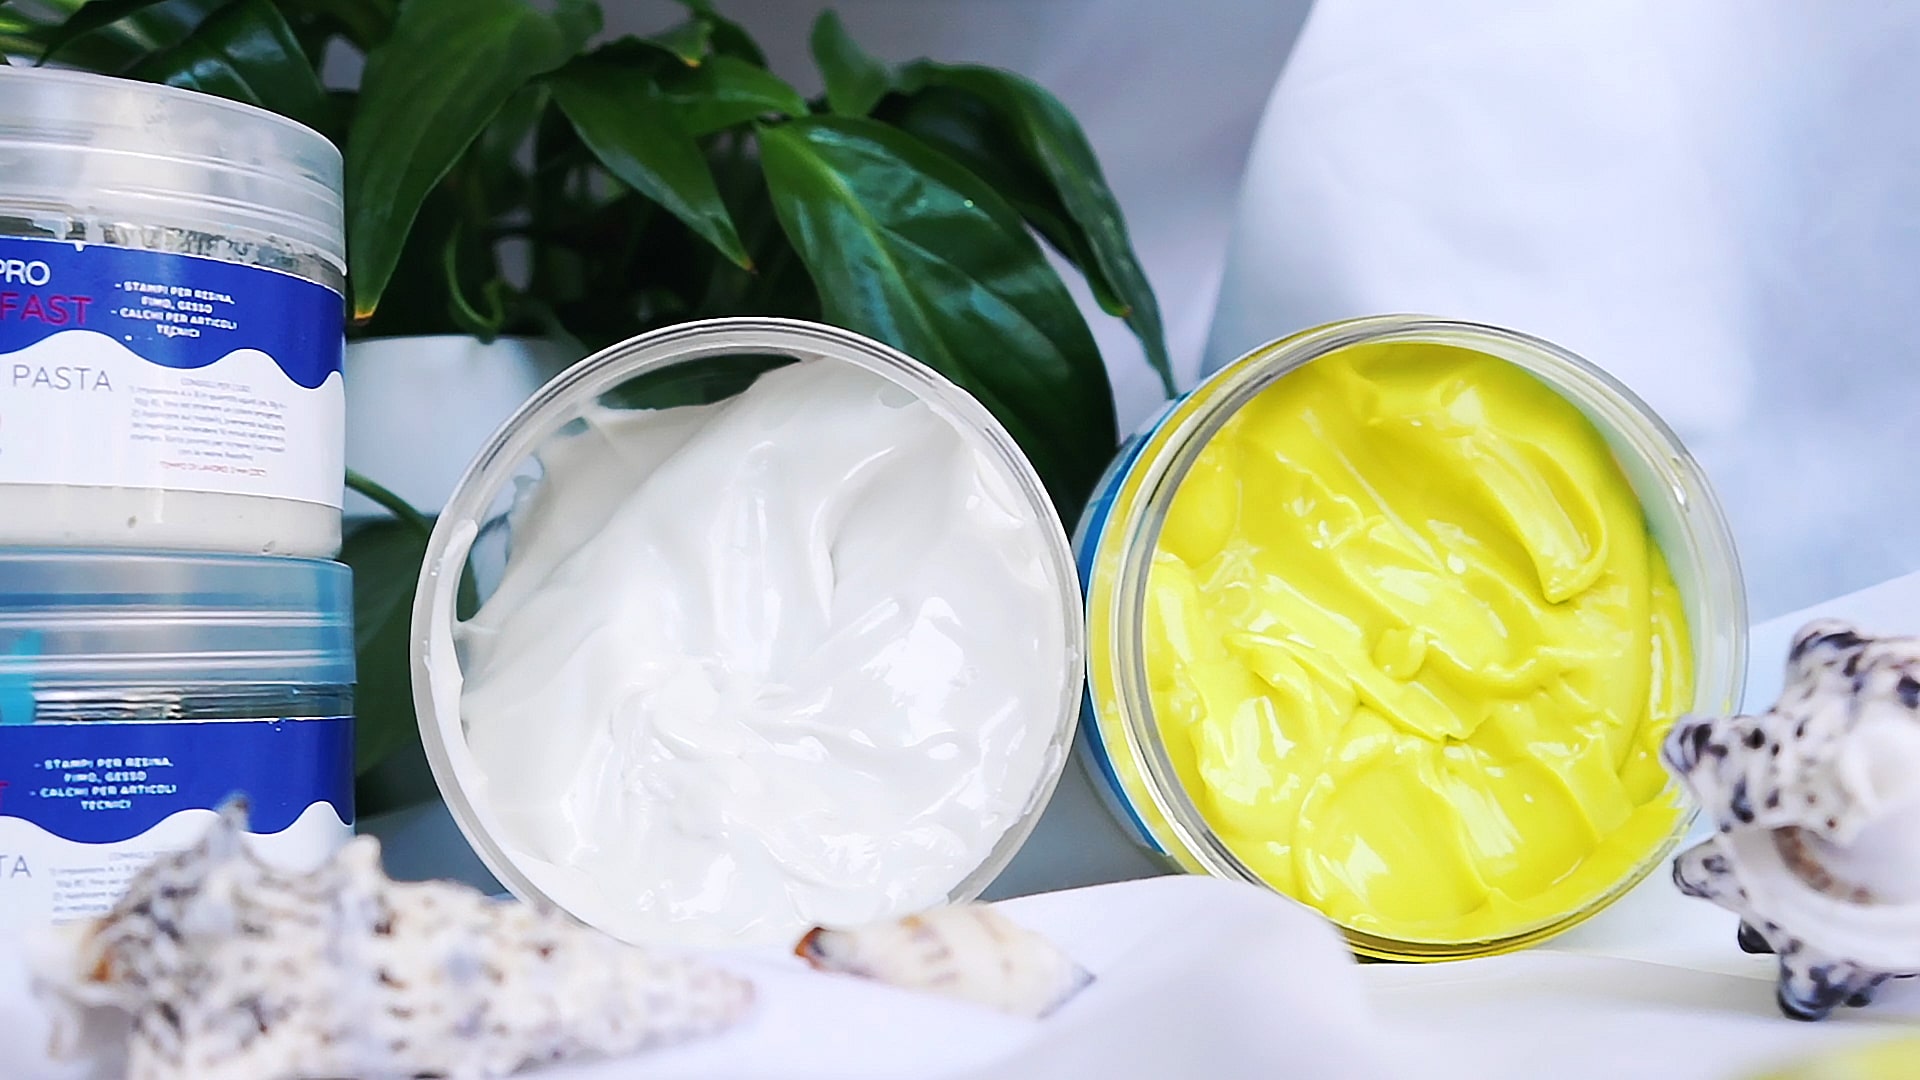
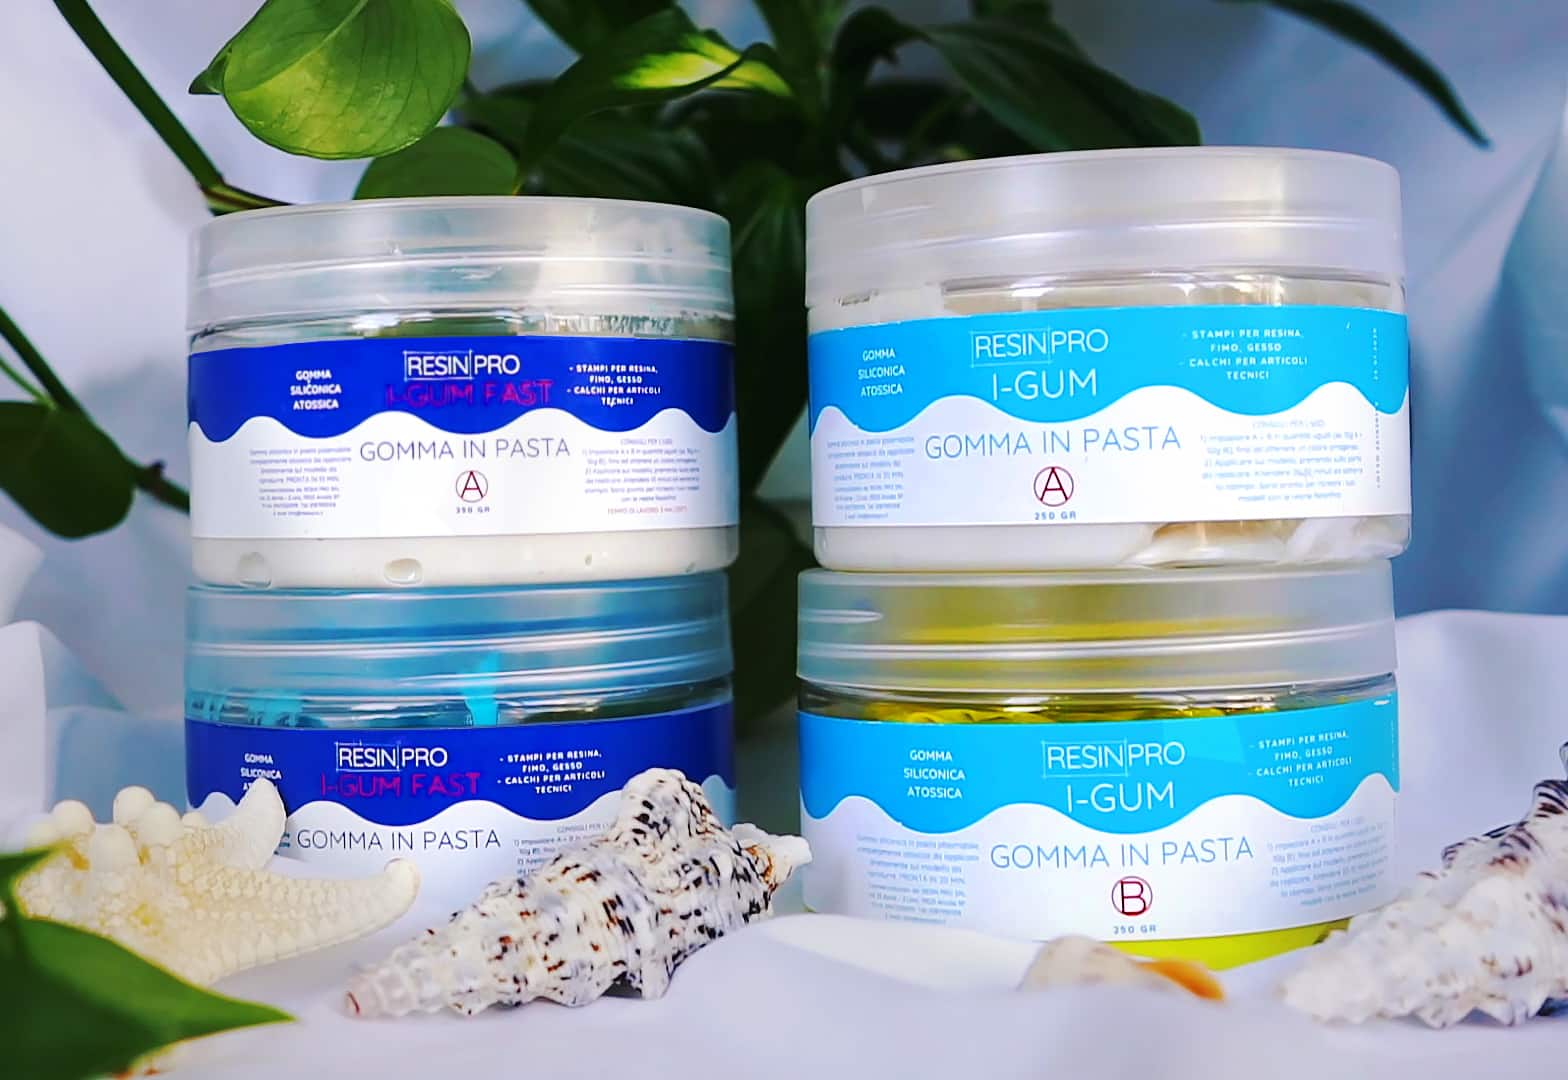
- “I–Gum” – Non-Toxic Silicone Putty for Mould Making: A user-friendly silicone putty ideal for sealing gaps, seams, or reinforcing leak-prone joins in resin pots.
- “Klebfix” – Two-Component Fast Epoxy Glue 2K, 25g Syringe: Fast-setting epoxy adhesive for high-strength, permanent repairs of cracked or weak areas.
- Protective gloves, craft sticks or spatula, and clean cloths.
- Isopropyl alcohol or another surface cleaner.

Resin Pot Leaks: Identifying Key Risk Areas
Weak seams, poorly bonded joints, and overlooked micro-cracks are the most common sources of leaks in resin pots. Close inspection—especially near the pot base and where mould lines meet—allows you to target your repairs effectively for lasting, leak-free performance.
Step 1: Inspect and Clean the Pot
Begin by carefully examining your resin pot for any visible cracks, holes, or weak joints. Check both the inside and outside, including the base where leaks typically develop. Remove any dust, loose debris, or previous adhesive residue. Clean the surfaces with isopropyl alcohol and allow them to dry completely.
Ensure all surfaces are dry and oil-free before sealing to maximise adhesion during the sealing process. This step prevents contamination that could undermine your efforts later.
Step 2: Seal Joints and Gaps
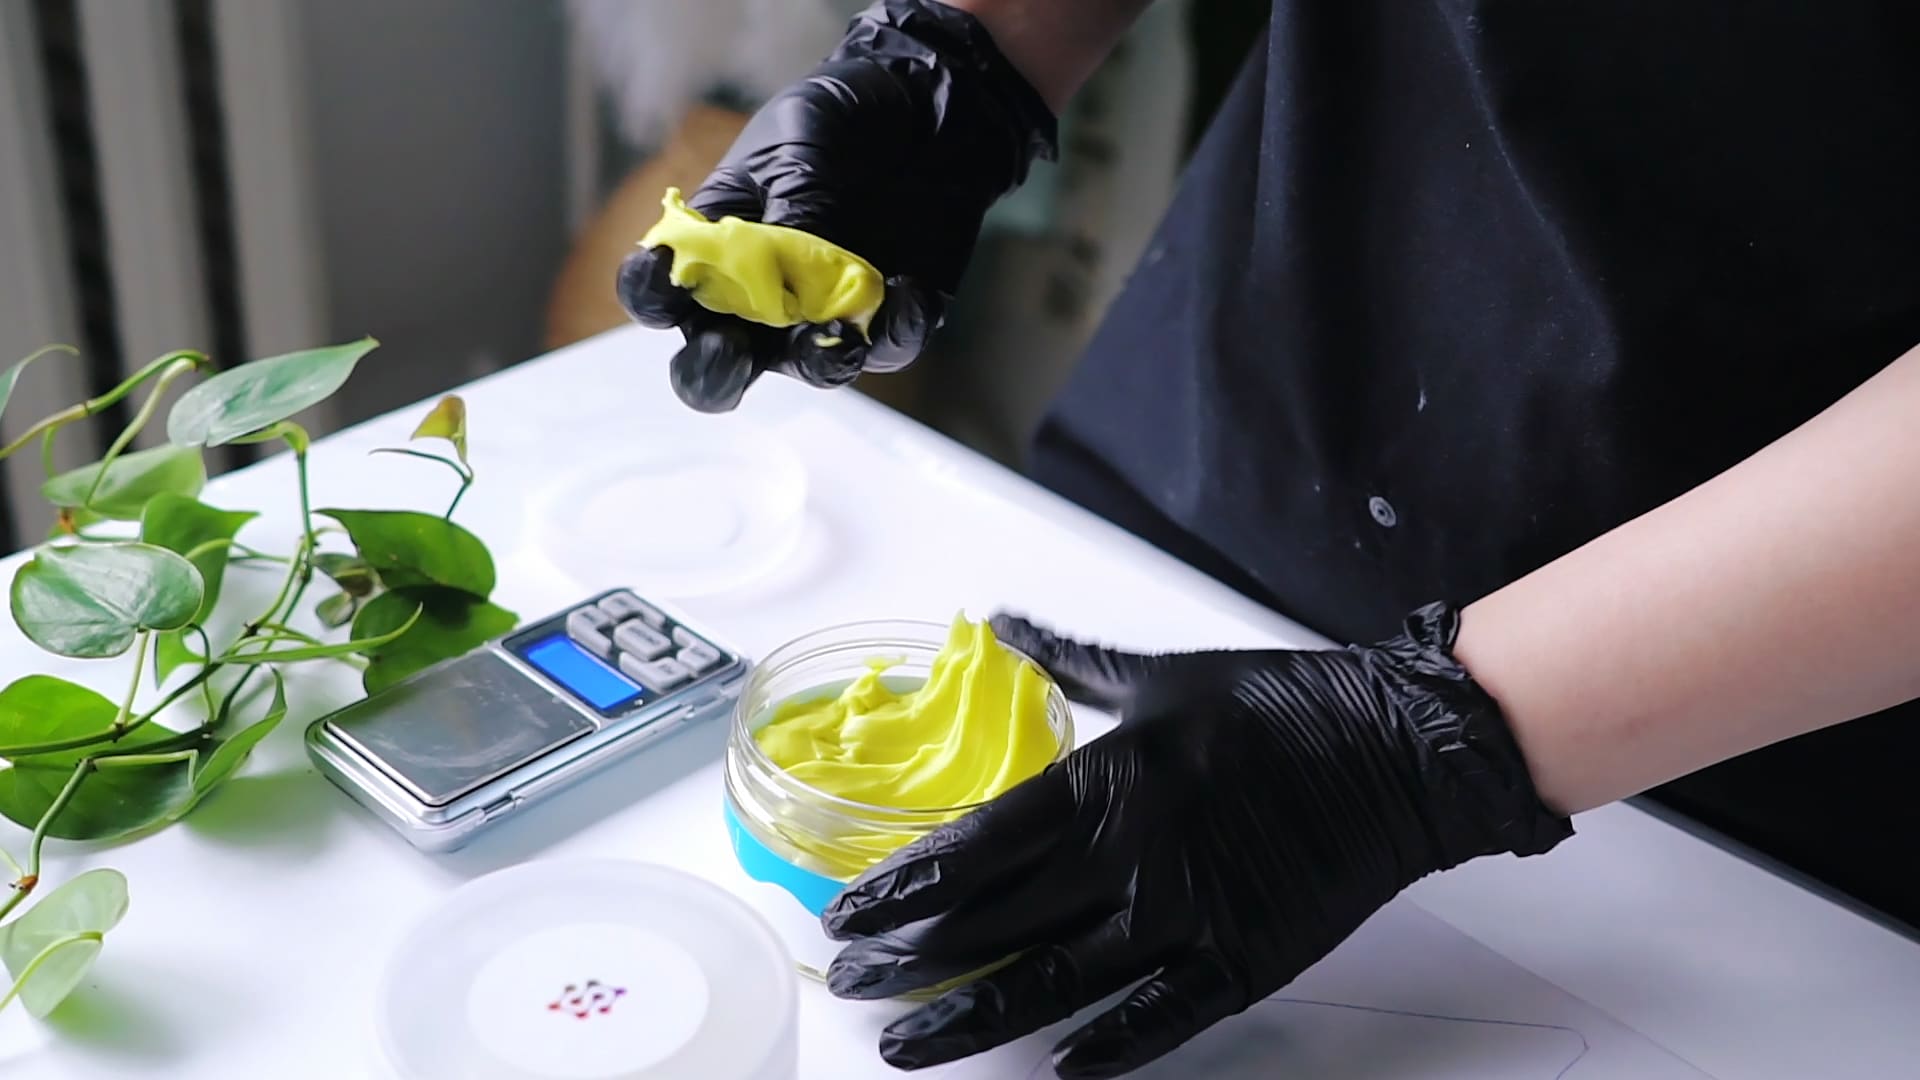
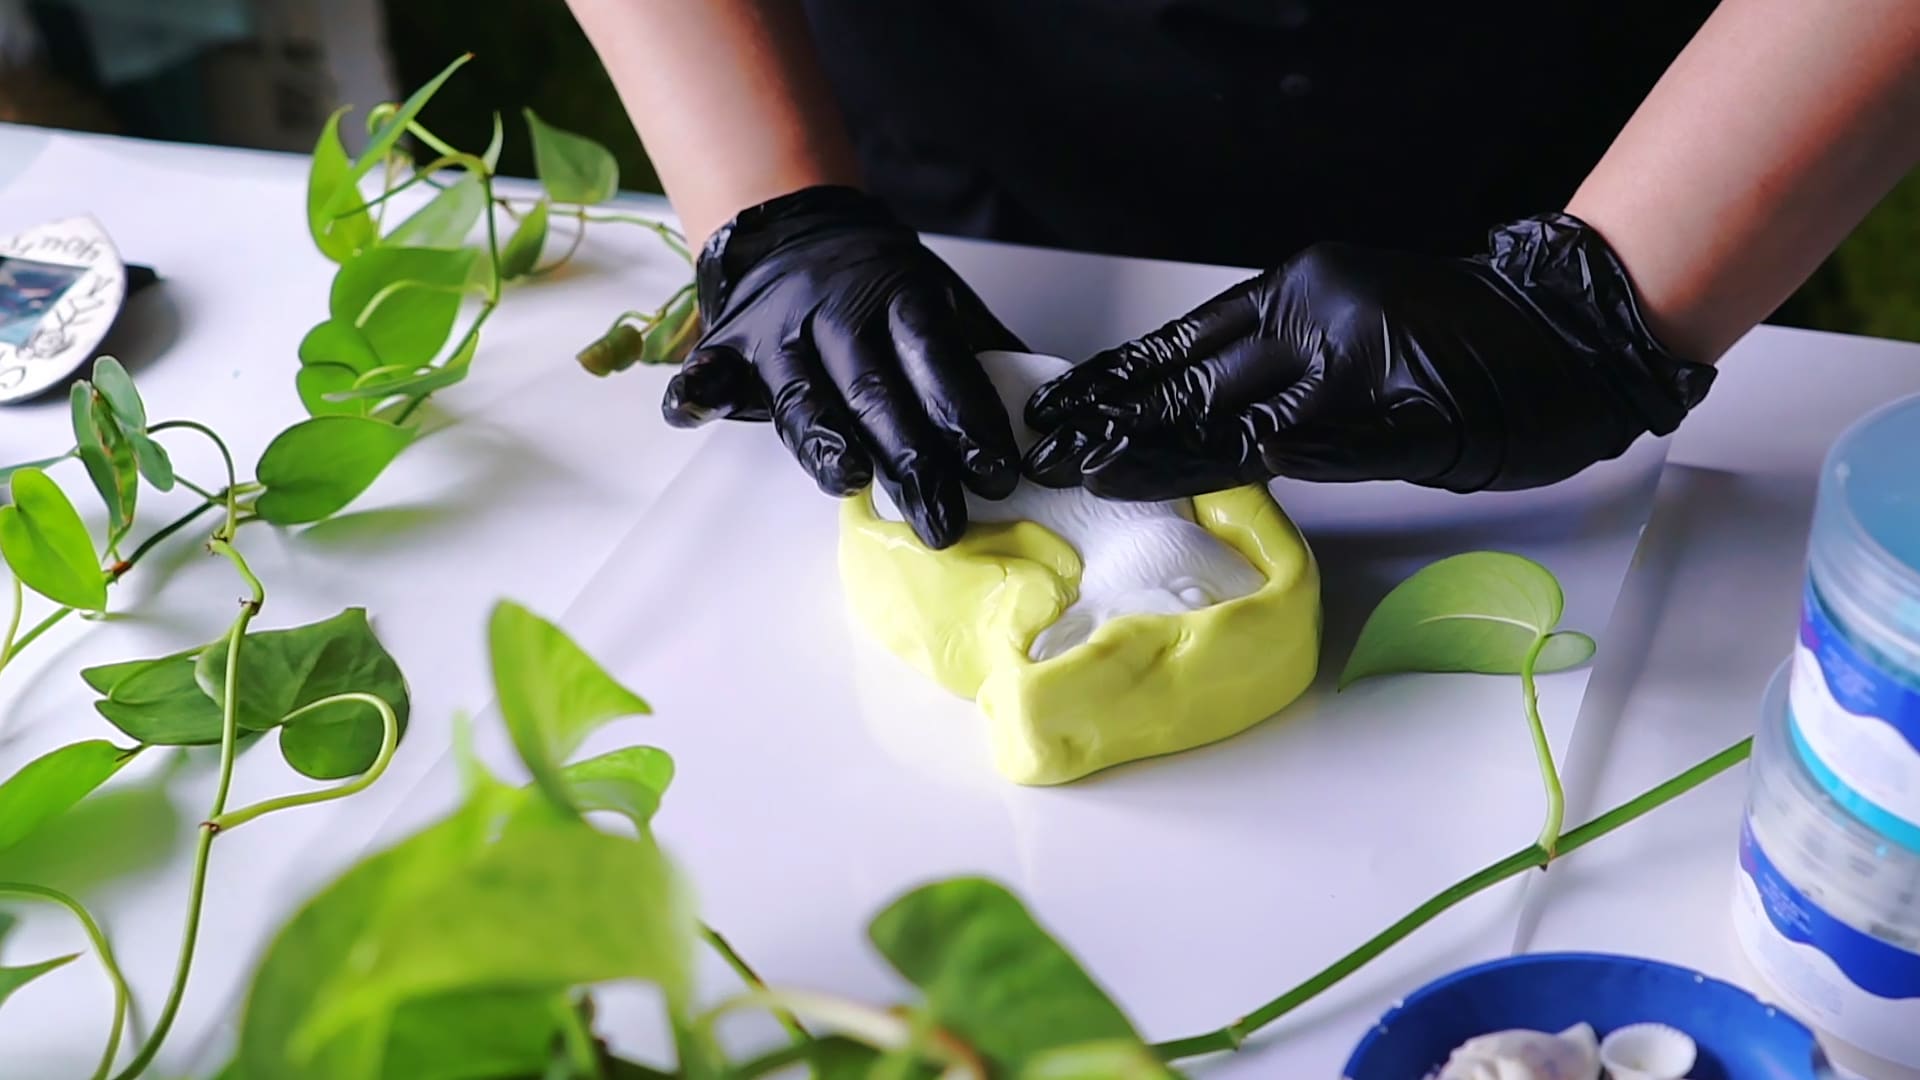
Target all potential leak points, focusing on seams, joins, and any previous repairs. For most resin projects, a flexible and watertight barrier is essential. Take a workable amount of “I–Gum” – Non-Toxic Silicone Putty for Mould Making and mix it thoroughly according to the 1:1 ratio instructions. Press the putty firmly along the joints and cracks using a spatula or your gloved fingers. Shape and smooth it generously over problematic areas for a continuous, gap-free seal.
If the pot has sharp fractures or structural weak points, combine the above with a bead of “Klebfix” – Two-Component Fast Epoxy Glue 2K along deep cracks. Apply it with the syringe following the manufacturer’s guidance and hold joined pieces together for several minutes to set.
Apply sufficient pressure when joining seams to avoid air gaps, which could become leak paths once resin is poured.
Step 3: Allow for Full Curing
Give all applied putty and glue ample time to cure before pouring resin or using the pot. Follow the curing times stated on your products—for “I–Gum”, the silicone putty generally takes around 20 minutes to set, while “Klebfix” cures in about 5 minutes. Avoid touching or disturbing the seal during this phase.
Allow full curing time before pouring resin. Premature handling can compromise the durability and water resistance of your seal.
Step 4: Test and Reinforce the Seal (if needed)
After curing, perform a leak test by pouring a small amount of water into the pot. Check for any seepage around the seams or base. If you notice leaks, dry the affected area thoroughly and apply a second layer of silicone putty or a tiny amount of epoxy glue as appropriate. Repeat the curing and testing process until the pot remains watertight.
This preventative check ensures your final resin pour will not be wasted.
Tips, Common Mistakes and Troubleshooting
Always work on a clean, level surface to prevent accidental shifts while sealing. If your pot continues to leak despite multiple repairs, evaluate if the resin itself is heavily cracked—a fully new pot or a complete outer seal might be the more efficient solution.
Common mistakes include missing small cracks, using too little sealing material, or failing to let adhesives completely cure. Patience during each step leads to much better results and avoids unnecessary frustration.
Professional Tricks for Watertight Sealing
Double-sealing with silicone putty and epoxy glue tackles especially stubborn leaks in resin pots. Apply putty for flexible coverage, then add a thin line of epoxy into any persistent cracks for extra strength—resulting in a resilient, long-lasting repair.
- "Klebfix" – Two-Component Fast Epoxy Glue 2K, 25g Syringe£22.85The "Klebfix" 2K epoxy glue is designed for fast, strong bonding of various materials with easy dosing and a clear finish.
- "I–Gum" – Non-Toxic Silicone Putty for Mould MakingPrice range: £22.85 through £99.85"I–Gum" silicone putty is designed for mould making with epoxy resin under the theme of How to stop resin pots leaking?
 "River-Table" – Complete Kit for Creating Your First Epoxy Resin TablePrice range: £188.85 through £444.85"River-Table" Complete Kit offers materials and instructions to create a modern wood and resin table, suitable for beginners following the theme How…
Frequently Asked Questions
Why does my resin pot keep leaking?
Leaking is usually caused by micro-cracks, poorly sealed joints or shrinkage from curing. Proper cleaning and thorough sealing are essential steps to prevent this recurring problem.
Can I fix leaks without making a new mould?
Yes, most leaks can be repaired by sealing joints and cracks with silicone putty or fast-setting epoxy glue, rather than creating a new mould.
How long must I wait before using the pot?
Always let your chosen sealant cure fully—usually around 20 minutes for silicone putty and at least 5 minutes for fast-setting epoxy glue—before pouring resin into the pot.
Will repairs with epoxy or silicone be visible?
Silicone putty dries flexible and non-sticky, usually blending with opaque pots, while transparent epoxy glue can be nearly invisible once set.
Is it safe to use epoxy or silicone for plant pots?
Yes, once cured, both epoxy glue and non-toxic silicone putty are generally safe for planters and do not leach harmful substances.
Should I use silicone putty or epoxy glue?
Silicone putty is best for flexible sealing and larger gaps, while epoxy glue provides rigid, strong repairs for cracks or joins. Sometimes, using both is ideal.