 Free shipping on orders over £29,85


How to make resin paintings
Creating resin paintings combines vibrant colours, glossy finishes, and limitless creativity. This guide takes you through the basics of resin painting — from preparation and pouring to curing and finishing — so you can achieve professional-looking resin art at home, whether you’re a beginner or an experienced creative looking to master new techniques.
Step-by-step process for stunning resin artwork at home

What You’ll Need
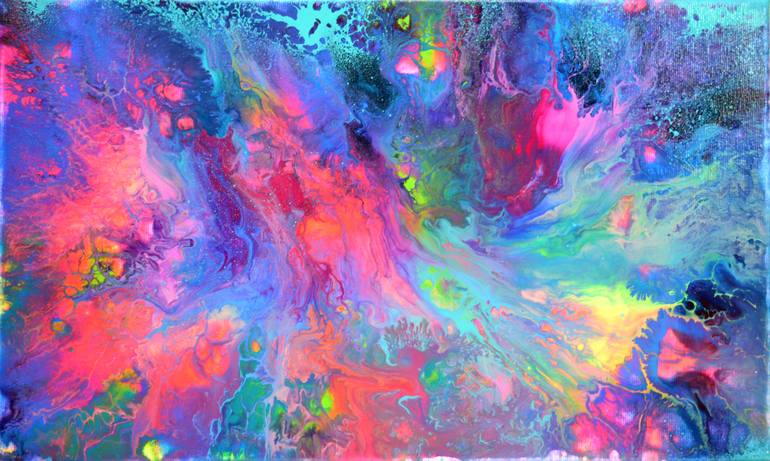
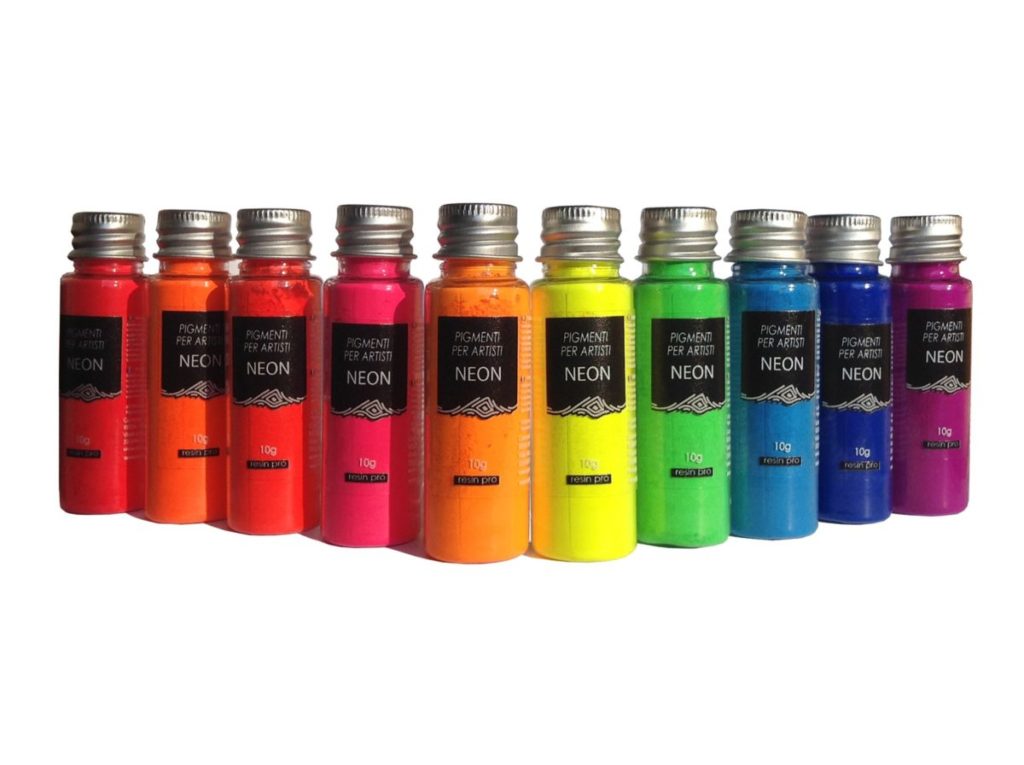
- “Raphael Kit” – Pour Paint & Resin Art Set with Neon Pigments and Canvas (includes transparent resin, neon pigments, canvas, mixing tools, gloves, and instructions)
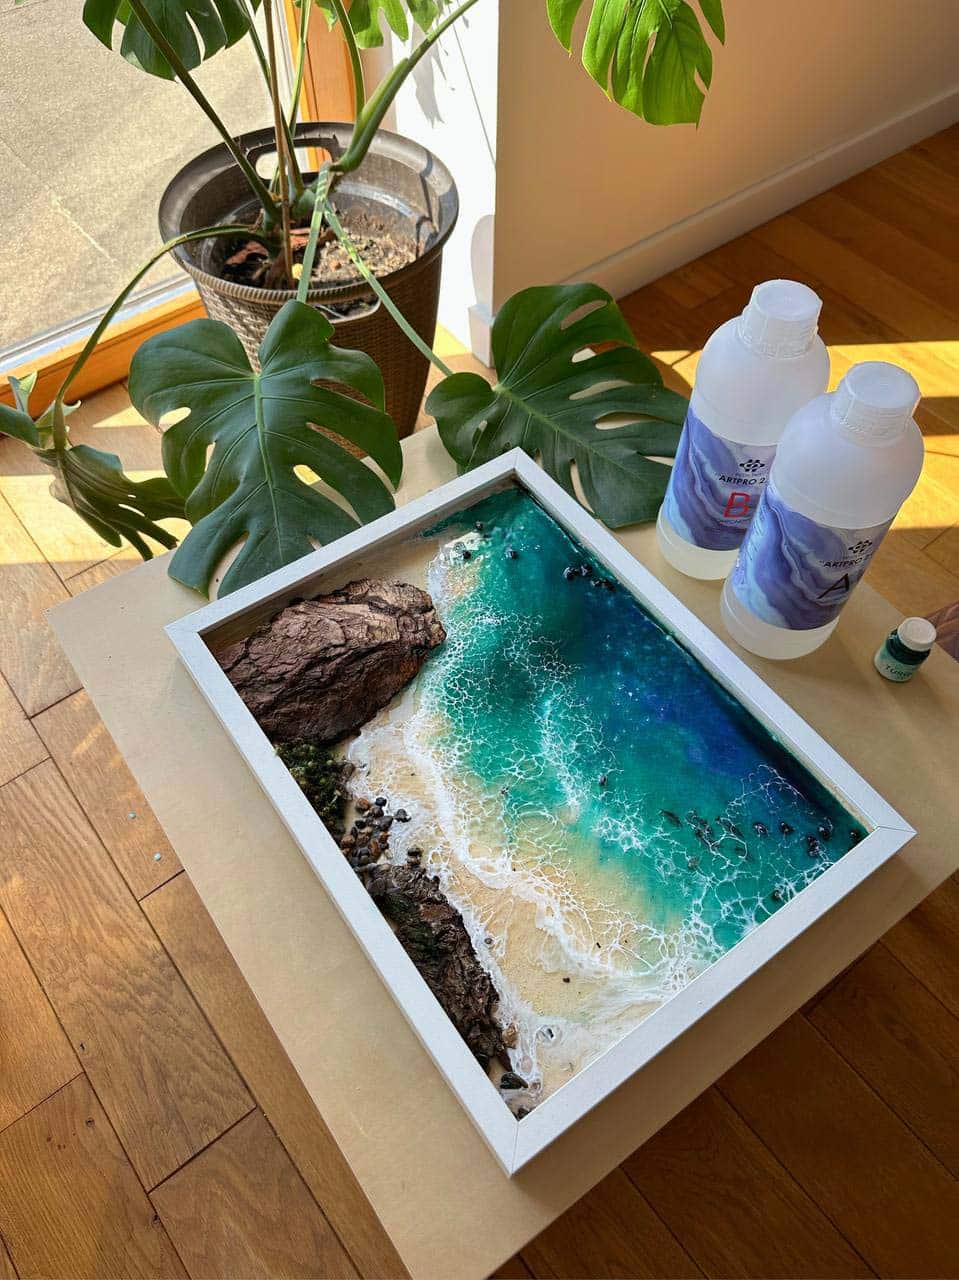
- “Sea” – Resin Kit for Creating Ocean Art, 1.7kg Epoxy, Pigments & Canvas (for marine and ocean-inspired paintings, with wave powder and ocean tones)
- “Art Pro” – Clear Epoxy Resin for Artists and Surface Coating (great for high-gloss, scratch-resistant finishes and surface coating)
- Heat gun or torch (for popping bubbles)
- Mixing cups and stirrers
- Protective surface cover (plastic sheets or old newspaper)
- Nitrile gloves and apron

Watch a Free Step-by-Step Ocean Resin Painting Tutorial
If you want to see the entire resin painting process in action, check out the Free Step-by-Step Resin Ocean Art Lesson by Natalia Natirum. This video covers mixing, colouring, pouring, and creating beautiful effects using ocean themes.
Step 1: Prepare Your Workspace and Surface
Start by selecting a dust-free, level workspace with good ventilation. Protect your table or floor with a plastic sheet or newspaper. Place your canvas or art board on supports to allow resin drips to flow off the edges. Always wear nitrile gloves and work in a well-ventilated area. For successful resin painting, ensure your chosen surface is dry and grease-free — wipe down with a lint-free cloth if needed. Proper preparation helps prevent contamination and ensures a smooth, durable resin finish.
Step 2: Measure and Mix the Resin
Carefully read the instructions for your resin kit. Most art resins require a precise mix (such as a 3:2 ratio for the “Raphael Kit” and “Art Pro”). Pour both parts into your mixing cup and stir slowly for several minutes, scraping the sides and base. Mix until the resin is completely blended and no streaks remain. Pour into smaller cups if you plan to add pigments for colour effects.
Step 3: Add Colours and Create Effects
Add your chosen pigments or dyes to the blended resin (use the included neon pigments from the Raphael Kit or the ocean-tone colourants in the Sea kit). Mix gently to distribute the colour evenly for bright, even effects. For ocean-inspired pieces, use the wave powder additive included in the Sea kit to create realistic foamy wave lines and textures on your painting. Pour the coloured resins onto the prepared surface in your desired pattern, tilting or using spatulas to guide the flow.
Step 4: Pop Bubbles and Layer Resin
After pouring, use a heat gun or torch lightly across the resin surface to pop any trapped bubbles — this step is key for a glass-like, professional finish. If your art needs more depth, you can pour multiple layers. Let each layer cure according to the instructions (usually 12–24 hours) before adding the next. Pour in stages instead of a single thick pour to avoid overheating.
Step 5: Cure and Finish Your Painting
Allow your resin artwork to sit on a level, dust-free surface while it cures. Avoid moving or disturbing the piece during this time to keep the finish flawless. Once fully cured, you may de-mould if using a board or sand rough drips from the edges. At this stage, your painting will have a hard, shiny, and durable surface.
Tips and Common Mistakes
Ensure your surface is clean and completely dry. Even small amounts of dust, grease, or moisture can cause surface imperfections or poor adhesion. Avoid mixing too vigorously to reduce bubble formation. Work within the pot-life of the resin — if it starts to thicken, avoid pouring as it may not self-level. Store leftover mixed resin away from heat and sunlight, and always follow safety instructions on your chosen resin kit for best results.
Experiment with Kits and Techniques
Try resin kits designed for your chosen art style, such as the Sea kit for ocean effects or the Raphael Kit for bold neon art. Practise different pouring and layering approaches until you achieve a unique finish.
- Free Step-by-Step Resin Ocean Art Lesson by Natalia NatirumOriginal price was: £99.00.£0.00Current price is: £0.00.Video tutorial on creating Resin Ocean Art with guidance from Natalia Natirum, suitable for resin painting techniques.
- "Raphael Kit" – Pour Paint & Resin Art Set with Neon Pigments and CanvasOriginal price was: £48.85.£37.85Current price is: £37.85.This kit is designed for creating resin paintings using transparent resin, neon pigments, and includes a ready-to-use canvas suitable for various…
- "Sea" – Resin Kit for Creating Ocean Art, 1.7kg Epoxy, Pigments & Canvas£44.85"Sea" kit includes thick epoxy resin, ocean-tone pigments, and a wave additive for creating ocean art within the theme of How to make resin paintings.
 "Art Pro" – Clear Epoxy Resin for Artists and Surface CoatingPrice range: £31.15 through £388.85Art Pro clear epoxy resin offers high-gloss, scratch-resistant finishes suitable for artists and crafters creating decorative surfaces.
Frequently Asked Questions
What is the best type of resin for paintings?
Clear epoxy resin with a medium to high viscosity is ideal, as it creates a glossy finish and self-levels beautifully for art surfaces.
What mixing ratio should I use for resin painting?
Always follow the instructions provided with your resin kit, as ratios may vary. Common artist resins use a 3:2 or 1:1 ratio.
How can I create realistic ocean wave effects in resin art?
Special additives like wave powder, such as included in the 'Sea' kit, help achieve foamy, dynamic wave details.
How should I prepare my surface before applying resin?
Ensure the surface is completely dry, clean, and dust-free for strong adhesion and a flawless glossy result.
How do I prevent or remove bubbles from my resin painting?
Use a heat gun or torch gently over the poured resin to pop bubbles immediately after pouring for the clearest finish.
Is it better to use a resin art kit or buy everything separately?
A kit offers convenience and ensures all components are compatible, which is beneficial for beginners and complex effects like waves.