 Free shipping on orders over £29,85


How to align the resin?
Step-by-step guide to smooth, level epoxy resin finishes

Creating a flawless resin surface—whether for art, tables, or decorative castings—relies on perfect alignment. Uneven resin not only affects appearance but can compromise the durability and function of your project. This guide shows you how to achieve a smooth and level finish step by step, helping you avoid the frustration of sloping, pooling, or distorted resin work, whether you’re a beginner or an experienced maker.
What You’ll Need
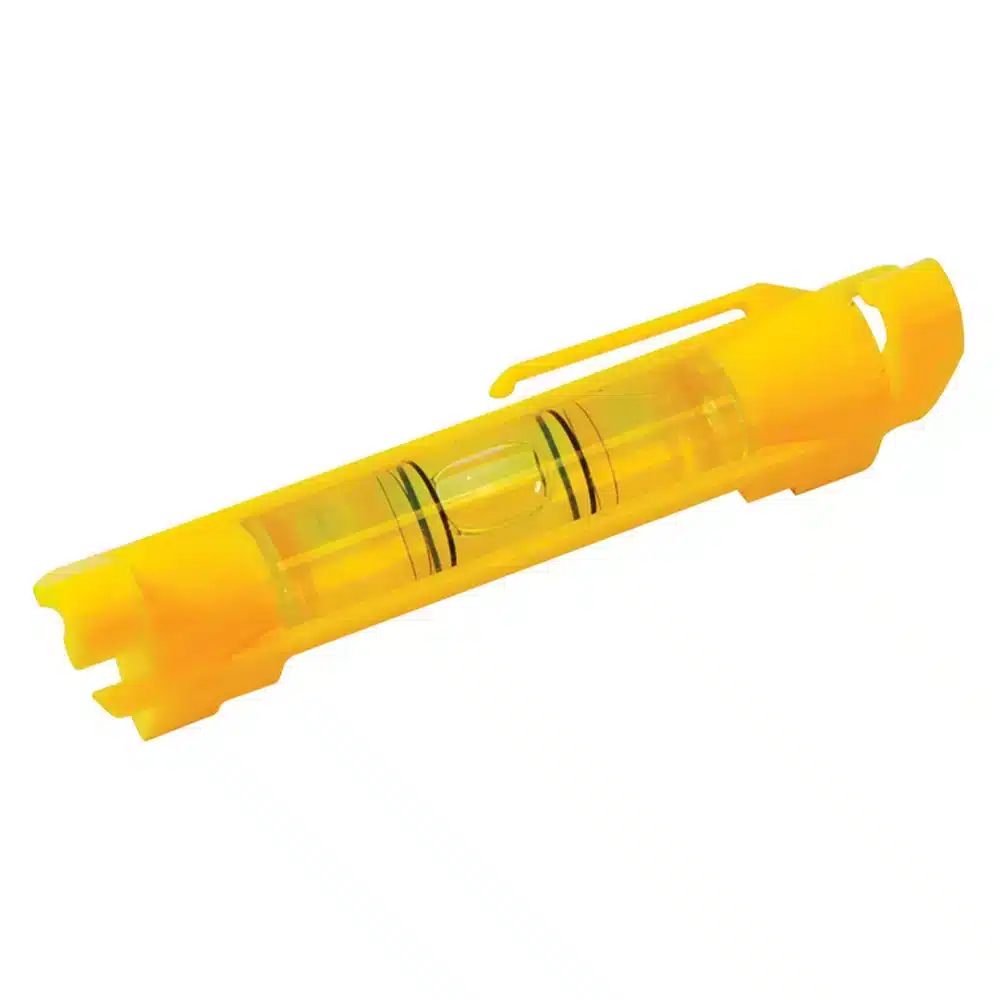
- Compact Line Level for Epoxy Projects for Accurate Surfaces – 75mm — A precision tool for accurate levelling of your working area.
- Tooth Shaped Spatula for Epoxy Resin Application — For even spreading and controlled layer thickness.
- “Art Pro Deluxe” – Ultra-High Viscosity Epoxy Resin for Artists — Ideal for detailed, controlled resin artwork requiring sharp line definition.
- “Epoxytable 10-Ten” – Deep Pour Epoxy Resin for Tables, Up to 10cm Casting — Best for large, thick epoxy casts such as river tables or artistic centrepieces.
- Protective gloves, dust-free workspace, mixing containers, and cleaning cloths.

Get the most from your resin workspace
Setting up a level, stable workspace is the foundation for achieving impeccable resin finishes. Carefully levelling your table or bench prevents resin migration or thin spots during curing, ensuring that your project sets true. A simple precision level can transform your results.

Step 1: Prepare and Level Your Working Surface
Even results rely on a properly prepared, level surface. Start by choosing a stable, flat workspace free from vibrations or sloping. Check your workbench or table for any tilt or undulations. Use a spirit or line level for this.
Use a precision line level to confirm your workspace is even. The Compact Line Level for Epoxy Projects for Accurate Surfaces – 75mm is particularly helpful because it is lightweight and prevents sag, providing reliable readings for both small and large projects. Adjust your workstation with wedges or shims if necessary until the level’s bubble is perfectly centred.
Step 2: Mix and Pour the Resin Carefully
Mix your chosen resin according to the manufacturer’s instructions, ensuring a homogeneous blend to avoid curing inconsistencies. Once mixed, begin pouring the resin slowly onto your prepared surface or into your casting mould. Keep your pouring motion steady and pour from a low height to avoid introducing bubbles.
Careful pouring prevents overflows and keeps layers consistent. For intricate artwork or projects requiring defined lines, consider an ultra-high viscosity resin like the “Art Pro Deluxe” – Ultra-High Viscosity Epoxy Resin for Artists, which offers excellent flow control and limits unwanted colour blending.
Step 3: Spread and Align the Resin
Once poured, it is vital to spread the resin evenly to prevent pooling, streaks, or thin spots. Use a notched spatula designed for resin work to gently guide the material across the surface, working in consistent, methodical strokes from edge to edge.
Spreading with a notched spatula ensures a uniform thickness. The Tooth Shaped Spatula for Epoxy Resin Application makes it easy to apply resin in regular layers, reducing the risk of defects. For deep pours—such as with river tables—a self-levelling resin like “Epoxytable 10-Ten” – Deep Pour Epoxy Resin for Tables, Up to 10cm Casting will naturally settle, but initial spreading ensures coverage into corners and alongside any live edges.

Step 4: Monitor Curing and Make Final Adjustments
After spreading, allow the resin to self-settle. Periodically check with your level for several minutes to verify that the resin is not shifting; if you notice movement, adjust your project’s position or surface supports quickly. Work in a dust-free environment to avoid particles settling onto the curing resin. For thick castings, always refer to curing times to avoid disrupting the alignment as resin solidifies.

Tips for Perfect Resin Alignment and Common Mistakes to Avoid
Always check the level before pouring, and never rush the initial stages—taking a few extra minutes at the start can save hours of correction later. Avoid pouring too quickly or in excessive amounts, as this leads to boisterous self-levelling that may spill or unevenly cure. For deep castings, pour in phases if specified by your resin, to prevent heat build-up and distortion. If you spot defects, act swiftly during the working window; after resin starts to harden, leave corrections until the next coat.
Troubleshooting resin alignment issues
Notice resin pooling, sloping, or surface unevenness? Re-check the workspace level, reassess pour amounts, and work gently with spreading tools. Most alignment mistakes can be prevented by careful preparation and continual checks during the working time.

- Compact Line Level for Epoxy Projects for Accurate Surfaces – 75mm£1.15A compact, lightweight tool designed for achieving level surfaces in epoxy projects for accuracy.
- Tooth Shaped Spatula for Epoxy Resin Application£3.15A notched spatula designed for even, efficient epoxy resin application on various surfaces, supporting precise and smooth coating.
- "Art Pro Deluxe" – Ultra-High Viscosity Epoxy Resin for ArtistsPrice range: £33.85 through £287.85"Art Pro Deluxe" epoxy resin offers ultra-high viscosity and crystal-clear finish suitable for detailed resin art, supporting precise control.
 “Epoxytable 10-Ten” – Deep Pour Epoxy Resin for Tables, Up to 10cm CastingPrice range: £33.85 through £334.85“Epoxytable 10-Ten” is a deep pour epoxy resin designed for clear castings up to 10cm, suitable for tables and large artistic projects.
Frequently Asked Questions
What’s the best way to check if my resin is level?
Use a precision line level on your working surface before and after pouring the resin for reliable alignment.
Which tool helps in spreading resin evenly?
A notched spatula is designed for consistent spreading and helps maintain even resin thickness across the surface.
How can I fix an uneven resin layer?
If noticed while wet, spread again with a spatula. Once cured, sand and apply another coat for correction.
Why does my resin shift or slope during cure?
A sloping surface or heavy pours can cause movement. Always retest for level and adjust promptly if needed.
What’s important for resin alignment in deep pours?
Ensure level setup, steady pouring, and allow slower curing to avoid exothermic reactions or movement.
How do I prevent resin pooling at the edges?
Spread resin methodically with a notched spatula, check level, and use barrier tape or dams for open-edge projects.