 Free shipping on orders over £29,85


How to cut a silicone rubber mold?
Precision techniques for clean, safe mould cutting every time


Cutting a silicone rubber mould requires a precise, gentle approach to preserve the intricate details of your casting projects. Whether you’re creating two-part moulds for resin, wax, or small objects with complex undercuts, executing a clean cut is essential for demoulding and long-term mould integrity. In this guide, you will learn the safest and most effective methods to cut silicone rubber moulds for outstanding results.

What You’ll Need
- Sharp craft knife or scalpel
- Permanent marker or fine-tip pen
- Cutting mat or protected work surface
- Thin, flexible ruler (optional for straight cuts)
- Fine talcum powder (optional for tacky surfaces)
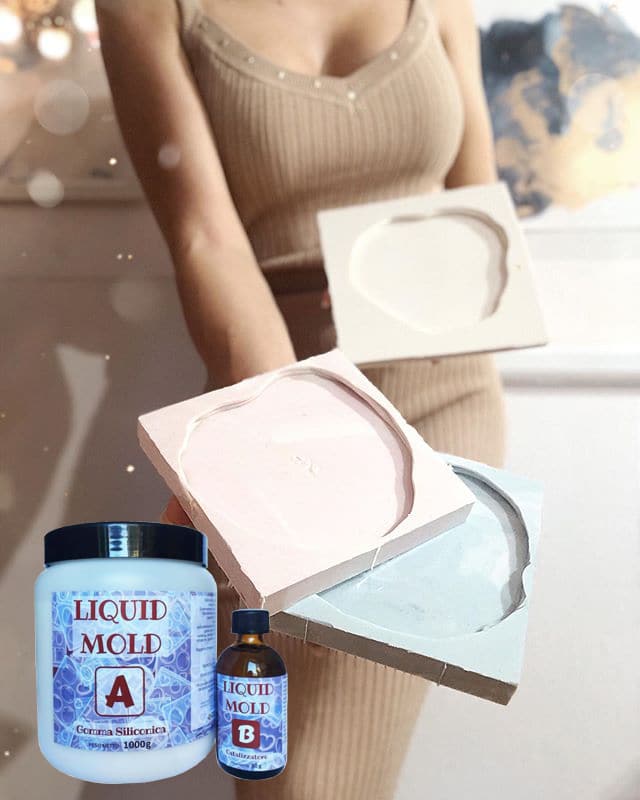
- “Pure Mould” – Translucent Liquid Silicone Rubber for Mould Making (ideal if you’re preparing your own moulds requiring a translucent view for precise cutting)
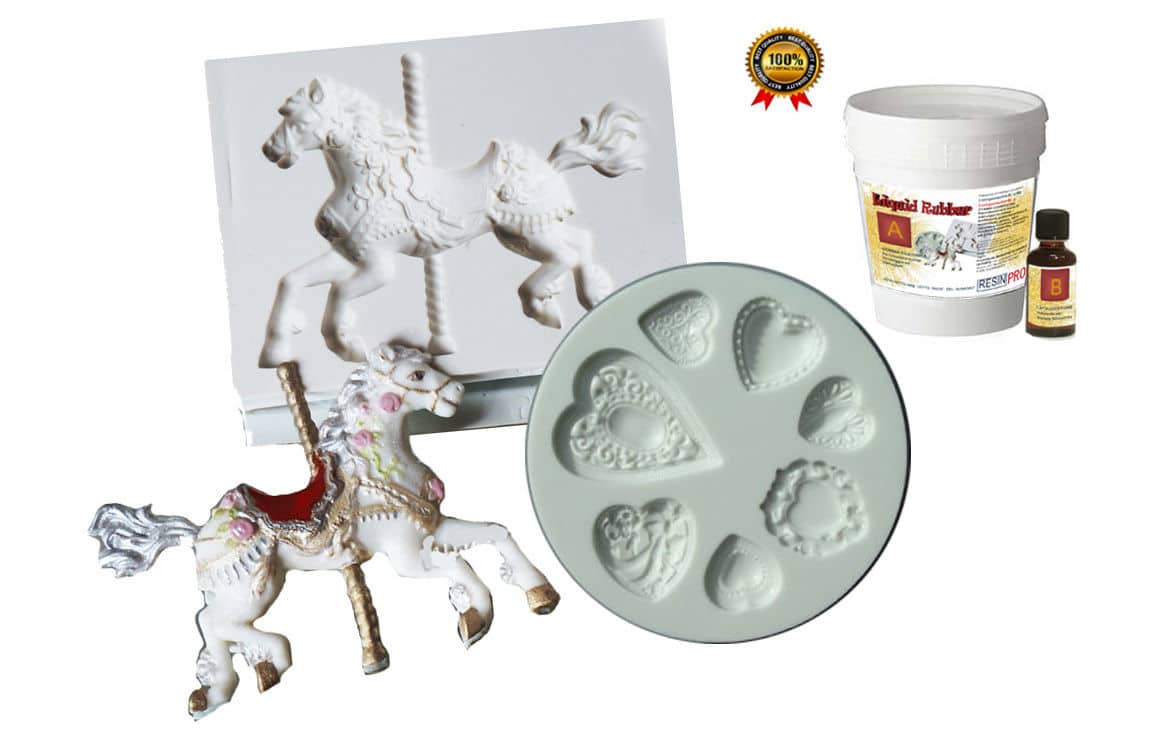
- “Liquid Mould” – Casting Liquid Silicone Rubber, 5-40 Shores, Bi-Component A+B (suitable for detailed, small-section moulds that may require careful splitting)
- “Liquid Mould” – Casting Liquid Silicone Rubber, 15 Shores 20.8 kg (best for advanced users with larger or more technical forms)

Essential Cutting Tools for Silicone Moulds
Always choose a high-quality, sharp craft knife or scalpel when cutting silicone moulds. Precision tools give you cleaner lines and reduce the risk of damaging the fine detail within your mould. Using purpose-made blades designed for flexible materials helps ensure accuracy and keeps your hands safe.
Step 1: Plan Your Cut
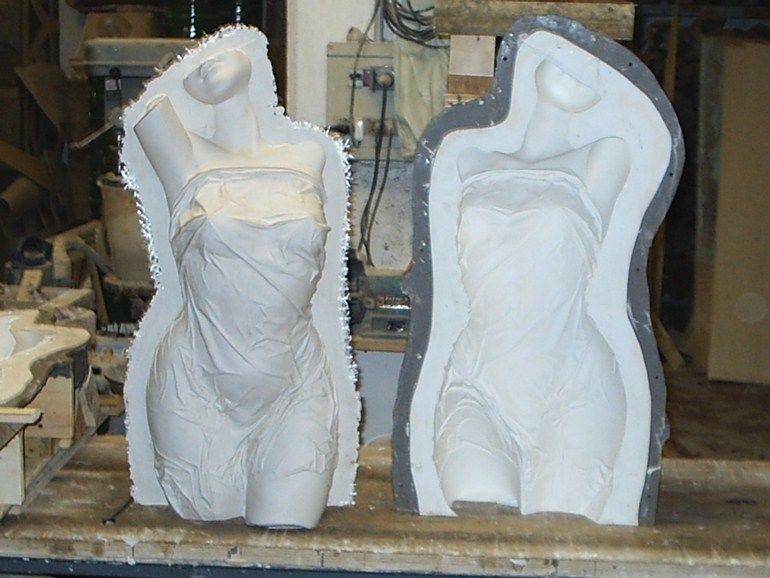
Before cutting, study the mould to identify where the seam should run. Look for natural grooves or less-visible areas that will help hide the cut on finished pieces. For complex shapes, consider a zig-zag or keying pattern to ensure your mould aligns perfectly after cutting.
Use a permanent marker or fine-tip pen to lightly mark the planned cut line. Take your time with the design—this is especially important for detailed models or when using a translucent mould made with “Pure Mould” – Translucent Liquid Silicone Rubber for Mould Making, as its clarity assists in guiding your cuts and checking the position of embedded objects.


Step 2: Make the Initial Incision
Place the mould on a stable, protected work surface such as a cutting mat. Select a sharp craft knife or scalpel for the cleanest results. Begin at one end of your marking, gently inserting the blade and following your line with a steady hand.
Always use a sharp, clean blade to prevent dragging or tearing the silicone. For thick or dense moulds—like those made from “Liquid Mould” – Casting Liquid Silicone Rubber, 15 Shores 20.8 kg—start with a shallow incision, ensuring you do not slice too deep in a single pass to avoid damaging the original model inside.
Step 3: Continue and Deepen the Cut Gradually
Work slowly along the marked seam, allowing the blade to do the work with minimal force. It is safer to make several shallow passes rather than one deep cut. This reduces the risk of unwanted splits or accidental damage to mould details.
Avoid cutting too deep in one go. For two-part or thick-walled moulds, gently flex the silicone apart as you go to ensure the blade follows the planned path and doesn’t wander.
Step 4: Completing and Separating the Mould Halves
Once the incision is complete, carefully separate the halves by gently pulling the silicone apart. If the cut catches or sticks, check for any remaining connections along your seam and free them with small, controlled cuts. Dust the cut faces lightly with fine talcum powder if there is any tackiness, particularly with fresh moulds.
At this stage, clean up any rough edges. Flexible silicone moulds produced from “Liquid Mould” – Casting Liquid Silicone Rubber, 5-40 Shores, Bi-Component A+B or “Pure Mould” – Translucent Liquid Silicone Rubber for Mould Making are generally easy to separate without tearing due to their mechanical strength and elasticity.
Tips, Common Mistakes, and Troubleshooting
- Mark and plan your cut line before you start: This prevents wonky seams and alignment issues in your finished casts.
- Work slowly and gently to avoid tearing: Haste or excessive force may cause jagged cuts or damage intricate details.
- Lubricate the blade with a drop of soapy water for smoother cutting in dense or sticky moulds.
- Dust lightly with talc if the mould is tacky: This helps the cut faces release cleanly and prevents them from sticking together afterward.
- Sharpen or replace your blade regularly for crisp, clean edges.
Expert Advice on Cutting Success
Cutting silicone rubber is a skill that improves with practice. Always test your cut technique on a spare or offcut before working on your finished mould. If possible, work in bright, even lighting to make following your marked line easier, especially when using translucent silicone. Clean tools and a tidy workspace make a noticeable difference to your results.

- "Pure Mould" – Translucent Liquid Silicone Rubber for Mould MakingPrice range: £23.95 through £166.95"Pure Mould" is a translucent liquid silicone rubber suitable for mould making with various materials including resins and plaster.
- "Liquid Mould" – Casting Liquid Silicone Rubber, 5-40 Shores, Bi-Component A+BPrice range: £14.45 through £387.45"Liquid Mould" is a casting liquid silicone rubber designed for making detailed moulds including fine details and undercuts, suitable for resin and…
- "Liquid Mould" – Casting Liquid Silicone Rubber, 15 Shores 20.8 kg£348.85"Liquid Mould" casting liquid silicone rubber is designed for making small, detailed moulds suitable for diverse materials and detailed reproductions.
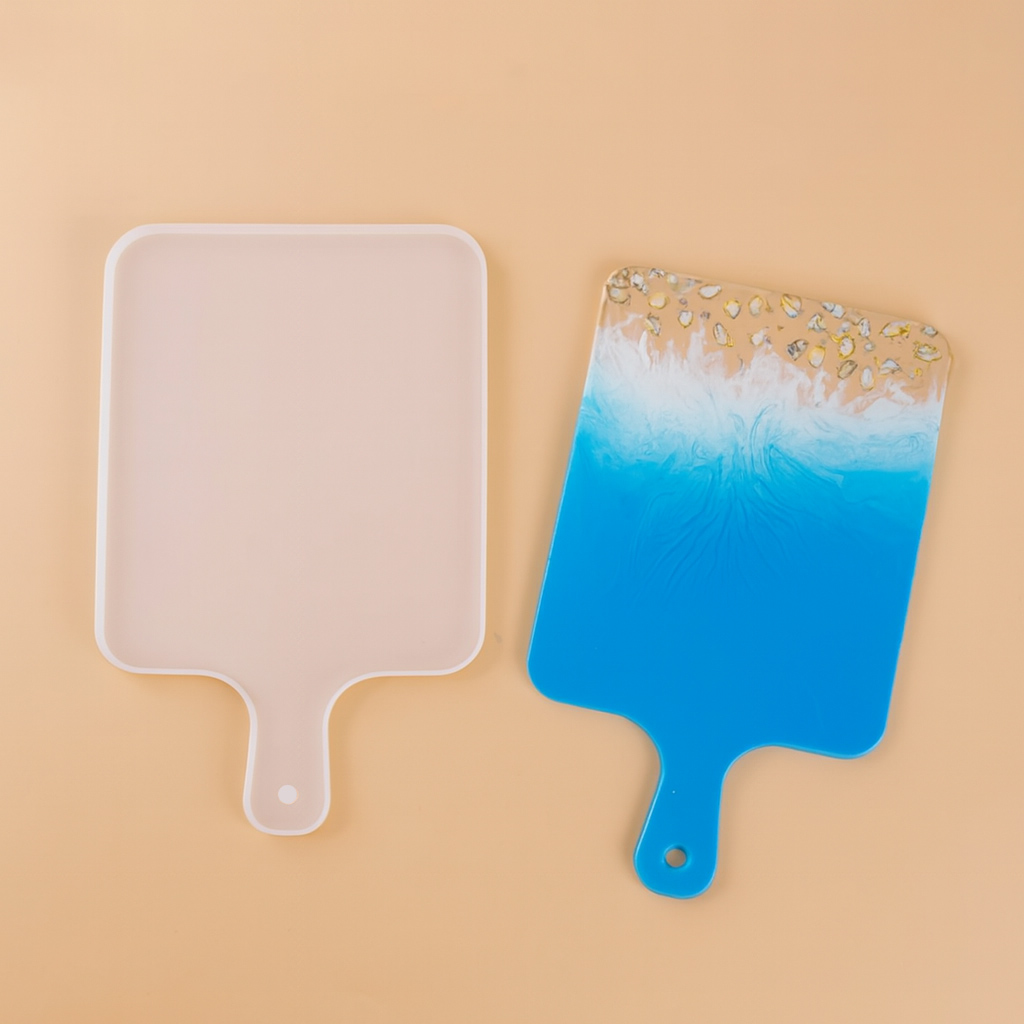 Rectangular Cutting Board Silicone Mould for Resin CastingPrice range: £6.85 through £9.85Rectangular Cutting Board Silicone Mould designed for making personalised resin cutting boards in a reusable, non-stick silicone.
Frequently Asked Questions
What is the safest way to cut a silicone mould?
Use a sharp blade, make multiple shallow cuts, and always cut away from yourself. Avoid force, work slowly, and plan your cut before starting.
How do you avoid tearing silicone moulds when cutting?
Use a fine, sharp blade and cut gently in several passes. Avoid pulling or twisting the mould as you cut to prevent jagged or torn edges.
How should I mark the cut line on silicone before cutting?
A thin permanent marker or pen can be used lightly on the surface. Avoid pressing hard and use guide marks to help keep your cut straight.
Should I use powder or a lubricant before cutting silicone?
Applying a little talc or soapy water can make cutting easier, especially for tacky or sticky moulds. Ensure surfaces are dry before storage.
Is there a special method for cutting two-part silicone moulds?
Plan for registration keys (zig-zag cuts) to help the mould halves re-align. Mark your seam and cut slowly to ensure a tight fit when rejoined.
How do I tidy up rough or uneven edges on my cut silicone mould?
Trim excess with a sharp blade after separating. Avoid trimming too much at once—take off only small amounts to keep the fit snug and seamless.
Which blades are best for cutting silicone rubber moulds?
Fine, sharp craft knives, scalpels, or surgical blades work best. Thicker or dull blades increase the risk of rough cuts and accidental tears.