 Free shipping on orders over £29,85

← Back to How are resin-coated stickers made?

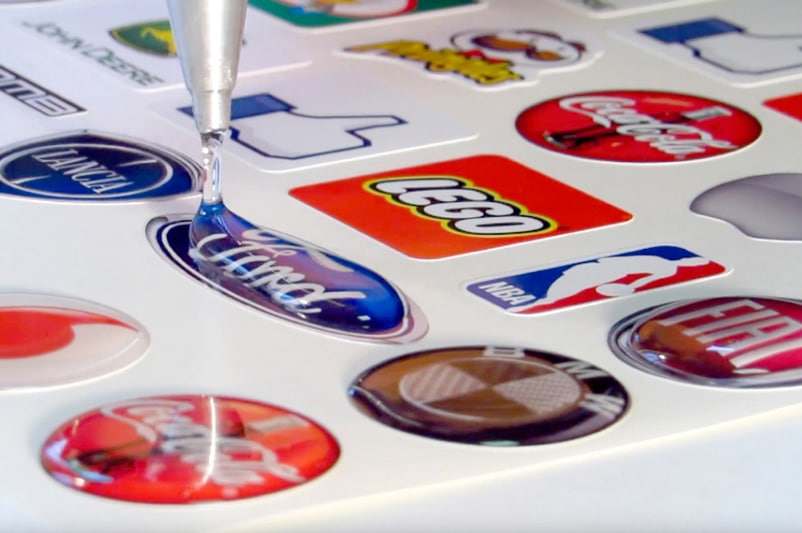
Achieving a flawlessly smooth finish on resin-coated stickers starts before the resin is poured. One of the most crucial steps is ensuring application in a dust-free environment—essential for the durability and clarity of your stickers.
Why Dust-Free Application Is Essential
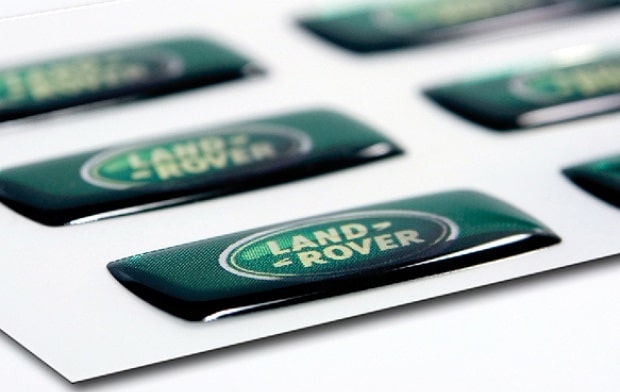
Resin’s self-levelling nature creates a glossy surface that can easily trap unwanted particles. Even tiny specs of dust or fluff can become embedded, leading to dull spots and imperfections that detract from the professional look of your stickers. Applying resin coatings in an environment free from airborne debris helps ensure your stickers turn out crystal-clear and smooth.
Practical Tips for a Clean Workspace
- Wipe down surfaces: Clean your worktable and surrounding areas thoroughly before starting.
- Minimise airflow: Turn off fans and close windows while you work to prevent dust disturbance.
- Tack cloths: Use a tack cloth or lint-free wipes to remove any traces of dust from your stickers and tools before coating.
- Prepare resin last: Mix and pour your resin only when everything is ready and clean.
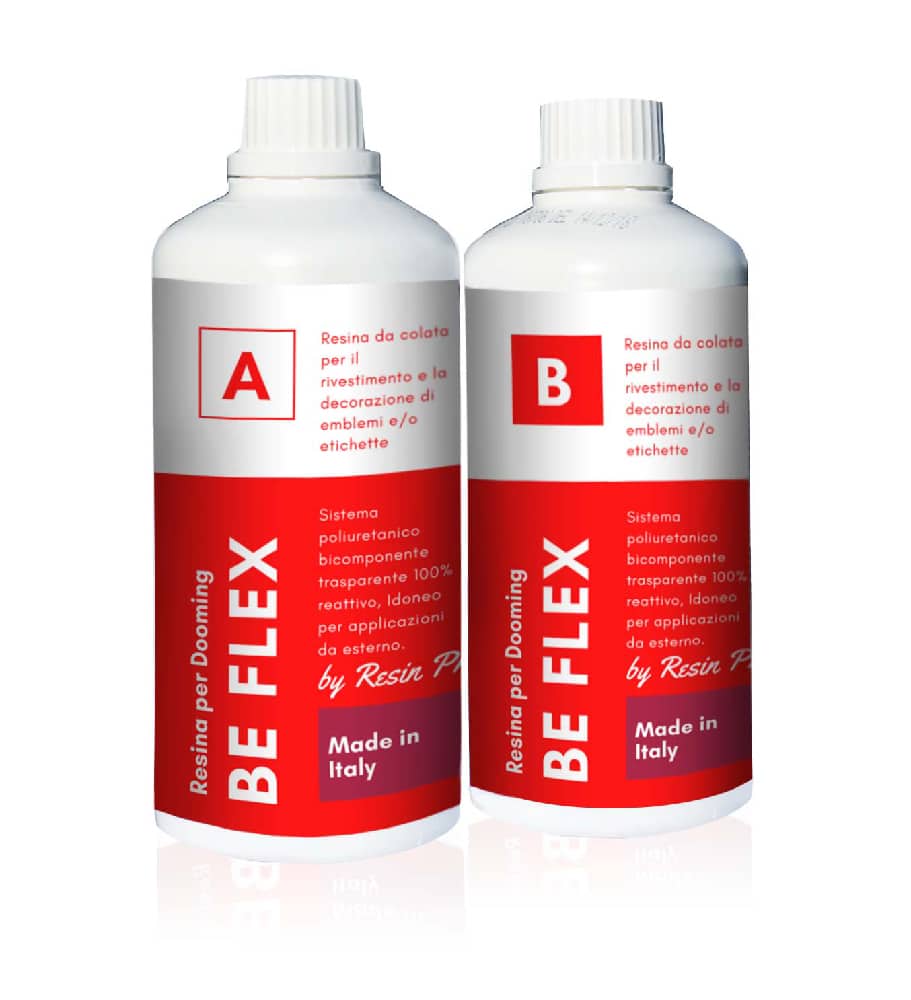
If you’re using products like Be Flex Transparent Polyurethane Doming Resin, a clean, dust-free workspace ensures the flexible, glossy dome stays blemish-free and creates a truly premium finish for curved or flat stickers.
When This Matters Most
A dust-free environment is especially important for high-gloss finishes and transparent coatings where contaminants are most visible—such as stickers designed to catch the light or be used outdoors. If your stickers need to look perfect for branding or product display, taking the time to control dust will make all the difference.

Related products
Related guides
By taking care to eliminate dust before applying resin, you’ll achieve resin-coated stickers that shine with clarity and professionalism. For more on how these innovative stickers are made from start to finish, see our complete guide on how resin-coated stickers are made.