 Free shipping on orders over £29,85

How to use resin to seal rubber?
Step-by-step guide for flexible, waterproof sealing on rubber

Sealing rubber surfaces with resin is an excellent way to protect them from moisture, scratching, and everyday wear while maintaining flexibility. Whether you are working with rubber badges, flexible labels, or other items that need a transparent, durable coat, this guide will show you the correct technique to achieve a strong, professional seal that stands the test of time.
What You’ll Need
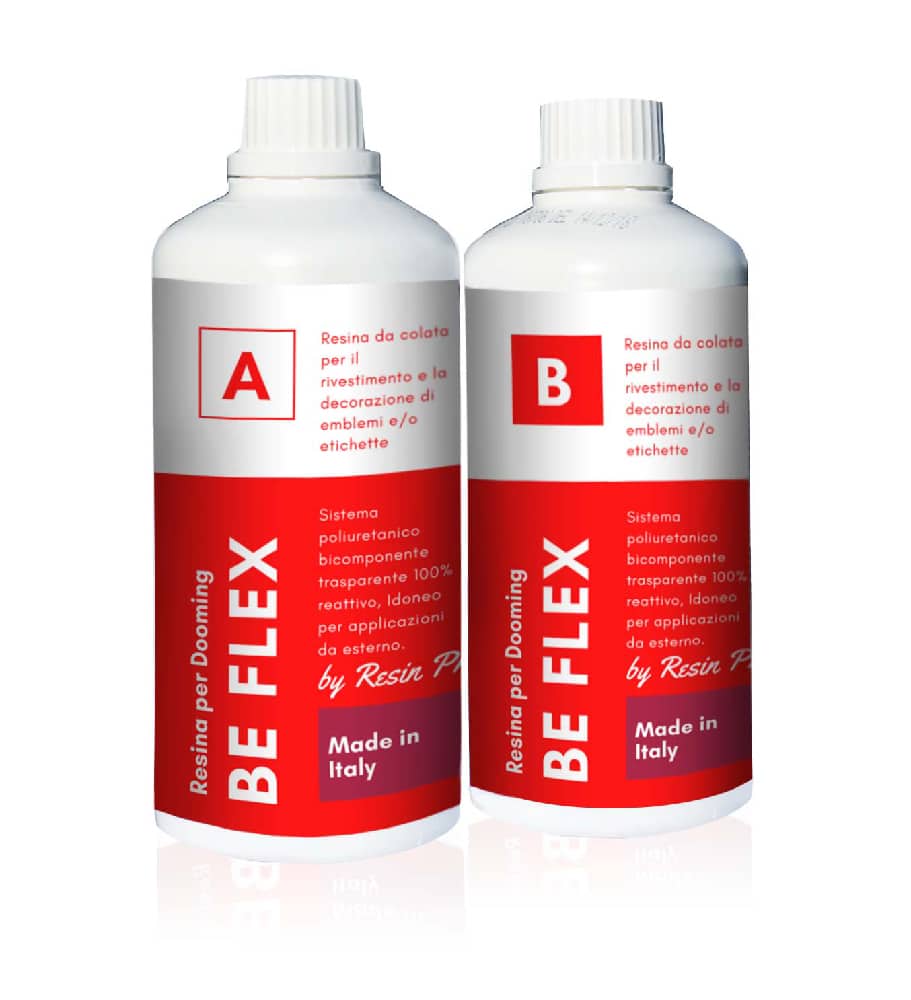
- “Be Flex” – Transparent Polyurethane Doming Resin – Scratch-Resistant: A flexible polyurethane resin ideal for sealing curved or flexible rubber surfaces.
- Mixing sticks and disposable cups for accurate resin preparation
- Nitrile gloves and basic safety equipment
- Clean, dry rubber items to be sealed
- Protective covering for your work surface
Setting Up Your Workspace for Resin Application
Flexible, transparent finish is achieved best when dust and humidity are controlled. Protect your table, wear gloves, and keep airflow gentle to minimise airborne particles landing on the freshly poured resin.
Step 1: Clean and Prepare the Rubber Surface
Begin by ensuring your rubber item is completely clean and dry. Wipe away dust, oils, or manufacturing residues using a lint-free cloth. If necessary, lightly wash the item with a mild soap, then let it air dry fully. Contaminants can prevent the resin from bonding evenly, so attention at this stage is key for long-lasting results.
Step 2: Mix the Resin Thoroughly
Follow the manufacturer’s instructions to accurately measure and combine the two components of your resin. Using a Be Flex – Transparent Polyurethane Doming Resin – Scratch-Resistant set, pour the proper amounts into a clean mixing cup. Stir slowly but thoroughly with a mixing stick to ensure a uniform blend and a bubble-free result. Avoid mixing too quickly, as this can introduce air bubbles into the final coat.
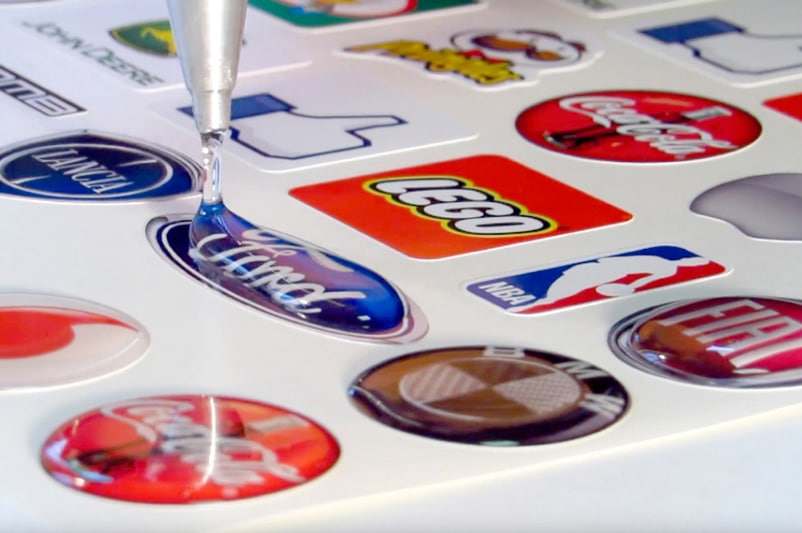
Step 3: Apply the Resin Evenly Over the Rubber
Pour or dispense the mixed resin gently over the rubber surface. For doming effects or to cover curved items, use the stick or a soft brush to spread the resin evenly. Aim for a thin, consistent layer that covers all exposed areas. Take your time to chase out any air bubbles that appear, and allow the resin to self-level for a smooth finish.
Step 4: Allow to Cure and Inspect the Finish
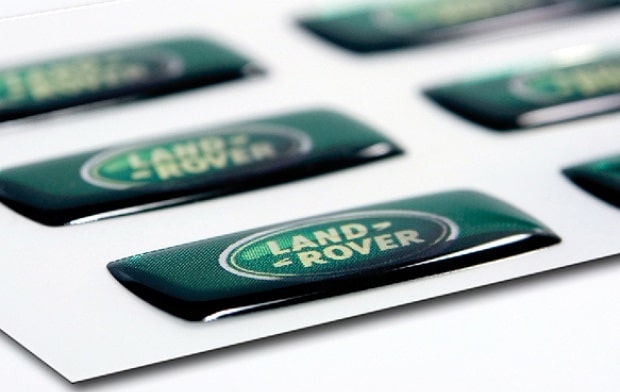
Place the coated item on a dust-free, level surface and allow the resin to cure according to the package instructions, usually at room temperature. Do not disturb the piece while it cures to avoid dust or fingerprints marring the finish. Once fully cured, check the seal for clarity and flexibility; the resin should be glossy and remain flexible along with the rubber substrate.
Tips and Common Mistakes When Sealing Rubber with Resin
Work in a clean, dry environment to prevent contaminants from affecting adhesion. Always measure and mix resin precisely, as improper ratios can lead to tacky or cloudy finishes. If working with complex shapes, apply resin in thin layers to avoid drips. For best long-term results, avoid flexing the coated rubber until the resin has fully cured.
Achieving a Flawless, Flexible Seal Every Time
Waterproof, non-yellowing, and UV resistant resins such as Be Flex give maximum durability to rubber seals. Cure at stable temperatures and shield from direct sunlight in the first hours for a crystal-clear result.
Frequently Asked Questions
Can resin adhere to rubber surfaces?
Yes, resin can adhere to clean, dry rubber. Ensure the surface is free from oils and residues for best results.
Is flexible resin better for sealing curved or flexible rubber objects?
Yes, a flexible polyurethane resin like Be Flex prevents cracking and ensures long-term protection on curved surfaces.
How long should resin cure on rubber surfaces?
Cure times depend on the product, but most flexible resins are fully cured in 24–48 hours when undisturbed.
Can I use epoxy instead of flexible polyurethane on rubber?
Rigid epoxies are not suitable for flexible rubber; they may crack when the substrate bends. Use a flexible resin for best results.
Do rubber items need special preparation before sealing with resin?
Yes, ensure the rubber is thoroughly cleaned and dry to promote resin adhesion and a bubble-free finish.